華擎ASRock Z270 KILLER SLI-Z270入門新選擇,RGB也來湊一腳

 Z270入門新選擇華擎ASRock Z270 KILLER SLI
 Kaby Lake平台也解禁好一陣子了,相對應的主機板產品也推出上市的差不多,這次要介紹入門平價款的Z270主機板,由華擎ASRock推出的Z270 KILLER SLI,不過特別的Z270 KILLER SLI屬於EXTREME系列產品,所以用料上還是相當用心,CPU部分採用8相數位供電並搭配了超大電流的40A電感與Nichicon 12k 黑色電容,CPU供電部分有獨立散熱模組,外接傳輸介面提供了USB3.1 Gen1 Type-A與Type-C,音效部分Realtek ALC 892音效晶片搭配Nichicon Fine Gold系列音效專用電容,在音效品質上提供更佳的輸出品質,記憶體部分支援DDR4,並可超頻至DDR4 3733MHz以上,M.2介面部分這次導入兩組Ultra M.2提供了高達32Gb/s傳輸速率,Ultra M.2提供PCIe Gen3 x4與SATA Gen 3訊號,並支援支援Intel Optane技術,雖然這款是入門級的Z270主機板,不過還是導入了目前超夯的AURA RGB LED控制,可透過工具軟體做燈光調整,還可搭配支援AURA的產品同步控制,功能相當齊全與強悍,現在就來看入門平價款的華擎ASRock Z270 KILLER SLI。
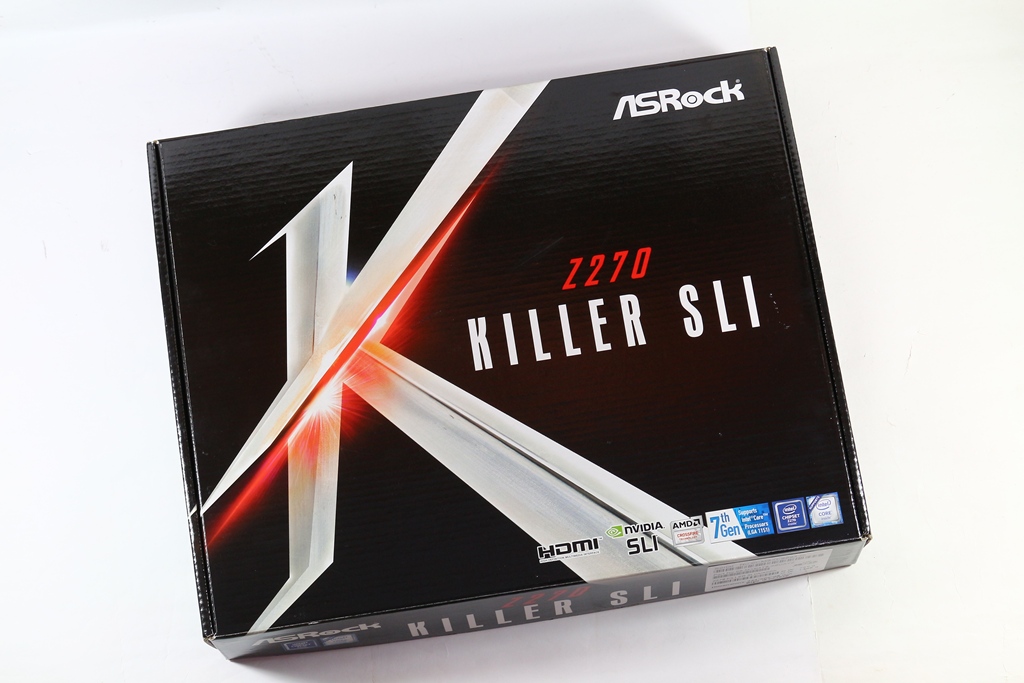
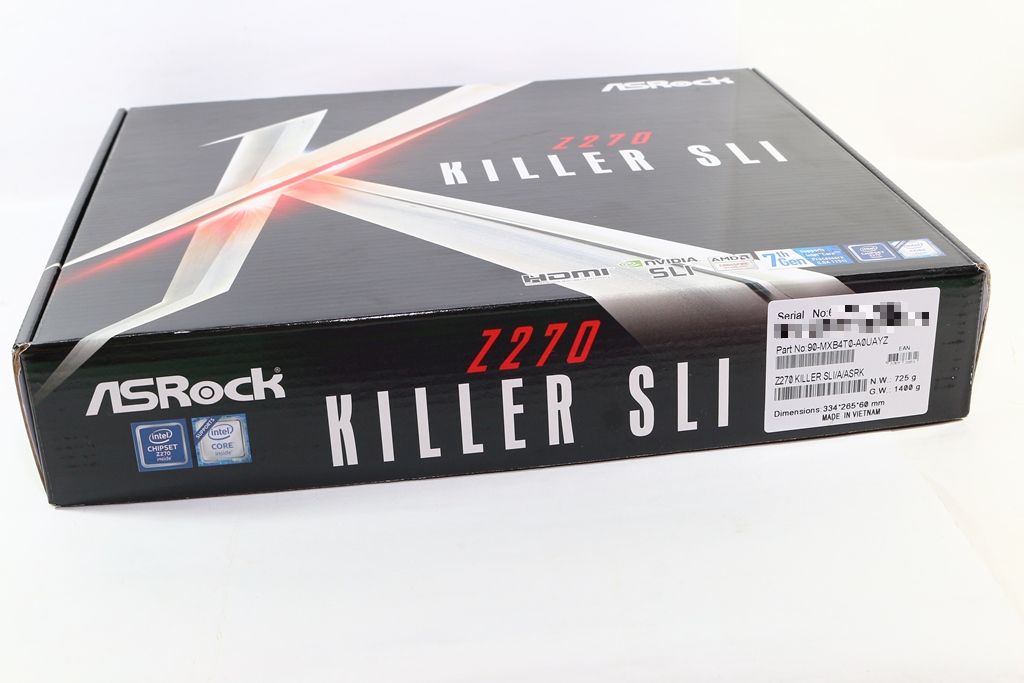
包裝與配件▼彩盒設計簡約,以『K』代表KILLER,並印有產品型號
▼ASRock Logo
▼產品型號:Z270 KILLER SLI
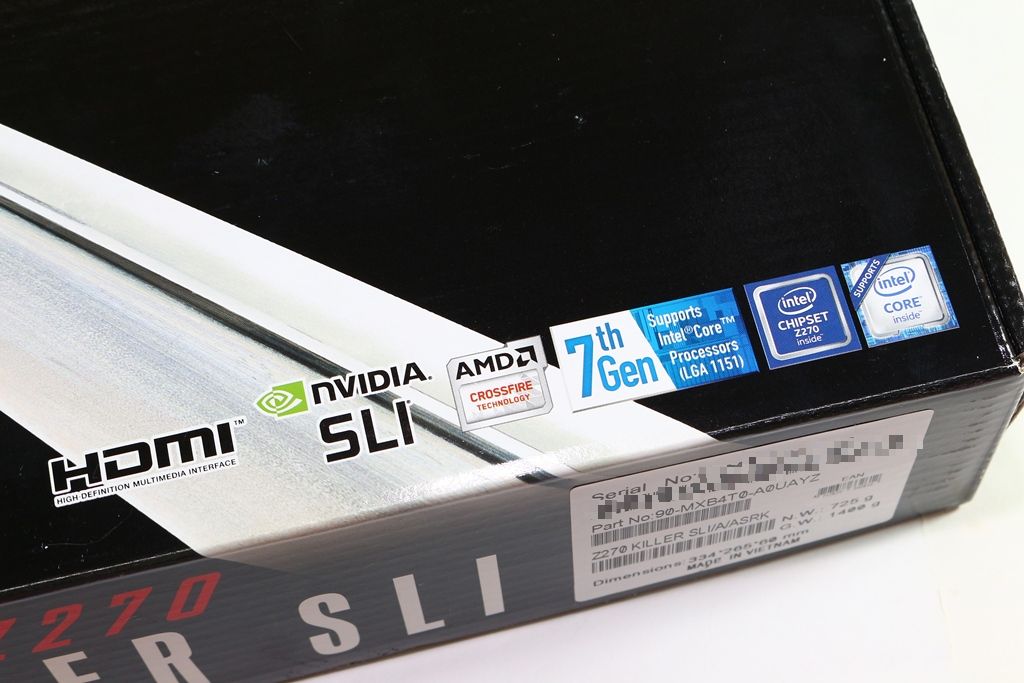
▼HDMI認證Logo、支援AMD CrossFire與NVIDIA SLI、採用Intel Z270晶片組與支援第七代Intel Core系列處理器
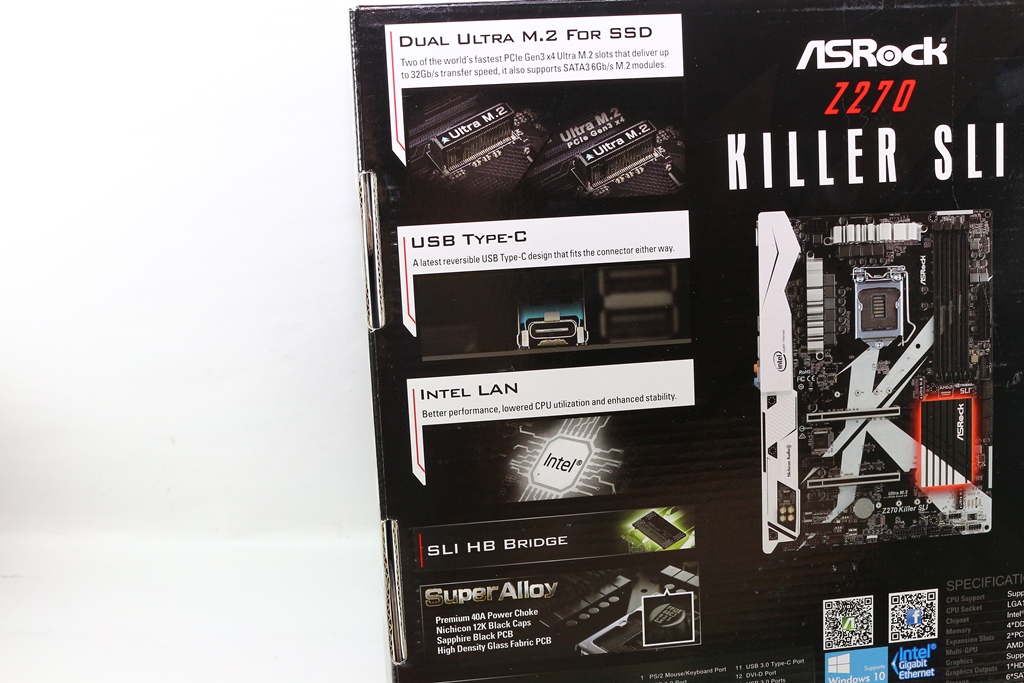
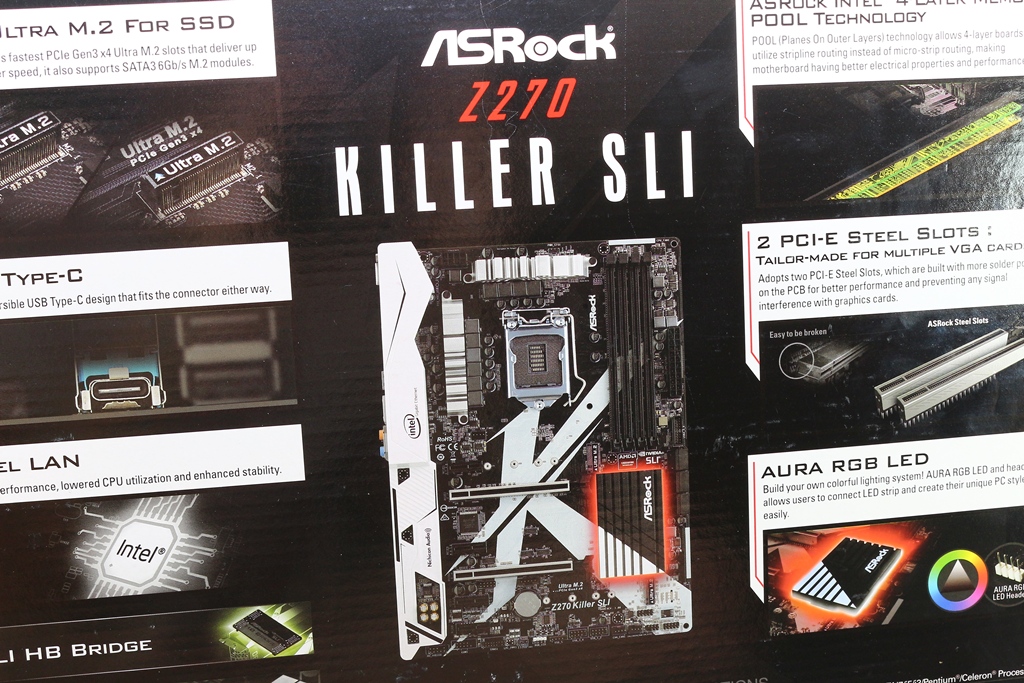
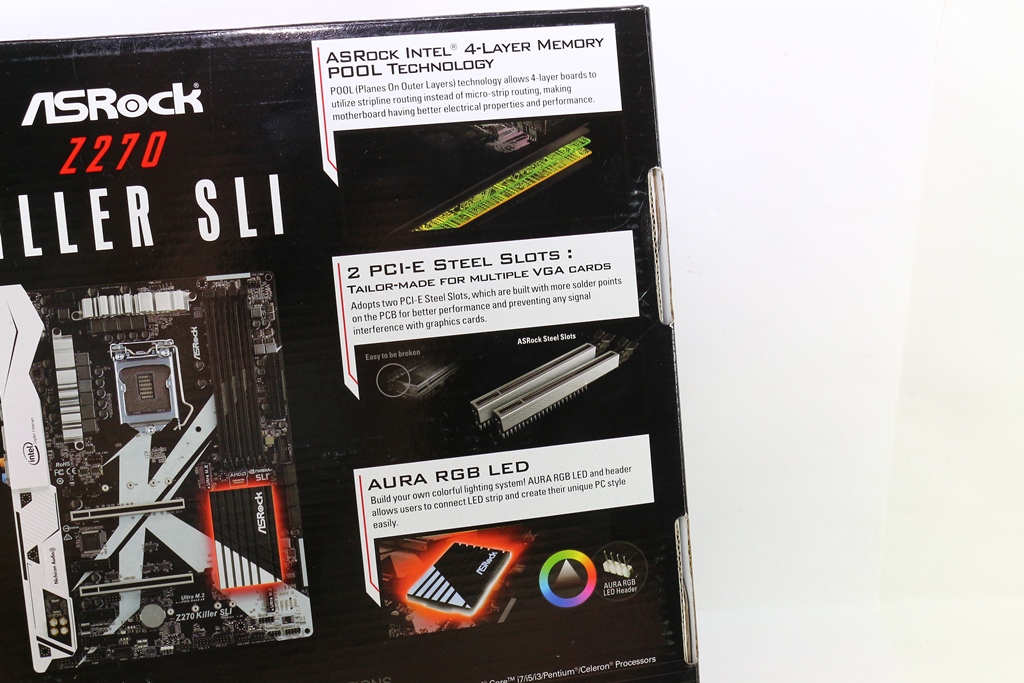
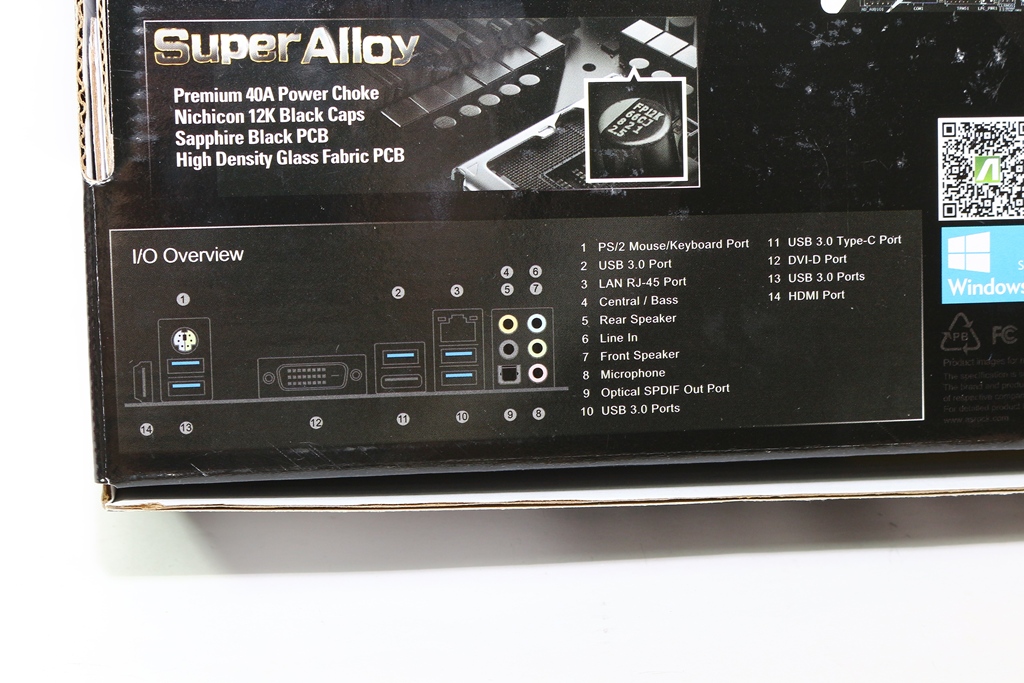
▼包裝背面標示產品特色與規格
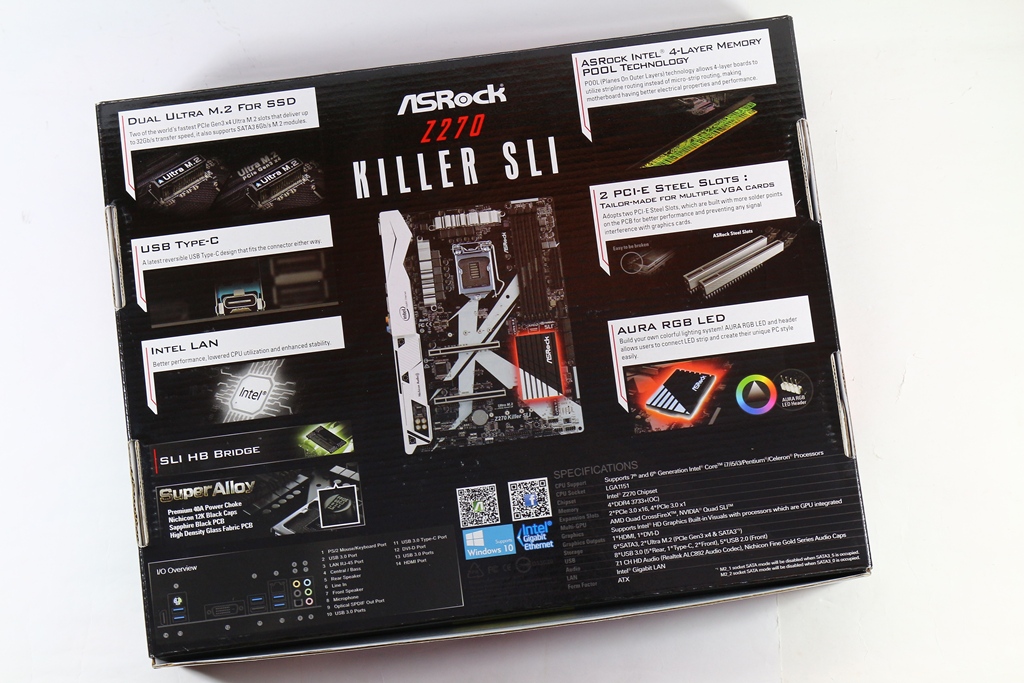
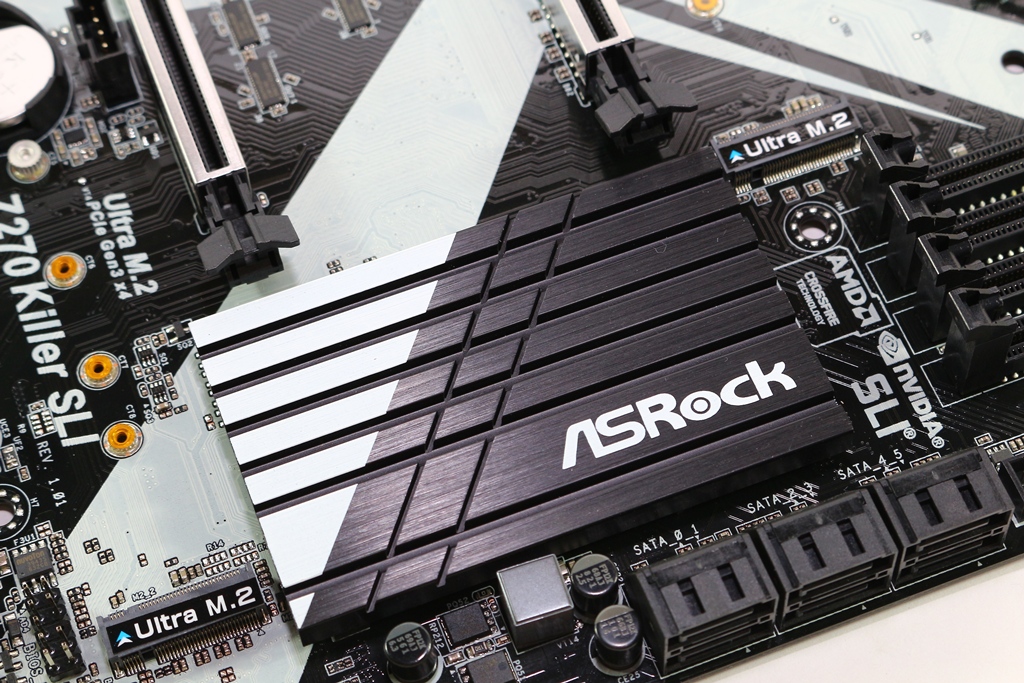
▼導入兩組Ultra M.2提供PCIe Gen3 x4與SATA Gen 3訊號,並支援支援Intel Optane技術,USB3.1 Gen1 Type-A + Type-C,網路部分採用Intel網路卡,配件提供SLI HB橋接器,CPU供電採用超合金用料,包含40A超大電流電感與Nichcon 12K黑電容
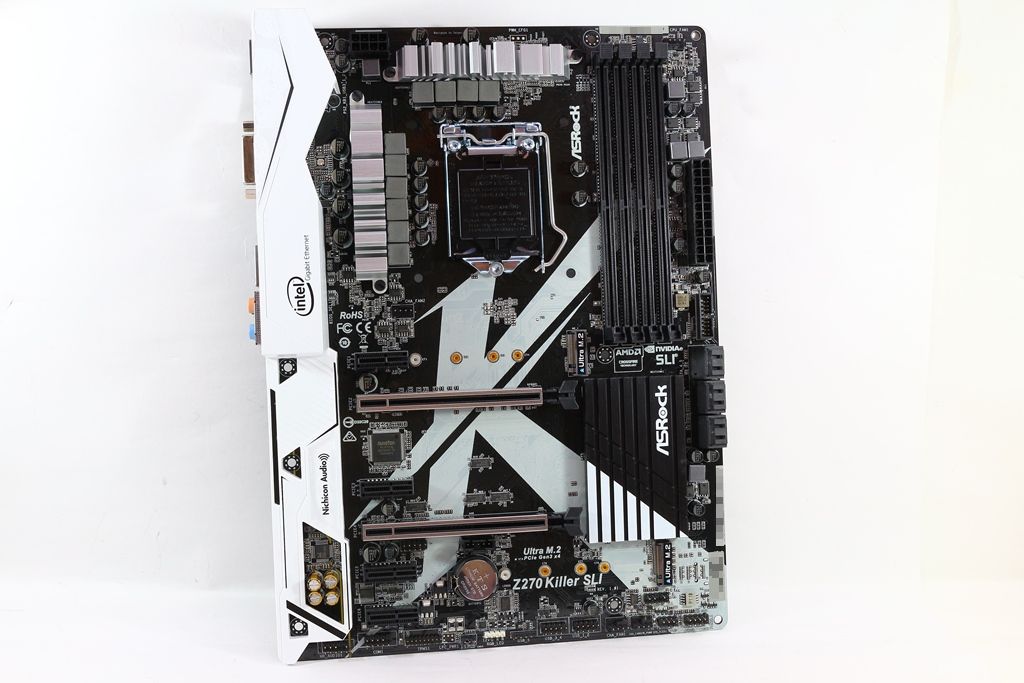
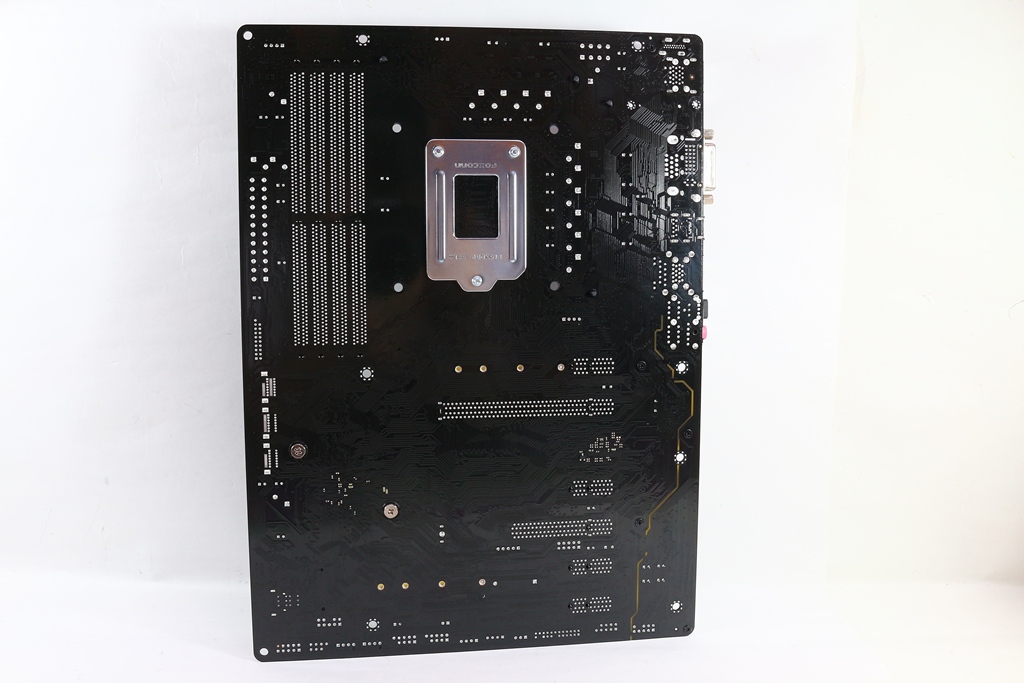
▼Z270 KILLER SLI外觀照片
▼PCB採用華擎四層PCB板POOL技術,兩組PCIe x16插槽金屬遮蓋,導入AURA RGB LED控制,並提供一組AURA LED燈條接頭
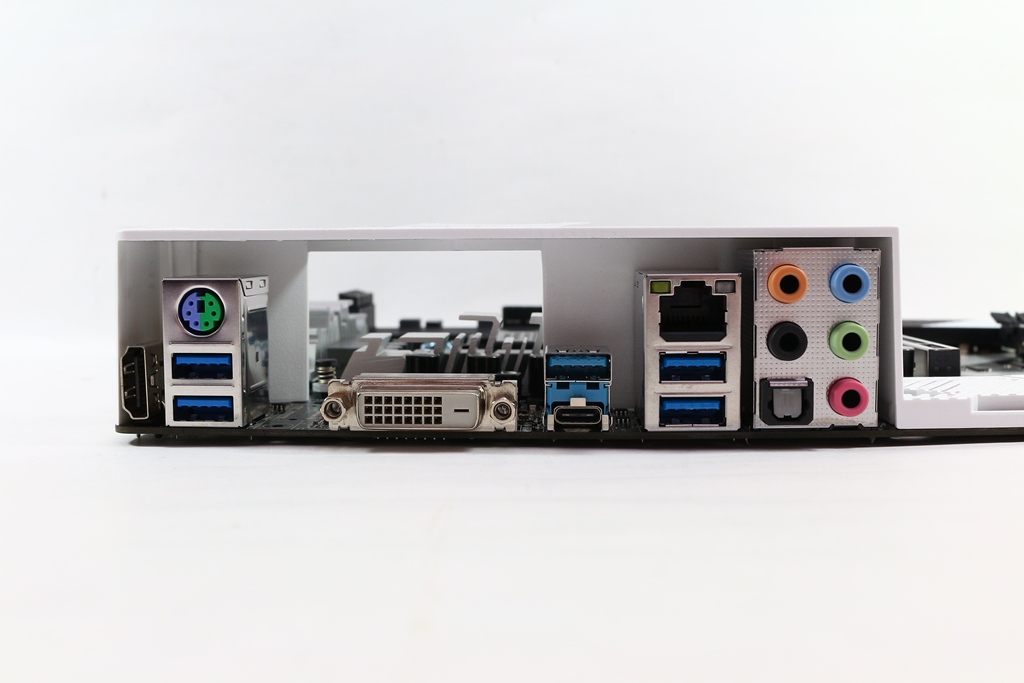
▼I/O標示
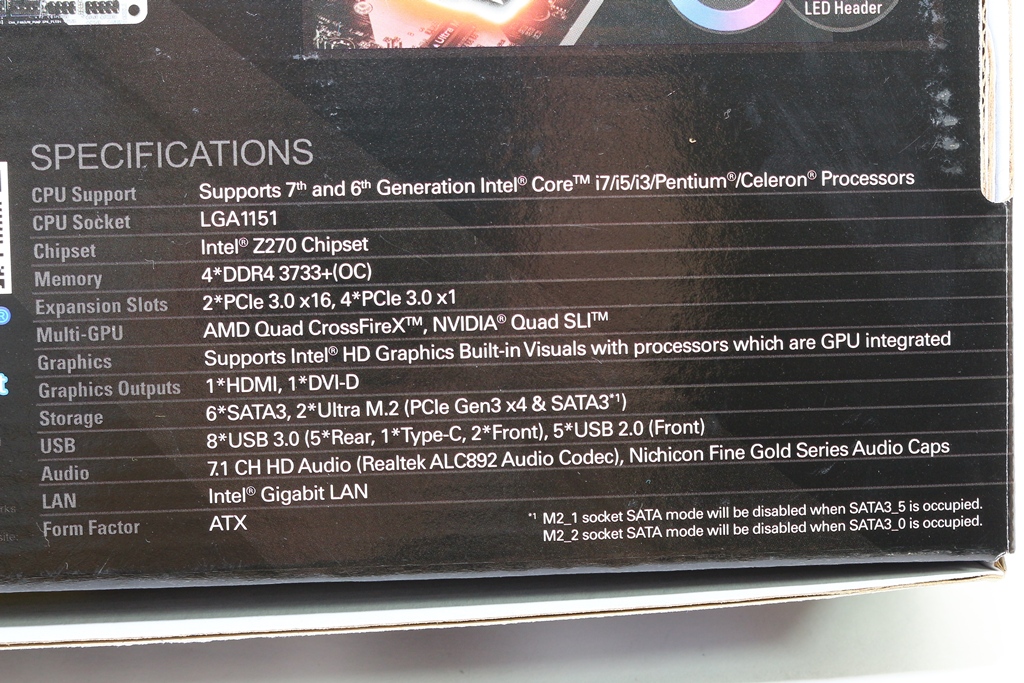
▼產品規格
▼包裝側面為產品型號

▼配件:主機板說明書、軟體說明書、ASRock貼紙、驅動光碟、SATA 6Gb/s傳輸線*2、SLI橋接板、I/O擋板與M.2固定螺絲*2與KILLER主機板明信片
 用料與規格介紹
▼主機板正反面一覽,採用黑色PCB與白色做搭配,I/O上方有一塊白色飾板
▼I/O部分:PS/2、USB 3.0 *4、DVI、HDMI、RJ-45、7.1聲道音訊輸出、USB3.1 Gen1 Type-A與USB3.1 Gen1 Type-C
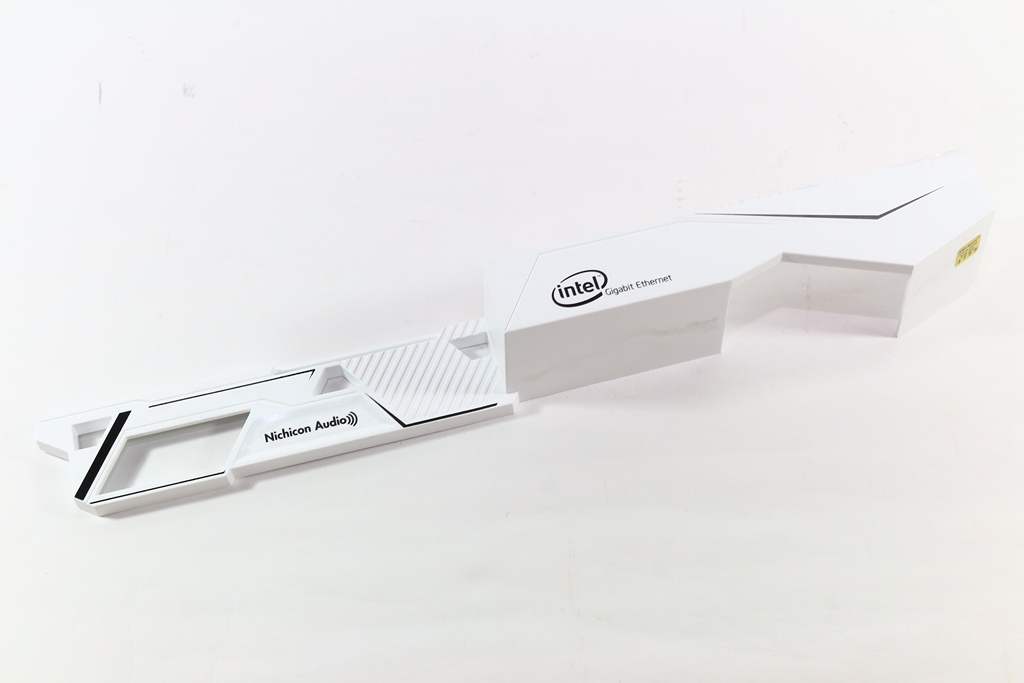
▼I/O上方有一塊白色飾板
▼CPU腳座,支援LGA1151處理器
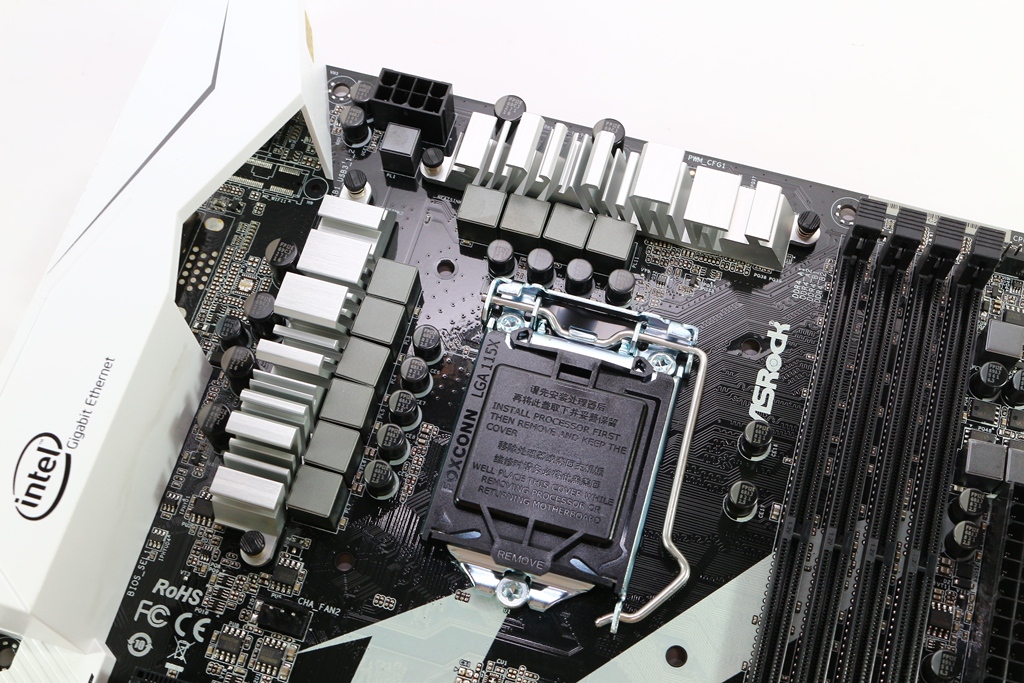
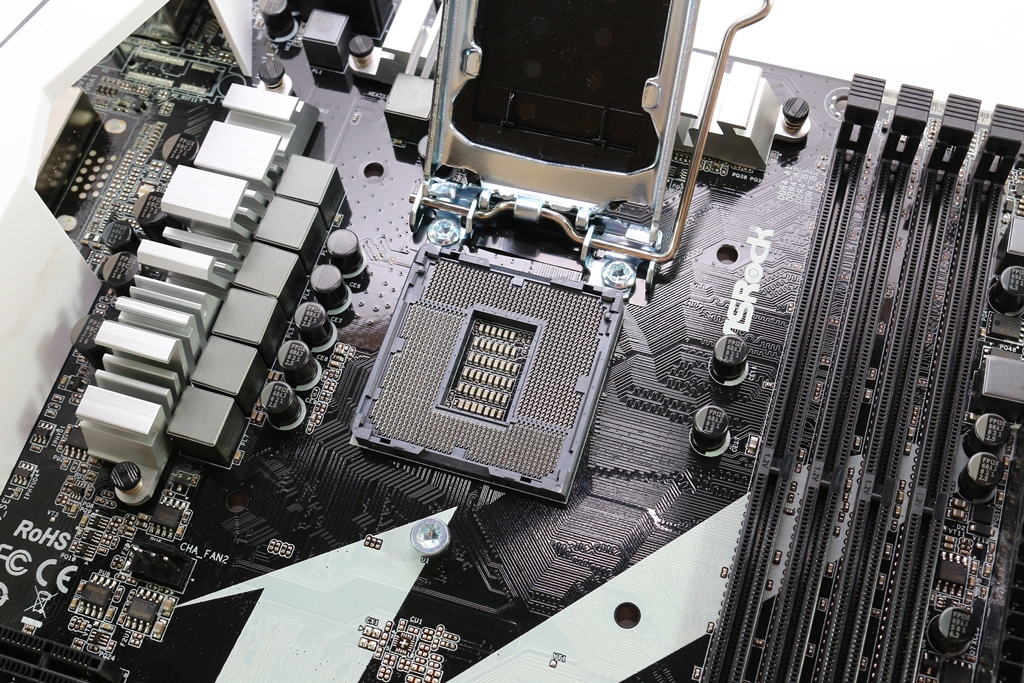
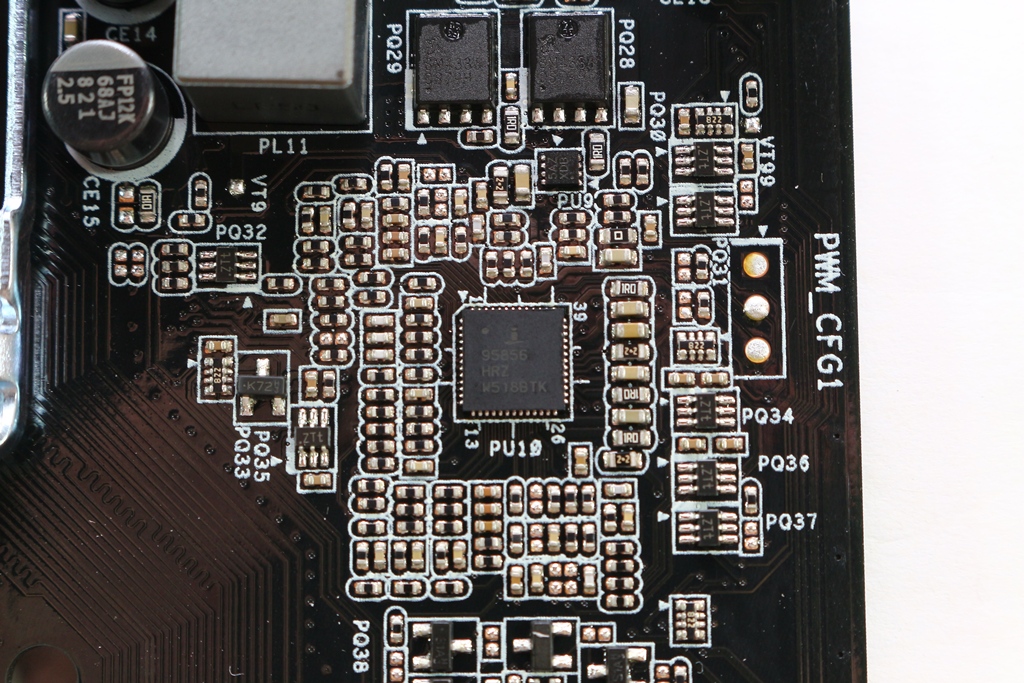
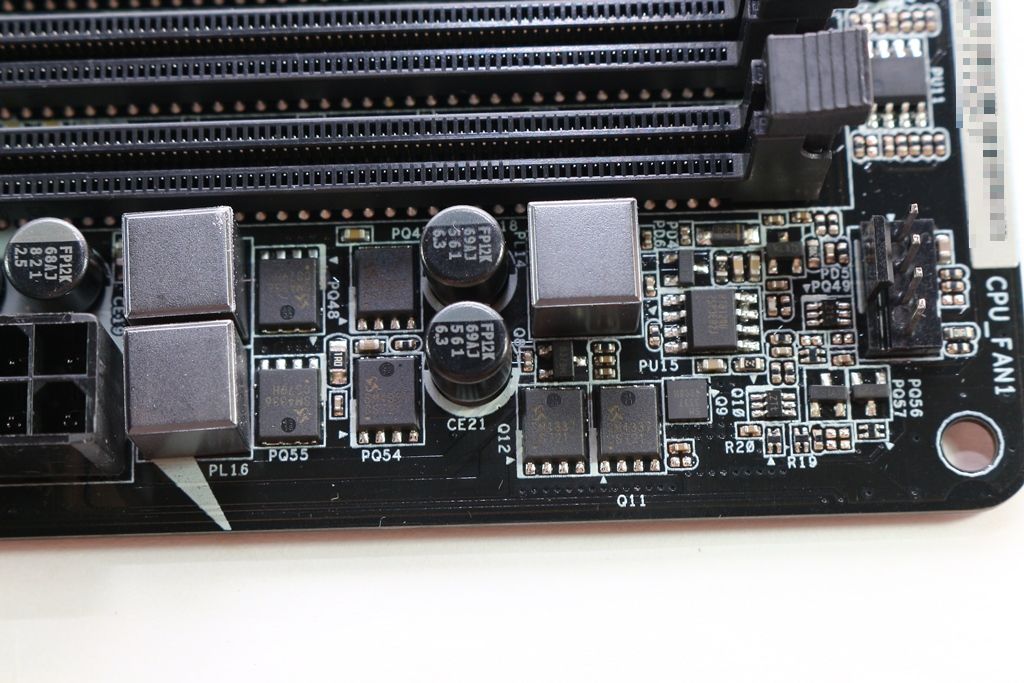
▼CPU供電部分採用8相供電,搭配Intersil ISL95856 PWM控制器,MOSFET部分有獨立散熱片做散熱,結構為上一下一結構,CPU VCore供電為8 Pin,電容部分採用Nichcon 12K黑電容

▼記憶體擴充槽為4條
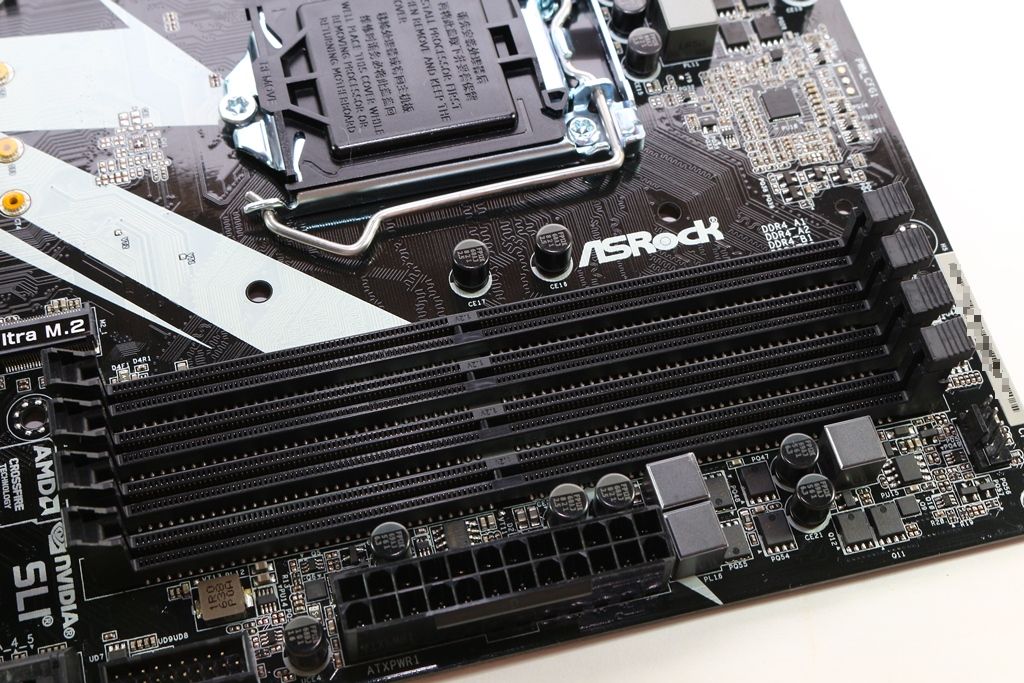
▼記憶體電源用料
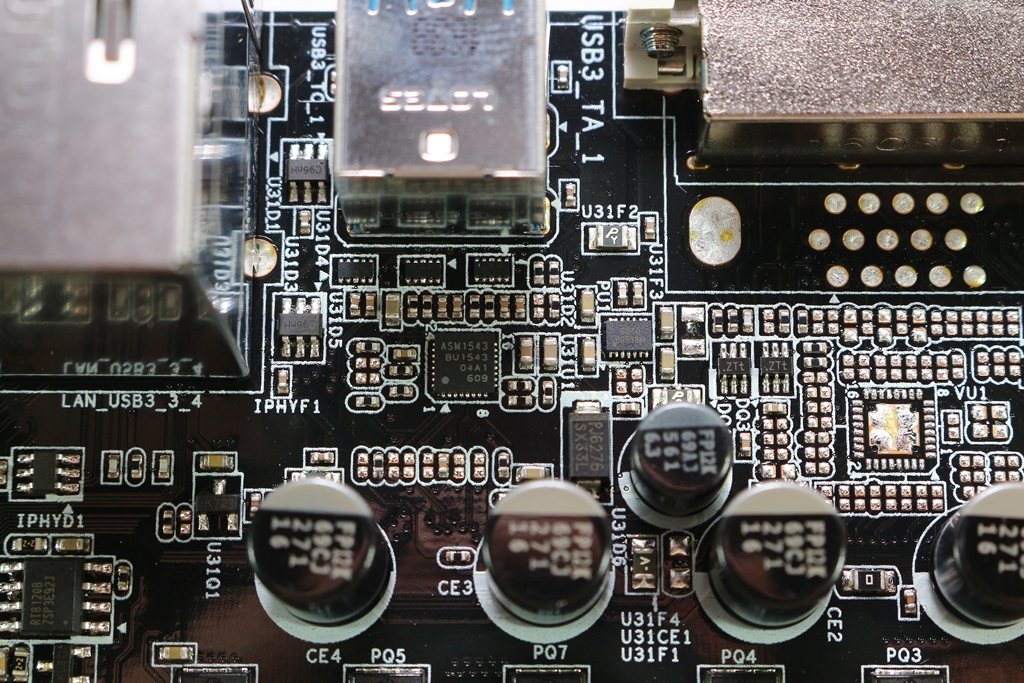
▼ASMedia ASM1543 USB3.1 Type-C偵測晶片
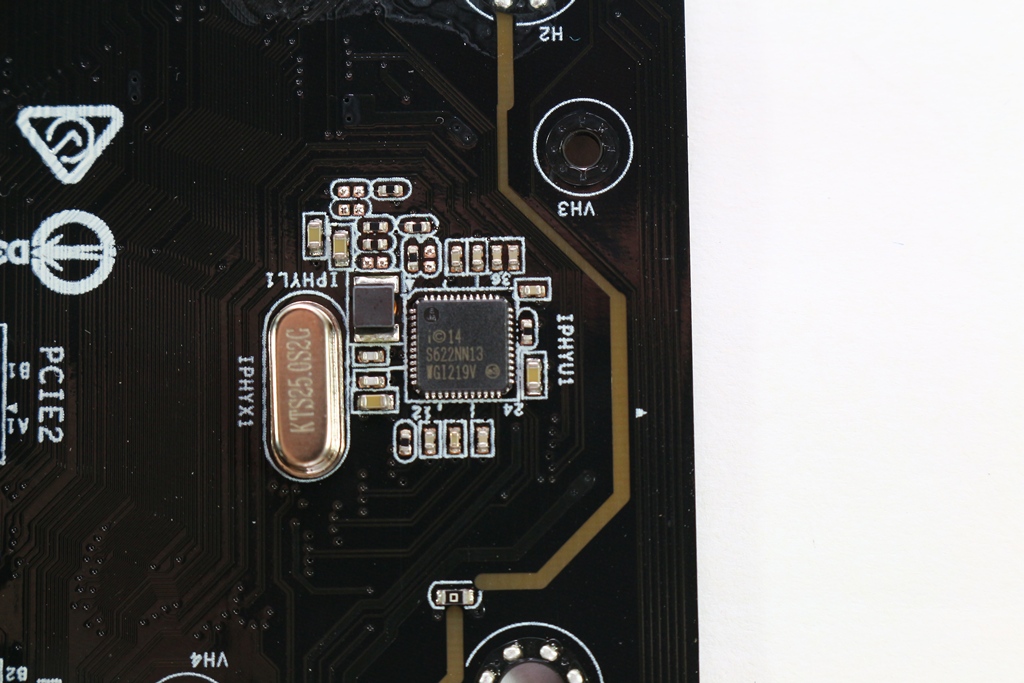
▼網路晶片:Intel WGI219V
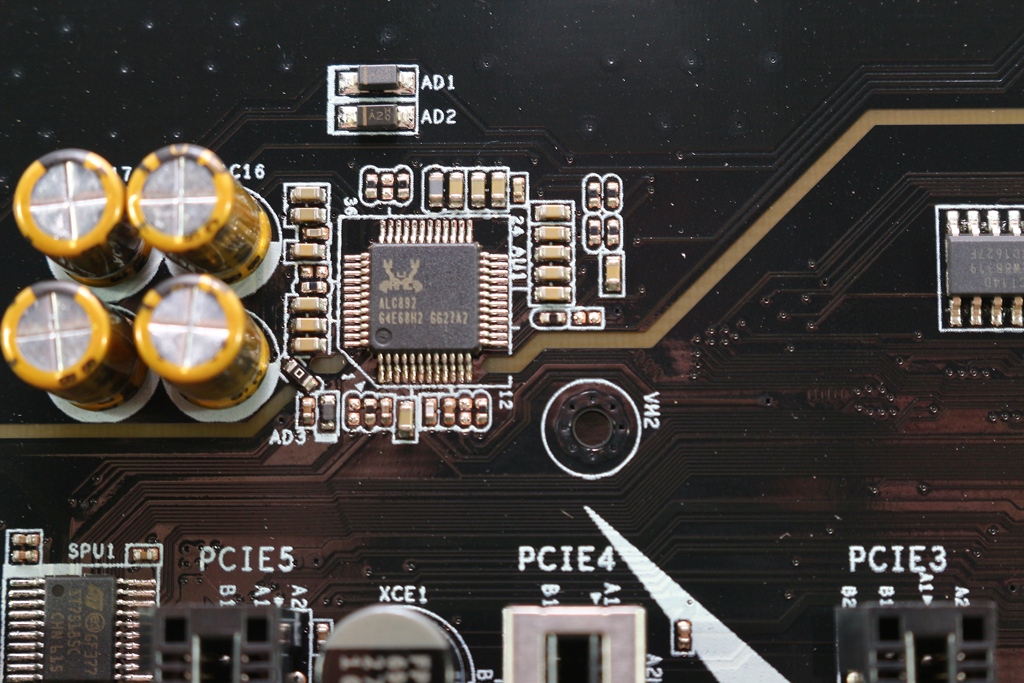
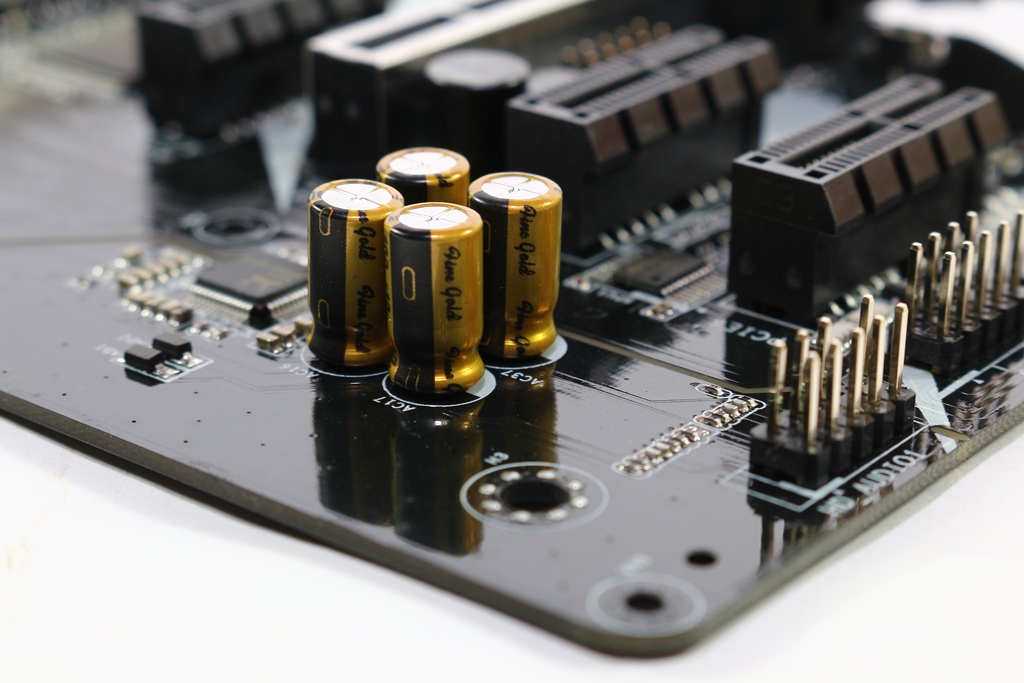
▼音效部分Realtek ALC 892音效晶片搭配Nichicon Fine Gold系列音效專用電容
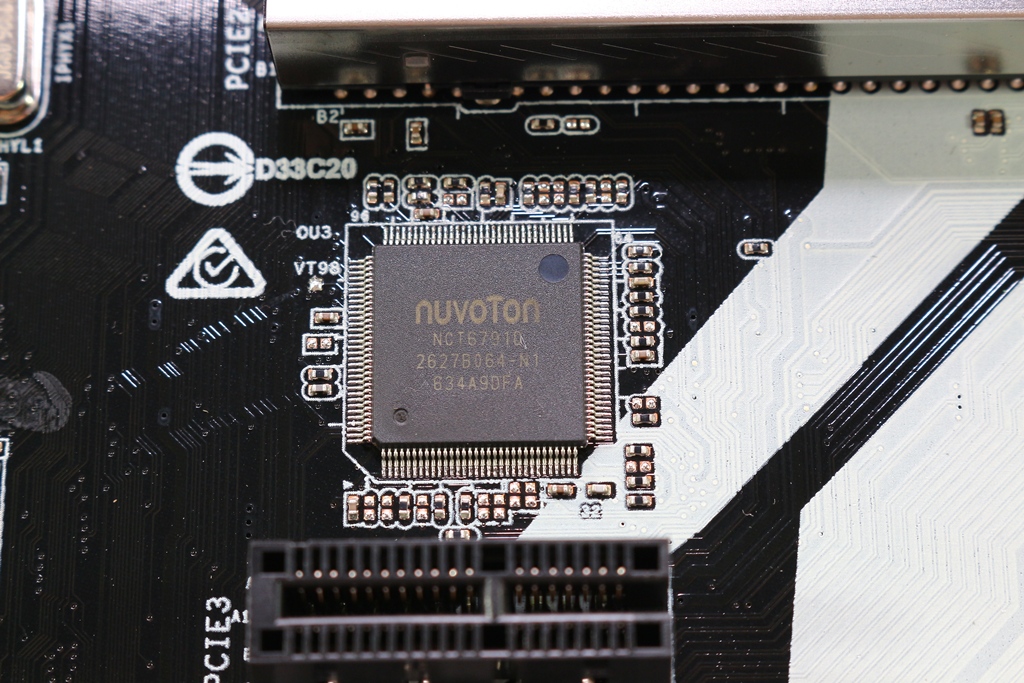
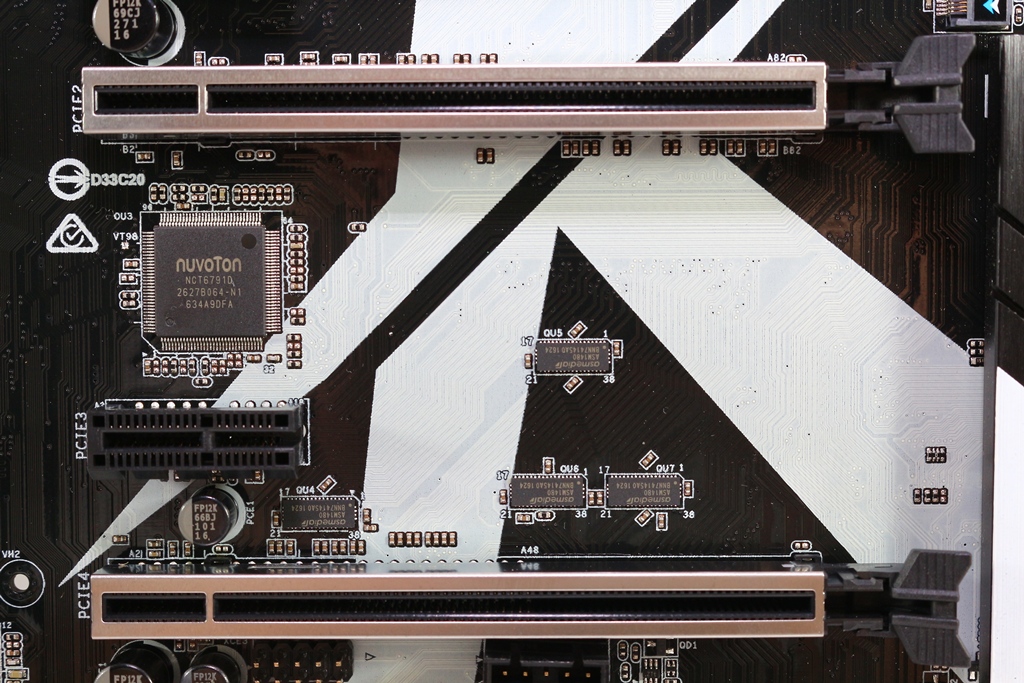
▼nuvoTon NCT6791D Super IO晶片
▼ASMedia ASM1480 PCIe 3.0切換器

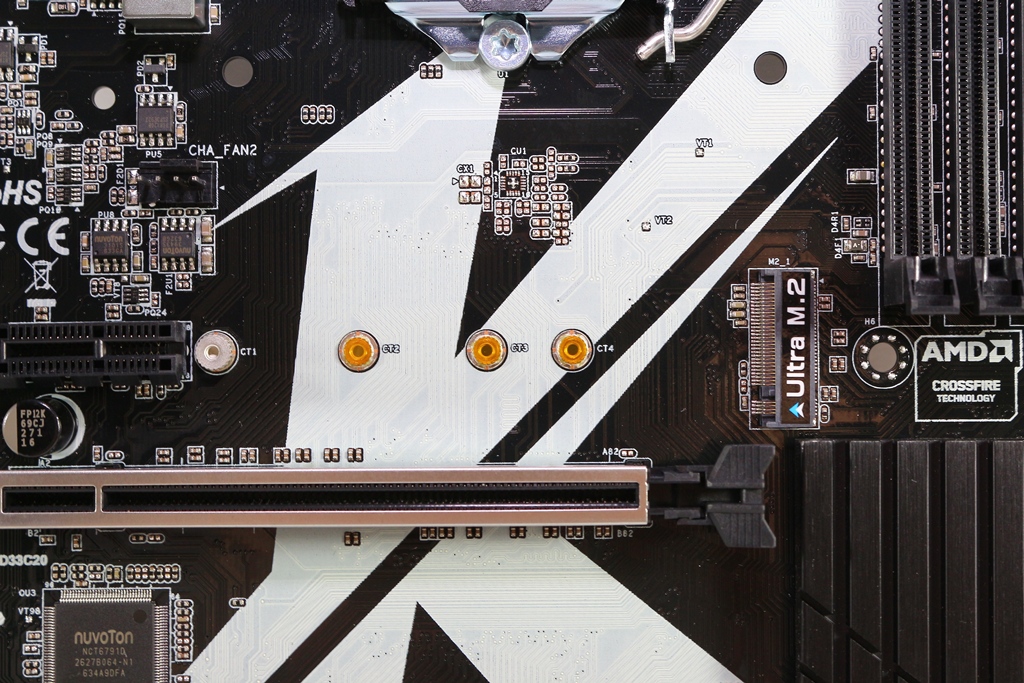
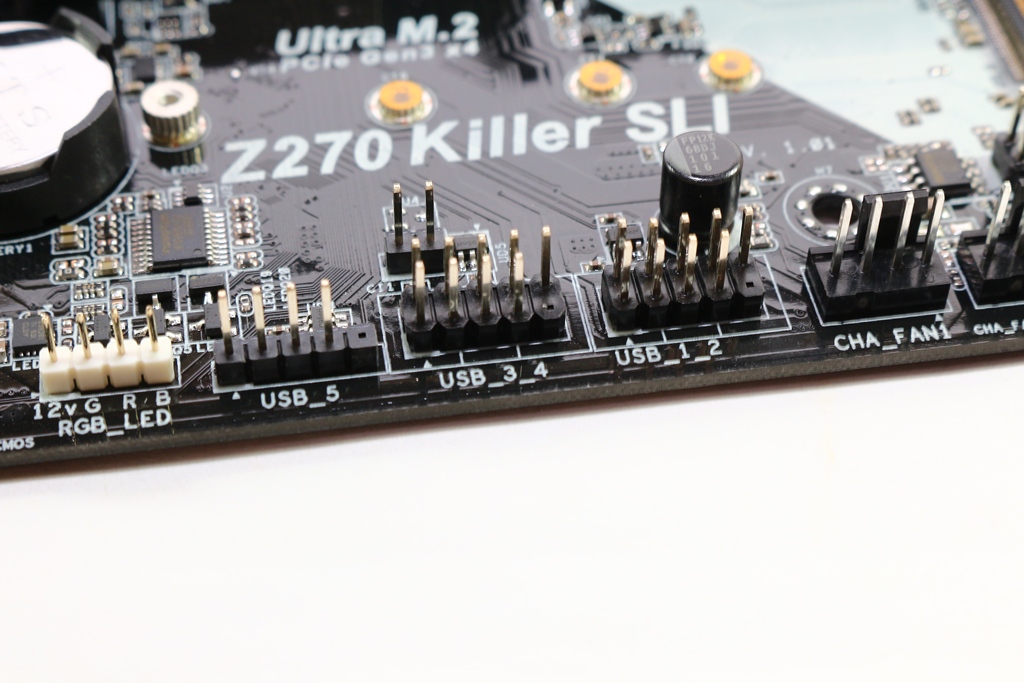
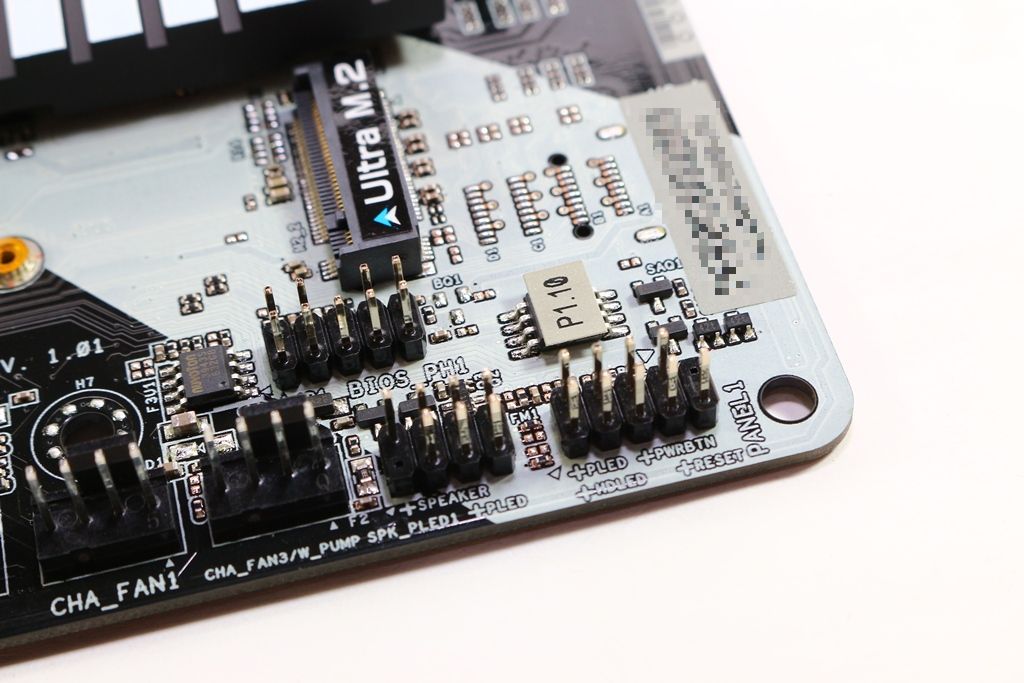
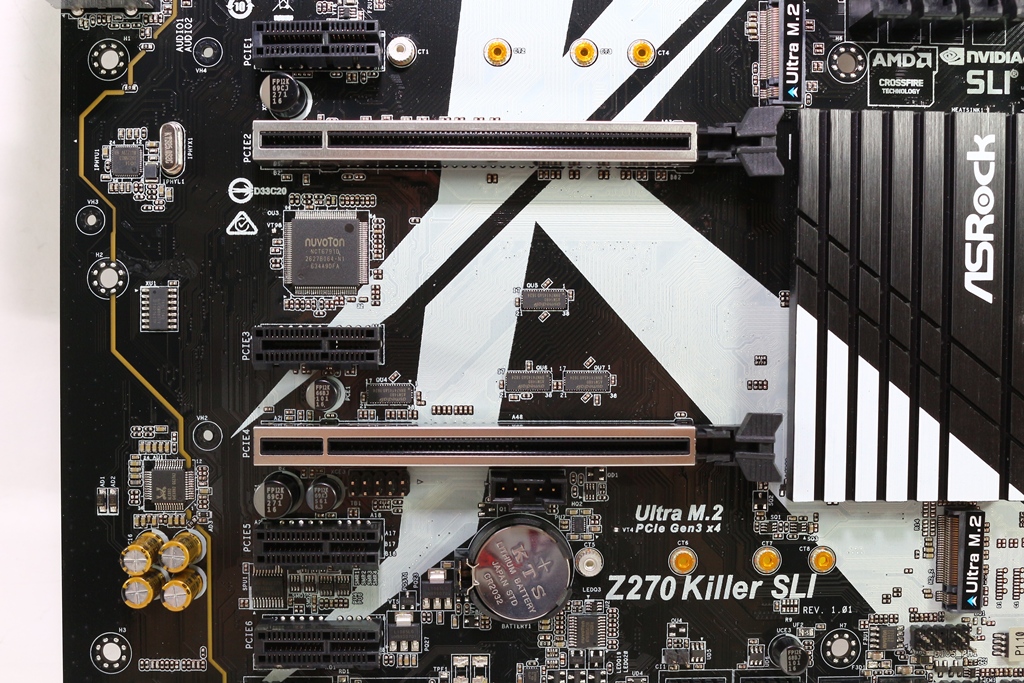
▼兩組Ultra M.2提供PCIe Gen3 x4與SATA Gen 3訊號
▼前置Audio與COM Port插Pin

▼TPM模組插Pin
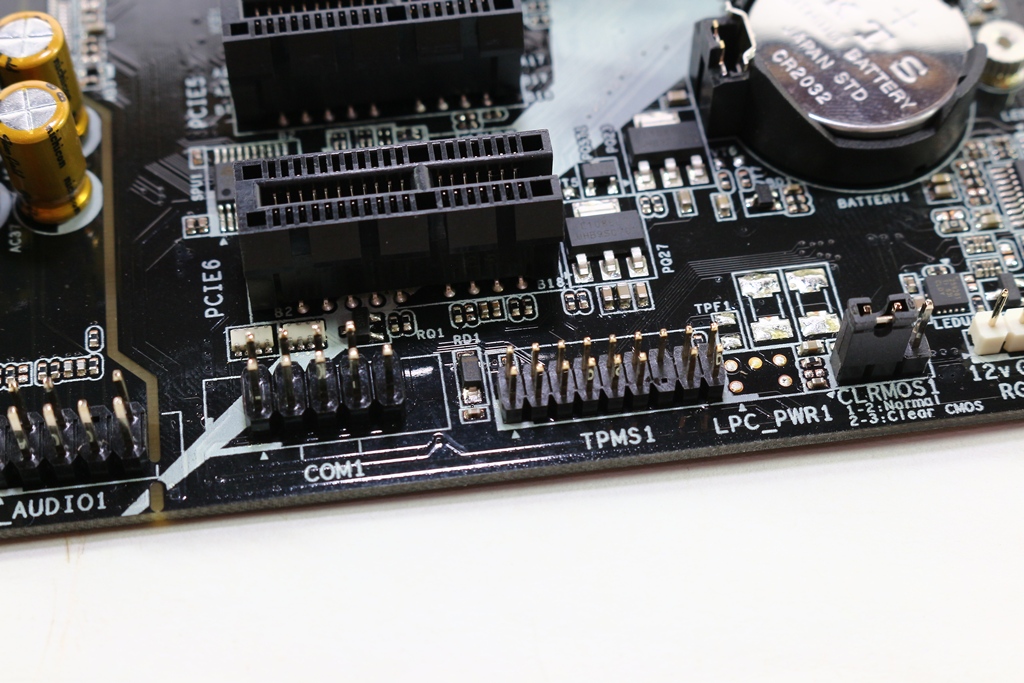
▼AURA控制插Pin

▼五組前置USB 2.0插Pin
▼前置面板插Pin
▼前置USB 3.0插Pin
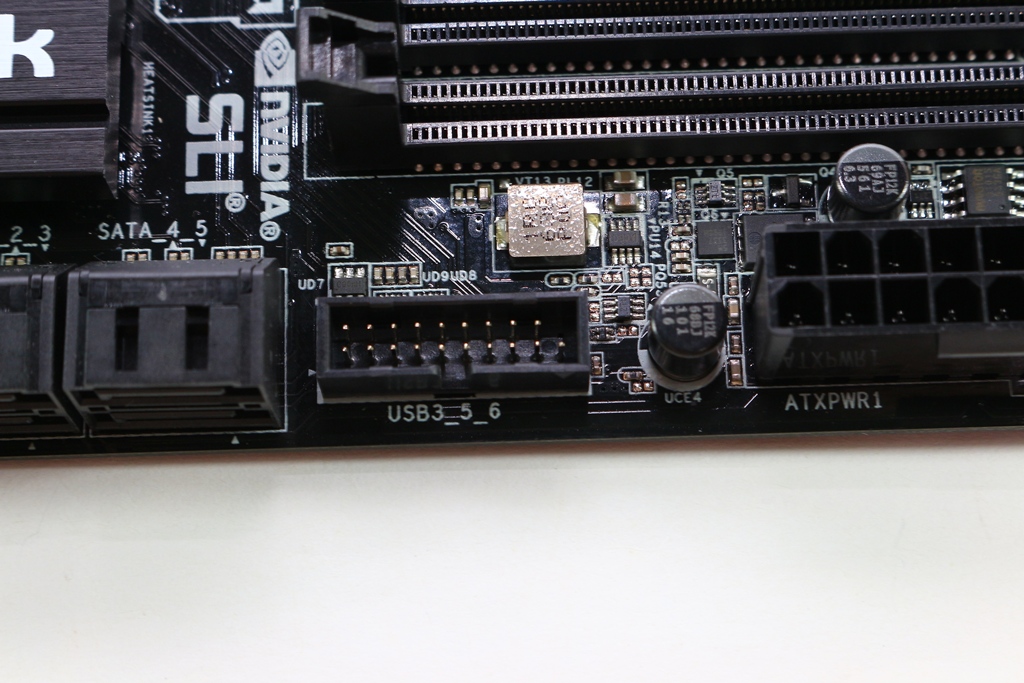
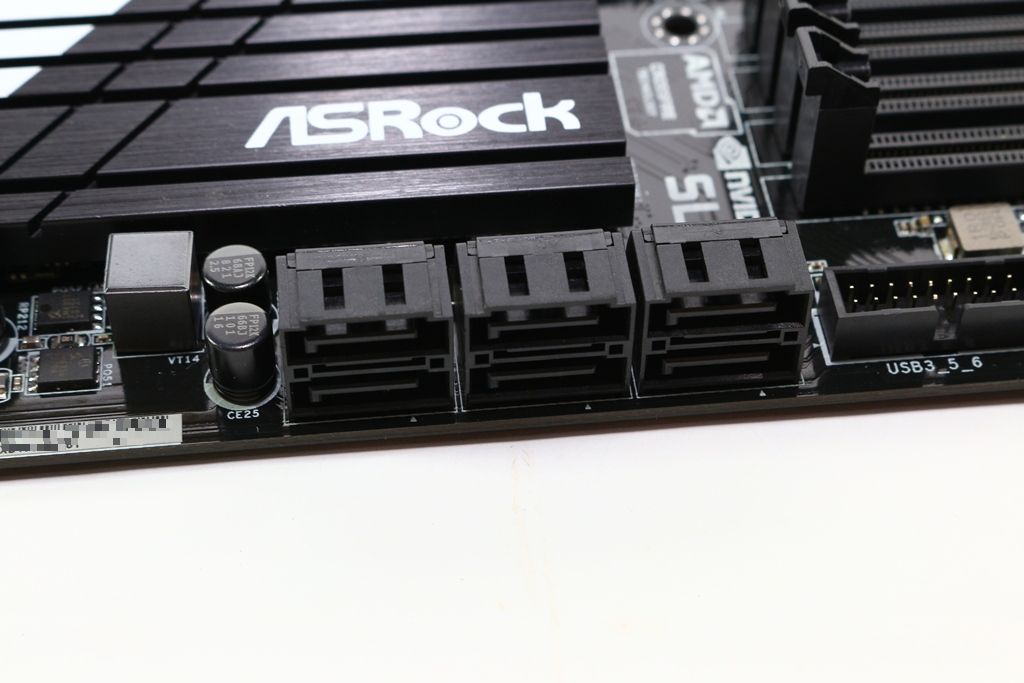
▼SATA部分為六組SATA 6Gb/s
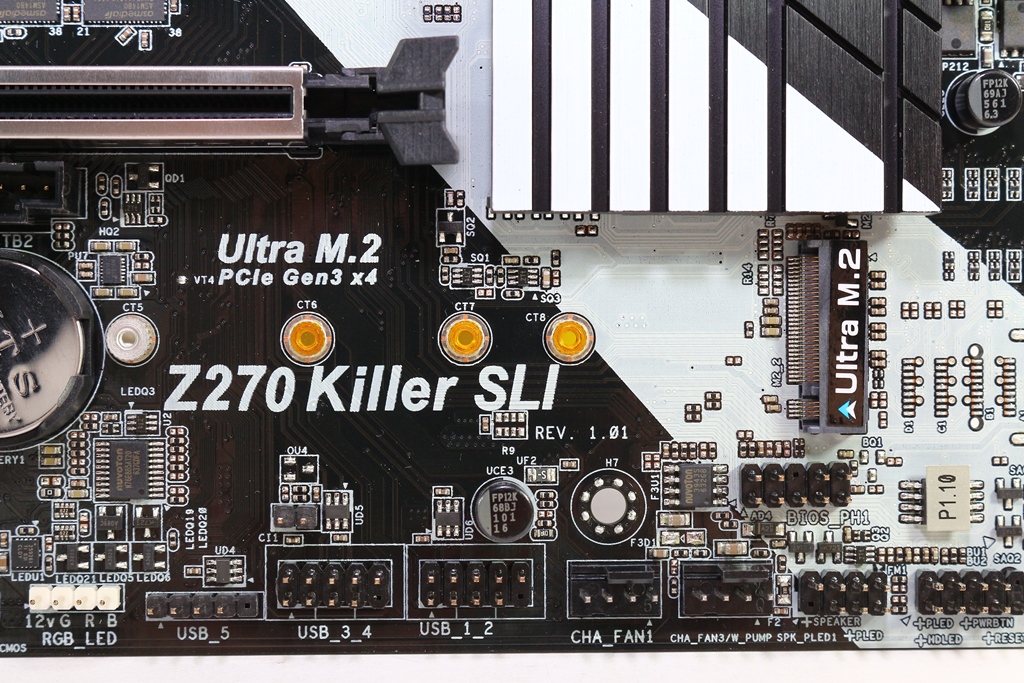
▼PCIe擴充槽一覽,兩組PCIe x16插槽有金屬遮蓋設計
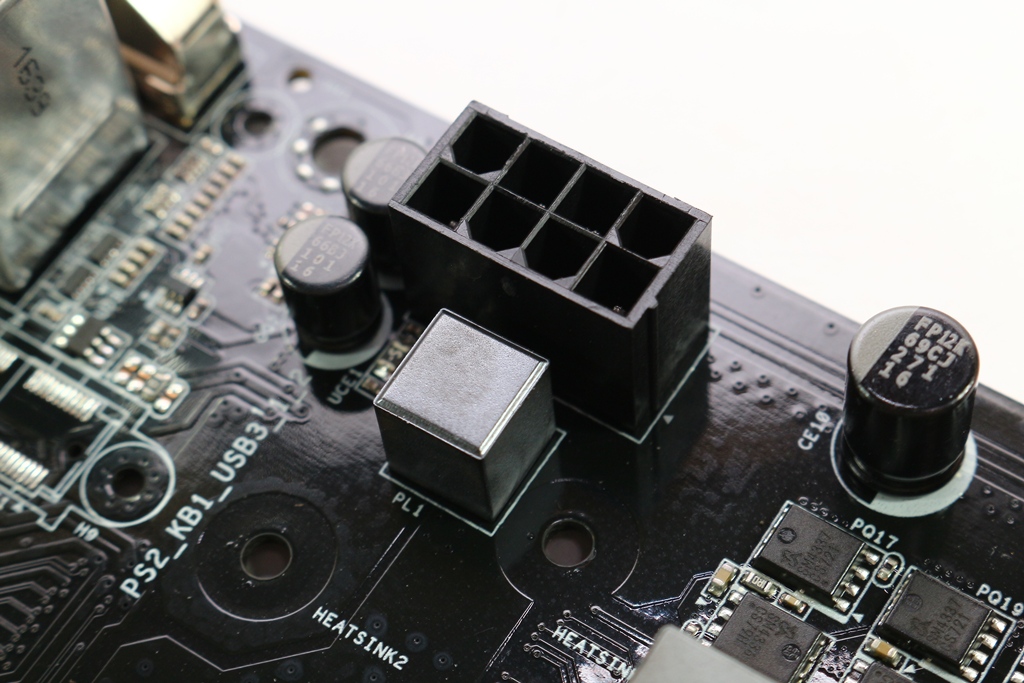
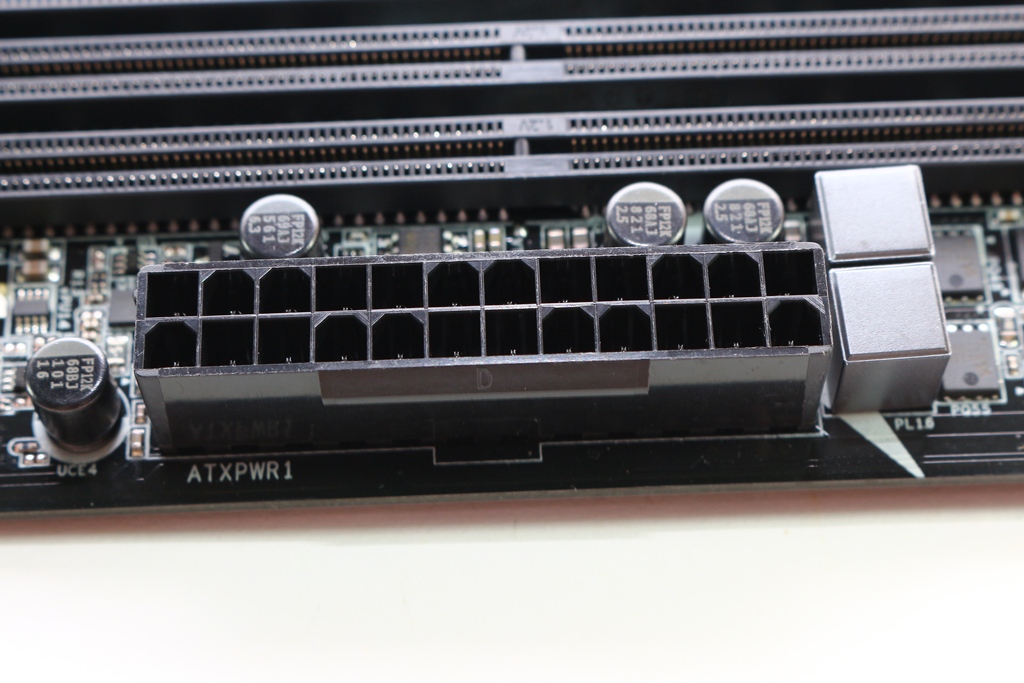
▼主機板為20+4 Pin電源供電
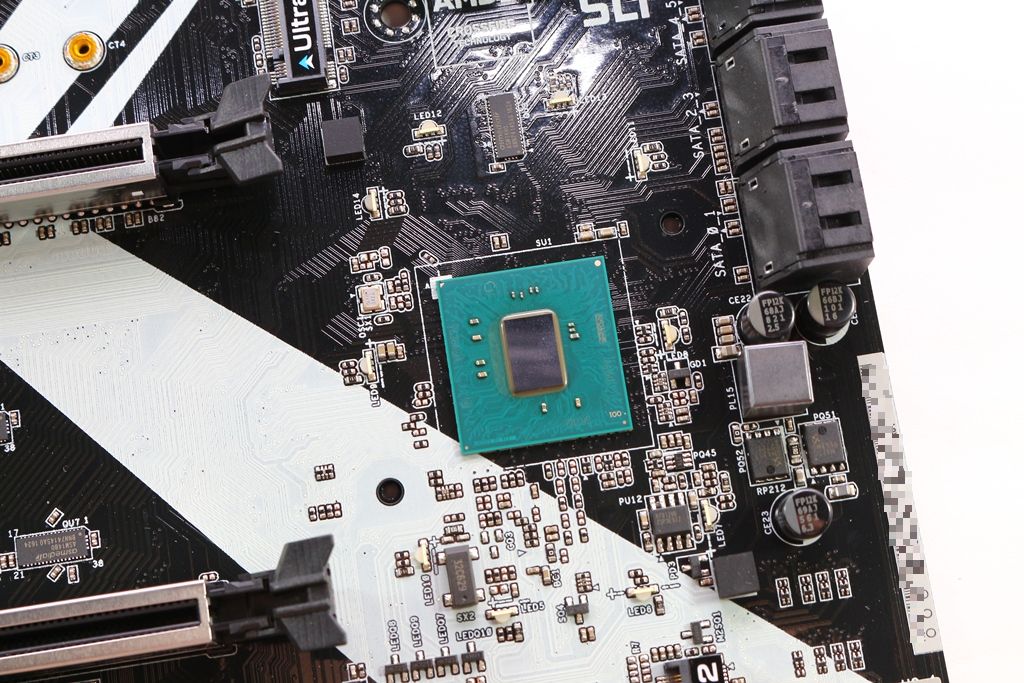
▼Z270 PCH散熱片
▼Z170 PCH
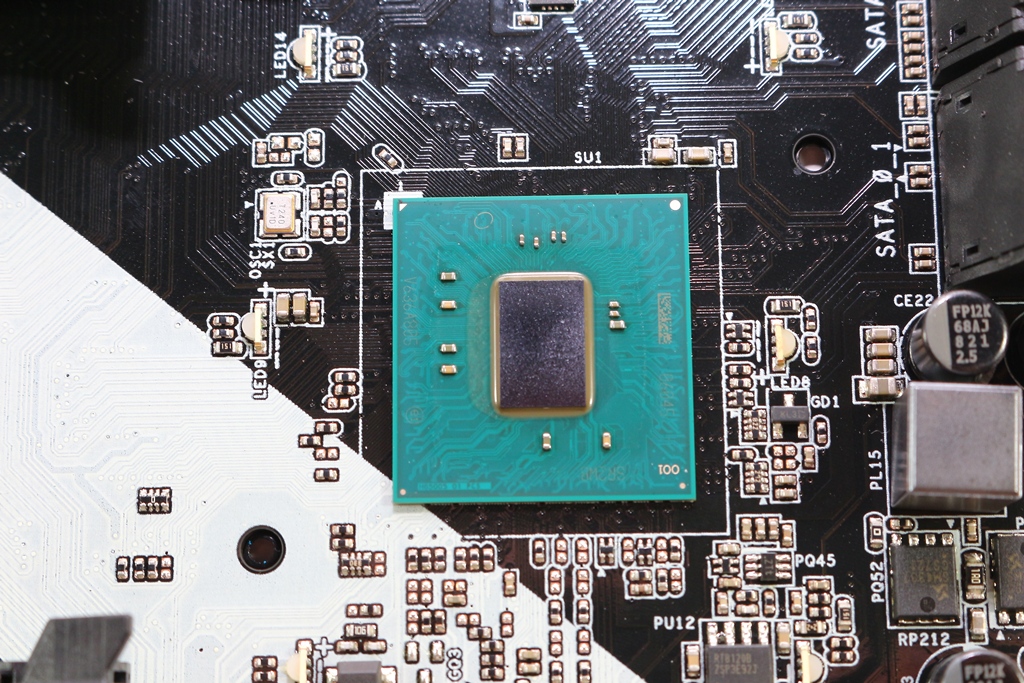
▼PCH周圍有多顆RGB LED
 BIOS設定簡單介紹
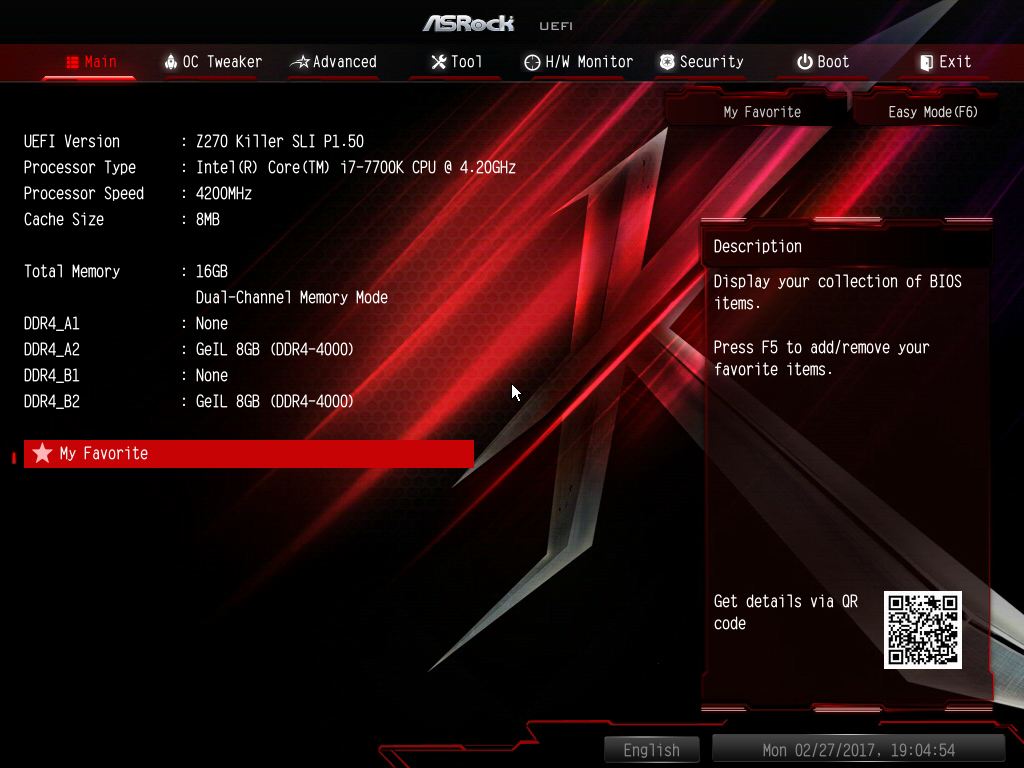
▼BIOS預設為Easy模式可看到整個主機板狀態總覽
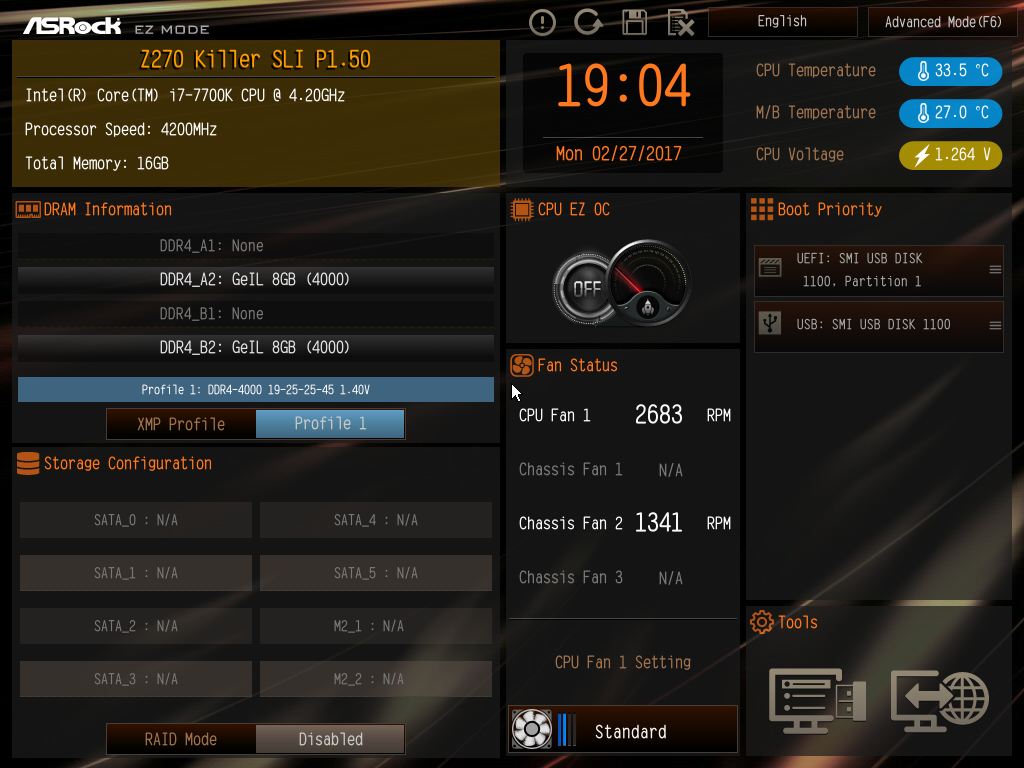
▼第一面為基本系統狀態顯示,CPU型號、工作時脈,記憶體工作時脈與容量
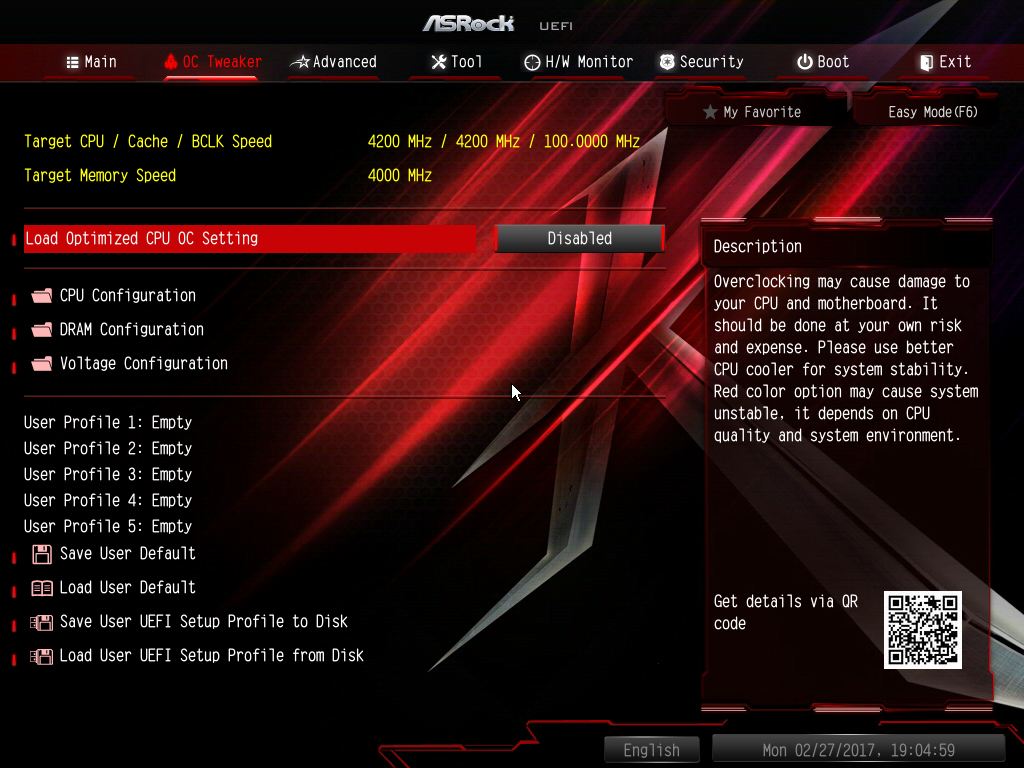
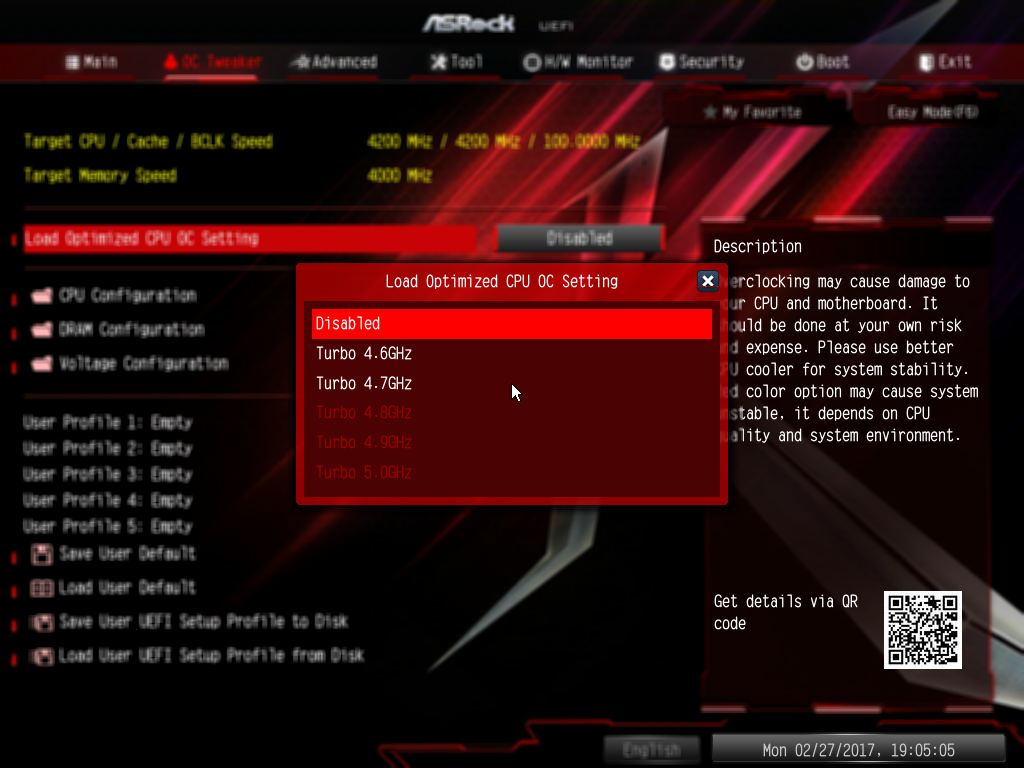
▼超頻調校頁面可設定所有超頻選項功能,並有官方所調整的超頻設定值可以使用
▼官方所調整的超頻設定值有4.6GHz、4.7GHz、4.8GHz、4.9GHz與5.0GHz可選擇
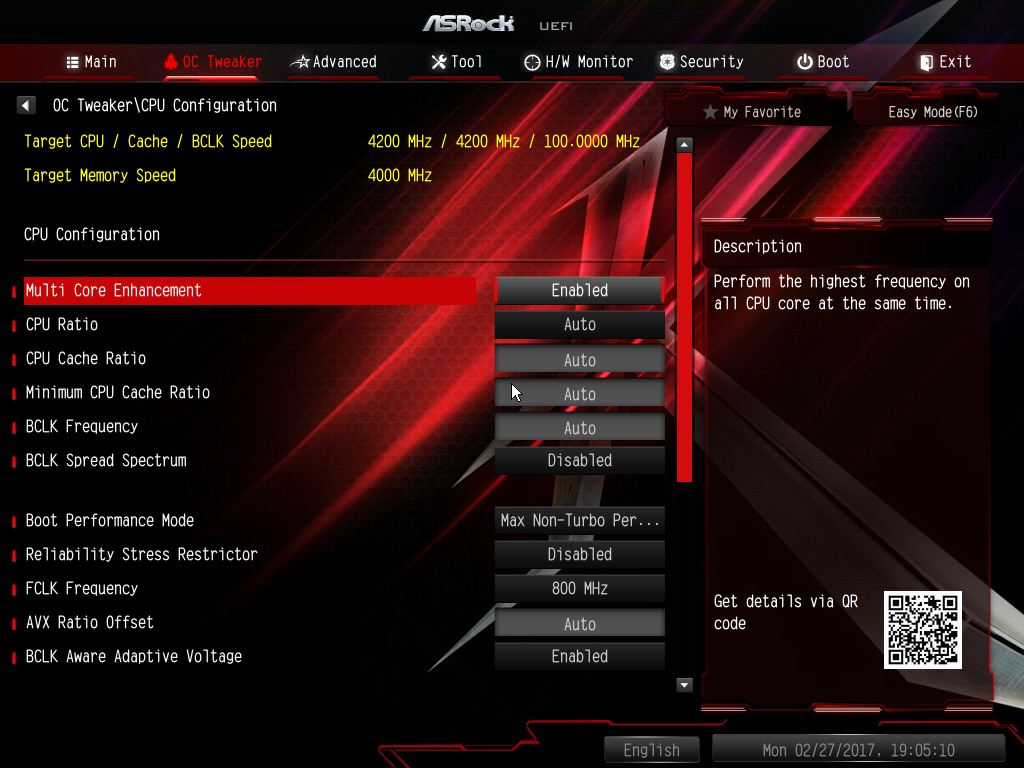
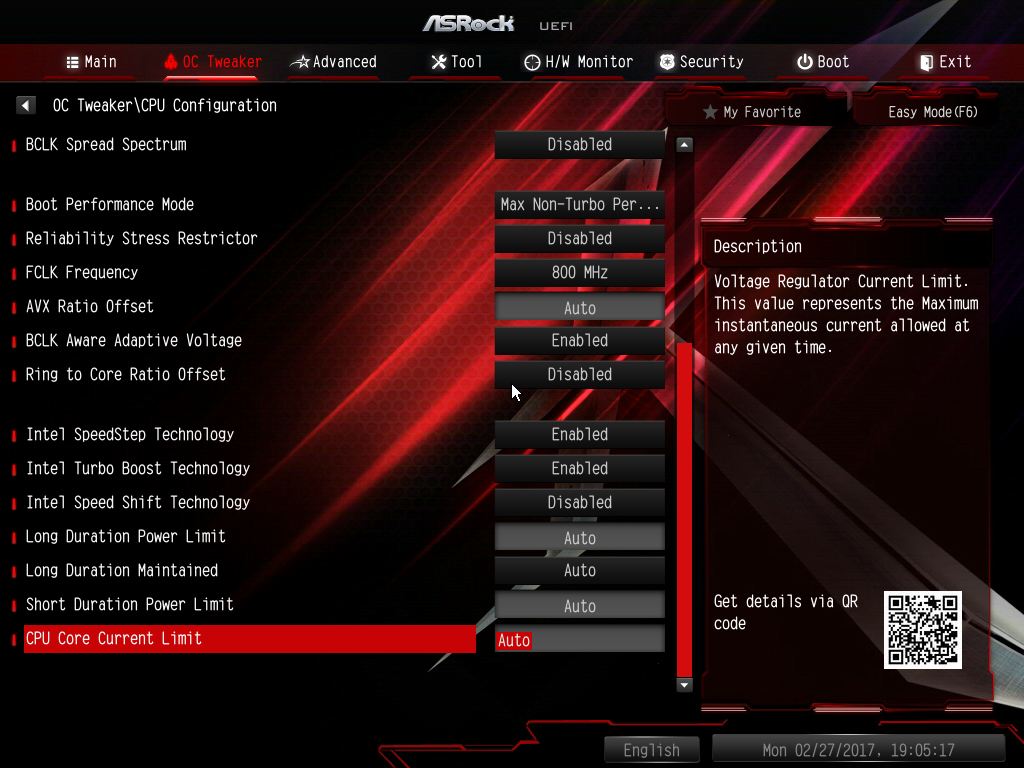
▼CPU超頻選項一覽
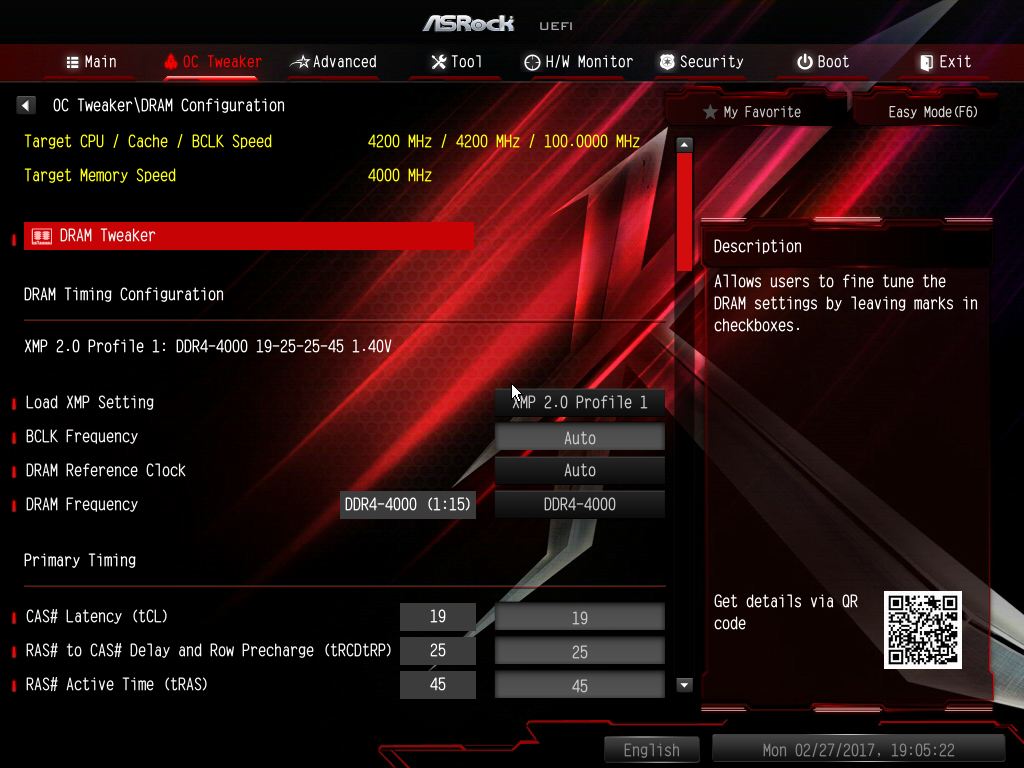
▼記憶體超頻選項一覽
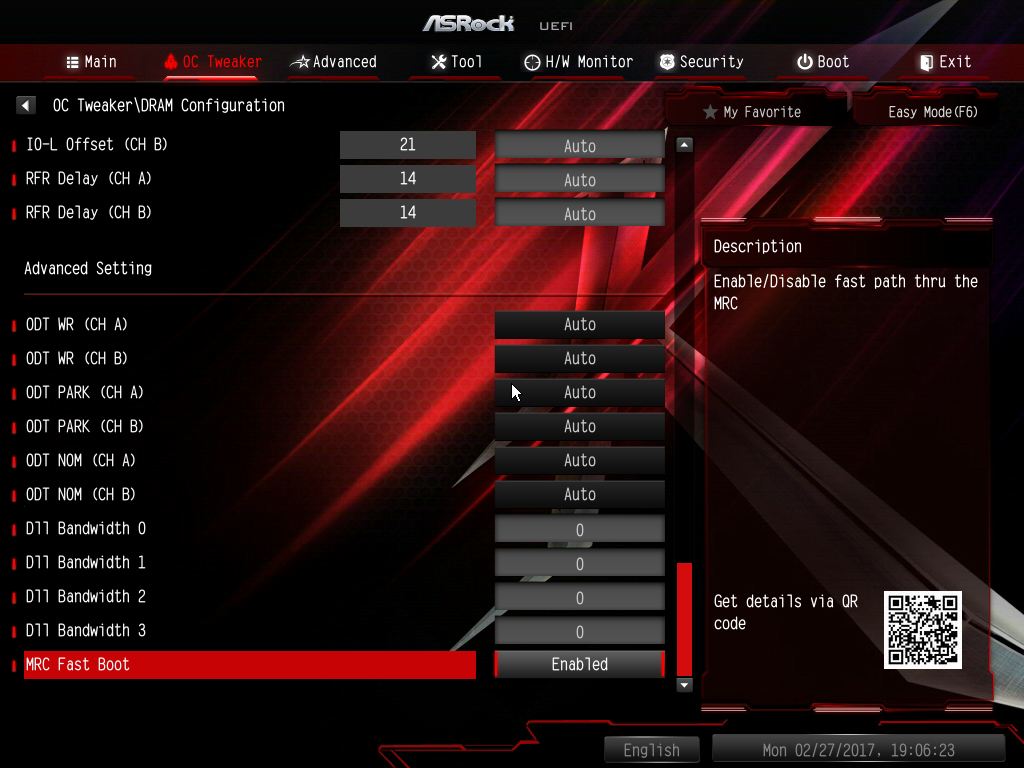
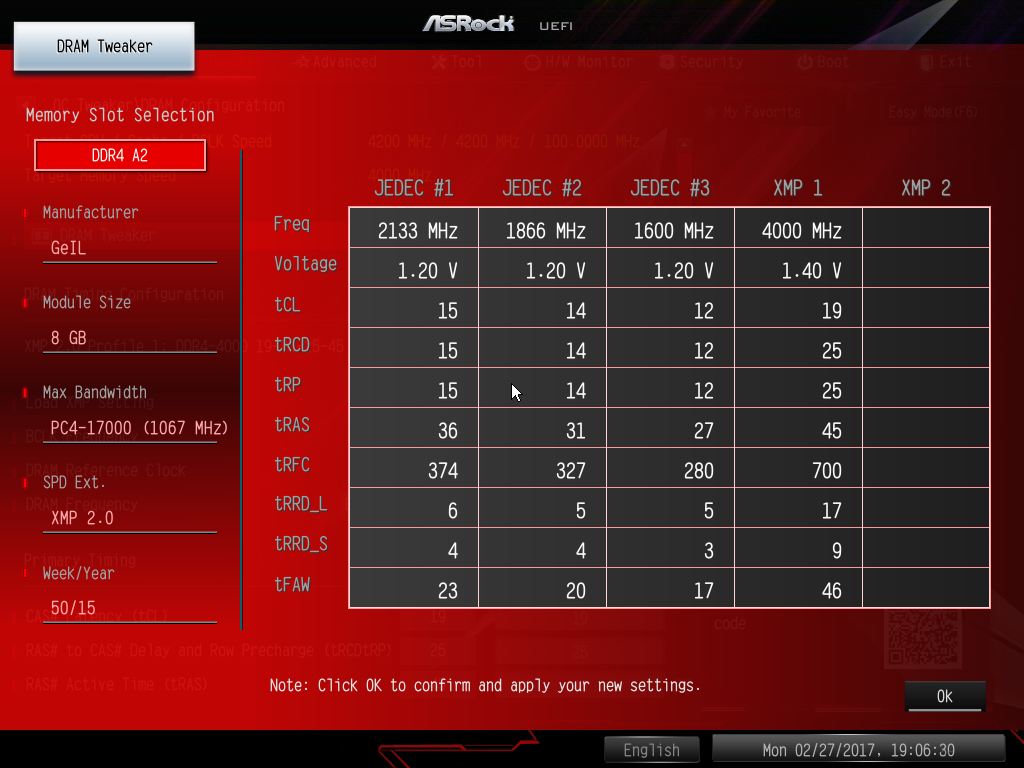
▼可以直接查看記憶體內SPD資訊
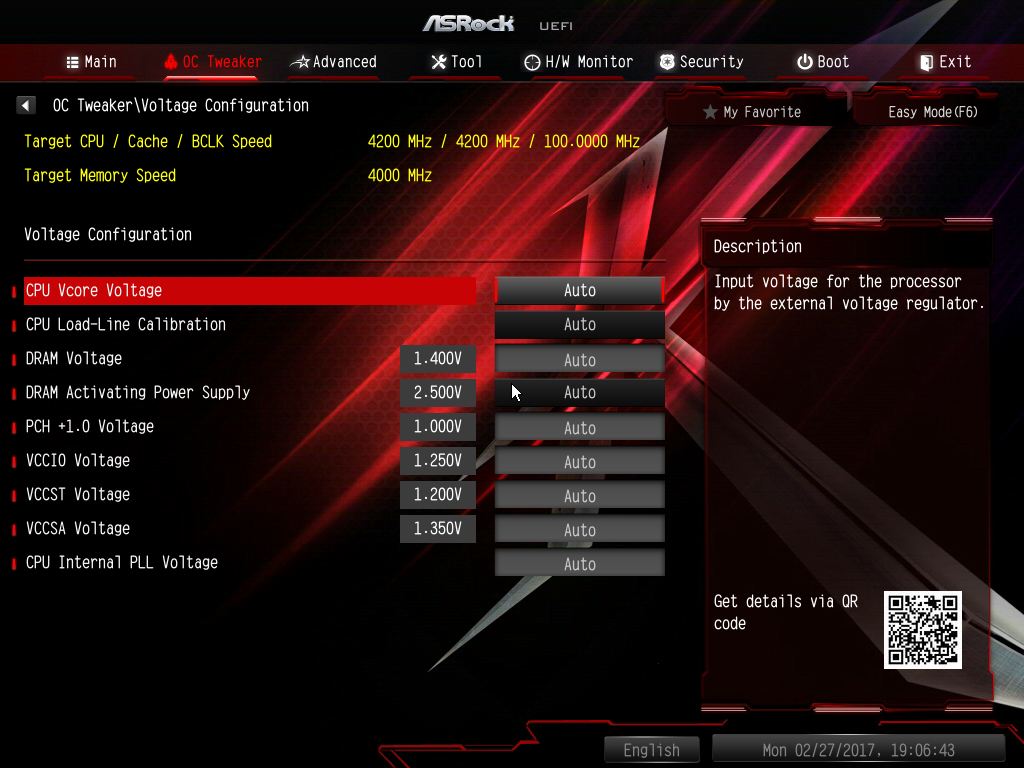
▼電壓調整選項一覽
▼進階頁面可設定個裝置詳細設定選項
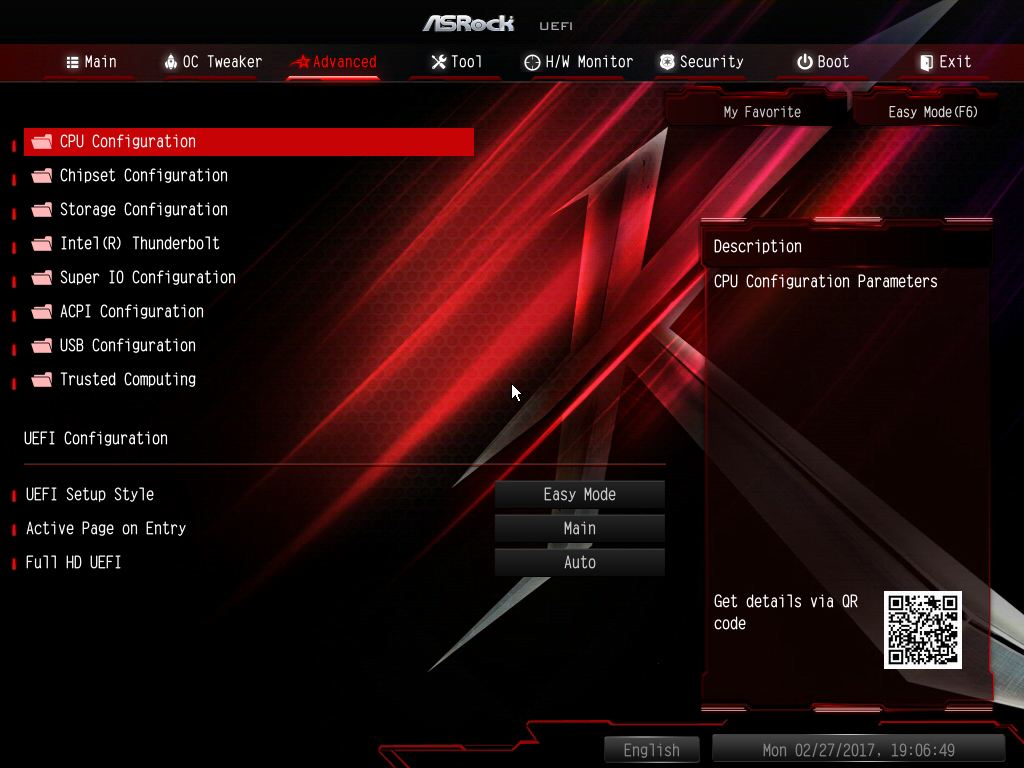
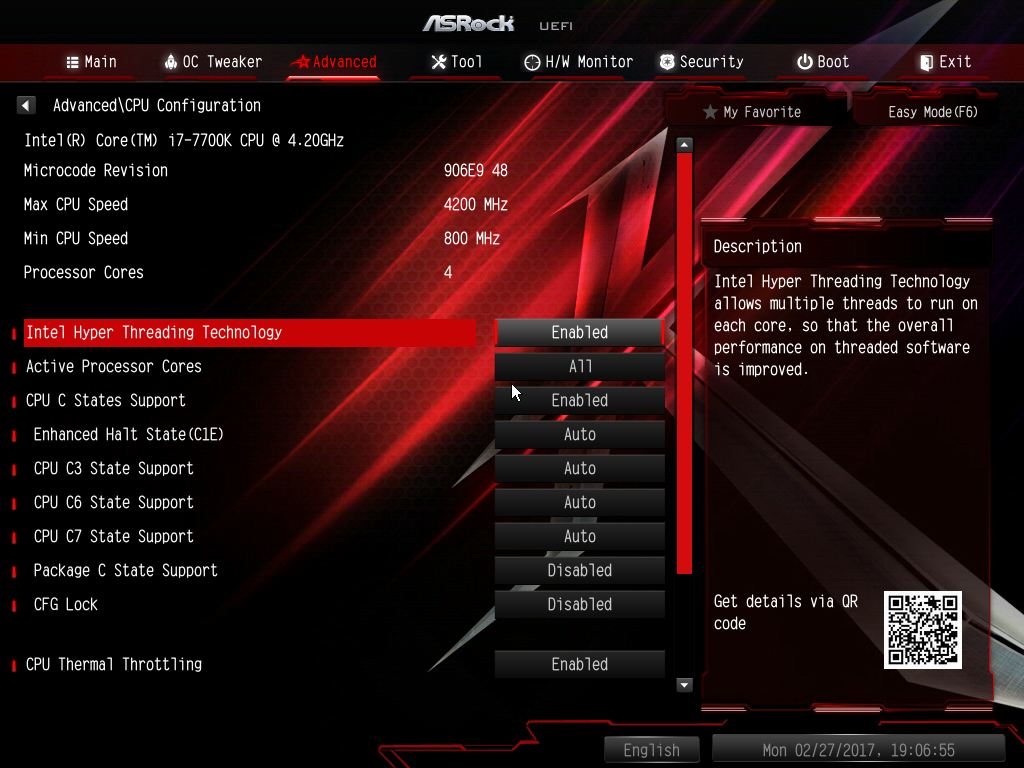
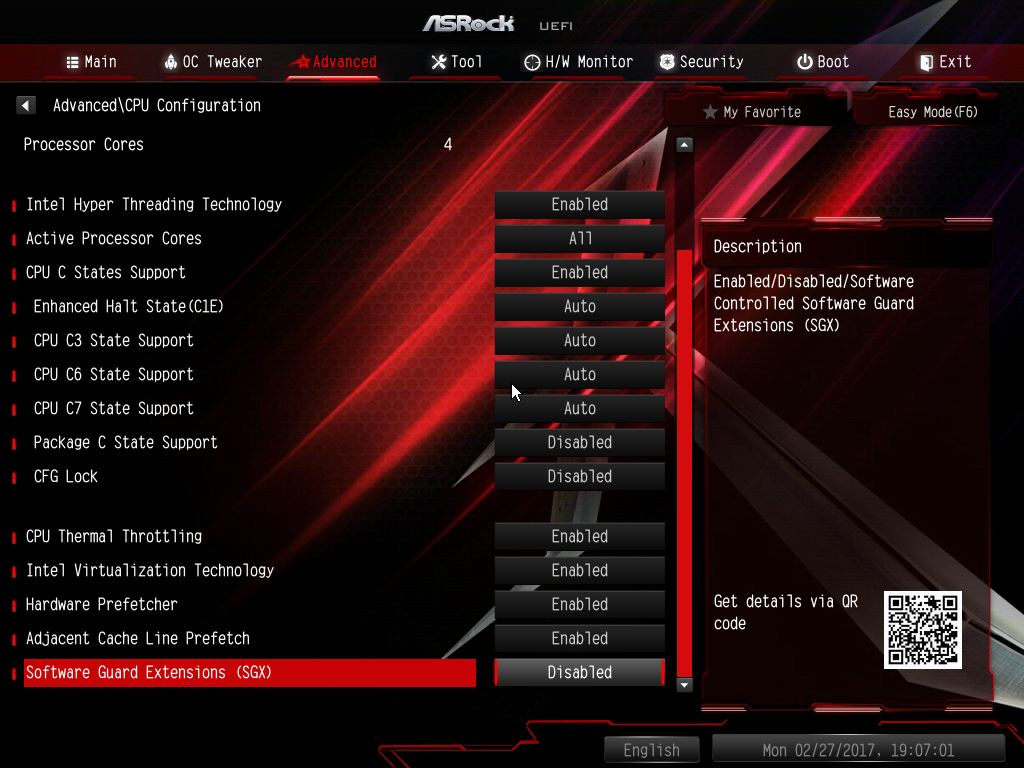
▼CPU進階設定選項一覽
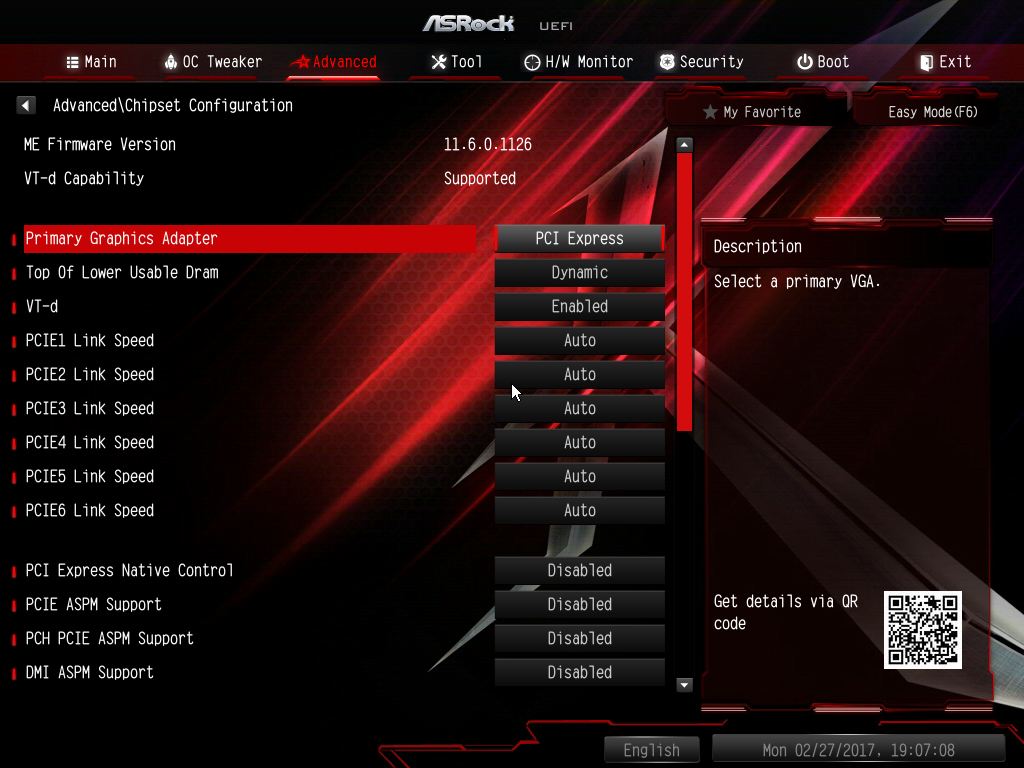
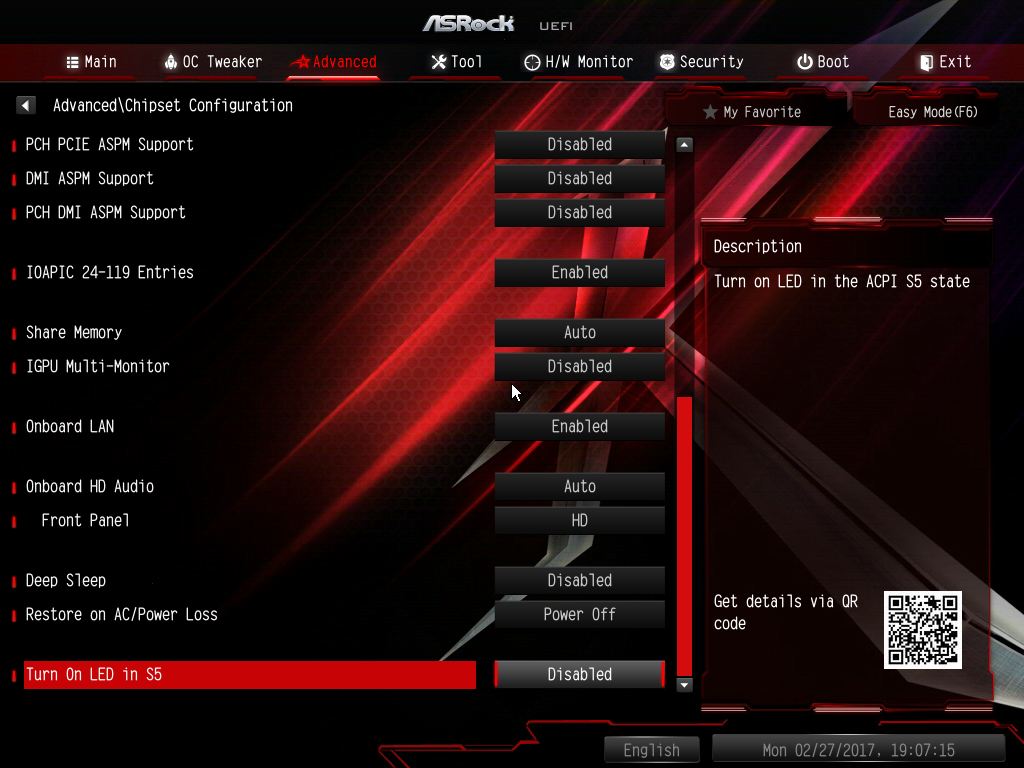
▼晶片組進階設定選項一覽
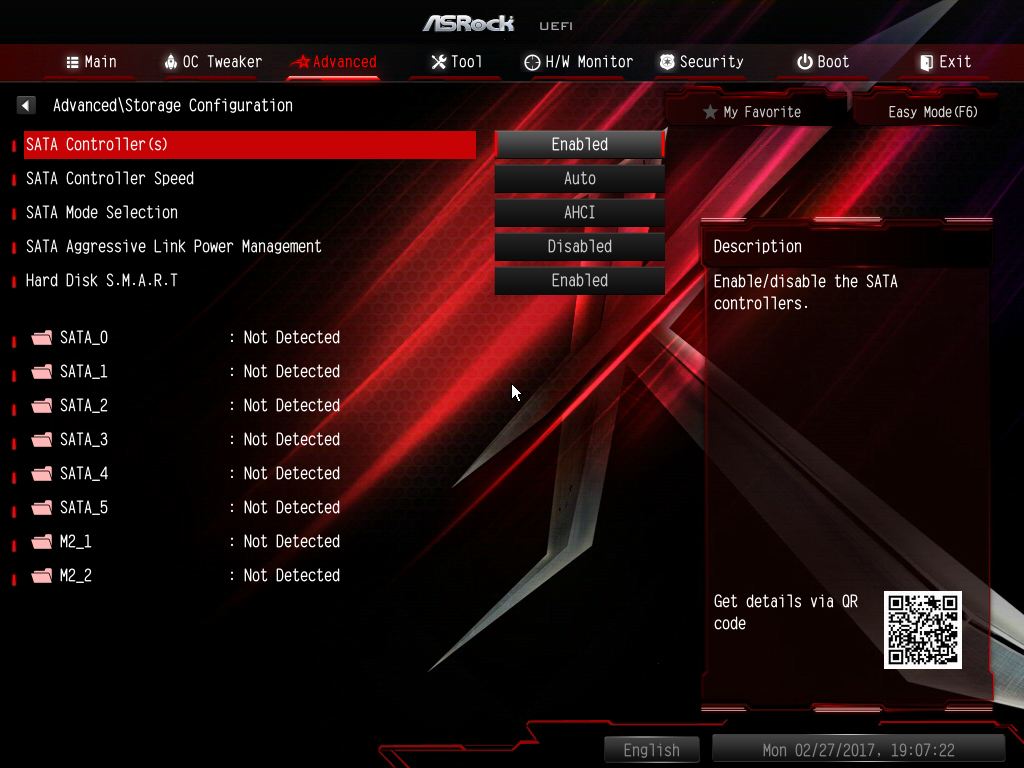
▼SATA進階設定選項一覽
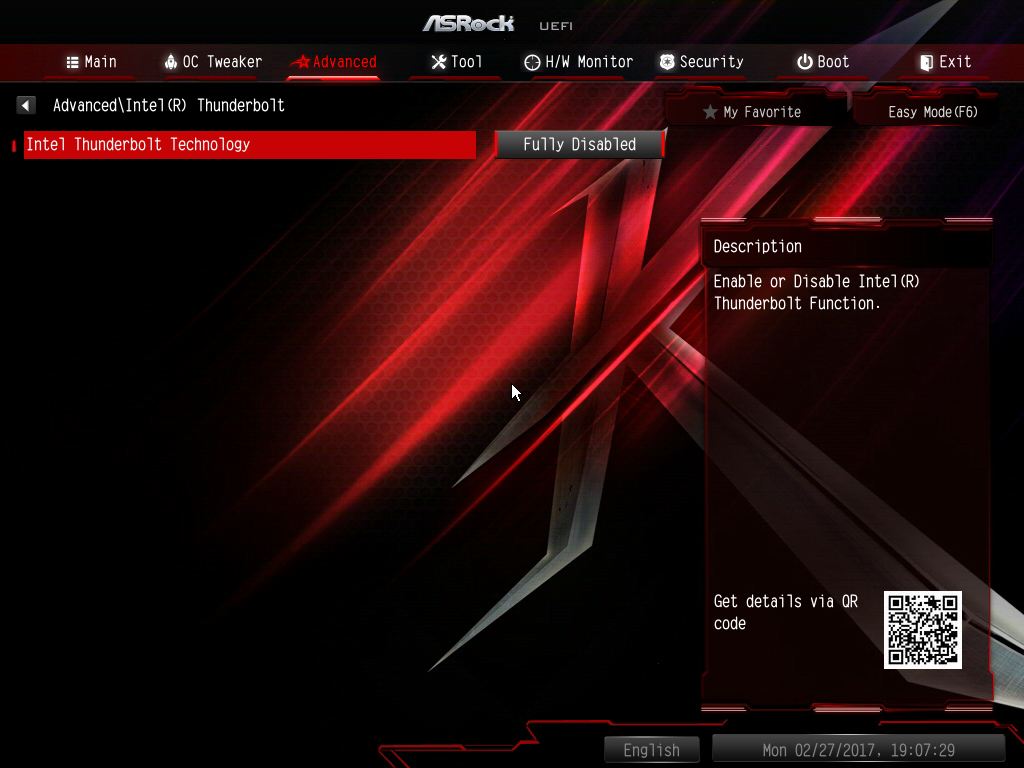
▼Thunderbolt設定選項一覽
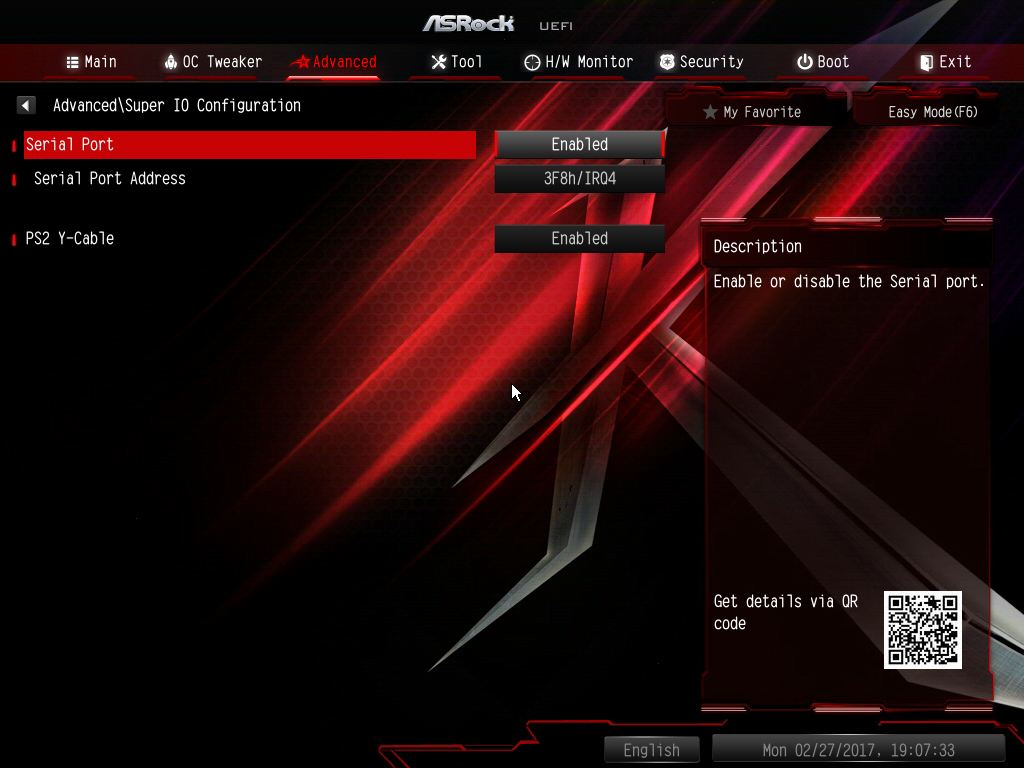
▼Super IO進階設定選項一覽
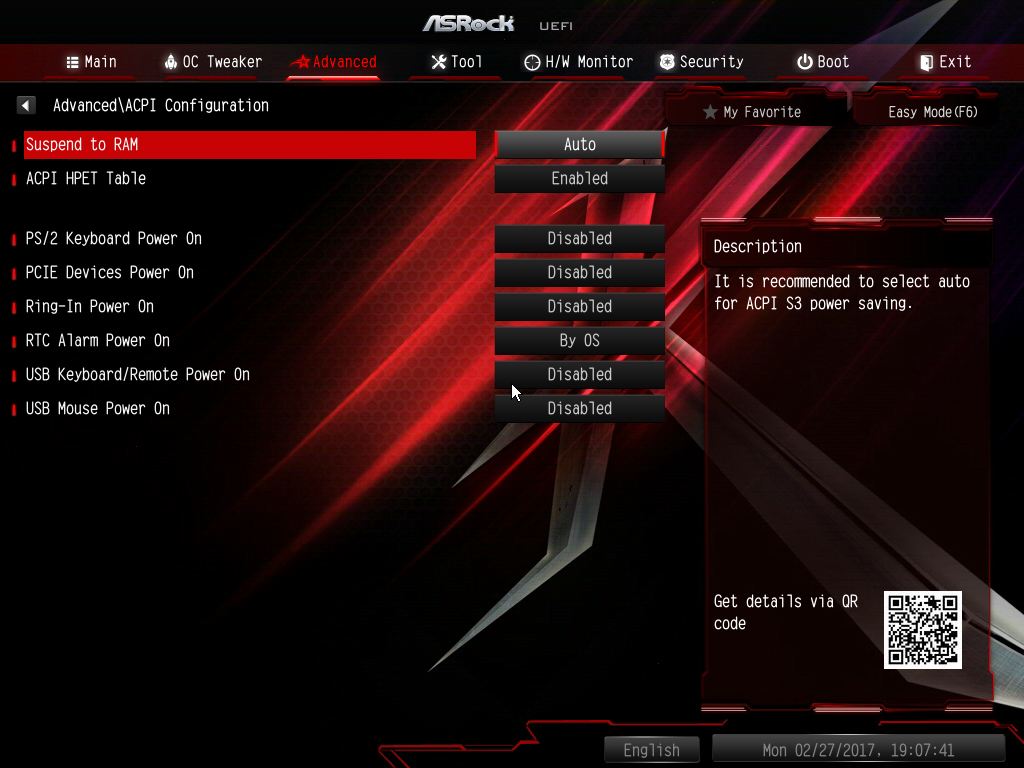
▼ACPI進階設定選項一覽
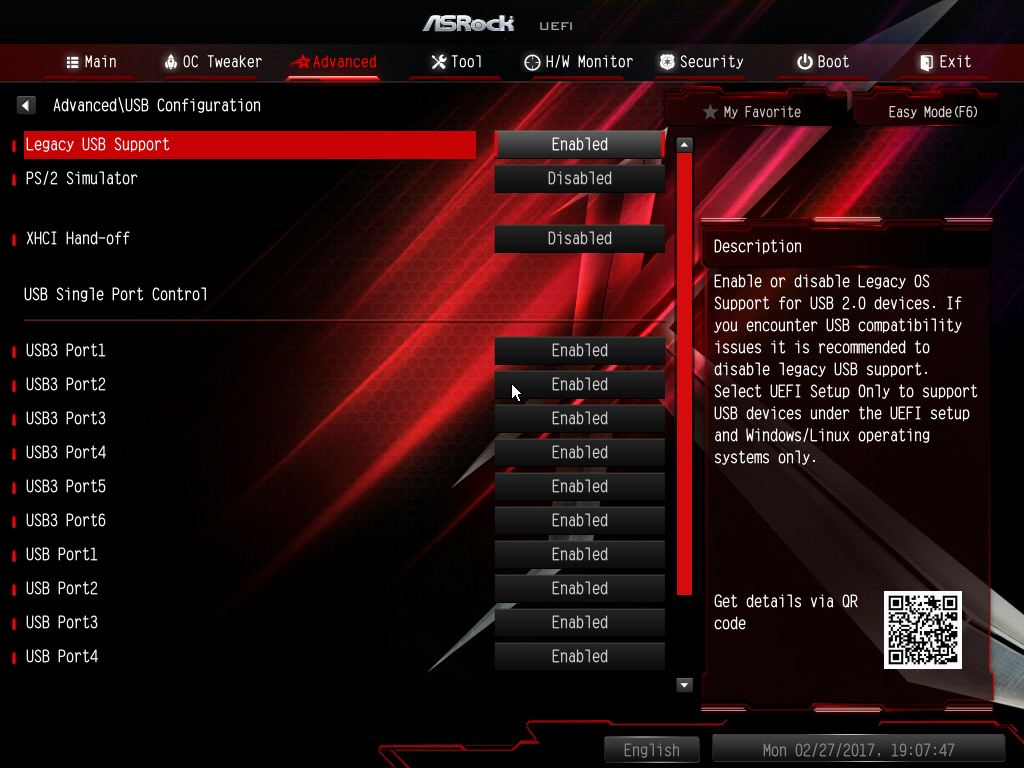
▼USB進階設定選項一覽
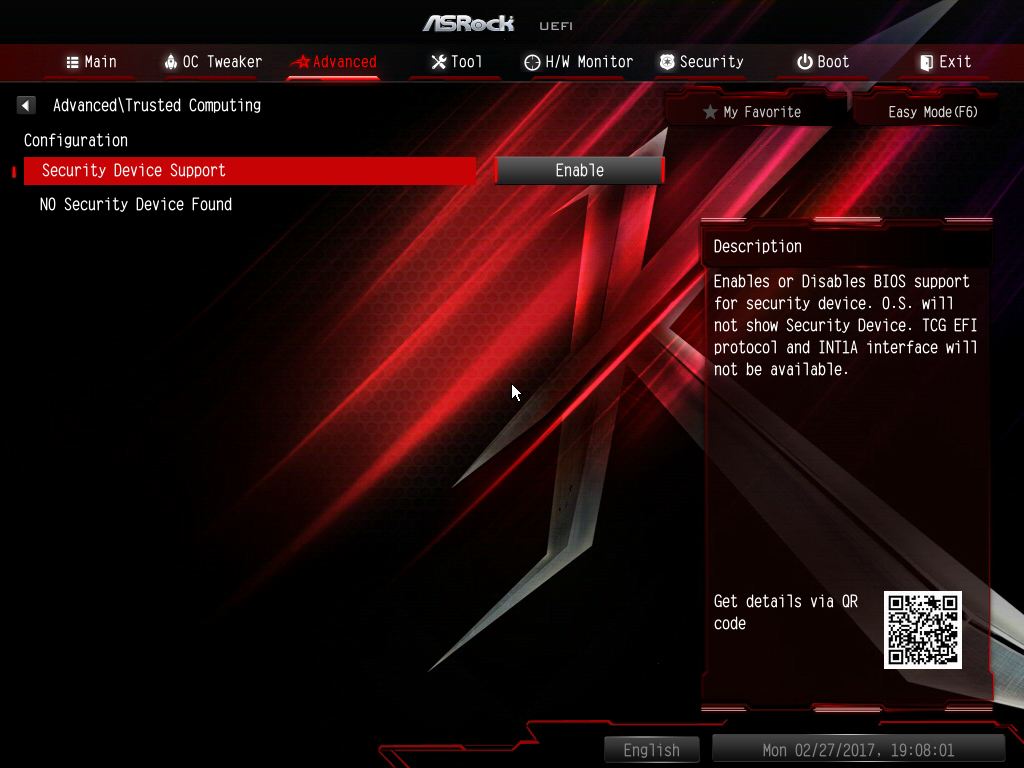
▼安全性設定選項一覽
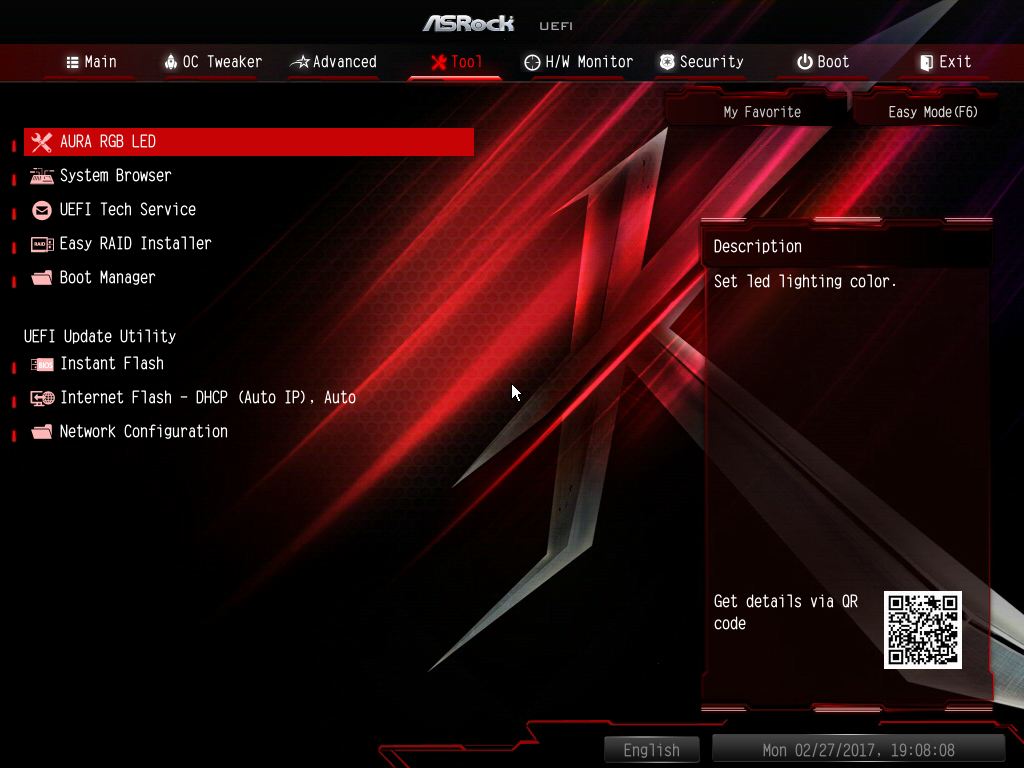
▼工具頁面可查看系統總覽、RAID設定、驅動安裝、UEFI設定、BIOS線上更新…等,還可直接設定AURA RGB LED功能
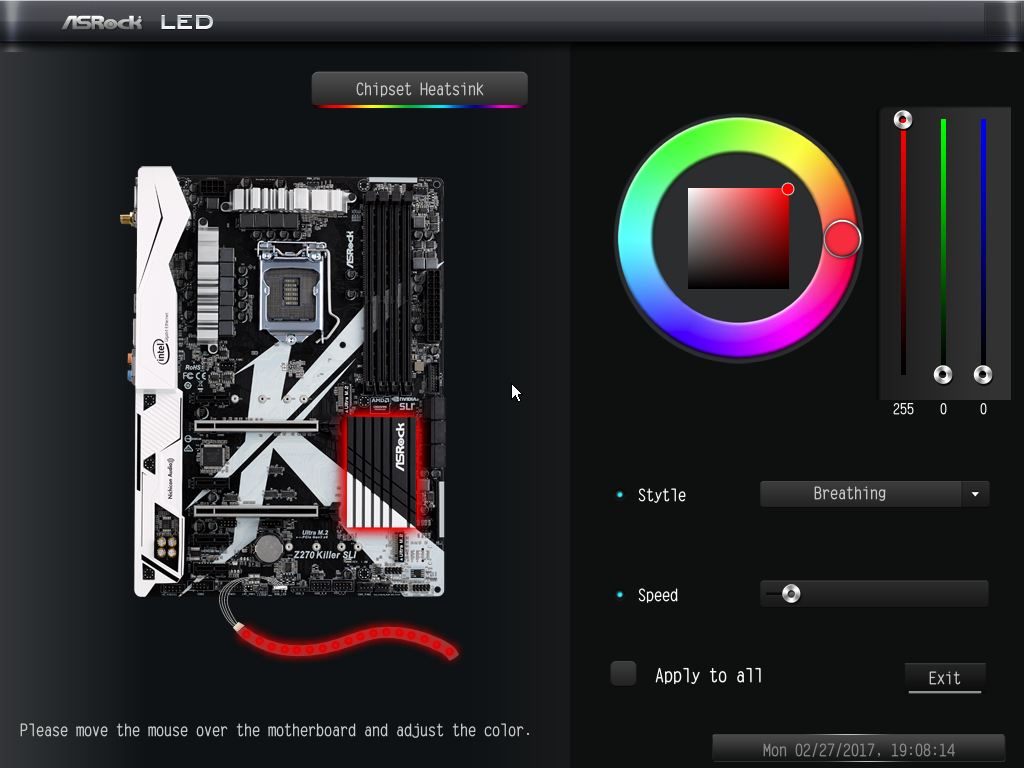
▼AURA RGB LED功能設定,基本上與作業系統內的軟體介面相同
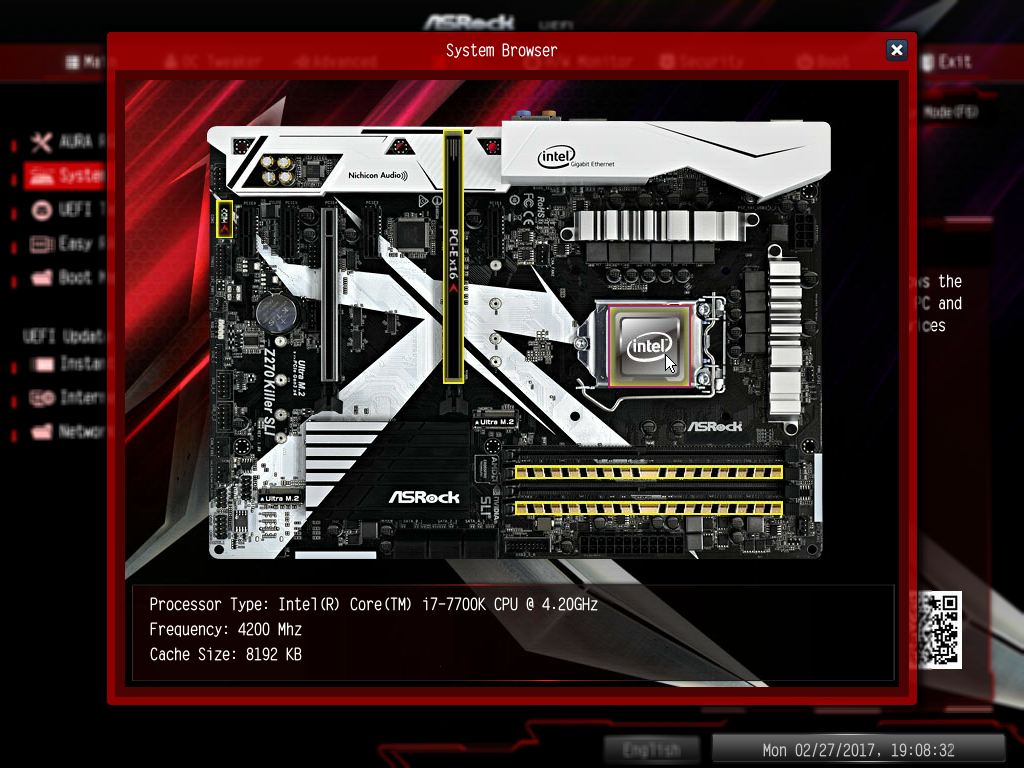
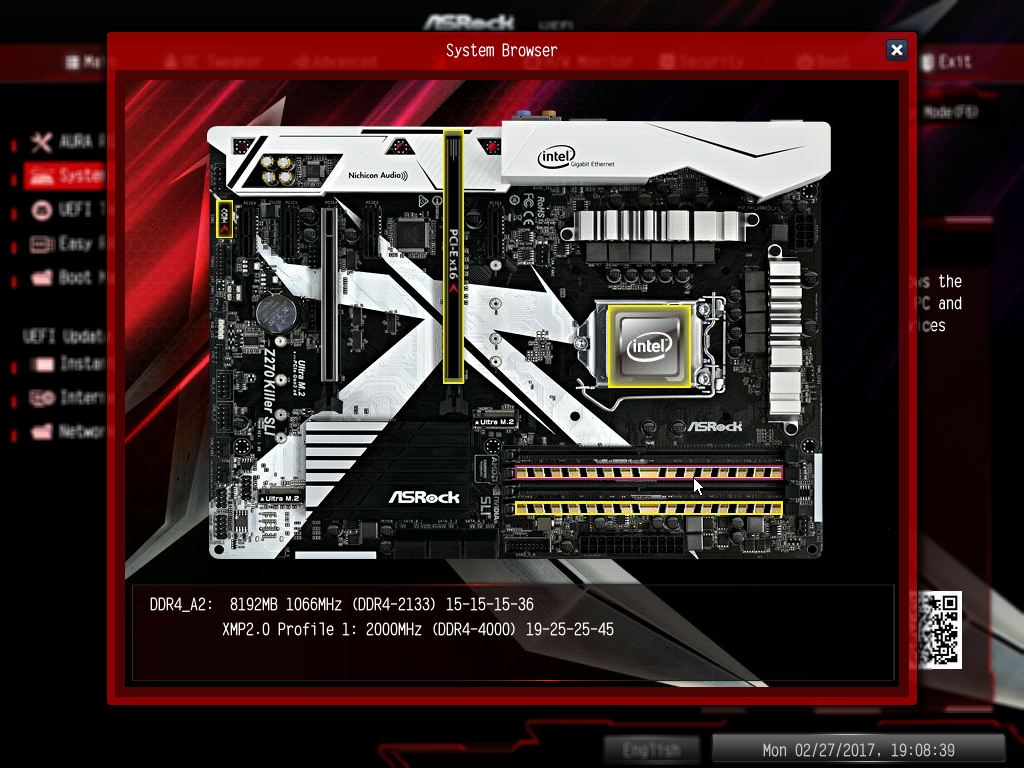
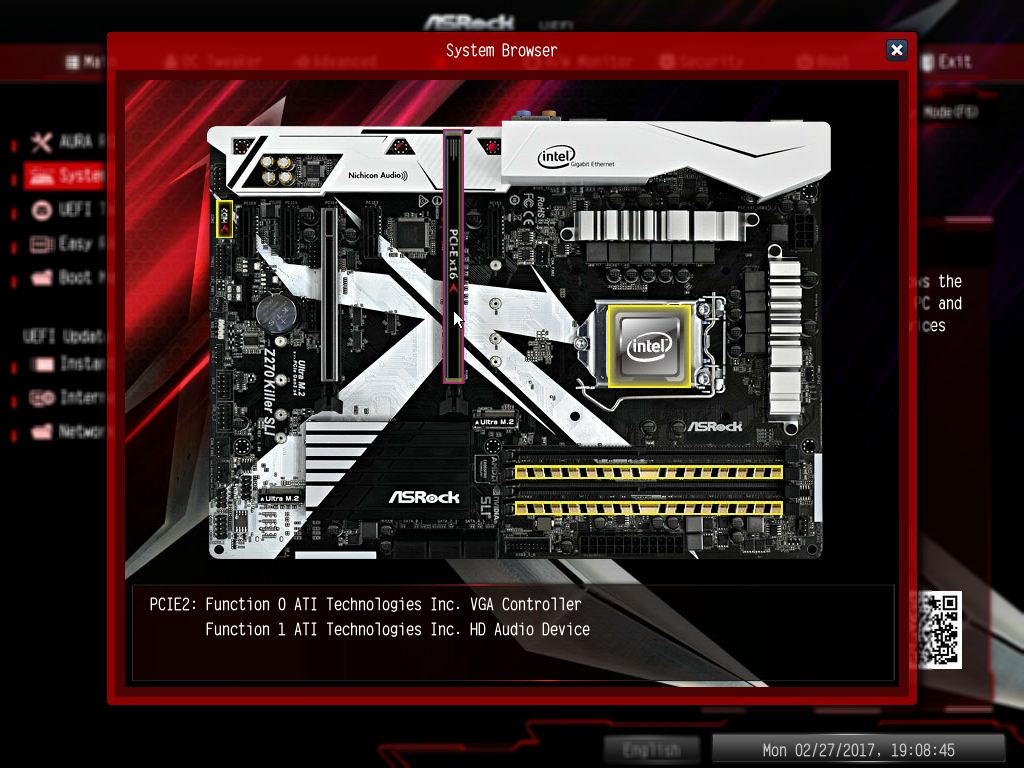
▼系統總覽可查看目前所安裝的硬體資訊
▼開機功能表一覽
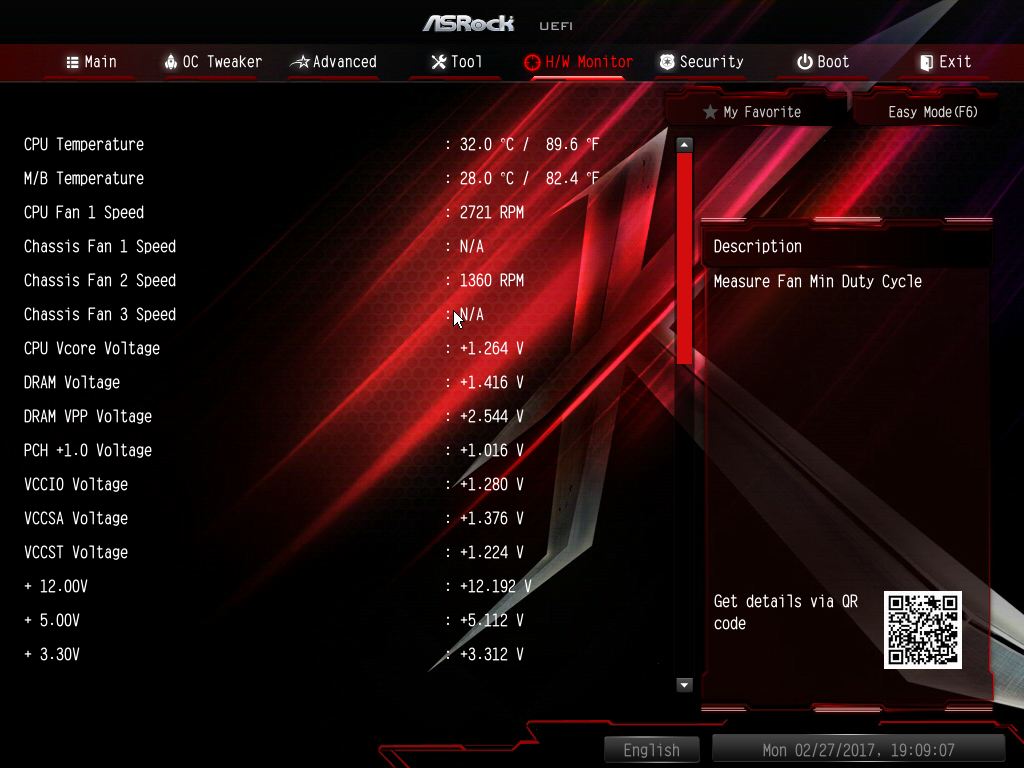
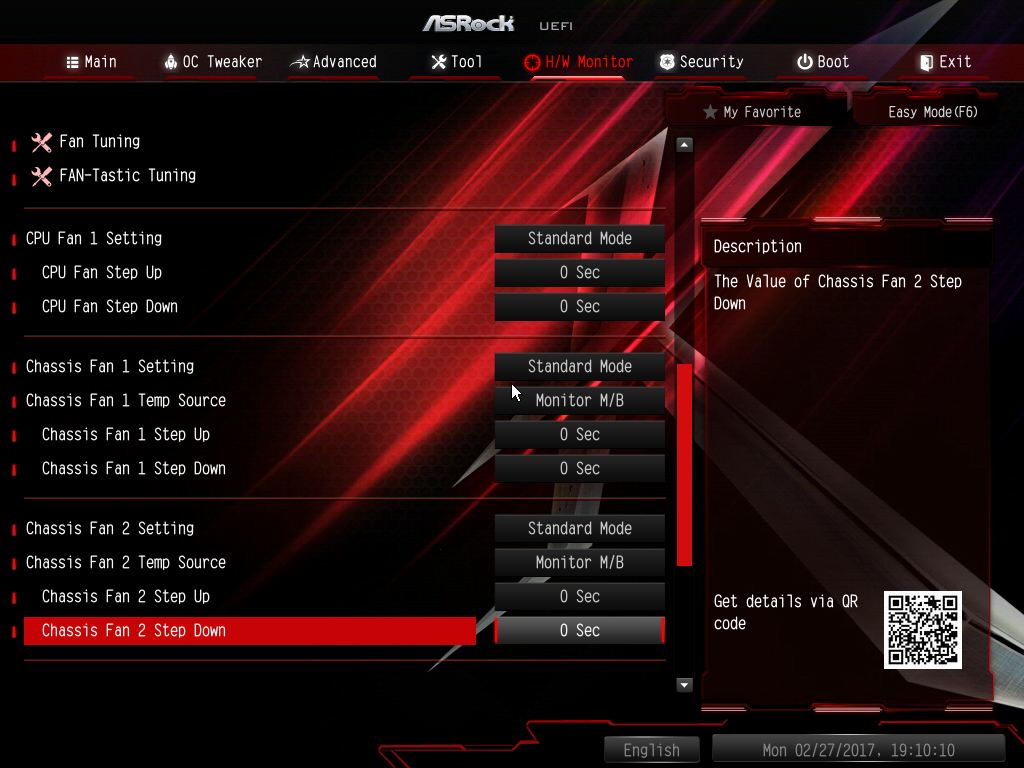
▼硬體監測部分可看到CPU溫度、風扇轉速與各電源電壓狀態,並可設定風扇模式

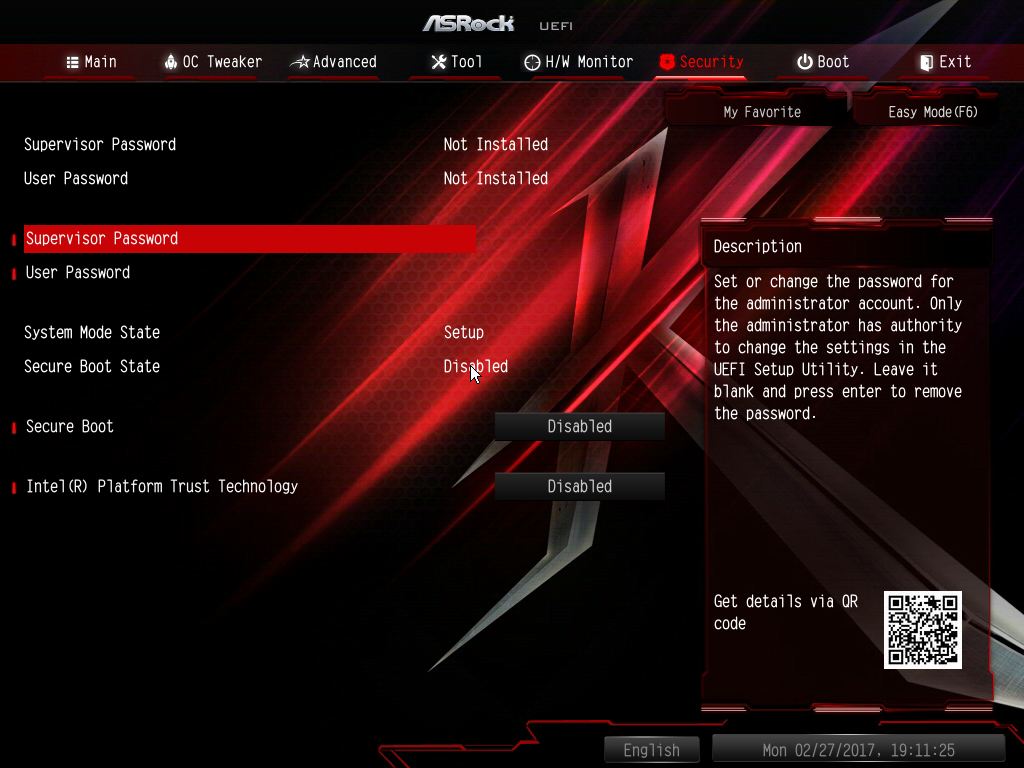
▼安全部分可設定開機密碼與其他安全性設定
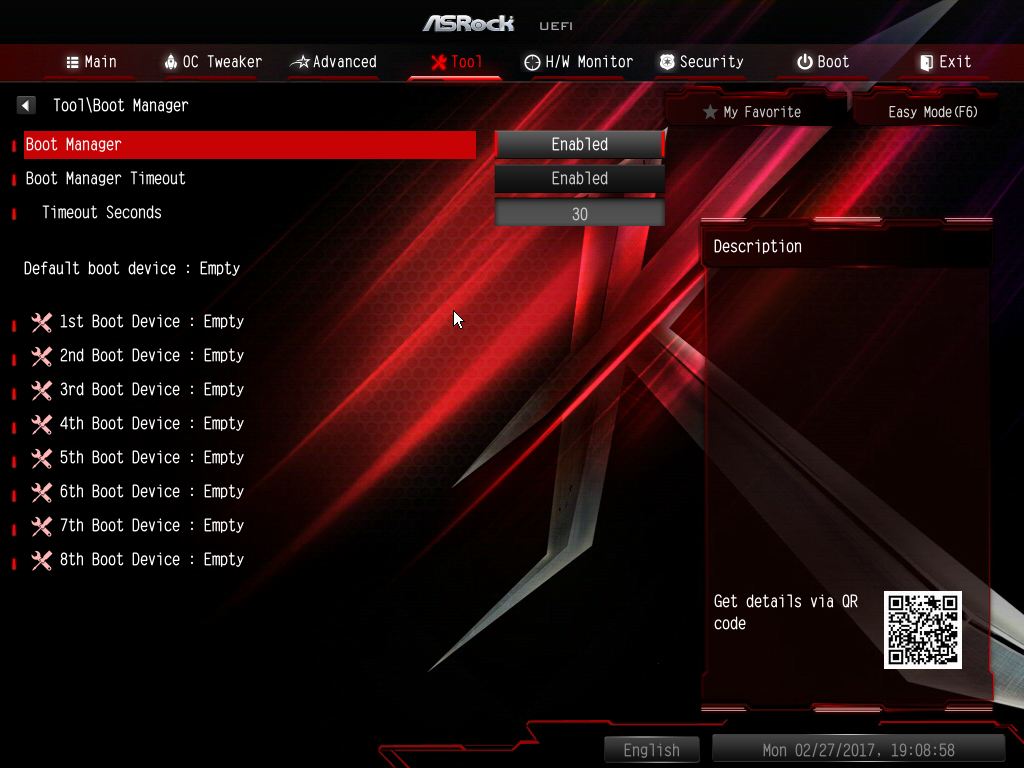
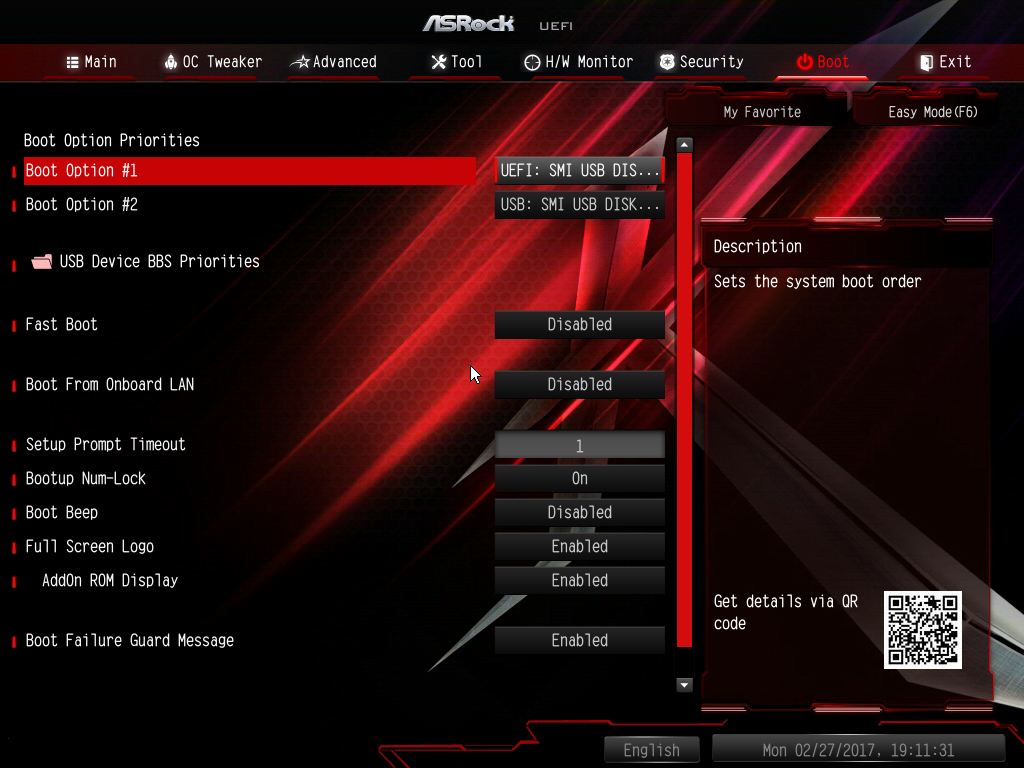
▼Boot部分可以設定開機順序與其他開機選項
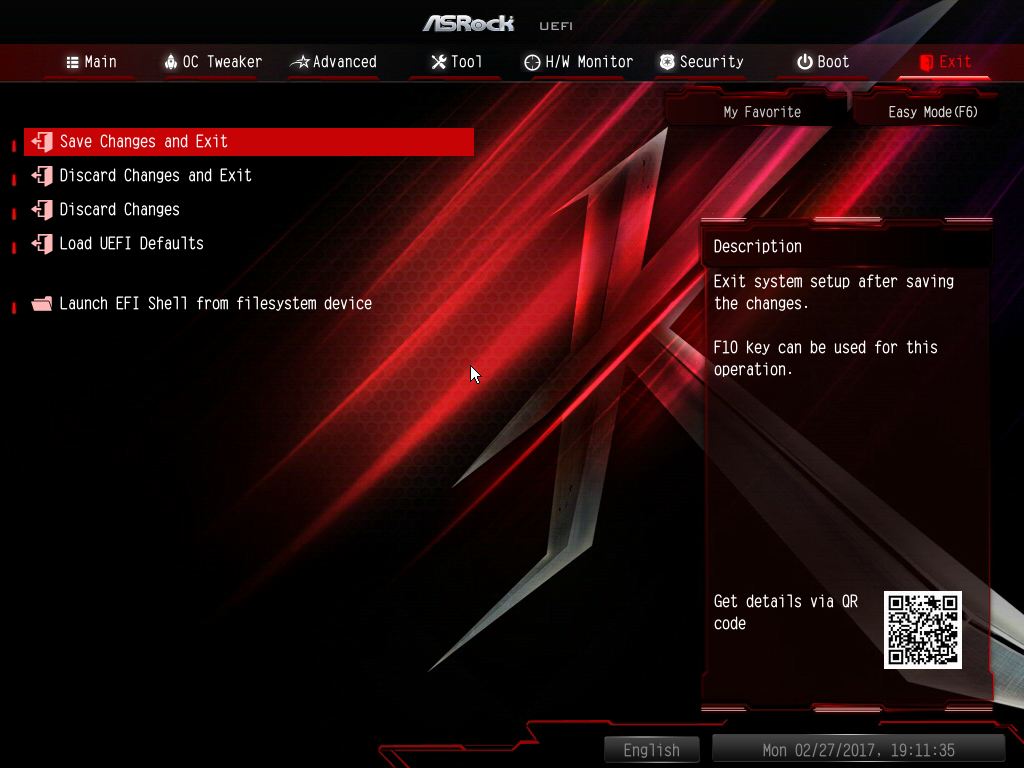
▼最後一部分為設定儲存與離開..等選項
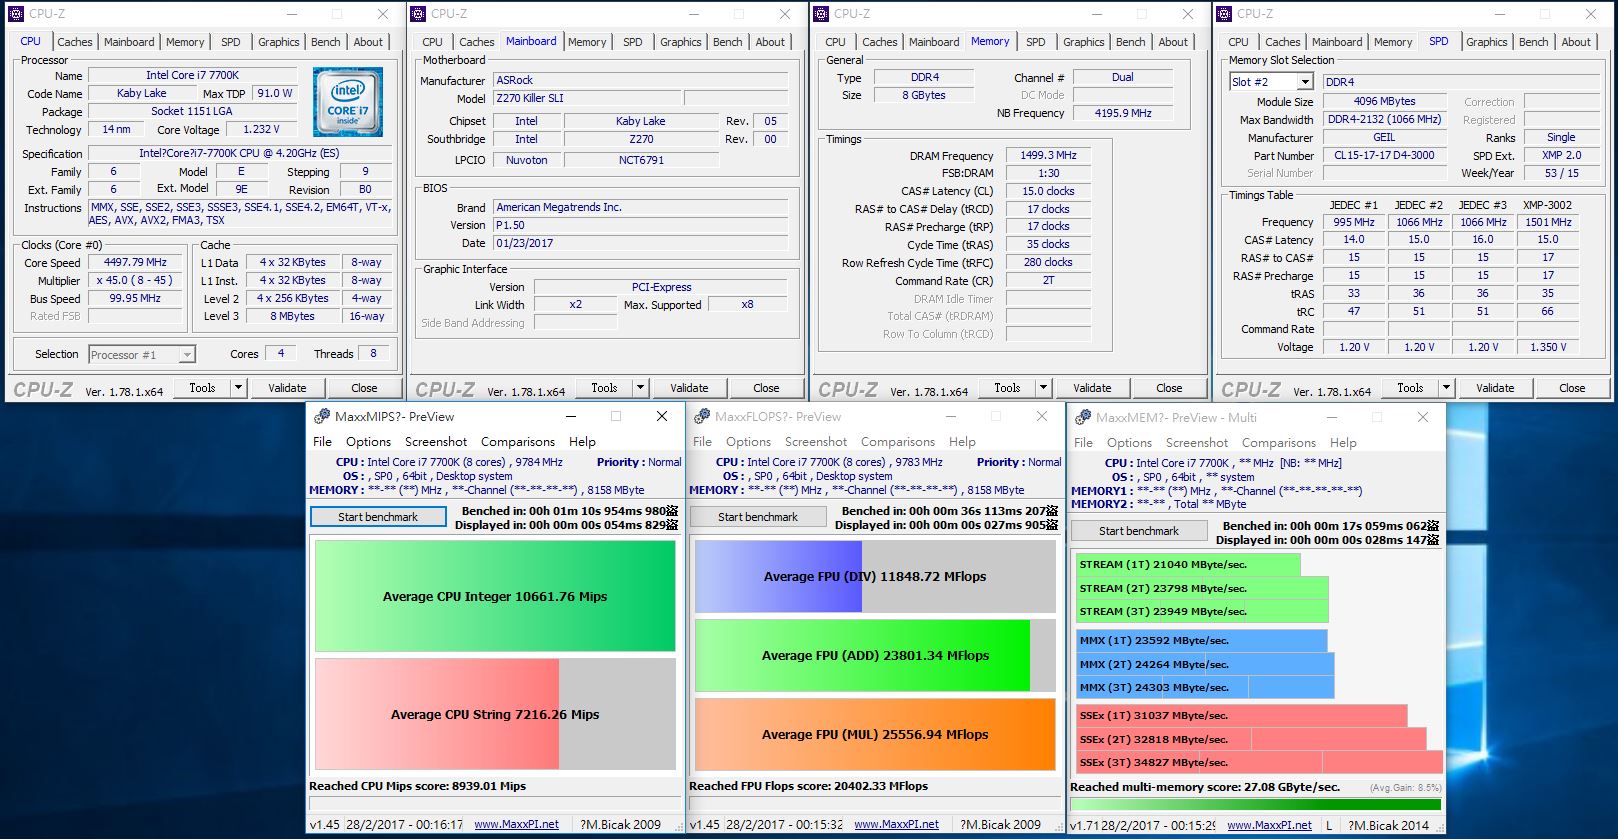
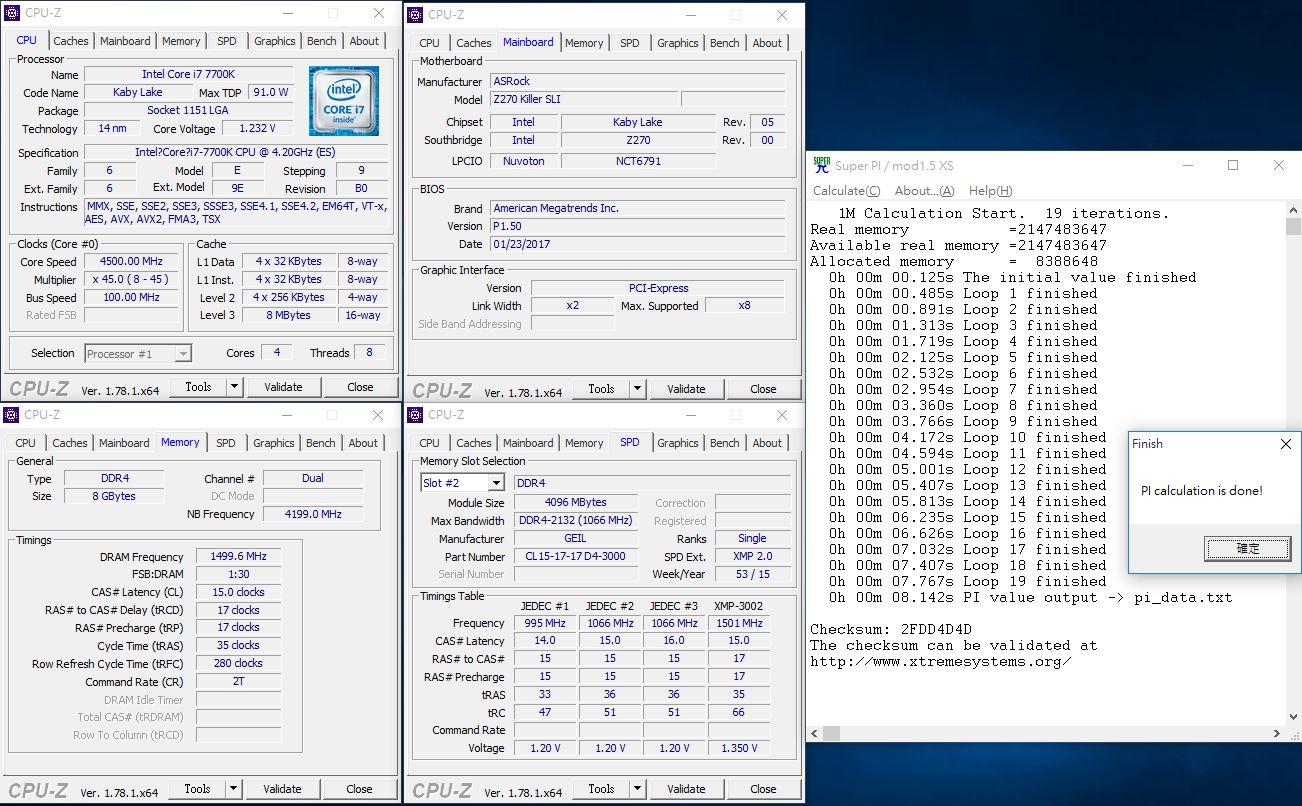
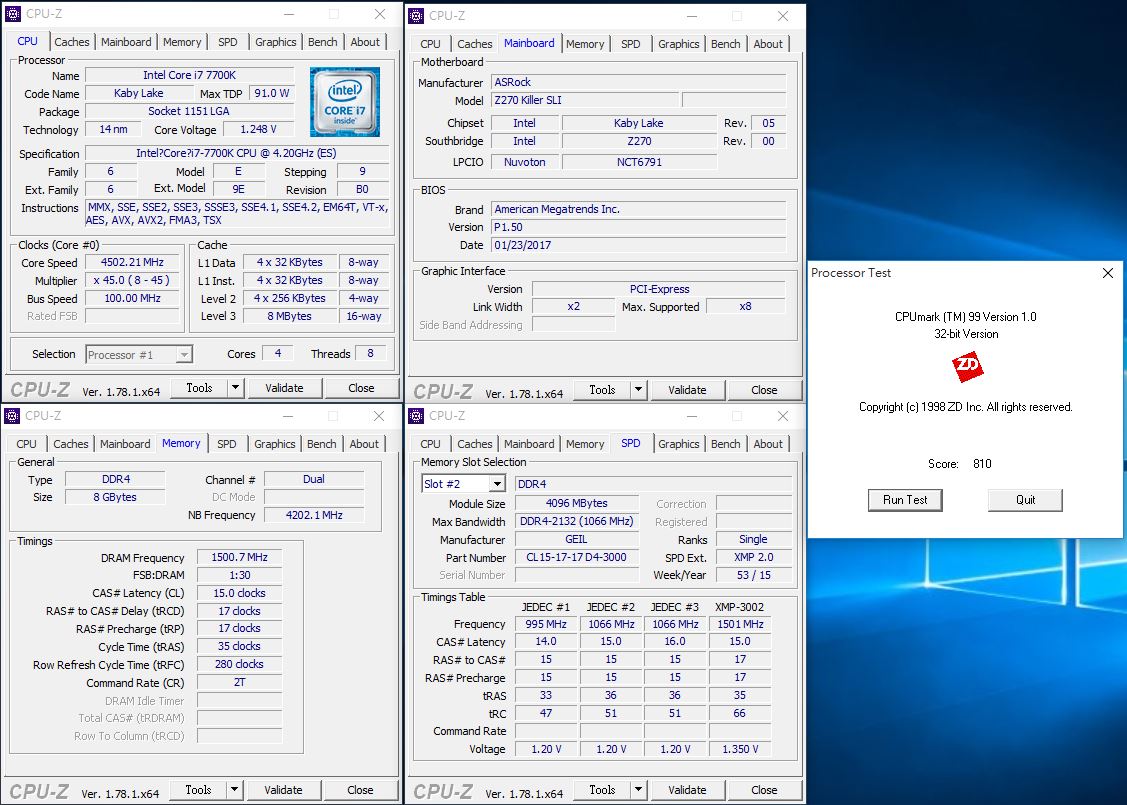
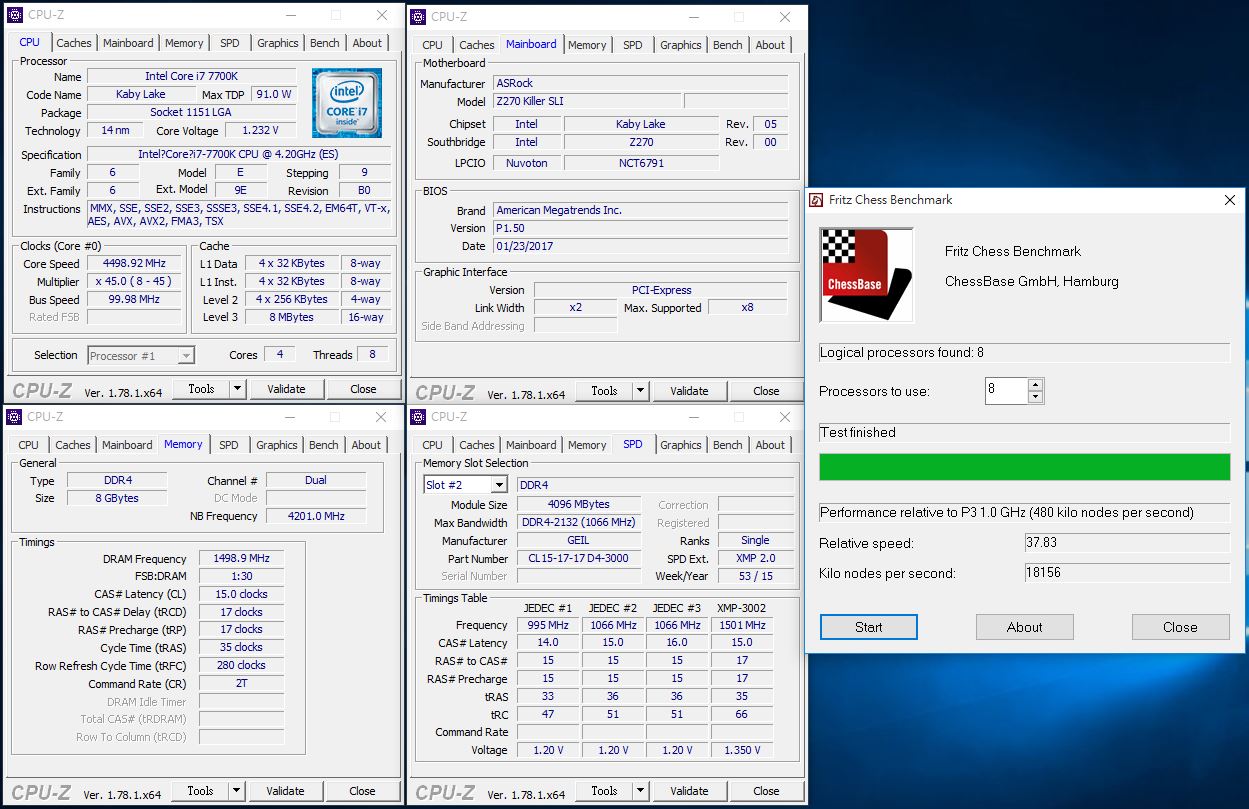
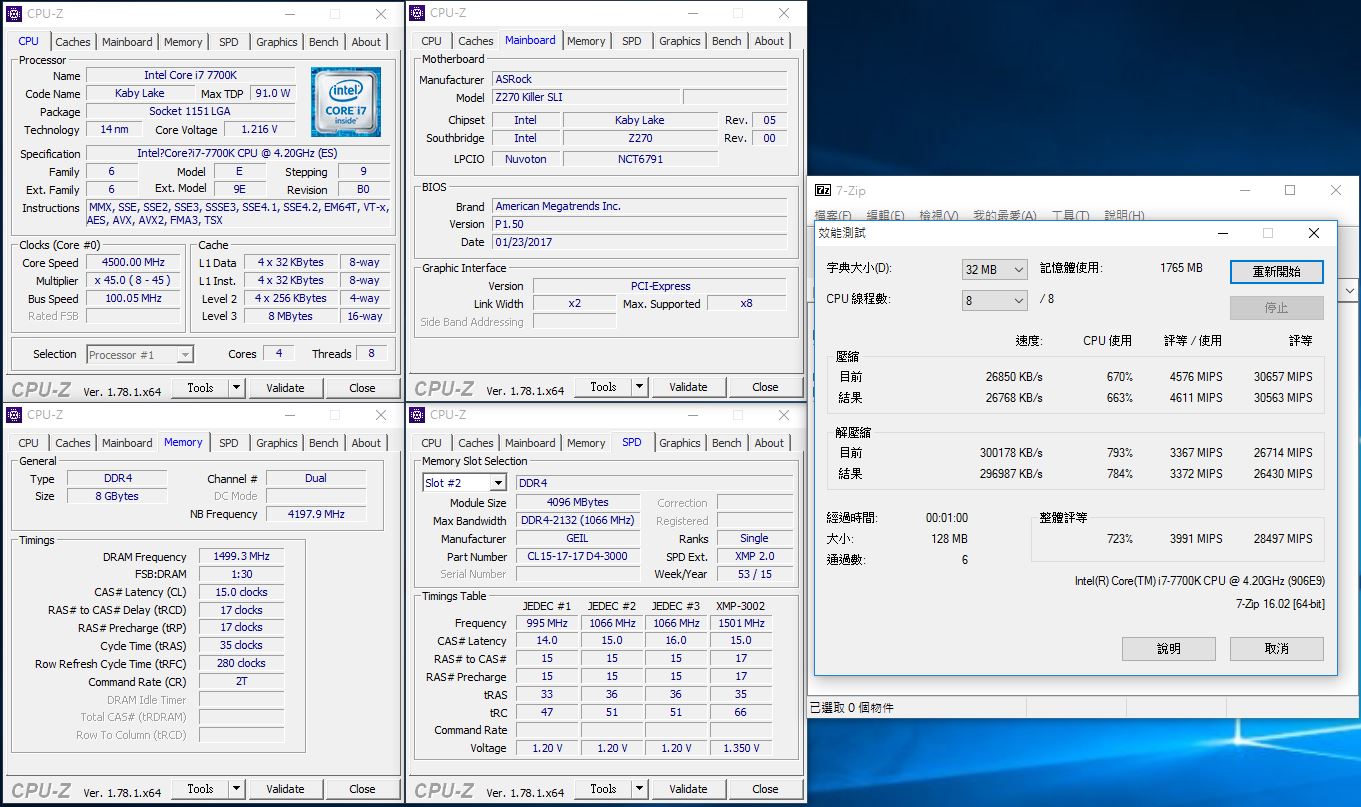
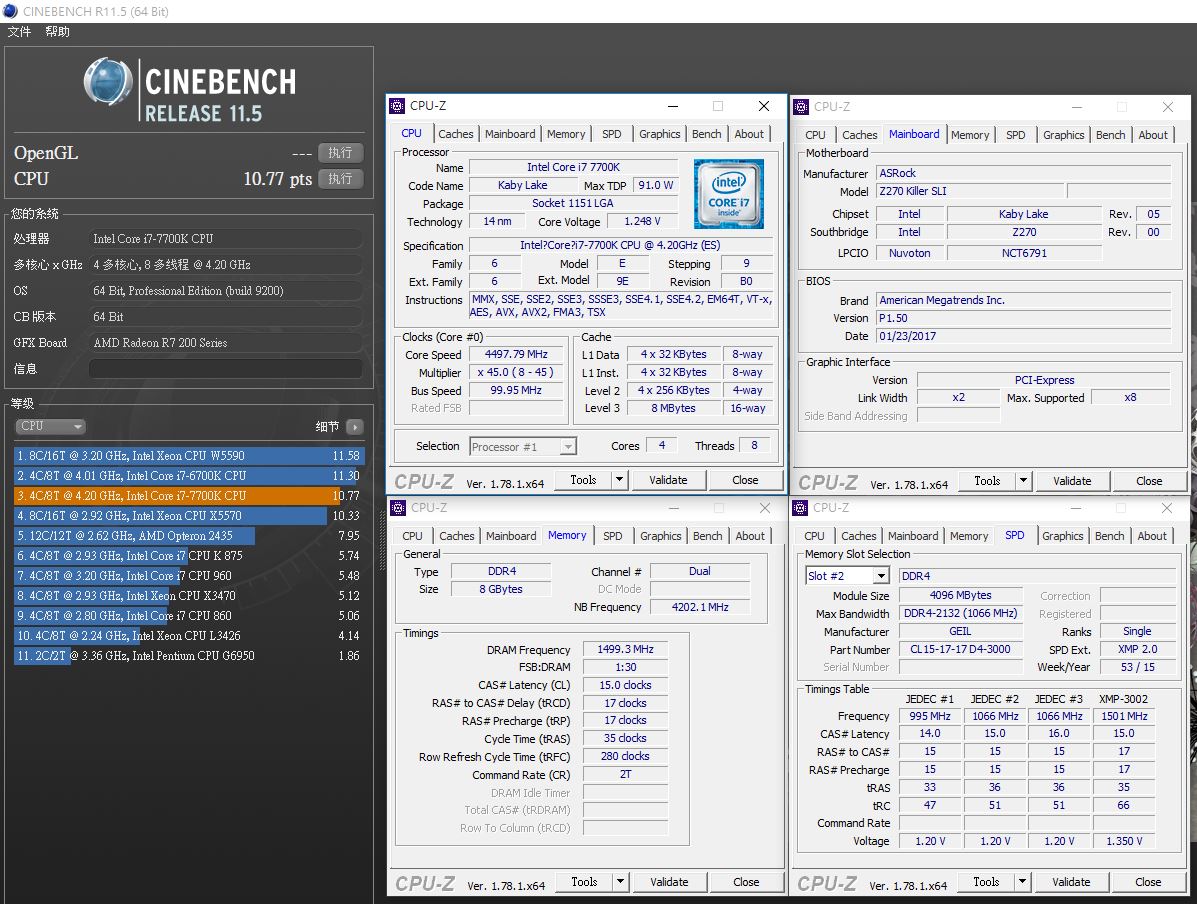
 測試平台與環境(預設)
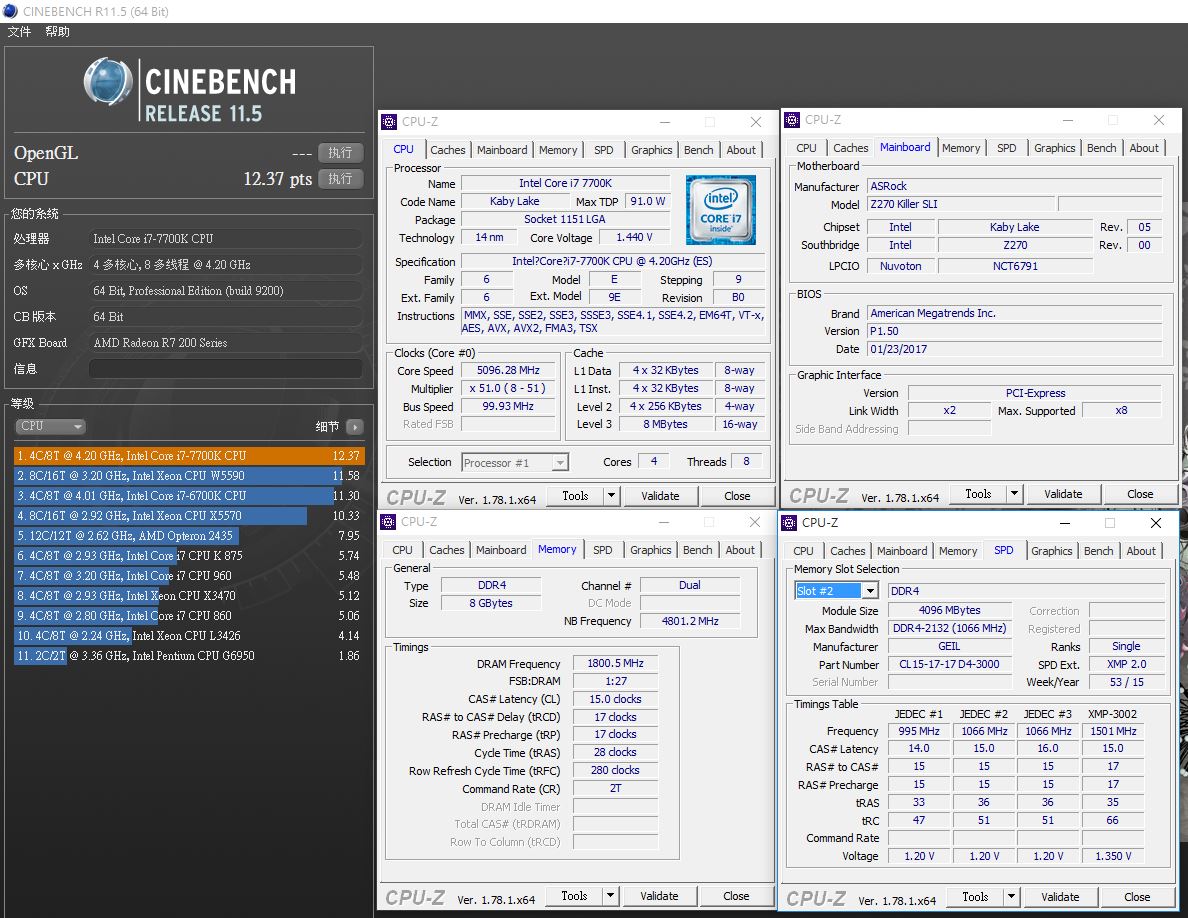
CPU:Intel i7-7700K
Cooler: NZXT. Kraken™ X61
MB: ASRock Z270 KILLER SLI
RAM: GeIL DRAGON RAM DDR4-3000 8GB kit (4G*2)
Storage: Toshiba XG3 SSD M.2 2280 PCIe 256GB
PSU: Steventeam 500W
OS: Windows 10 專業版 64 Bit
▼驗明正身
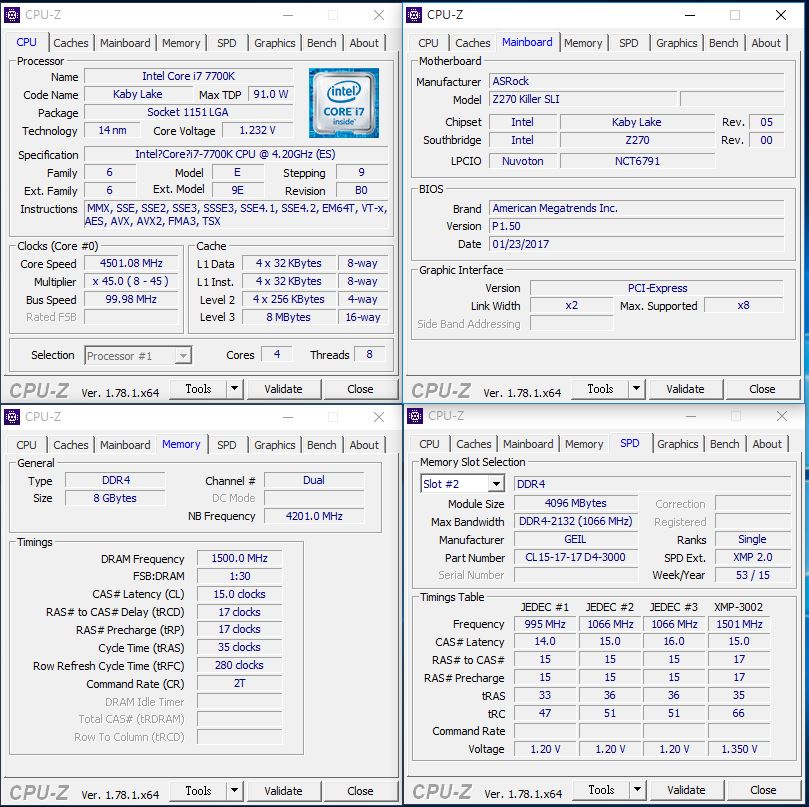
▼AIDA64 Read:43900MB/s Write:45986MB/s Copy:40381MB/s
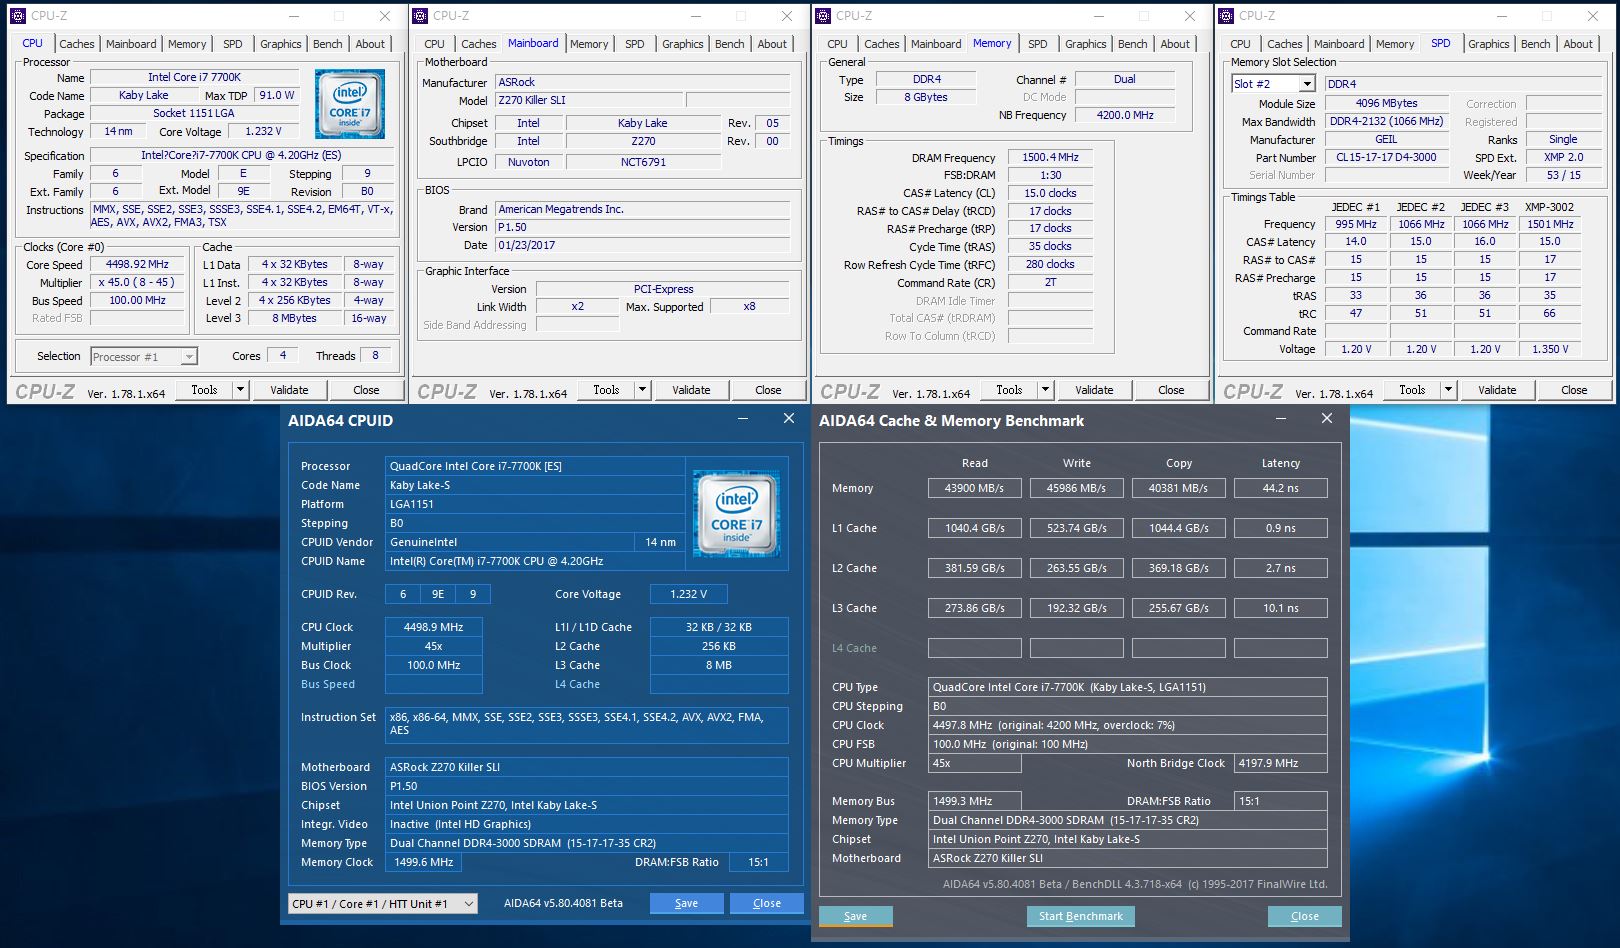
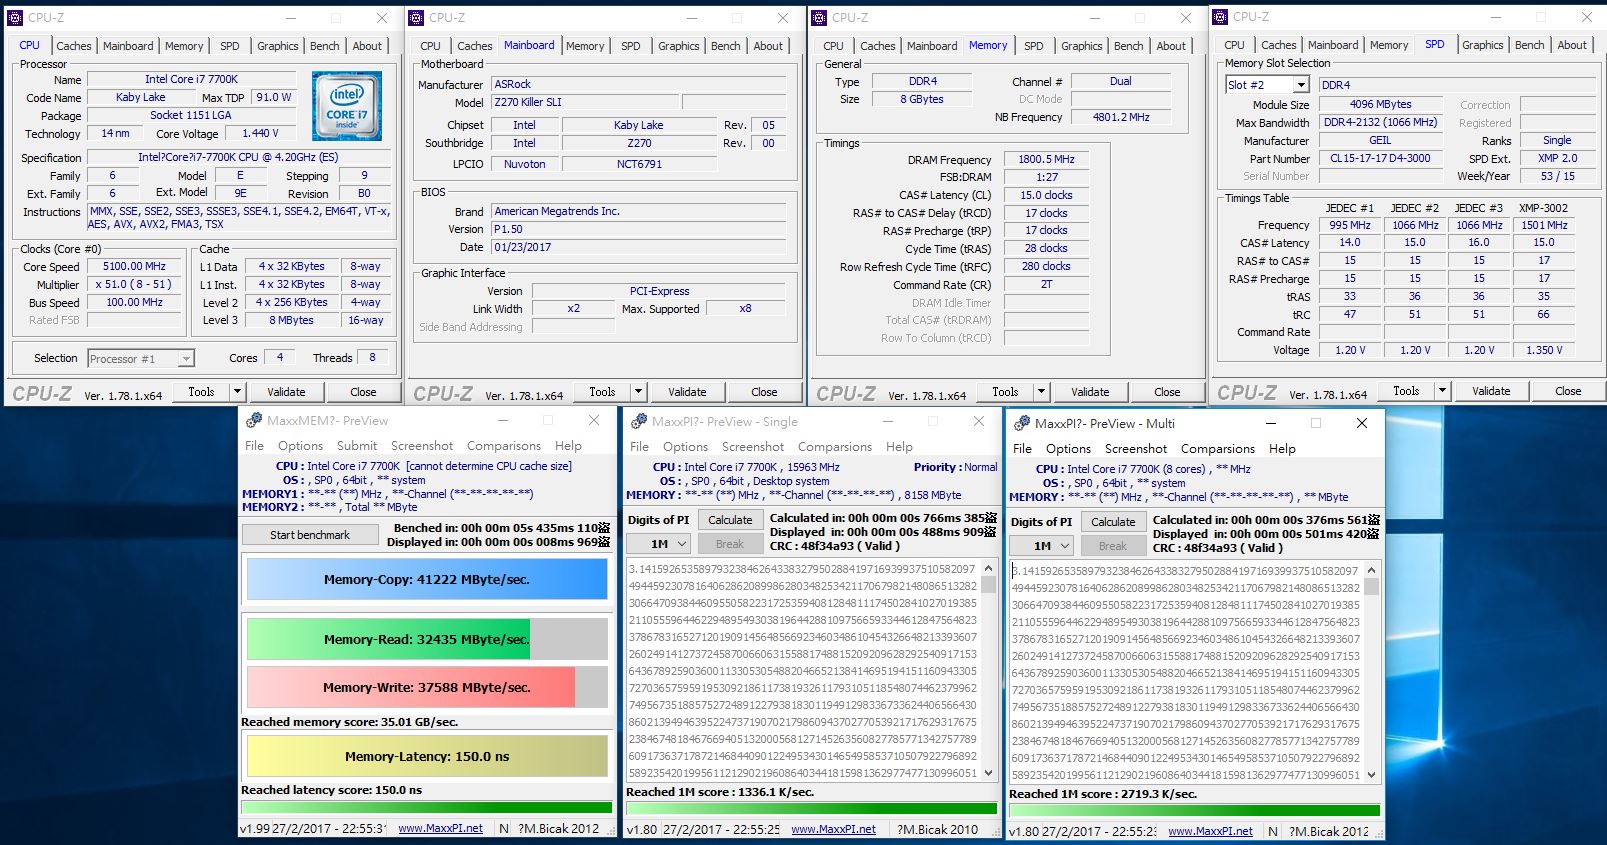
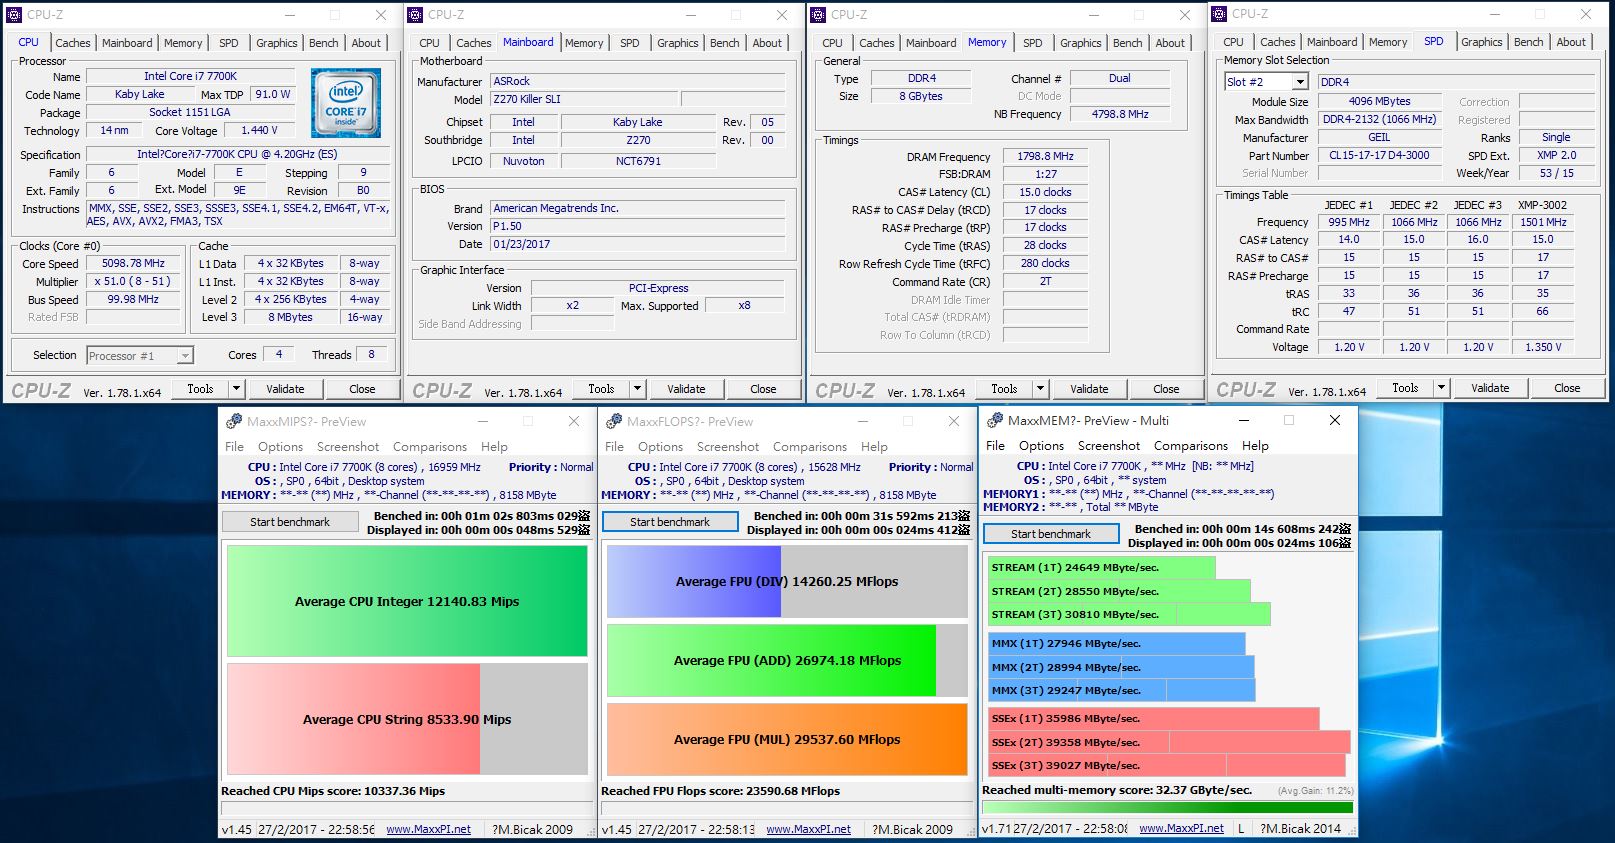
▼Maxx系列測試程式
▼Super PI 1M:8.142s
▼CPU Mark:810
▼Fritz Chess Benchmark
▼NuclearMC
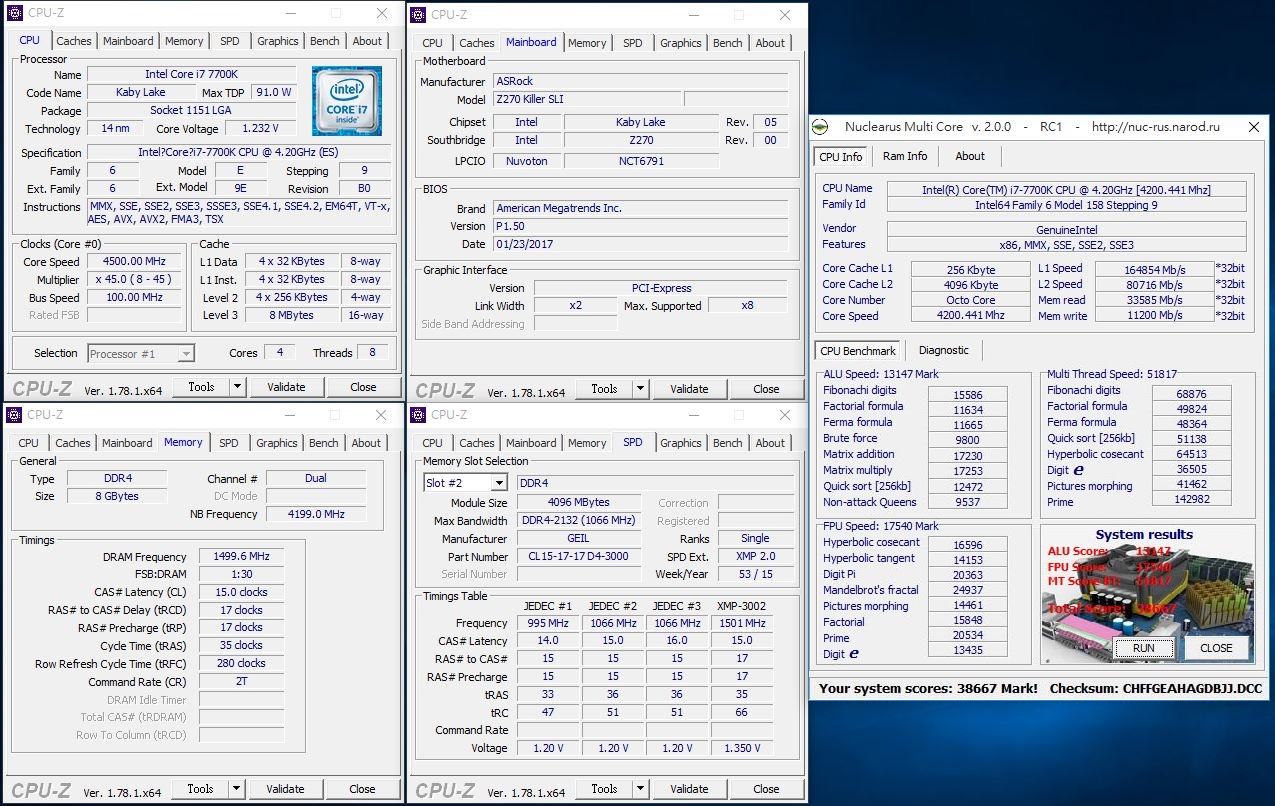
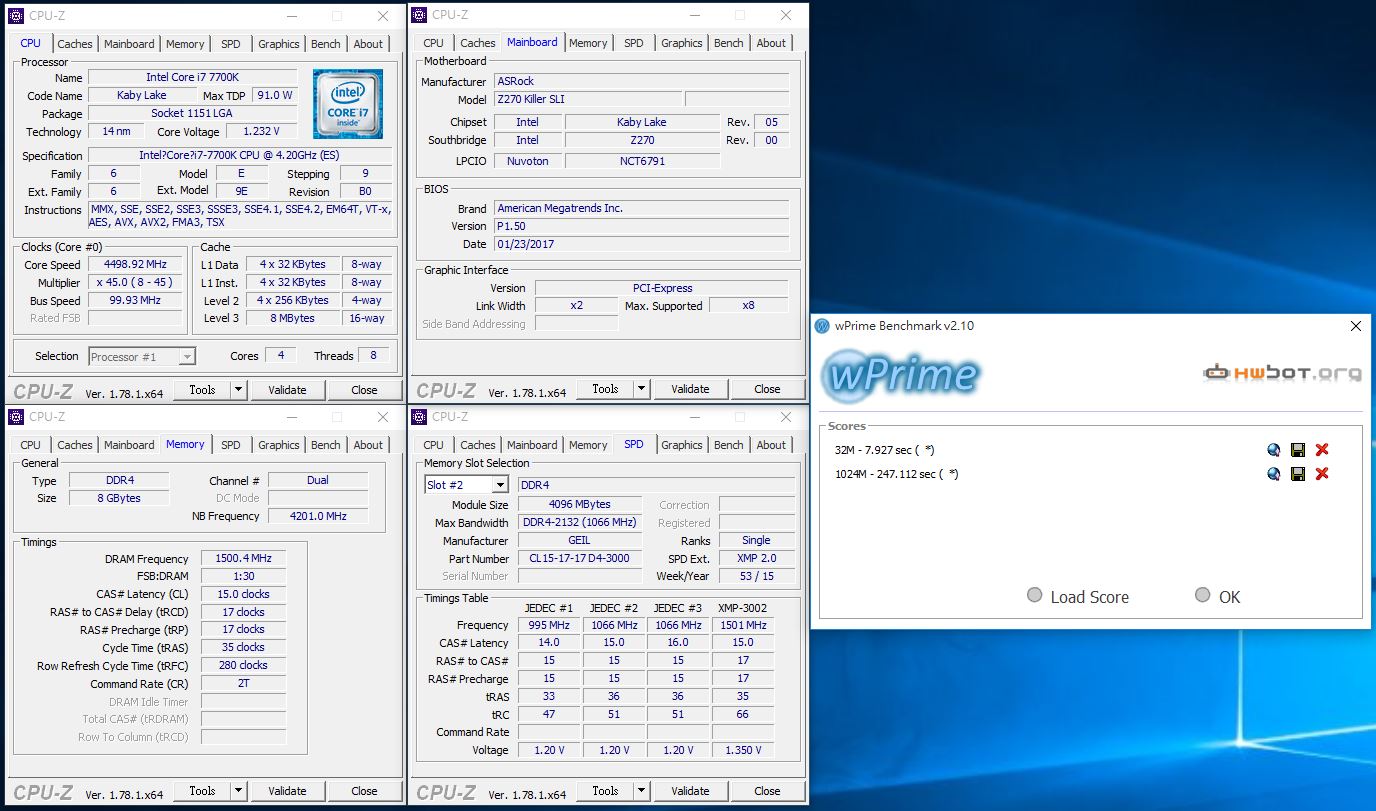
▼wPrime:32M-7.927sec 1024M-247.112sec
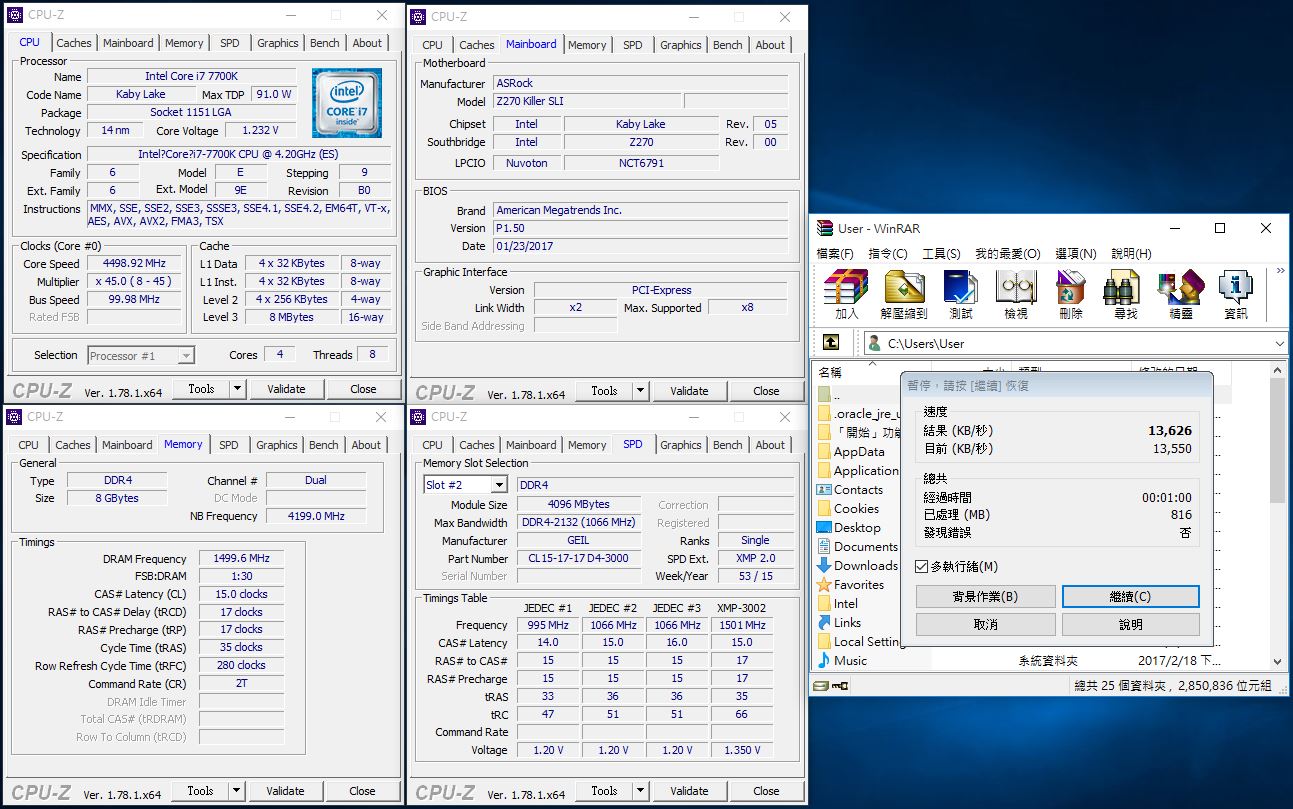
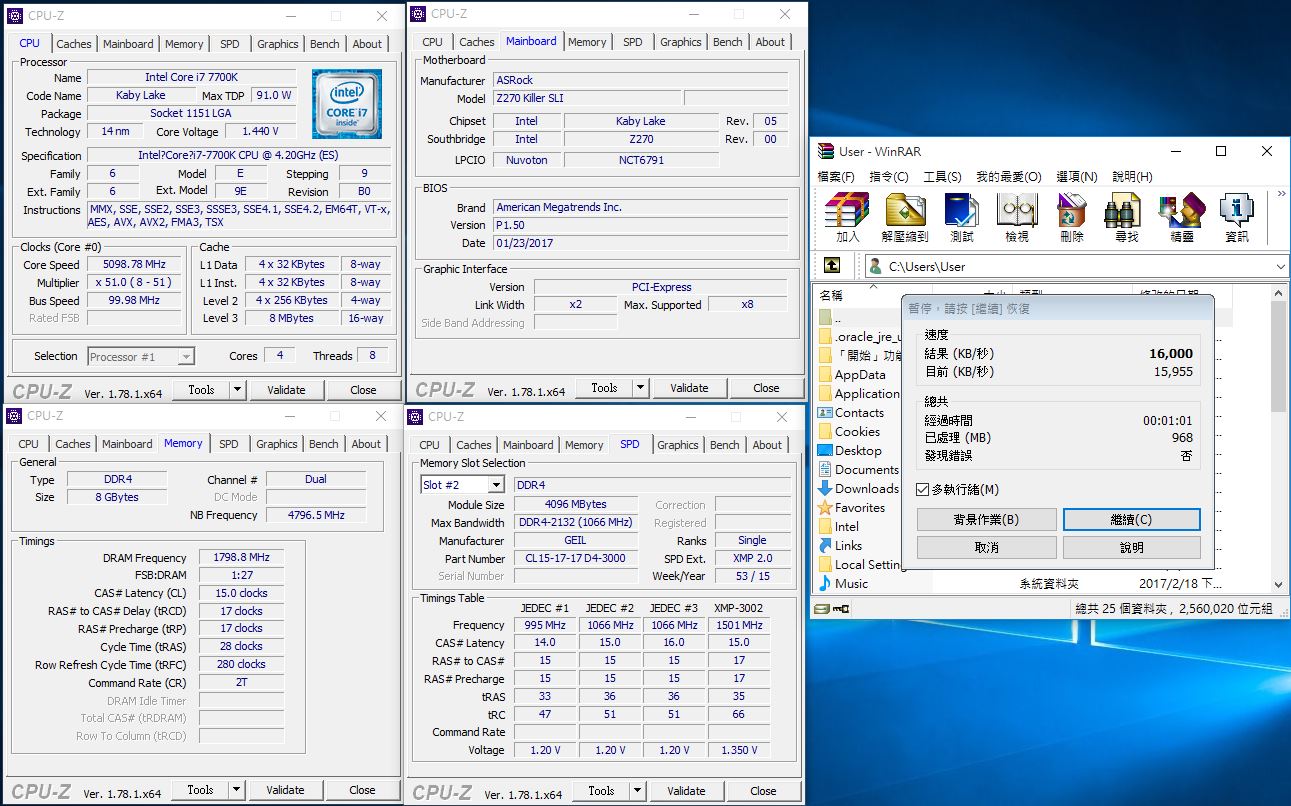
▼WinRAR:13626KB/s
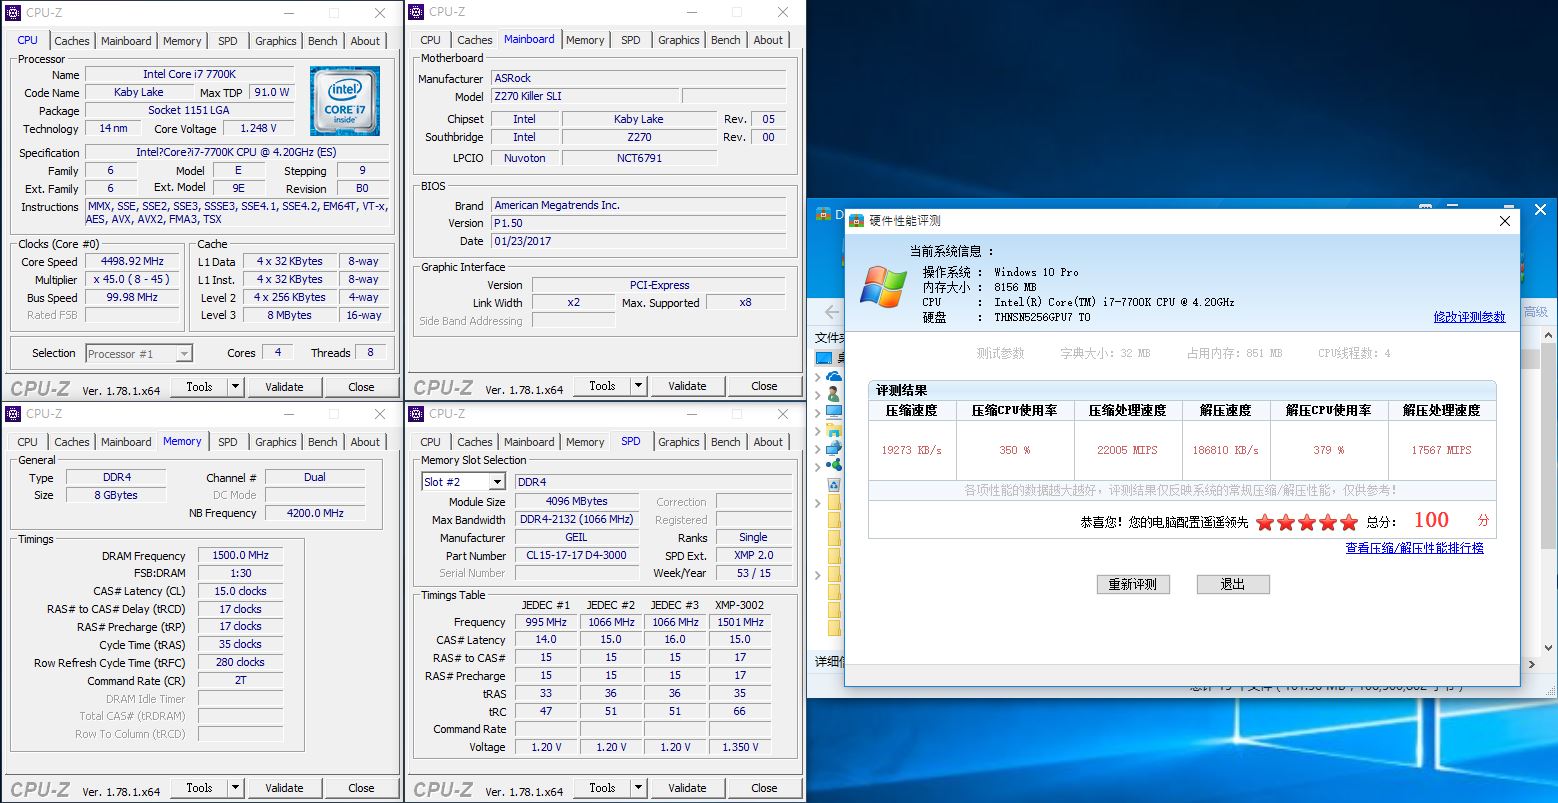
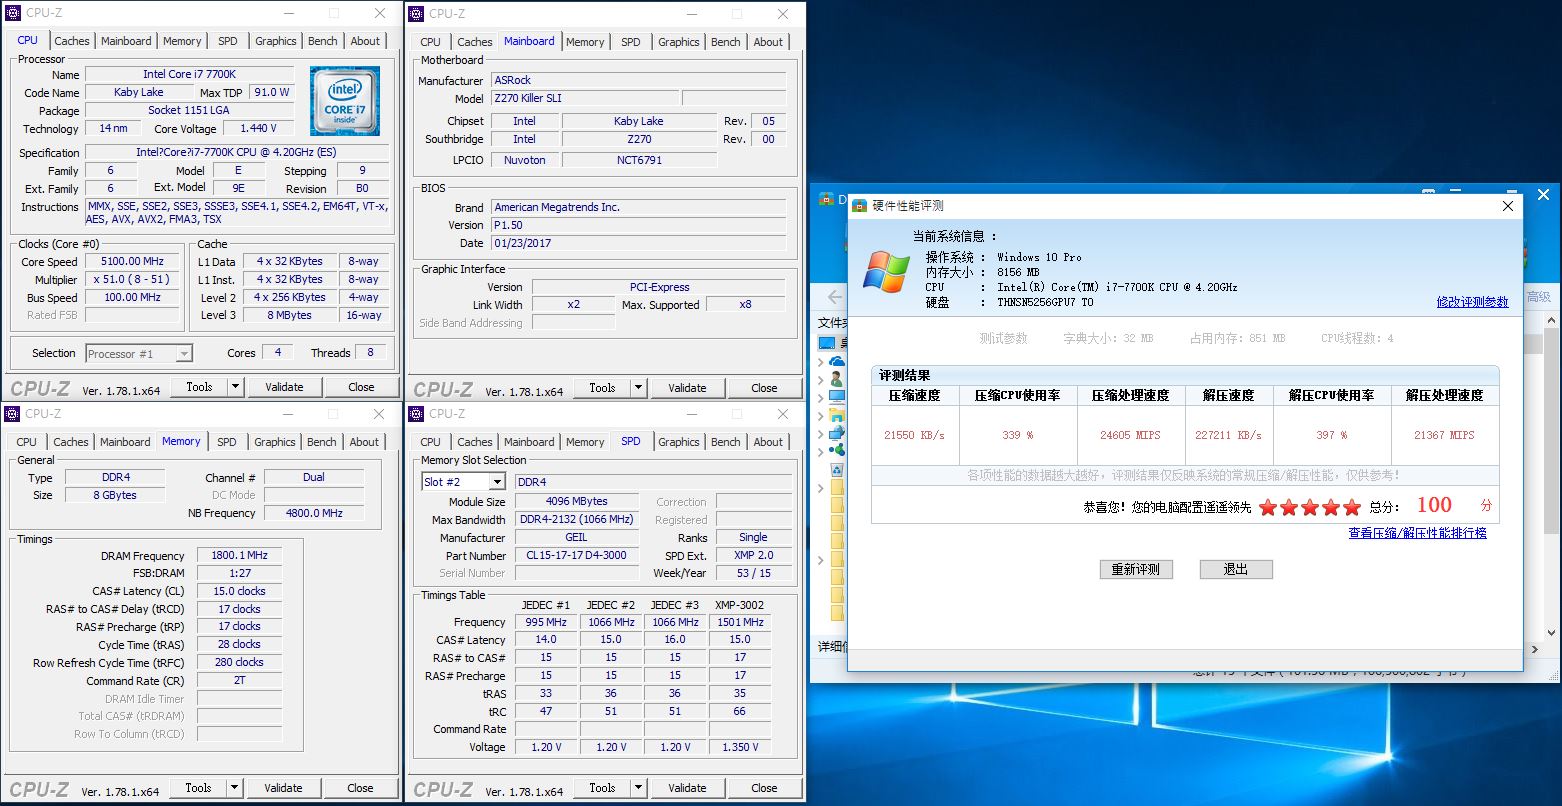
▼2345好壓
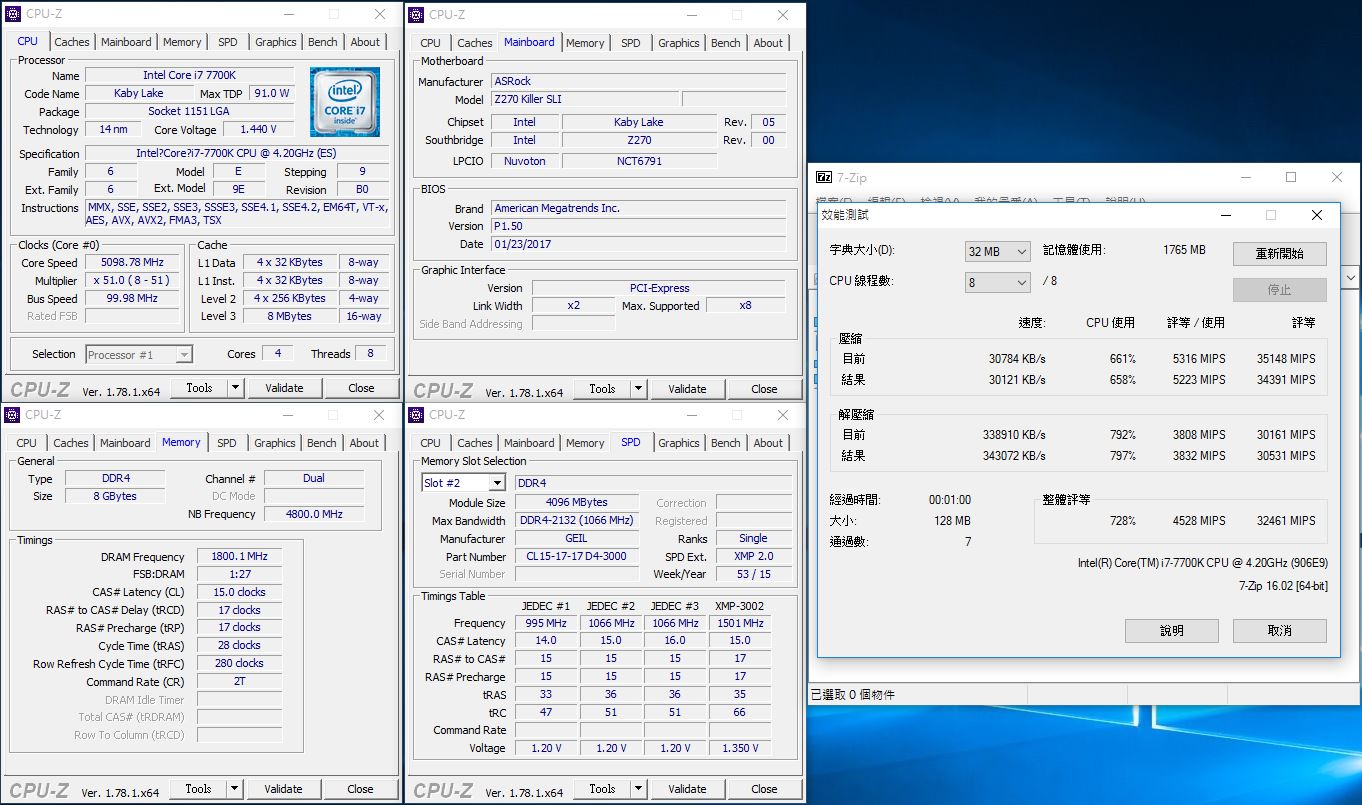
▼7Zip
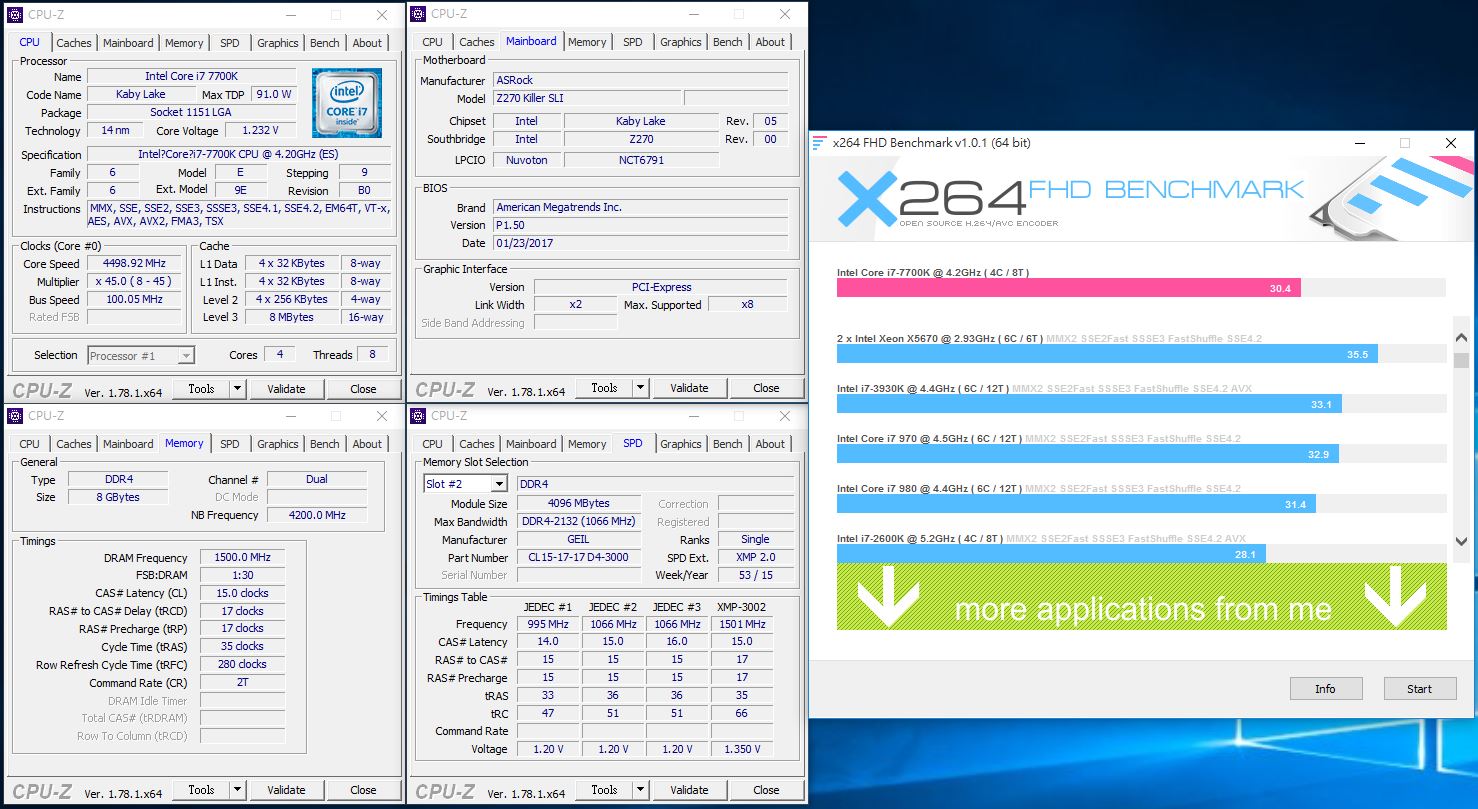
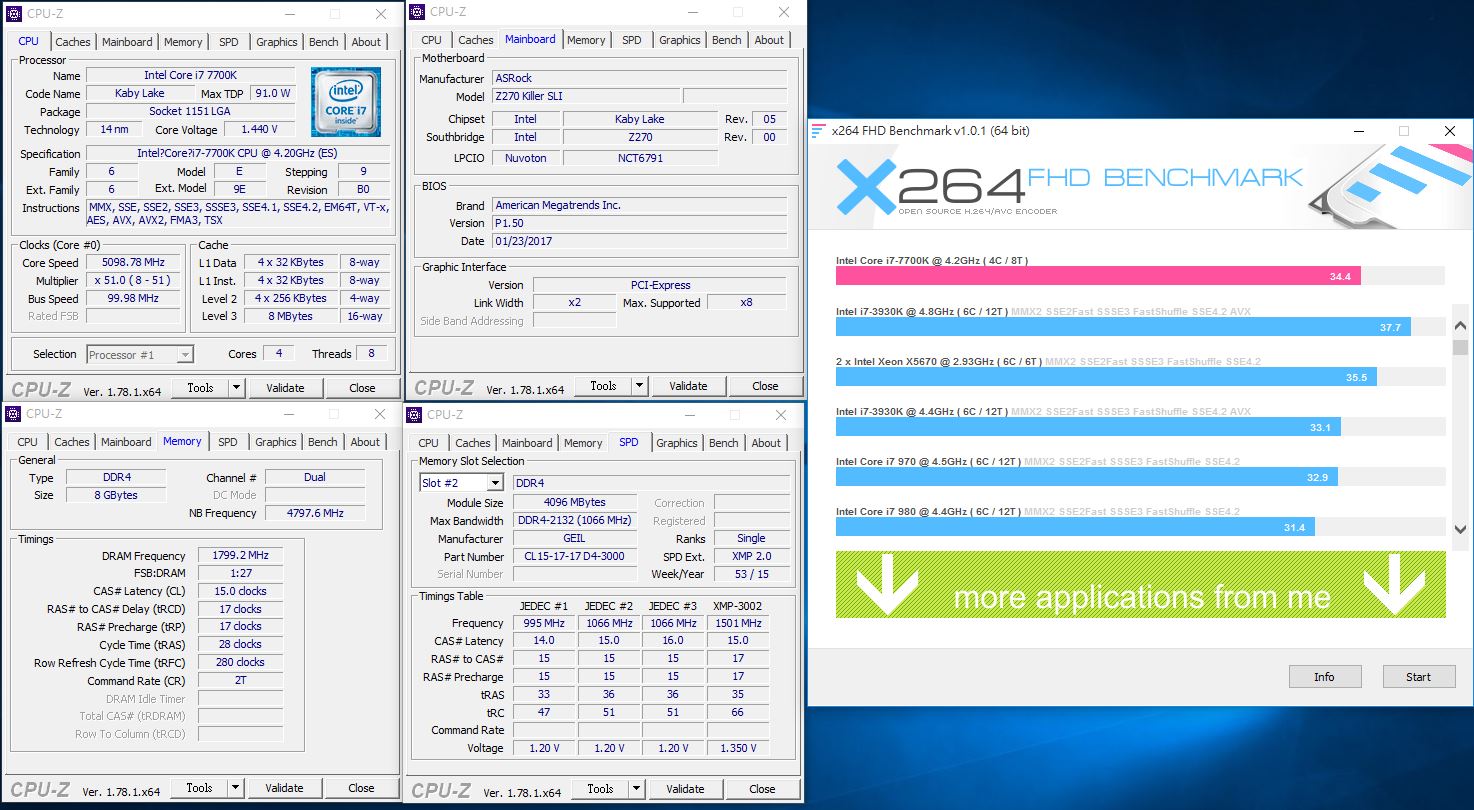
▼x264 FHD Benchmark :30.4
▼CINEBENCH R11.5
▼CINEBENCH R15
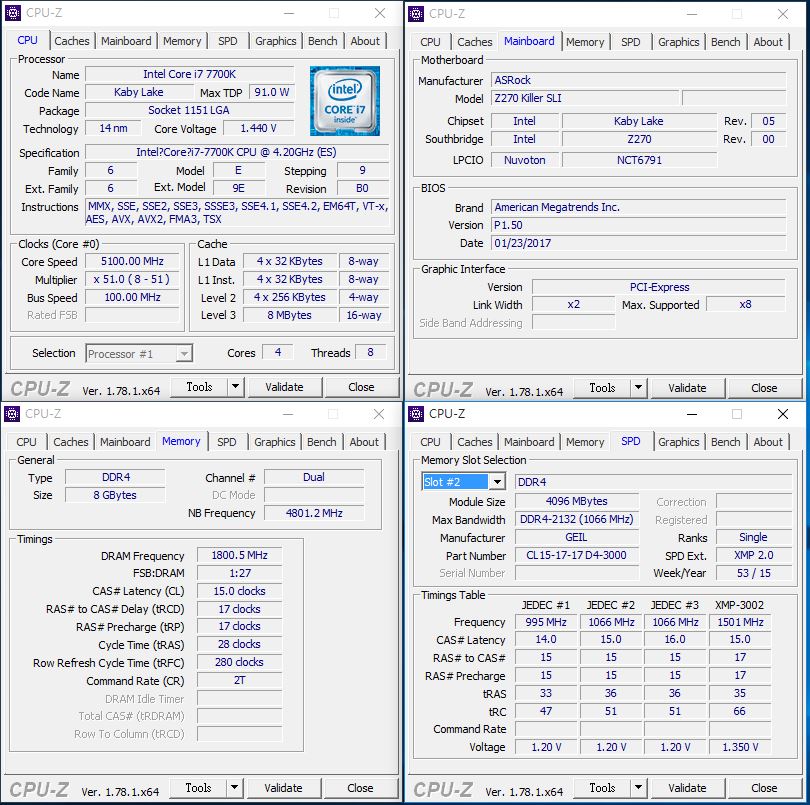
 測試平台與環境(超頻)
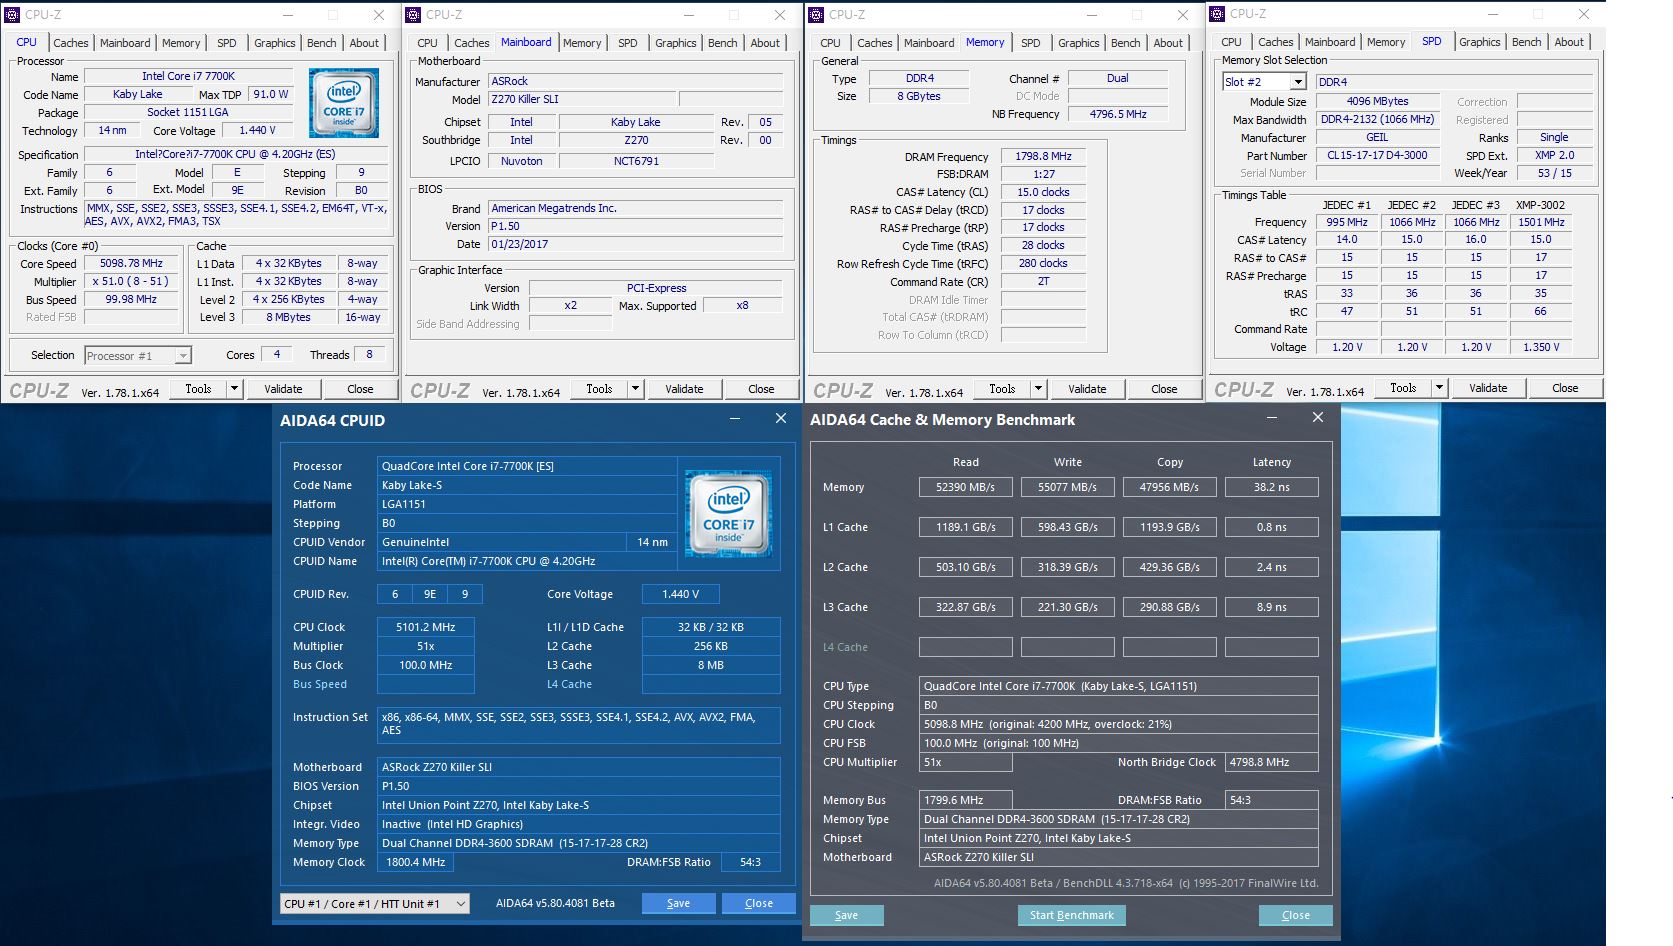
CPU:Intel i7-7700K@5.1GHz
Cooler: NZXT. Kraken™ X61
MB: ASRock Z270 KILLER SLI
RAM: GeIL DRAGON RAM DDR4-3000 8GB kit (4G*2) @DDR4-3600
Storage: Toshiba XG3 SSD M.2 2280 PCIe 256GB
PSU: Steventeam 500W
OS: Windows 10 專業版 64 Bit
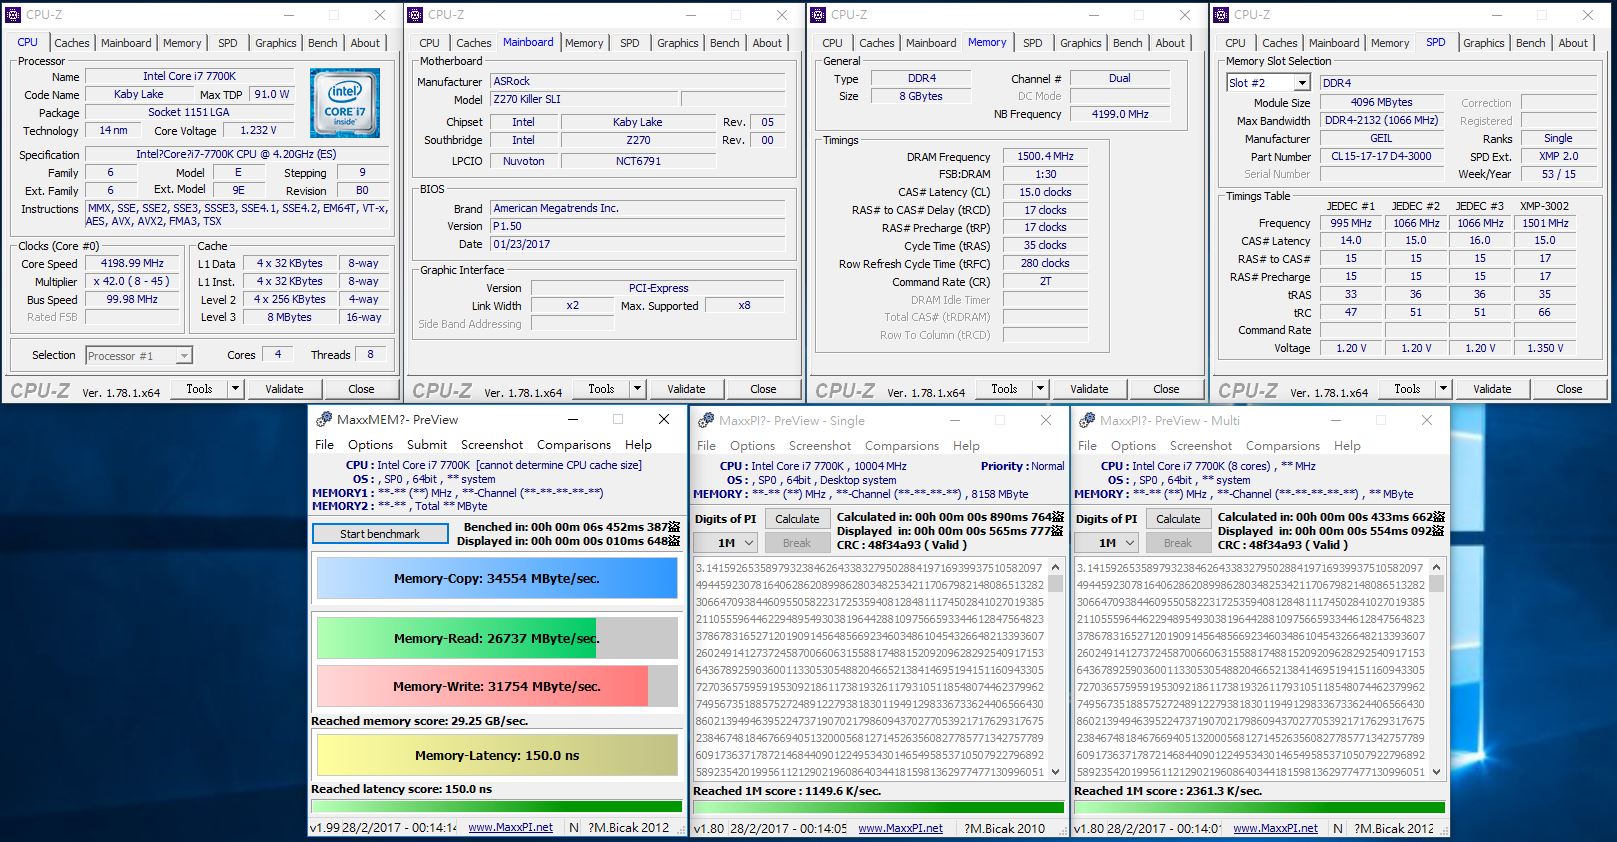
▼驗明正身
▼AIDA64 Read:52390MB/s Write:55077MB/s Copy:47956MB/s
▼Maxx系列測試程式
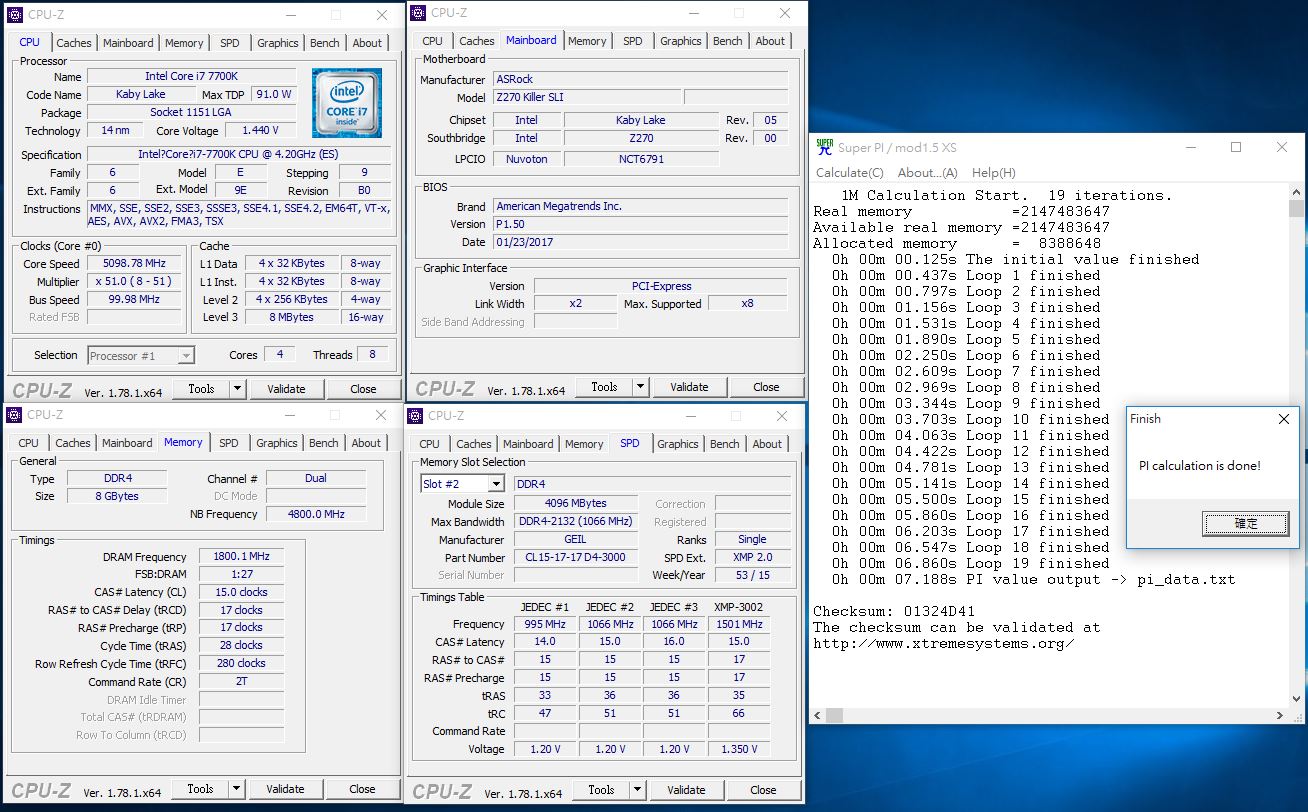
▼Super PI 1M:7.188s
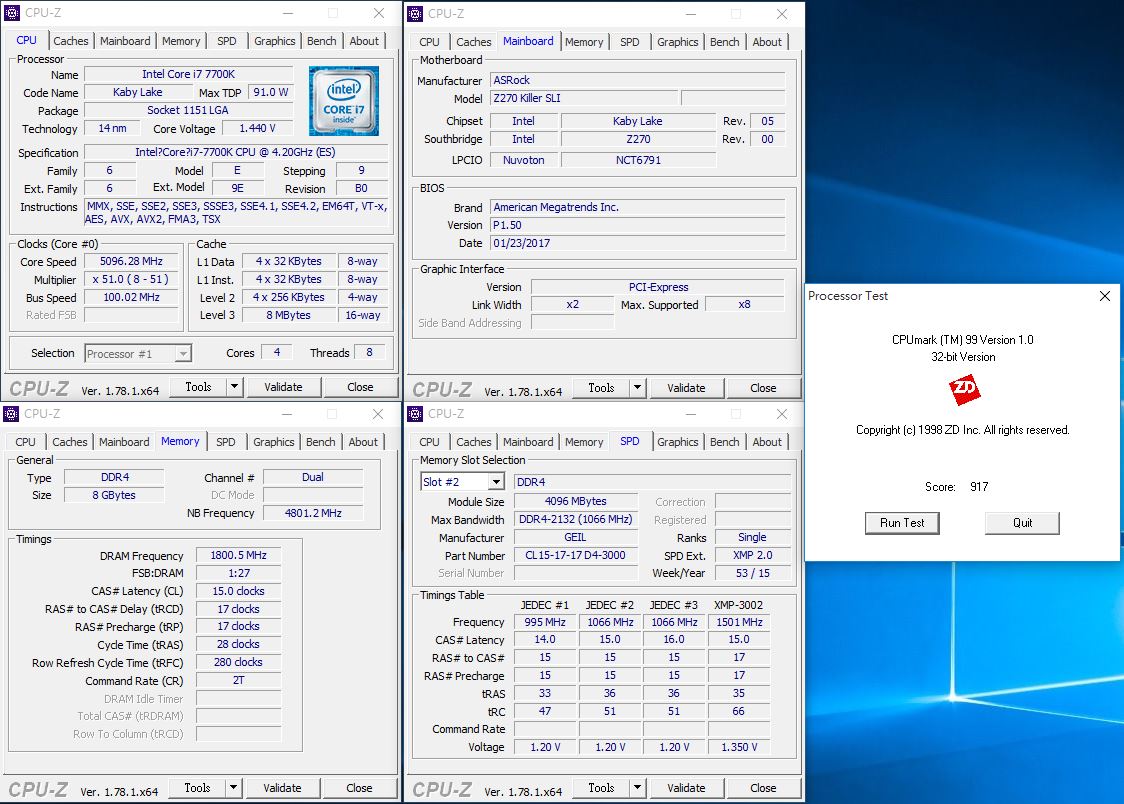
▼CPU Mark:917
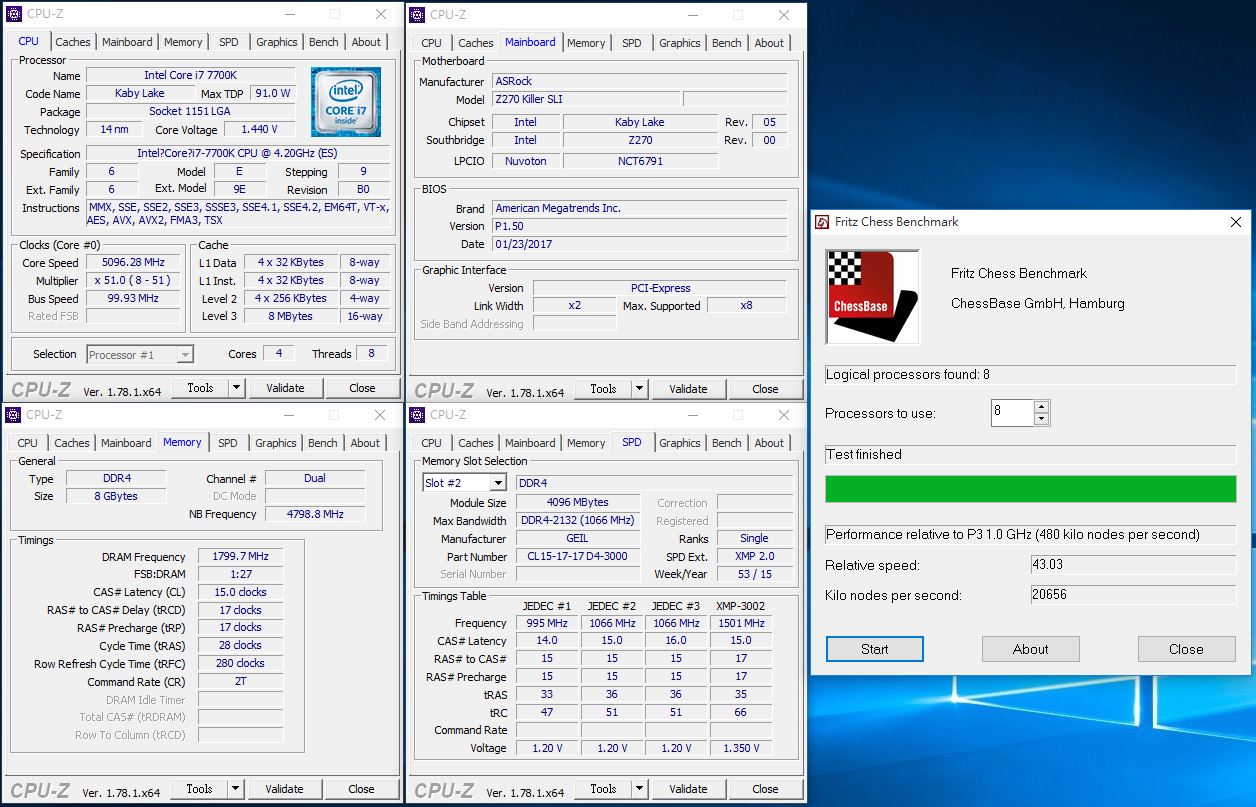
▼Fritz Chess Benchmark
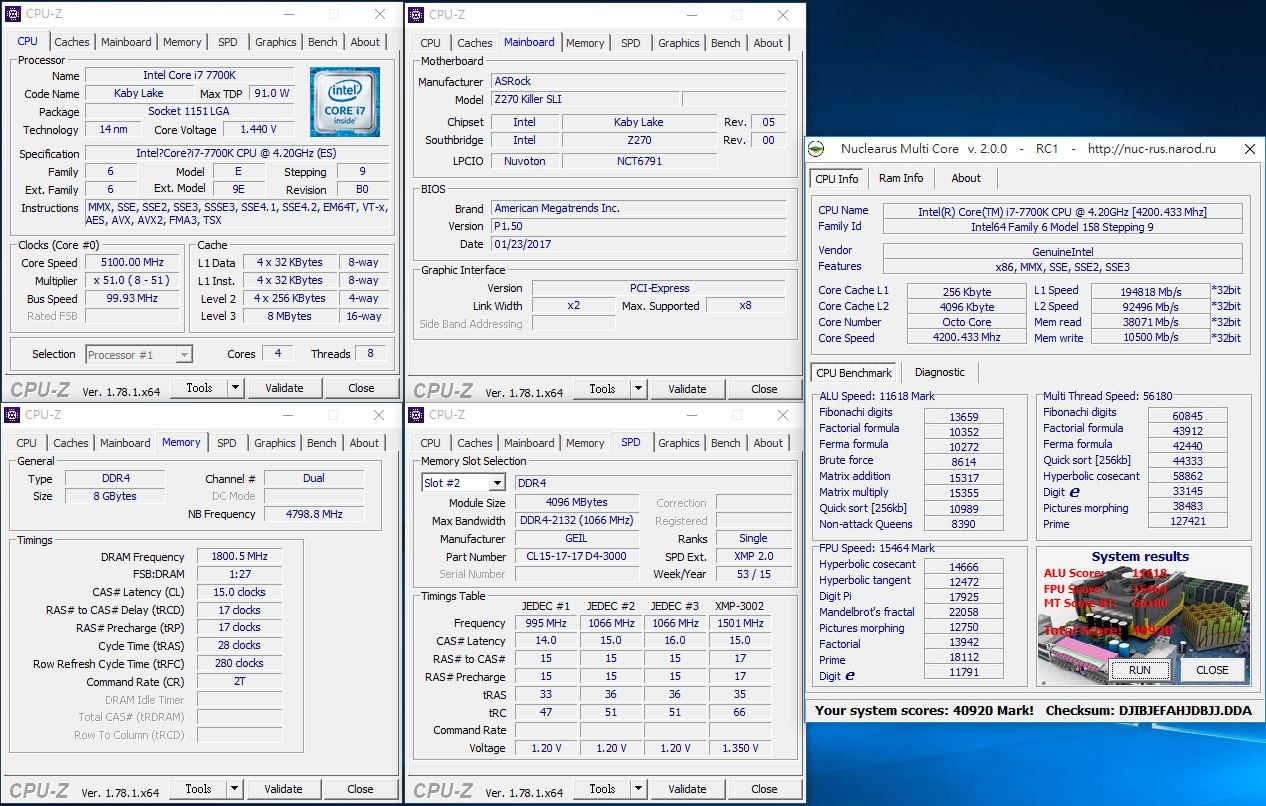
▼NuclearMC
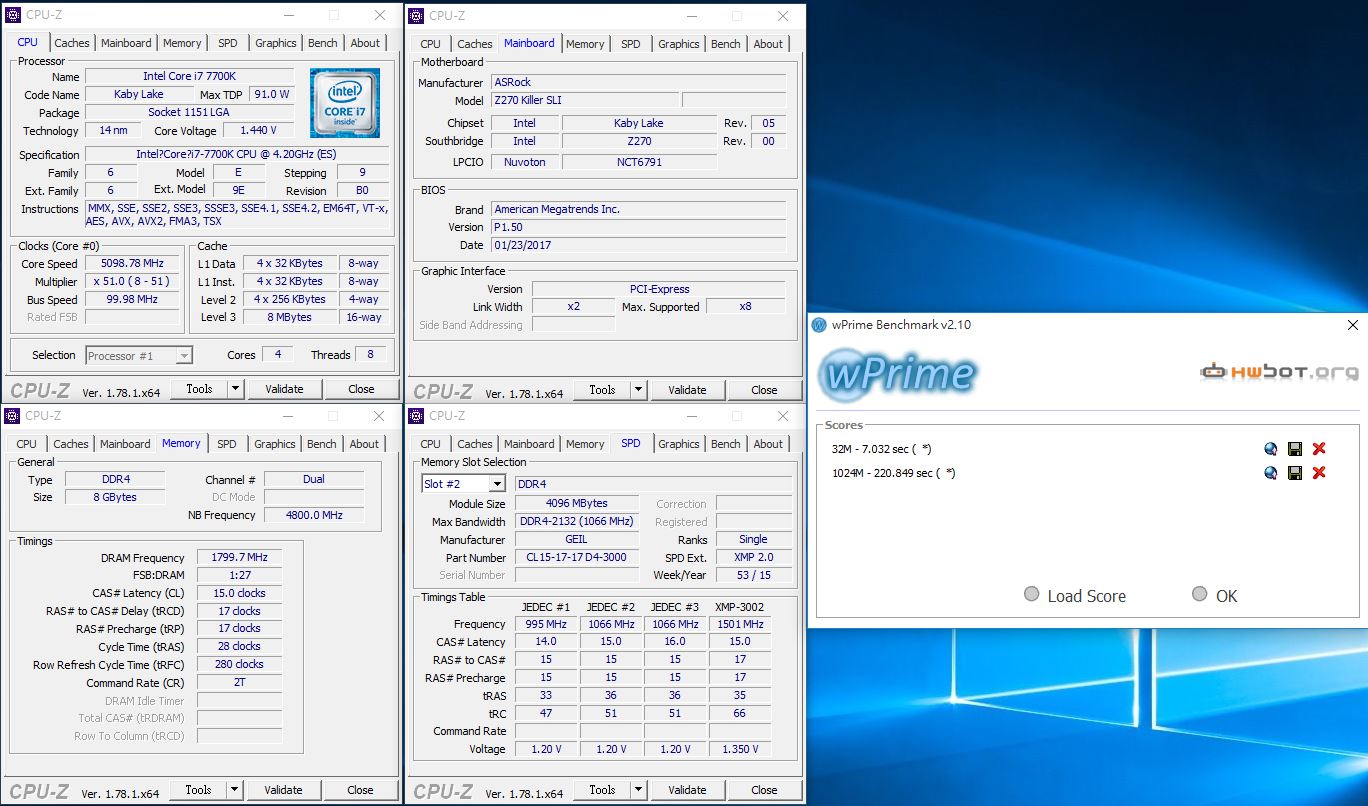
▼wPrime:32M-7.032sec 1024M-220.849sec
▼WinRAR:16000KB/s
▼2345好壓
▼7Zip
▼x264 FHD Benchmark :34.4
▼CINEBENCH R11.5
▼CINEBENCH R15

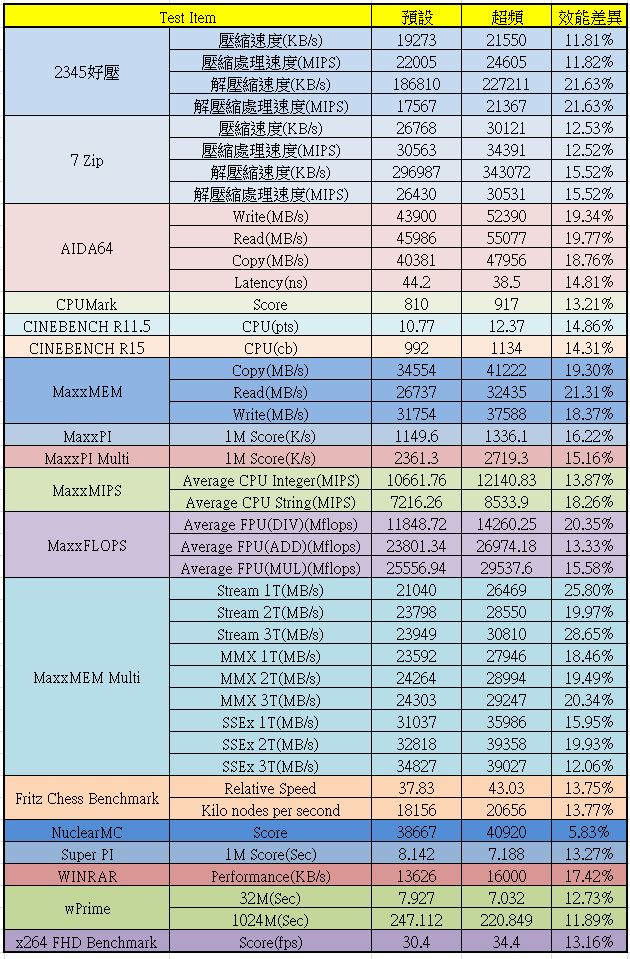
▼效能比較總表
 AURA Tool簡單介紹
▼主機板發光處
▼透過專用軟體可分別修改發光顏色、亮燈模式與亮燈速度
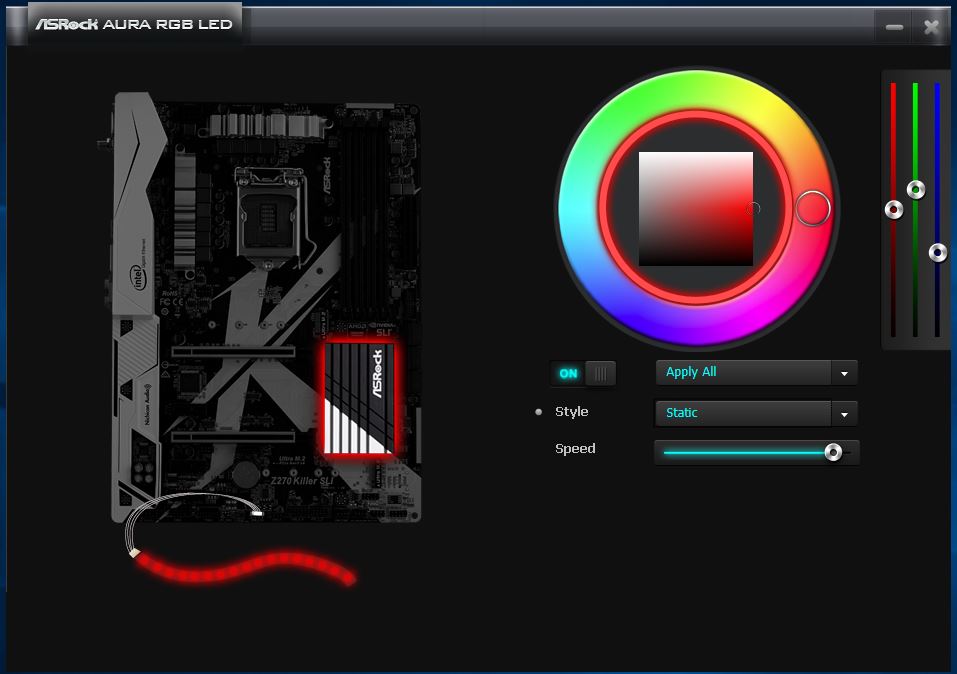
▼除了可以一次同步修改外,還可以分別針對不同地方做不同的調整
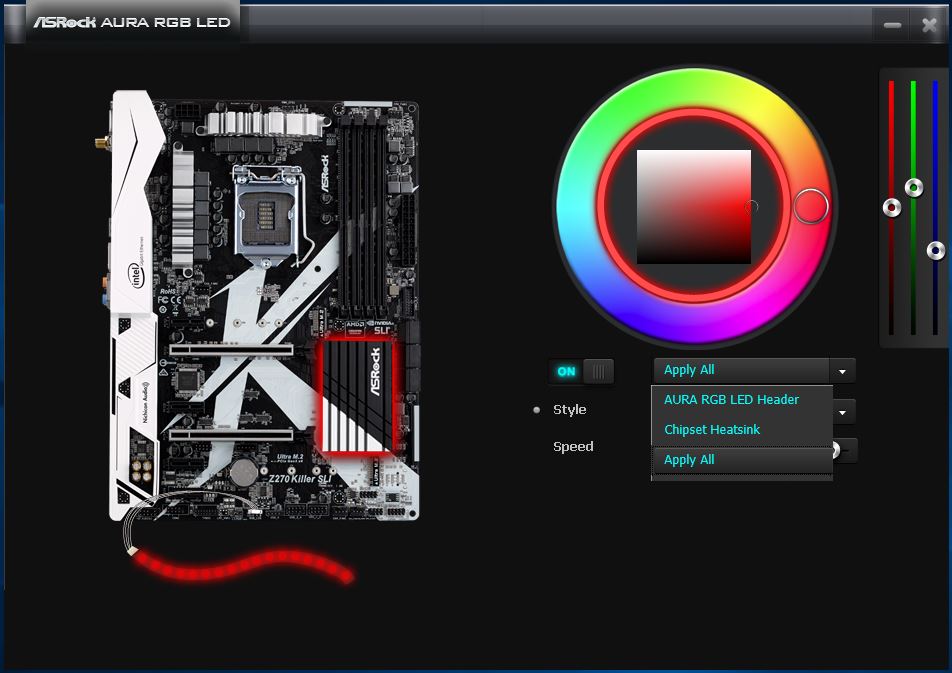
▼亮燈模式共有七種可選擇,下方還有亮燈速度可調整
 總結:
總結:這次介紹的華擎ASRock Z270 KILLER SLI雖然是入門等級的Z270產品,表現還是相當不錯,不僅用料上有用新且超頻穩定度表現優異,用料方面採用華擎超合金用料,讓整體效能與壽命大大提升,增加了不少CP值,音效部分Realtek ALC 892音效晶片搭配Nichicon Fine Gold系列音效專用電容,讓聲音效果大大提升,降低了許多雜音,讓整體音效更加逼真與震撼;在擴充部分提供了兩組Ultra M.2可安裝PCIe Gen3 x4與SATA Gen 3 SSD,SATA接頭部分提供了六組,相信也能滿足大部分的使用者,PCIe x16提供兩組擴充槽,且都導入金屬遮蓋,提降低雜訊,提高效能與訊號品質;在效能表現方面搭配i7-7700K預設表現已相當不錯,再加上ASRock Z270 KILLER SLI超頻部分又相當給力,穩定度也相當不錯,超頻後的效能真的很棒,CPU可以超頻至5.1GHz,記憶體部分可以超頻至DDR4-3600,記憶體表現相當亮眼讀寫都超過52000MB/s,BIOS調整部分設定相當容易上手與淺顯易懂,如果是超頻新手,BIOS選項內有原廠所調整出來的CPU超頻設定值,讓玩家可以輕鬆對CPU做超頻,一點壓力都沒有,這次超頻在各種測試軟體中都有5~21%的效能提升,效果相當顯著;這次還導入目前市場相當夯的AURA LED控制,主機板上還提供燈條安裝處,使用者可透過BIOS或作業系統的軟體做燈光調整與同步,整體來說功能相當齊全;保固部分原廠提供四年保固(第一年免費換新服務),並且有免費到府收送服務,讓玩家有更好與更長時間的保固方案,使用起來也更加安心與放心,值得一提的是除了全省有3間快速服務中心外,還與原價屋合作全省8間快換服務中心(一年換新)。


