
 WiFi 6網狀網路輕鬆架設,各種大坪數環境也難不倒
之前介紹過友訊D-Link的R15 AI無線路由器與E15無線延伸器,可以滿足兩層樓大空間的無線網路需求,這次要介紹『M15』Wi-Fi 6 Mesh雙頻無線路由器,Mesh網狀網路用非常簡單的方式就可以輕鬆增加無線網路訊號涵蓋率,M15 WiFi規格為802.11ax,傳輸速率最高提供1500Mbps(1.2Gbps+300Mbps),官方標示一台約可涵蓋65坪的建築物,還搭載OFDMA與雙向MU-MIMO技術,多裝置同時連線也能高速飆網,最高支援128個裝置連線,有線網路提供一組Giga LAN與一組Giga WAN;功能方面與R15相同,搭載多款AI智慧功能,管理與監控路由器更簡單方便,當發現訊號涵蓋率不足時,再拿一台M15安裝,就可立即拓展訊號強度,馬上就來看友訊D-Link M15 AX1500 Wi-Fi 6 Mesh雙頻無線路由器帶來的便利性與優質的WiFi 6網路環境吧!
友訊D-Link M15 AX1500 Wi-Fi 6 Mesh雙頻無線路由器包裝與本體▼外包裝標示產品型號、外型、保固與特色,支援語音助理

▼背面標示AI智慧特色說明與可搭配多台M15 Mesh雙頻無線路由器打造更大訊號涵蓋範圍

▼側邊標示提供App軟體與產品特色說明


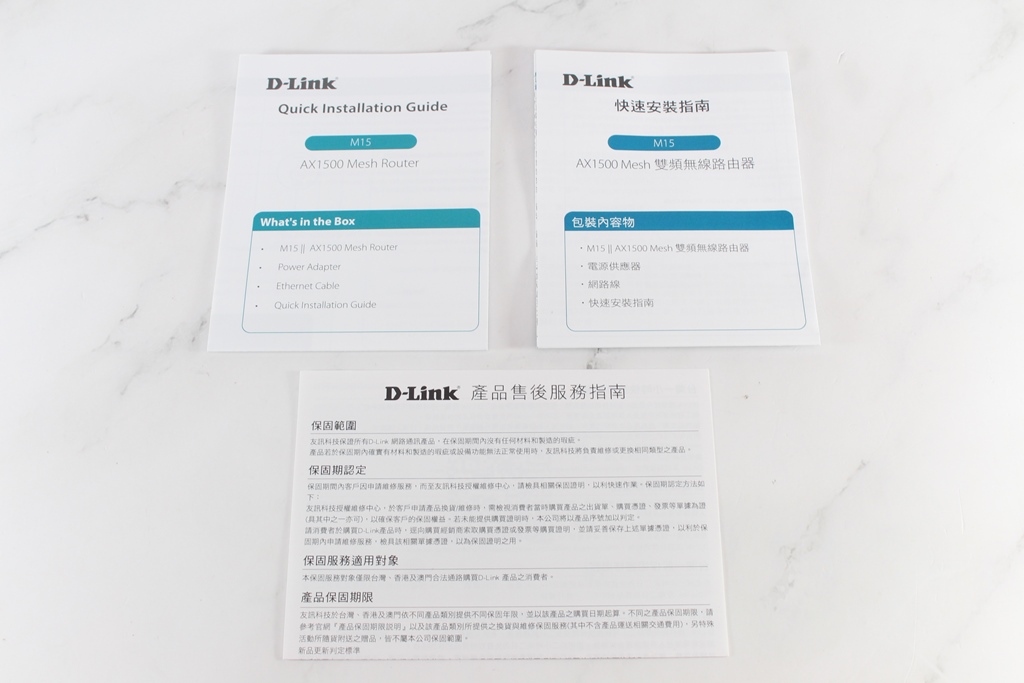
▼上方標示產品型號,底部標示產品系統需求、包裝內容物與諮詢服務專線


▼配件:快速安裝指南、保固書、變壓器、網路線與多國插頭替換,變壓器規格為12V/1A


▼M15 Mesh雙頻無線路由器本體一覽,採用淡藍色搭配全白機身,前方有指示燈號,後方為I/O分別為電源輸入、Giga WAN、Giga LAN、Reset按鈕與WPS按鈕

▼頂部採用淡藍色上蓋,周圍有造型開孔,可增加散熱效果

▼兩側造型簡約俐落

▼底部有四個墊高腳座與產品資訊貼紙,底部大面積的簍空設計提高散熱效果

 超簡單設定
超簡單設定▼安裝App軟體EAGLE PRO AI後即可進行超簡單的設定

▼掃描機器背面的QR Code即可新增產品

▼按照提示步驟操作即可

▼等到指示燈號閃橘燈即可開始做設定

▼設定無線網路SSID、密碼與登入路由器裝置密碼

▼設定語音助理呼叫裝置名稱

▼WiFi與設備設定資訊確認

▼設定完畢後會連線到剛剛設定的WiFi網路

▼進入App後可以看到剛剛設定的M15

▼進入M15後可以看到目前網路架構,還可以查看Wi-Fi狀態、AI助理與網路連線速度,下方可以設定家長控制、語音助理、裝置優先與健康模式

▼點M15裝置進去可以查看基本資訊與設定

▼延伸部分因為還沒有設定,所以會顯示並未安裝

▼用戶端查看可以看主要區網與訪客網路的連線裝置

▼Wi-Fi可以調整是否開啟並分享Wi-Fi

▼AI助理訊息

▼網路速度可以線上測試

▼家長控制可以將裝置加入,並設定可以上網的時間與禁止瀏覽的網頁

▼設定檔可設定開啟或關閉,排成可設定上網時間,過濾器可設定禁止瀏覽的網頁

▼設定斷網路時間與可使用網路的時間


▼加入關鍵字過濾黑名單,防止小朋友上色情網站

▼裝置優先權設定

▼設定語音助理,支援Alexa與Google語音助理

▼健康模式可以設定網路在幾點後就斷網,讓小朋友可以乖乖去睡覺

▼詳細設定則是進入網頁模式設定,裡面有更多詳細的設定項目

▼基本設定項目,包含網際網路、無線網路與區域網路

▼功能設定項目,包含家長控制、QoS、防火牆、VPN…等

▼系統管理項目,可線上更新韌體

透過簡單幾個步驟就可以把繁雜的網路設定搞定,接下來就把其他的M15機器做延伸設定,設定方式依然很簡單!
▼掃描QR Code後就可搜尋到另一個M15裝置

▼詢問是否延伸已設定好的M15網路

▼選擇使用無線方式延伸

▼按照提示訊息操作即可輕鬆設定

▼已設定完畢的無線網路資訊確認

▼設備放置提示與同步網路設定中

▼確認M15擺放位置

▼設定完畢後,進入M15主機就可以看到有一台訊號延伸器

▼點進去可看到另外兩台M15裝置詳細資訊
 實際傳輸與上網速度測試
▼以下是室內格局,樓層為兩層(樓層高度為2米8),D-Link M15放在中間位置,可兼具前後兩個空間的收訊涵蓋率,上層隔間較多(筋水泥牆壁厚度約13公分),所以測試點A的房間再用一台M15做訊號加強,下層無隔間,也用一台M15強化訊號,採用Speedtest by Ookla測試網路速度,網路為光世代100M/40M

▼測試點A使用Speedtest by Ookla測試網路速度,下載98.56bps,上傳36.91Mbps,Ping 2ms,在測試點A連線的M15 2.4G訊號平均強度為98.0,5G訊號平均強度為92.5

▼測試點B使用Speedtest by Ookla測試網路速度,下載94.14Mbps,上傳38.75Mbps,Ping 5ms,在測試點B連線的M15 2.4G訊號平均強度為93.6,5G訊號平均強度為86.6

▼測試點C使用Speedtest by Ookla測試網路速度,下載99.84Mbps,上傳40.04Mbps,Ping 4ms,在測試點V連線的M15 2.4G訊號平均強度為98.1,5G訊號平均強度為99.0

▼測試點D使用Speedtest by Ookla測試網路速度,下載98.97Mbps,上傳39.87Mbps,Ping 4ms,在測試點D連線的M15 2.4G訊號平均強度為95.9,5G訊號平均強度為93.3

▼測試點E使用Speedtest by Ookla測試網路速度,下載76.36Mbps,上傳39.67Mbps,Ping 4ms,在測試點E連線的M15 2.4G訊號平均強度為96.7,5G訊號平均強度為94.1,因為隔樓層關係可以看到上層兩台M15的訊號都稍微有衰減,連線速度還算不錯
 總結
總結友訊D-Link M15 AX1500 Wi-Fi 6 Mesh雙頻無線路由器表現依然很不錯,App設定介面相當簡單淺顯易懂,簡單幾個步驟,就可以輕鬆在5分鐘內把網路設定完畢,如果要設定多台M15也很方便,掃描QR Code後按照指示步驟就可以搞定!規格方面符合802.11ax標準,最高傳輸率為AX1500Mbps,還擁有OFDMA與雙向MU-MIMO多用戶同時收發技術,讓多人同時連線也能順暢高速飆網,要聚會或是開趴也不怕網路塞車,實測訊號強度表現還不錯,同一層的實測訊號涵蓋率有一定水準,下層的測試點訊號與網路速度稍微會有衰減狀況,所以再加上一台M15強化訊號涵蓋,讓網路速度可以維持在順暢不卡頓狀態,如果有大範圍或跨樓層需求的用戶就可以透過多台M15多點強化訊號,達到更好的訊號涵蓋率,完美解決訊號死角問題,保固方面提供三年服務,想輕鬆打造WiFi 6 Mesh網狀網路嗎?友訊D-Link M15 AX1500 Wi-Fi 6 Mesh雙頻無線路由器是個不錯的口袋名單。
喜歡我們的文章可以追蹤我們,可以看到更多開箱文與業界消息
 https://www.facebook.co...ardware/https://3cjohnhardwar...ess.com/


