說到ASUS STRIX電競系列產品,我對其有所接觸,就是從不久前購買的STRIX-GTX960-DC2OC-2GD5顯示卡開始(請參考:
【開箱】兼顧效能與耗電,靜音運作的ASUS Strix梟鷹 GTX960顯示卡)。ASUS從去年開始提供此系列包括顯示卡、耳麥、滑鼠、鼠墊、鍵盤等產品。而STRIX一詞,是源自於古希臘羅馬字「貓頭鷹」。由於貓頭鷹聽力敏銳、視力清晰,ASUS以STRIX做為中高階電競系列產品名稱,代表此系列產品一樣擁有高品質和設計質感,讓預算不夠購買ROG電競系列產品的使用者,可用較便宜的價格,買到ASUS的電競系列產品。所以,這次有機會體驗STRIX系列的TACTIC PRO機械式電競鍵盤、CLAW電競滑鼠與PRO電競耳麥,然後搭配原有的GTX960-DC2OC-2GD5顯示卡與GLIDE SPEED電競鼠墊,真的是梟鷹電競戰隊全員出擊!
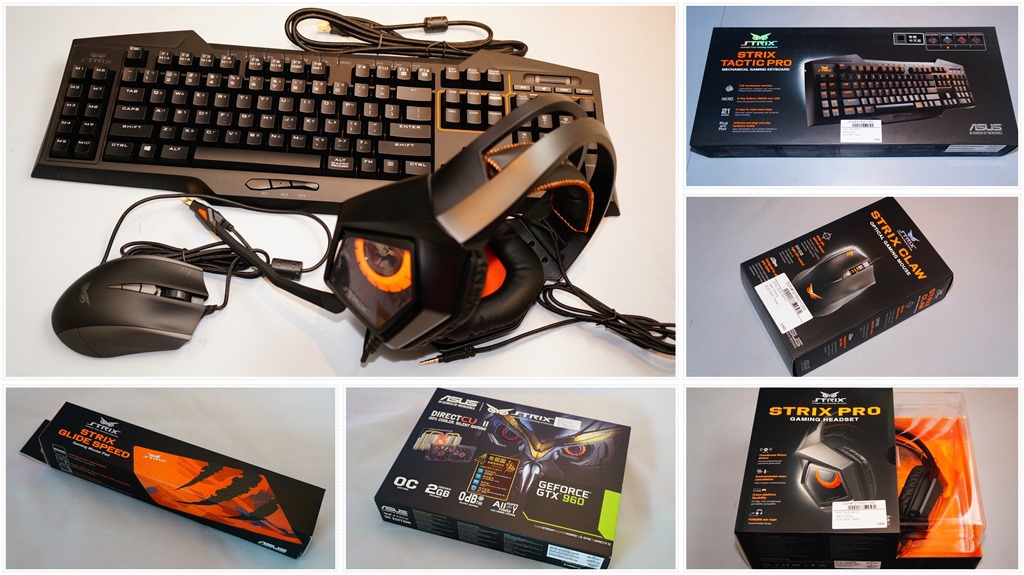
廢話不多說,就分別幫這三項電競產品開箱吧!

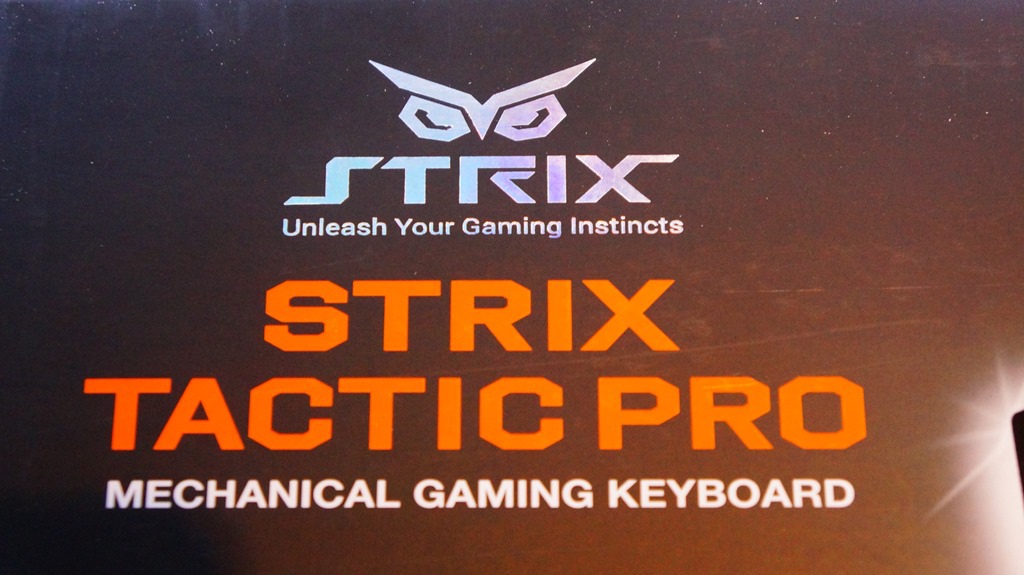
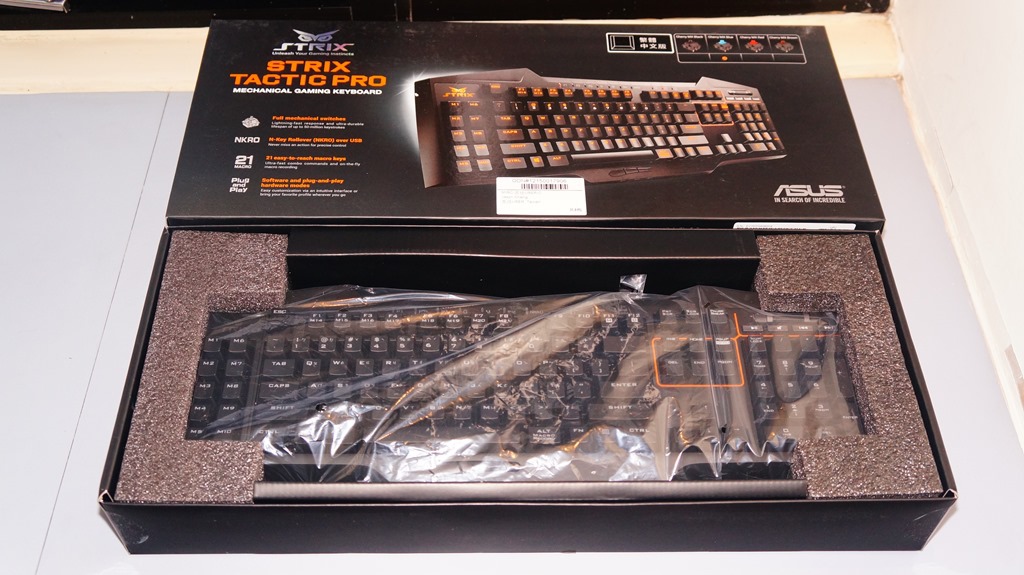
以黑色為主體顏色的TACTIC PRO機械式電競鍵盤外盒正面。
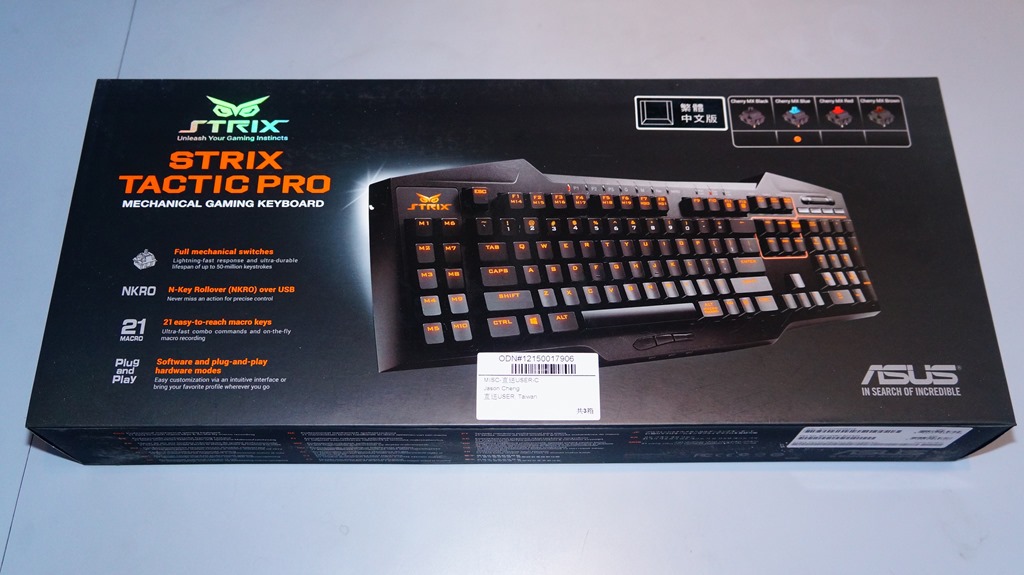
左上方的STRIX標誌。而標誌下方的文字,就是透過STRIX系列產品,使用者可以順從自己的遊戲直覺。
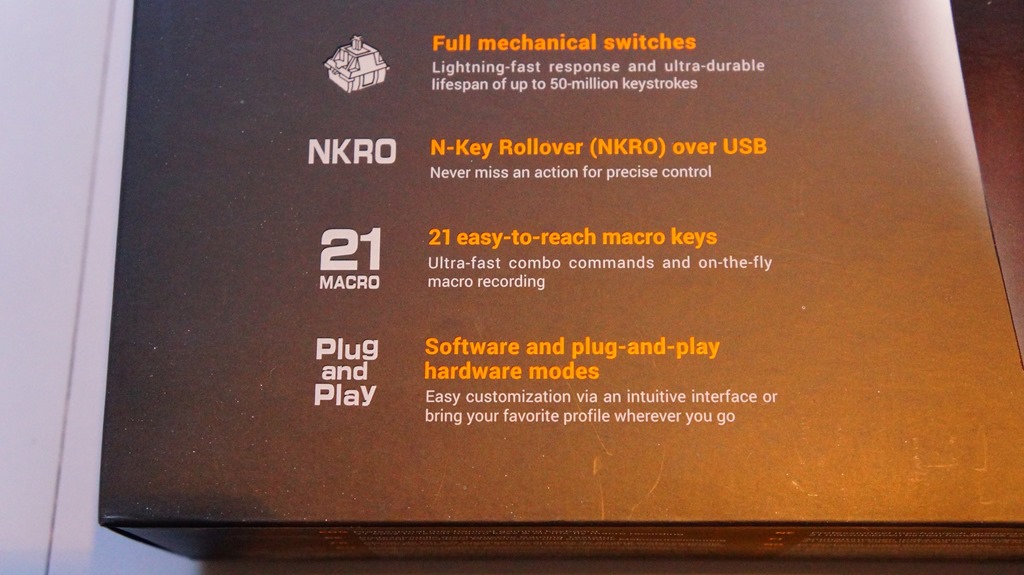
左下方介紹了這把機械式電競鍵盤的特點,包括使用全機械軸設計、N-KEY不衝突功能、21個可自訂指令的個人化按鍵,以及隨插隨用功能。
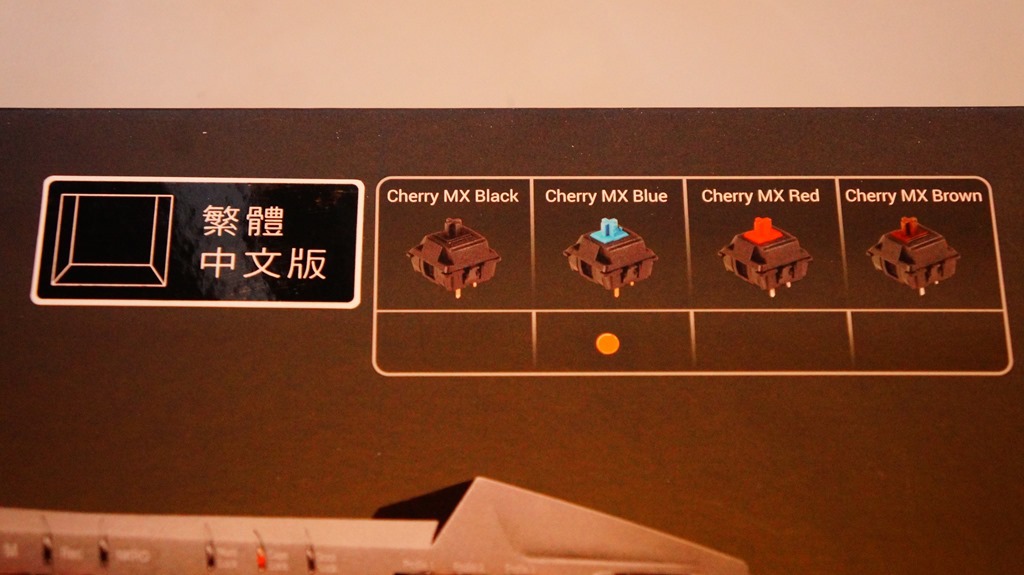
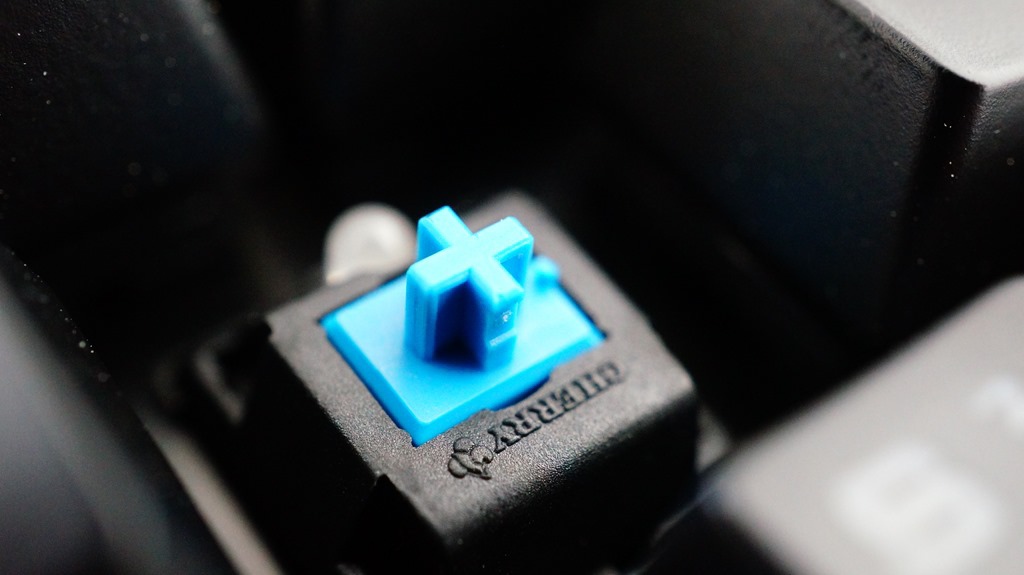
Cherry MX機械軸常見的有黑、青、紅、棕四種。TACTIC PRO機械式電競鍵盤使用的,是Cherry MX青軸。
STRIX TACTIC PRO機械式電競鍵盤外盒背面。
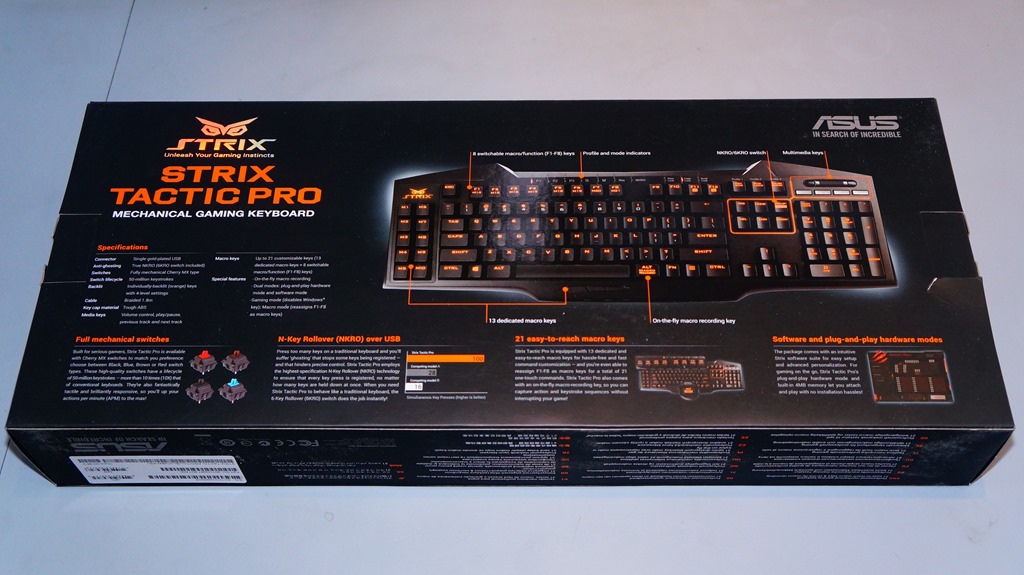
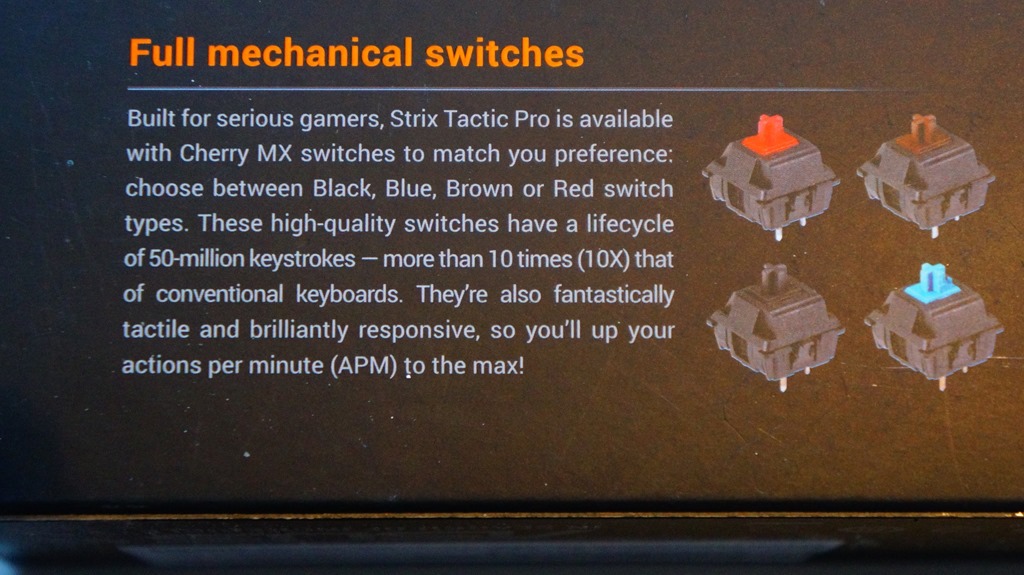
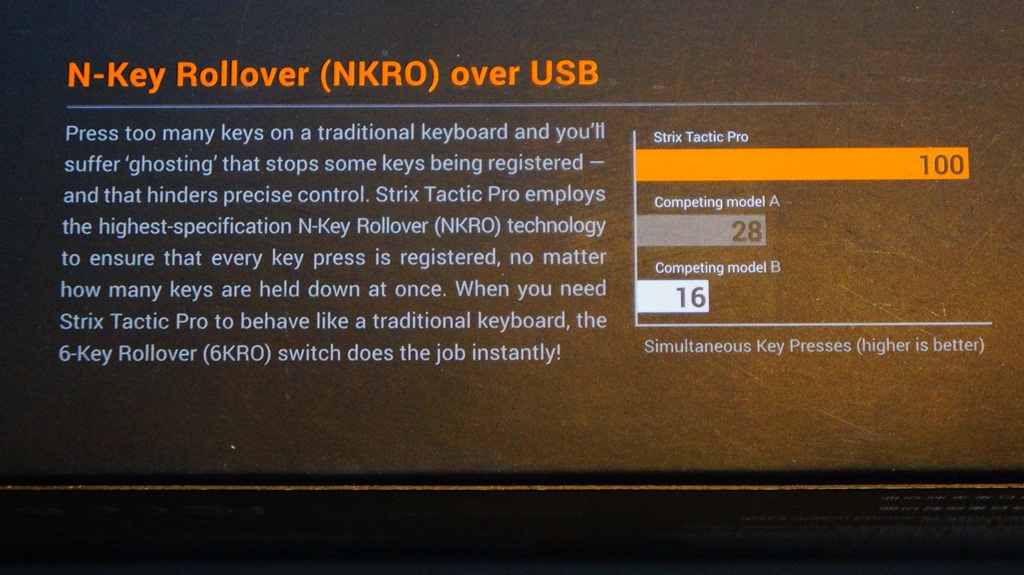
對全機械軸設計的詳細介紹。而Cherry MX機械軸按鍵的使用壽命, 可承受五千萬次敲擊。
使用USB連接PC的TACTIC PRO機械式電競鍵盤,可提供100% N-KEY不衝突功能(包含 6KRO 切換功能),這是其它競爭對手所達不到的。
內建公用程式軟體,提供了軟體與硬體模式設定功能。

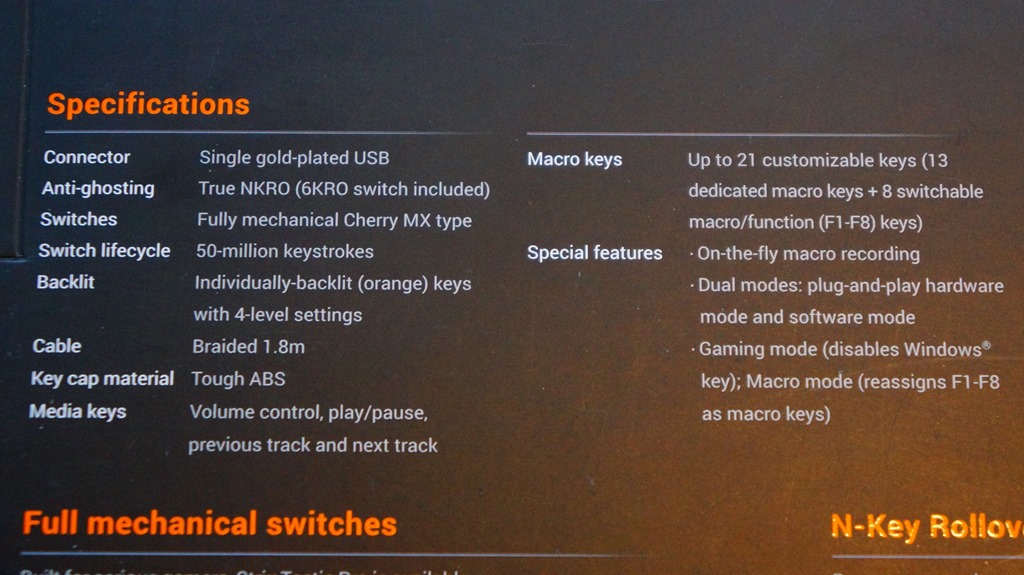
STRIX TACTIC PRO機械式電競鍵盤的規格介紹。
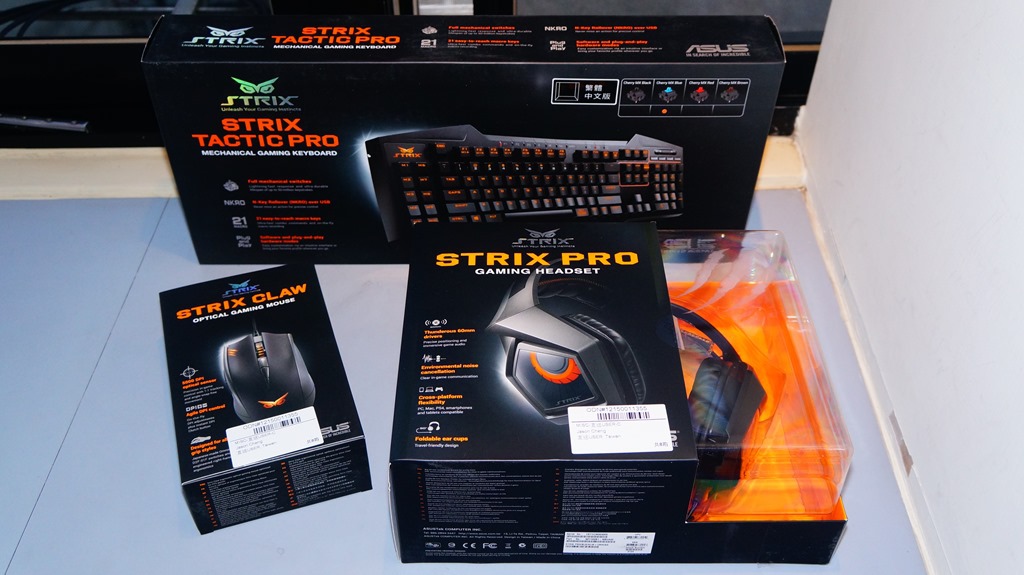
開盒取出所有物品啦!
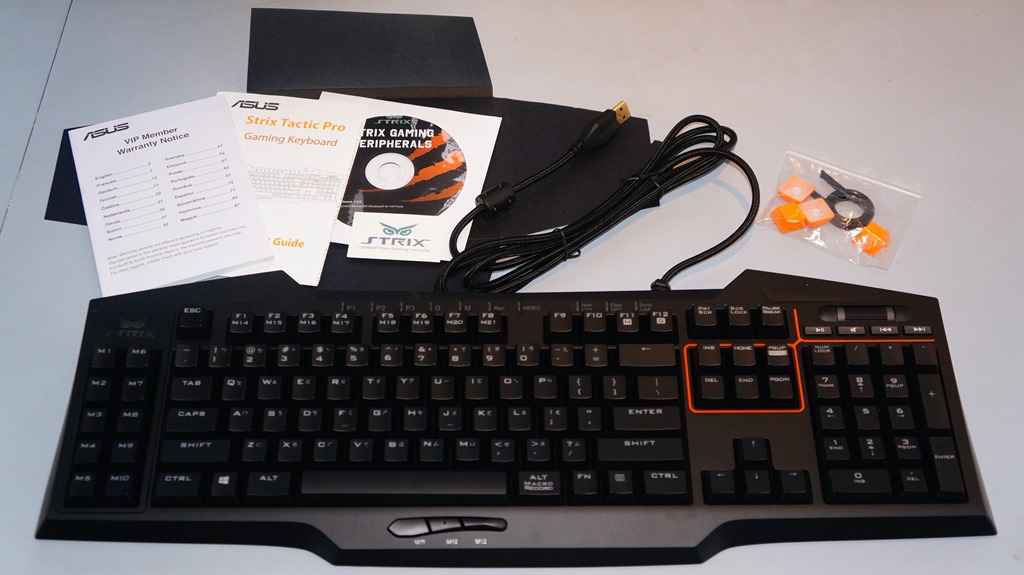
盒內所有物品,除了STRIX TACTIC PRO機械式電競鍵盤本體,還包括使用說明書、產品保固書、軟體安裝光碟、STRIX Logo貼紙、四顆替換的鍵帽和拔鍵器。
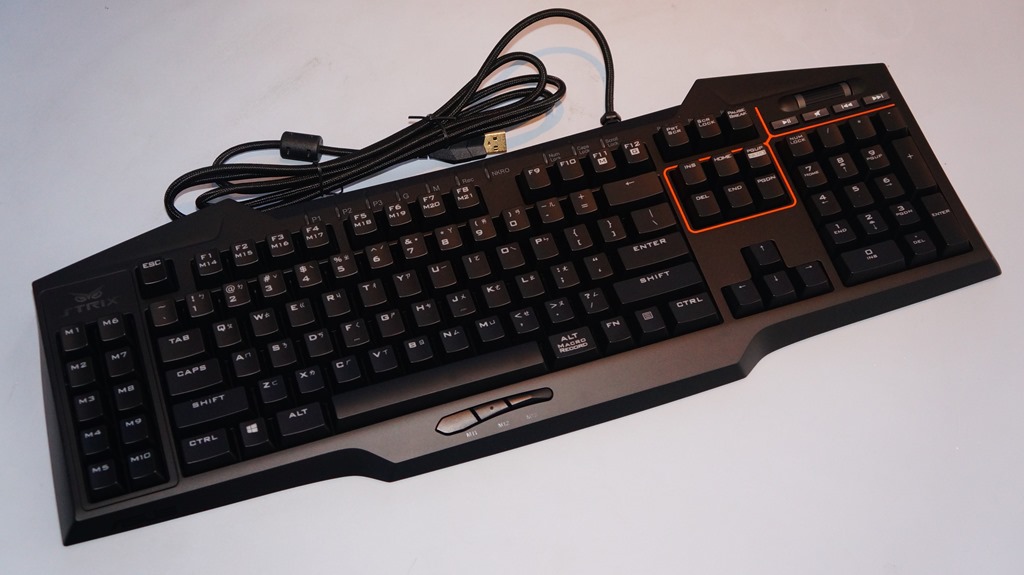
來看看整個鍵盤正面都有上皮革漆,讓觸感更佳的鍵盤本體。
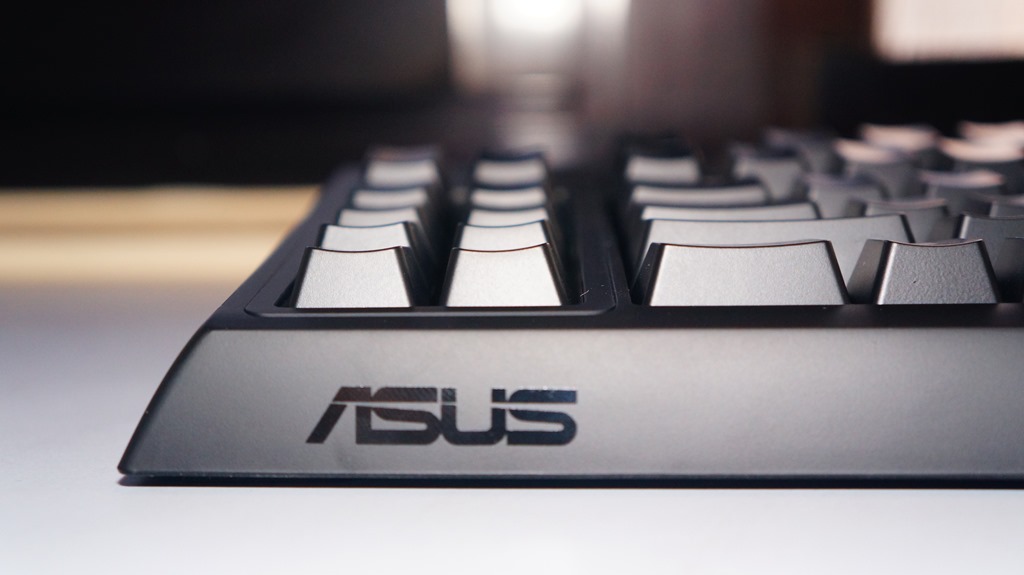
藏在鍵盤左前側,低調的ASUS Logo。
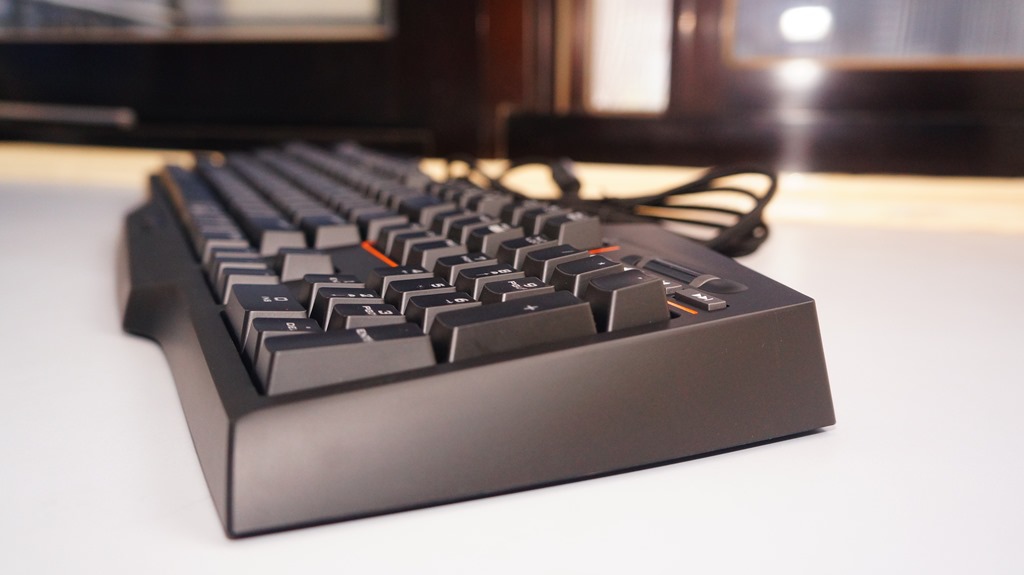
STRIX TACTIC PRO機械式電競鍵盤本身設計成有弧度,讓使用者更好使用。
依人體工學設計的按鍵,打起字來更流暢!
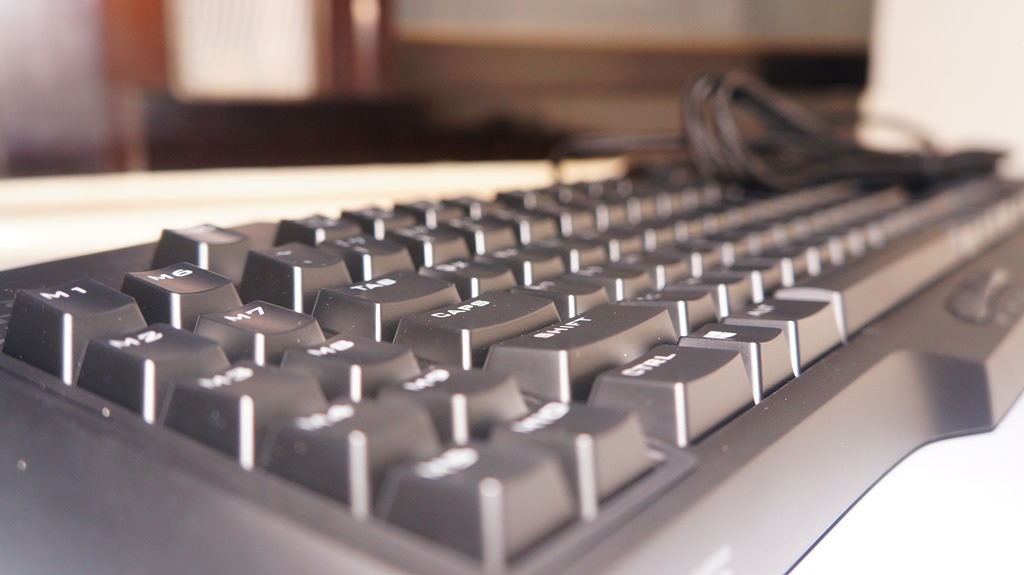
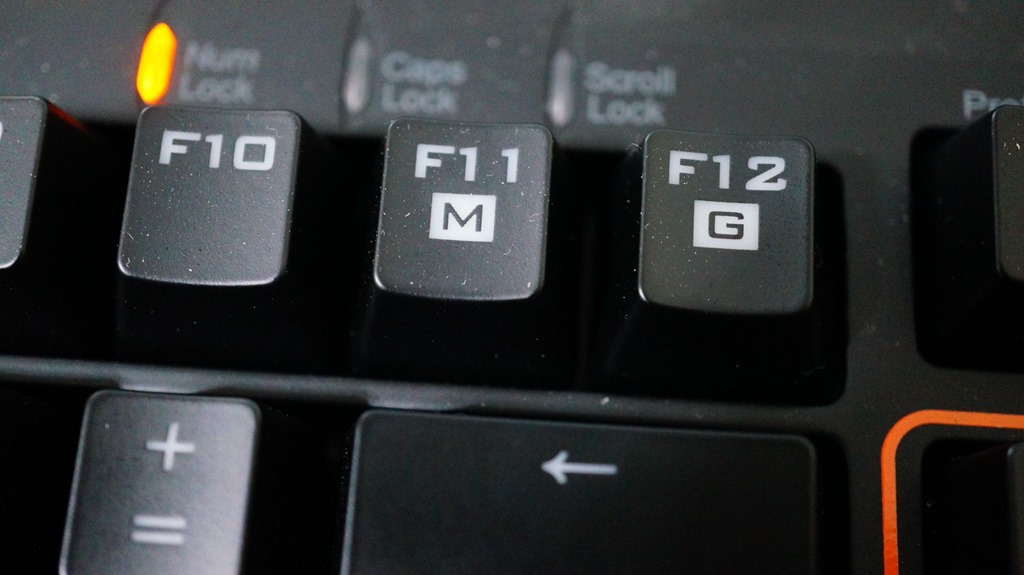
這把鍵盤提供多達21個可自訂指令的個人化按鍵,包括左側的M1~M10按鍵、下方可用拇指直接控制的M11~M13按鍵,以及與F1~F8功能鍵共用的M14~M21按鍵(使用Fn鍵+F11功能鍵切換)。
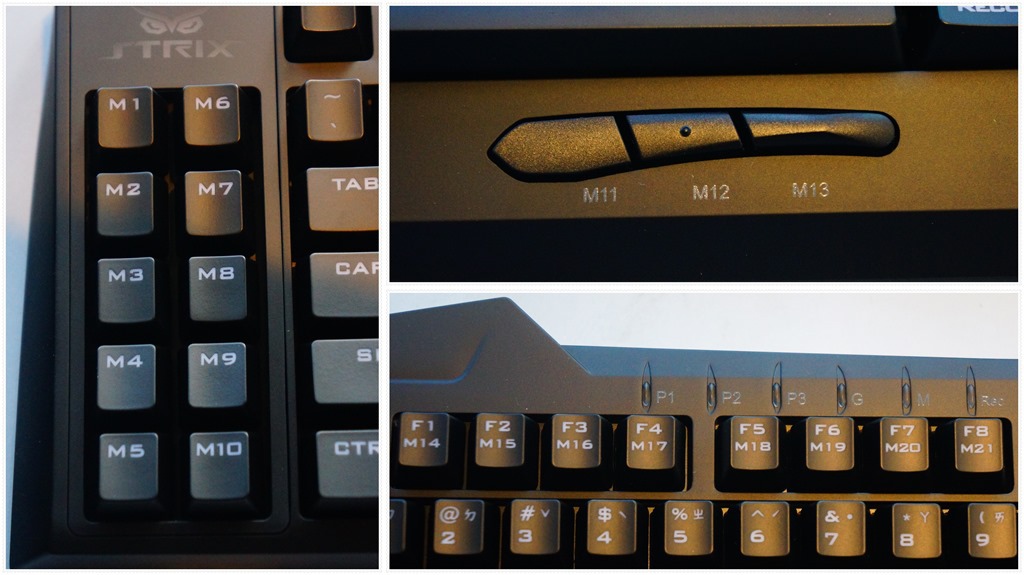
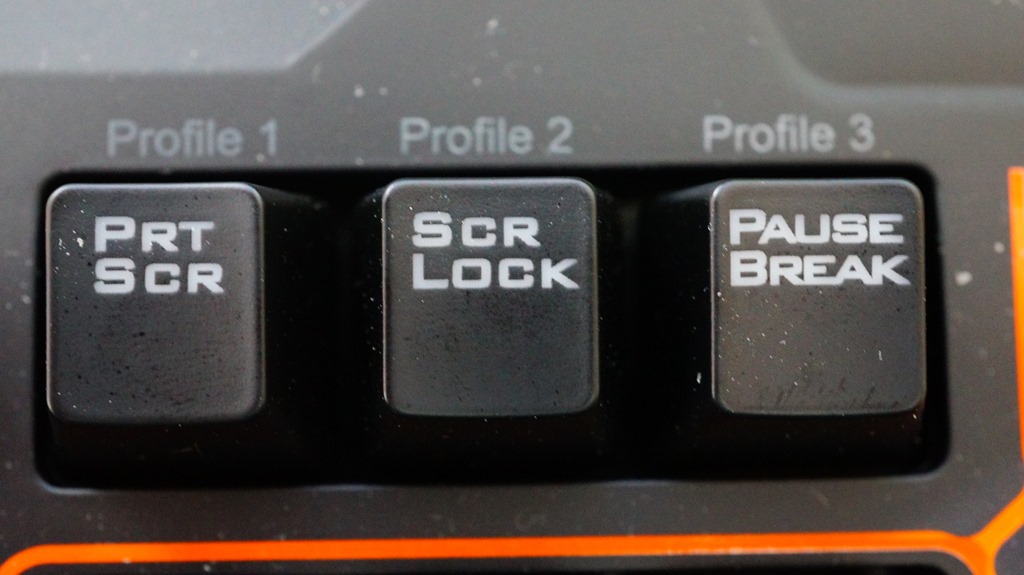
照片中的三個按鍵,搭配Fn鍵,可以快速切換及使用3組選定的profile資料。如果使用者有透過公用程式軟體將3組選定的profile資料儲存到鍵盤本體上的記憶體裡,就算之後將鍵盤拿到其它沒有安裝公用程式軟體的電腦上,還是可以快速切換這3組profile。
位於鍵盤上方的狀態燈號。
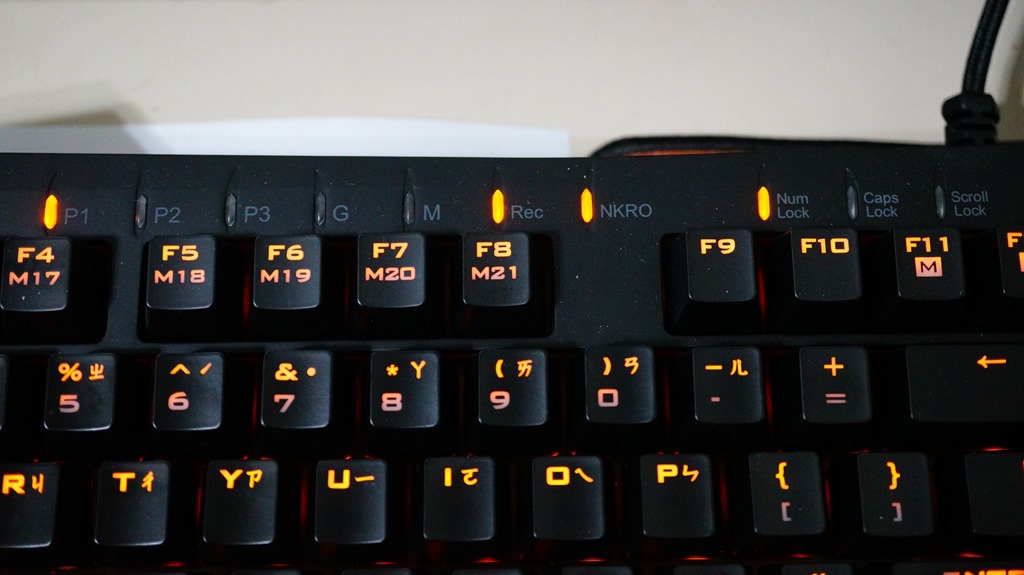
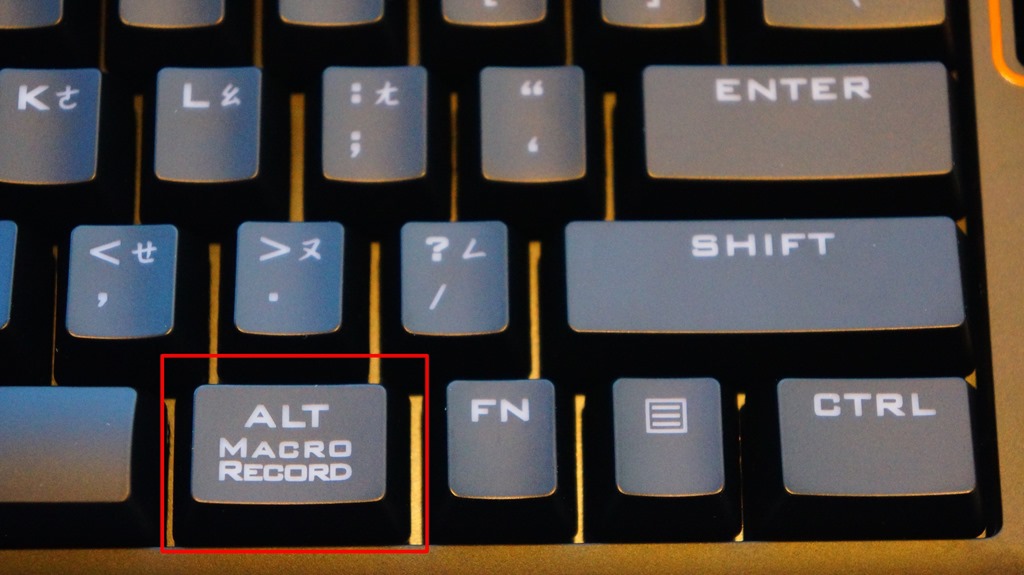
這把鍵盤支援同步巨集記錄功能(On-the-fly),只要按下Fn鍵+右Alt鍵,就開始進行錄製。
錄製完成後,再按一次Fn鍵+右Alt鍵,這時Rec燈號會開始閃爍,接下來選擇儲存在M1~M21按鍵其中一個,就結束這次的同步巨集記錄。
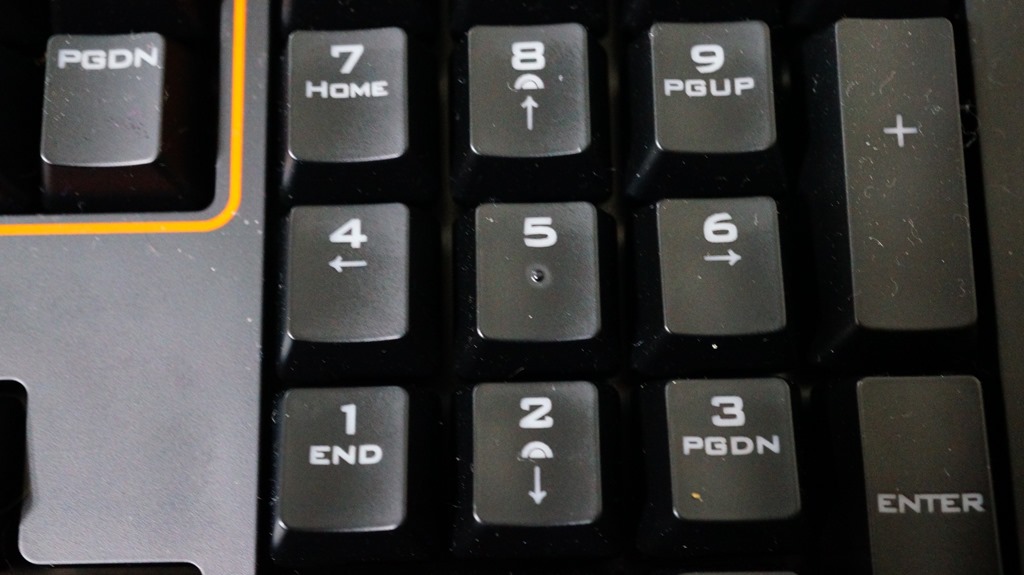
兼具N-KEY不衝突功能功能的Page UP鍵。

數字鍵盤的2與5按鍵,搭配Fn鍵,可以關閉與調整LED背光亮度(三段)。
按下Fn鍵+F12功能鍵,便啟動遊戲模式,此時Windows鍵將無法使用。
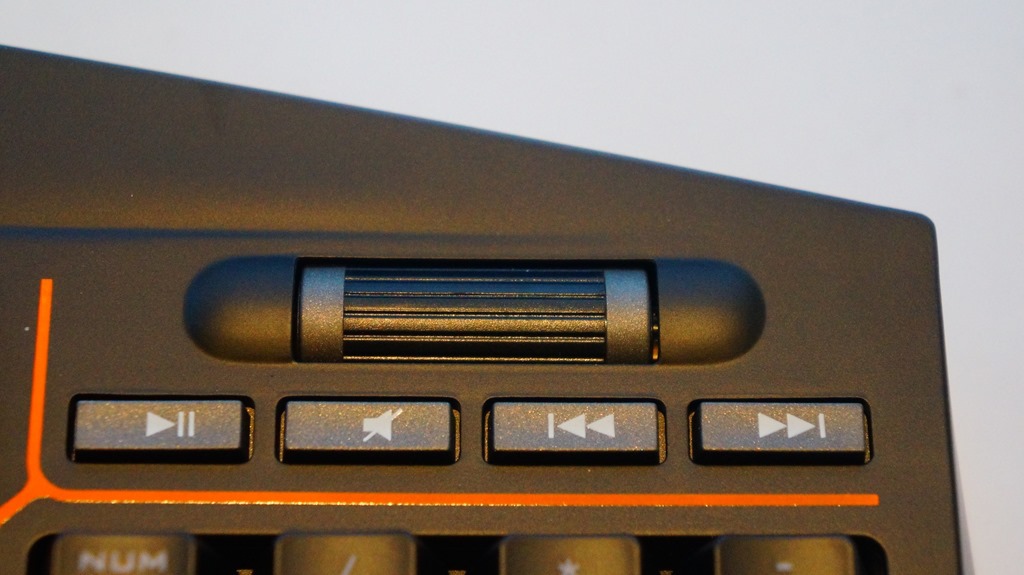
鍵盤右上角的媒體控制鍵組,可以讓使用者在觀看或聆聽多媒體檔案時,可以快速進行操控。
利用拔鍵器拔起鍵帽,就可以看到印有Cherry Logo的Cherry MX青軸。
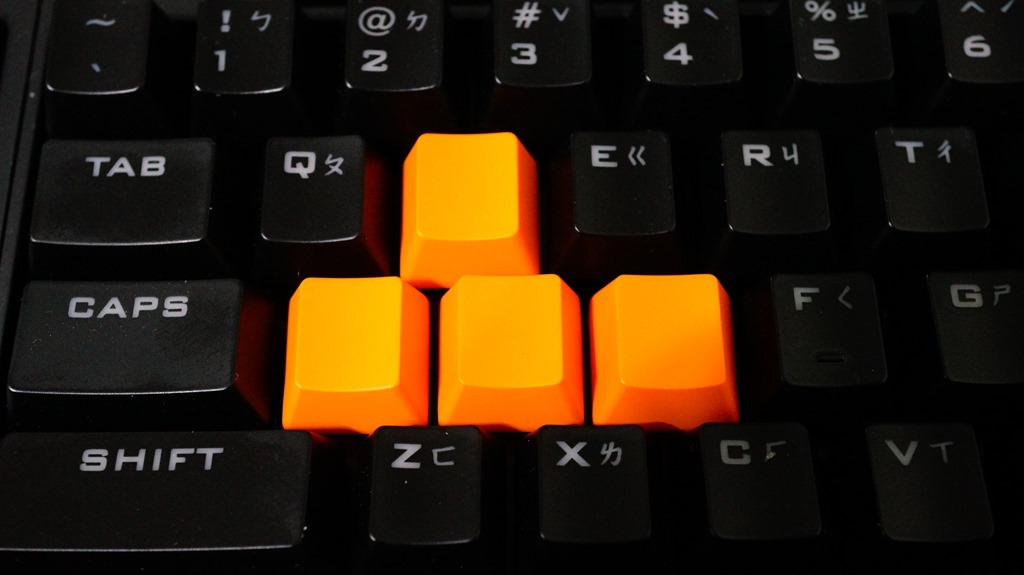
對於不少FPS遊戲玩來說,會利用附贈鍵帽替換掉原有的W、A、S、D四顆按鍵,好方便操控。
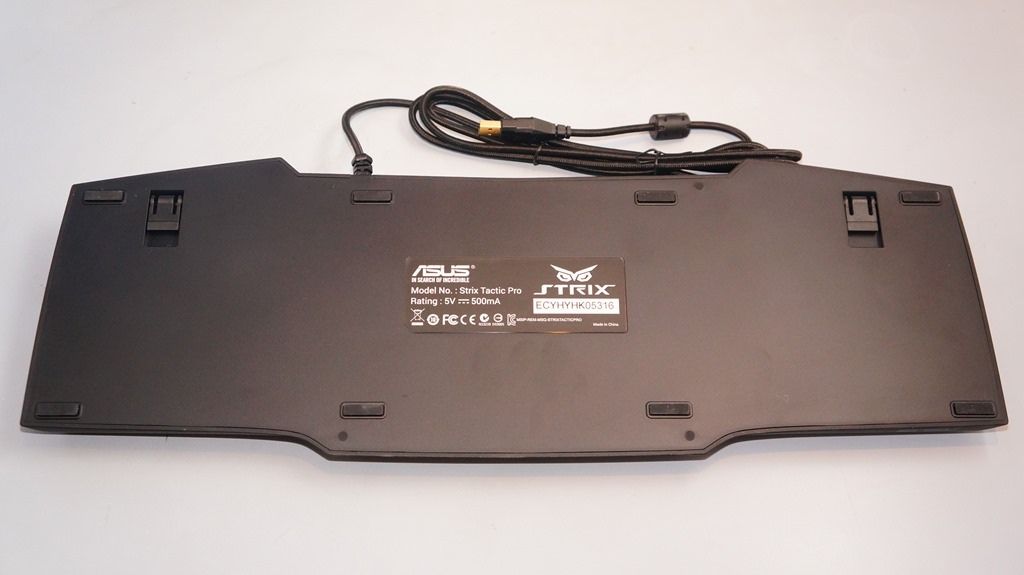
STRIX TACTIC PRO機械式電競鍵盤背面,除了防滑墊跟墊高支架外,就沒有其它設計。
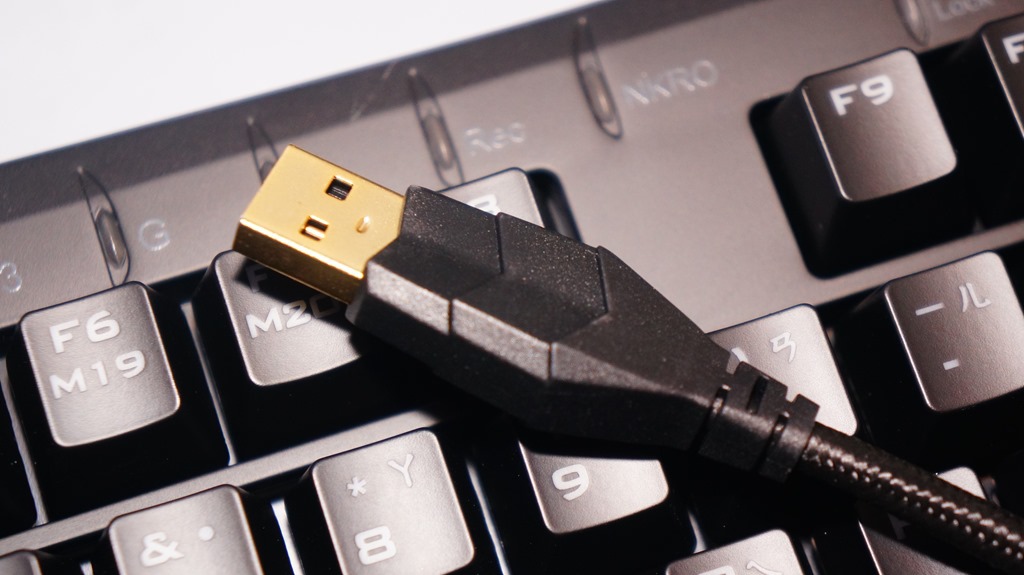
連接線材部分,使用1.8M編織線材,並採用USB鍍金接頭。
鍵盤接上電腦,並開啟電腦電源後,就會看到鍵盤LED背光會定時重複亮滅,也增加這把鍵盤的獨特性!

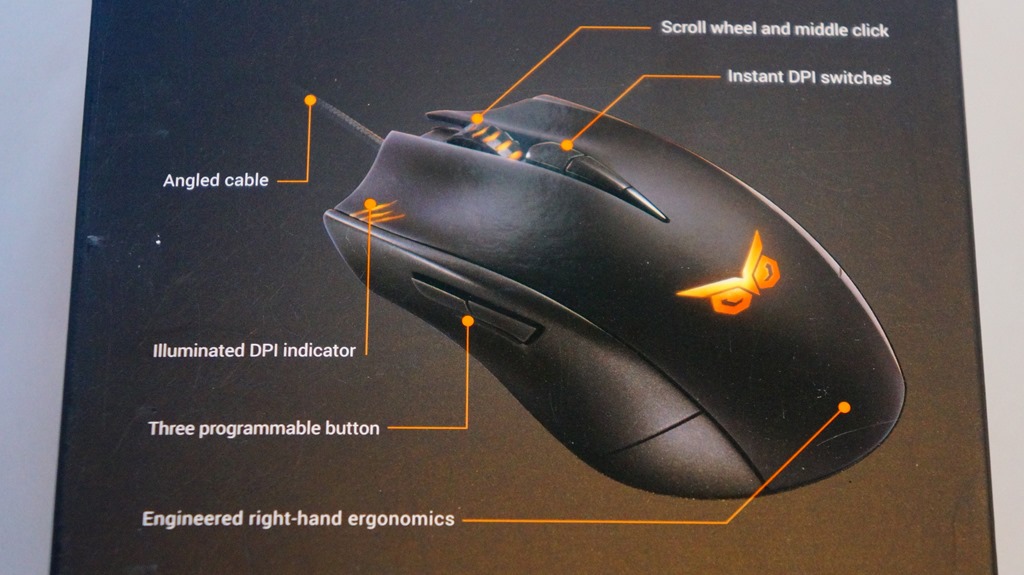
以黑色為主體顏色的CLAW電競滑鼠外盒正面。
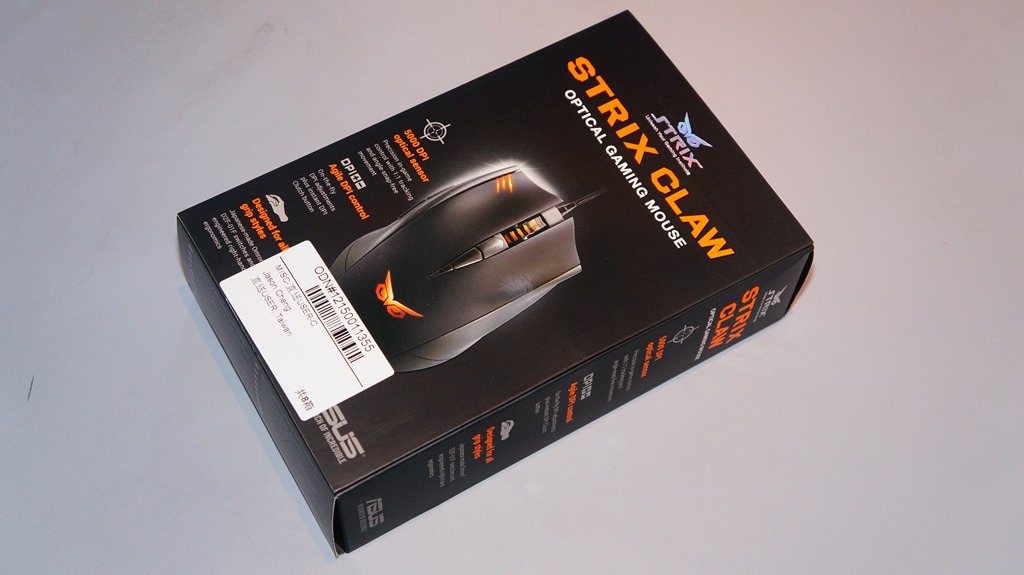
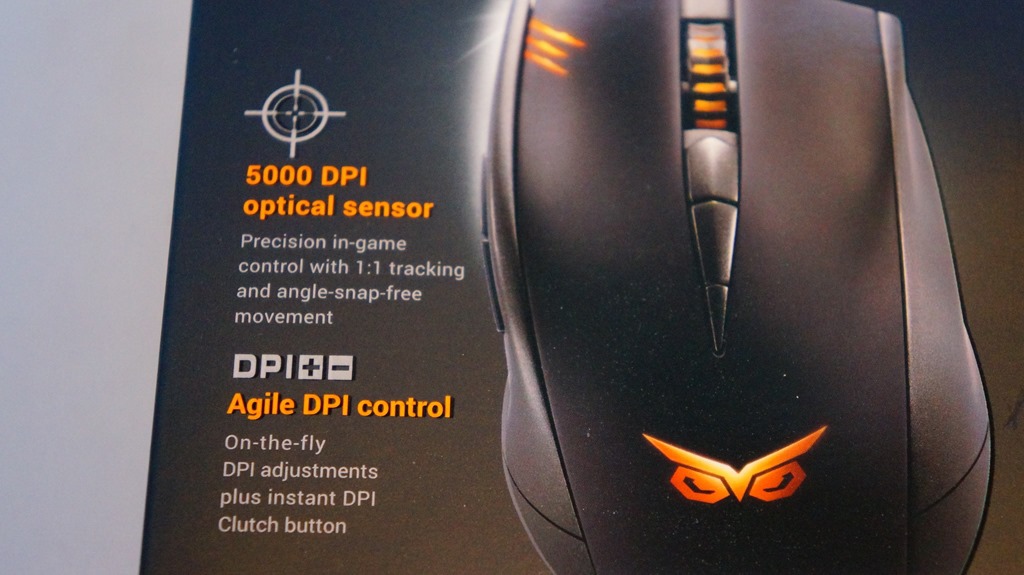
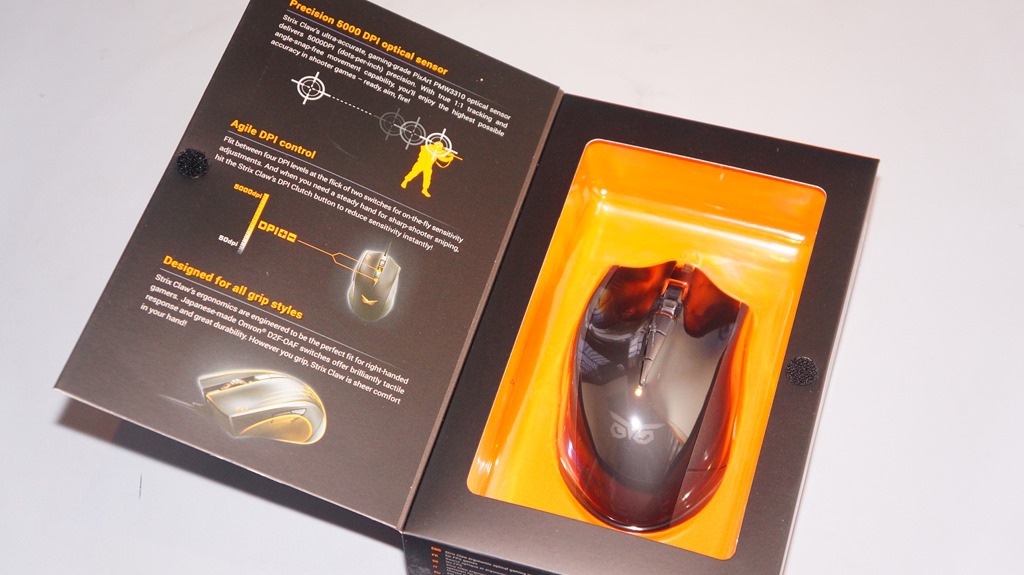
外盒正面介紹這支電競滑鼠使用高達5000DPI的高靈敏度遊戲專用光學感應器,以及適合各種使用習慣的DPI調整方式。
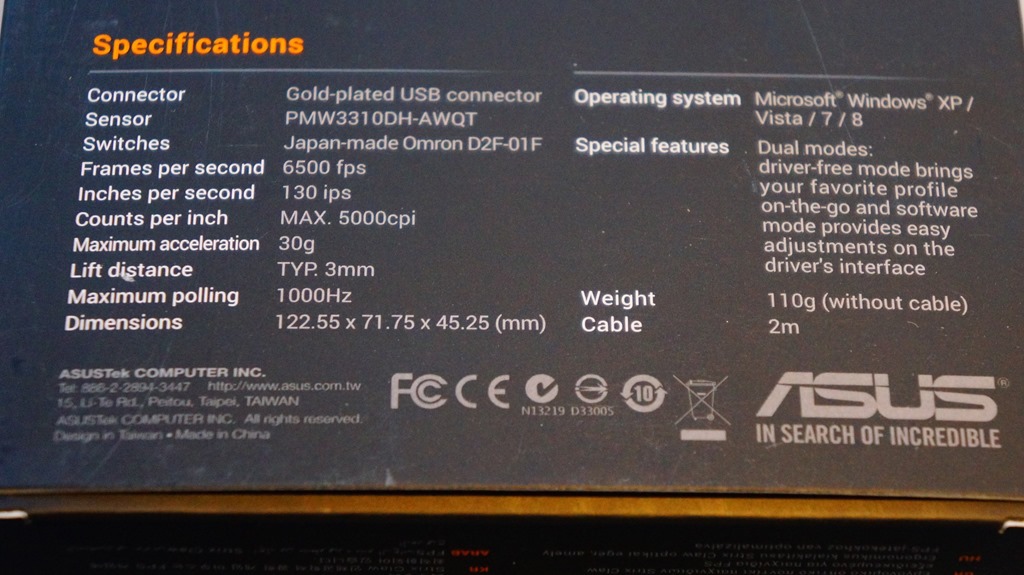
STRIX CLAW電競滑鼠外盒背面。
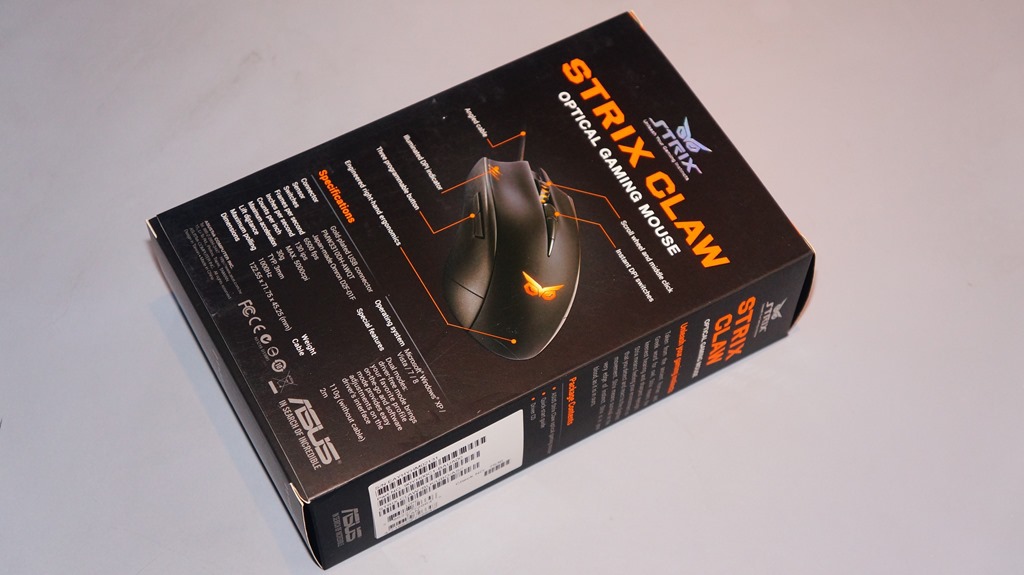
外盒背面上半部介紹這支電競滑鼠的重點特點。
下半部則是規格介紹。
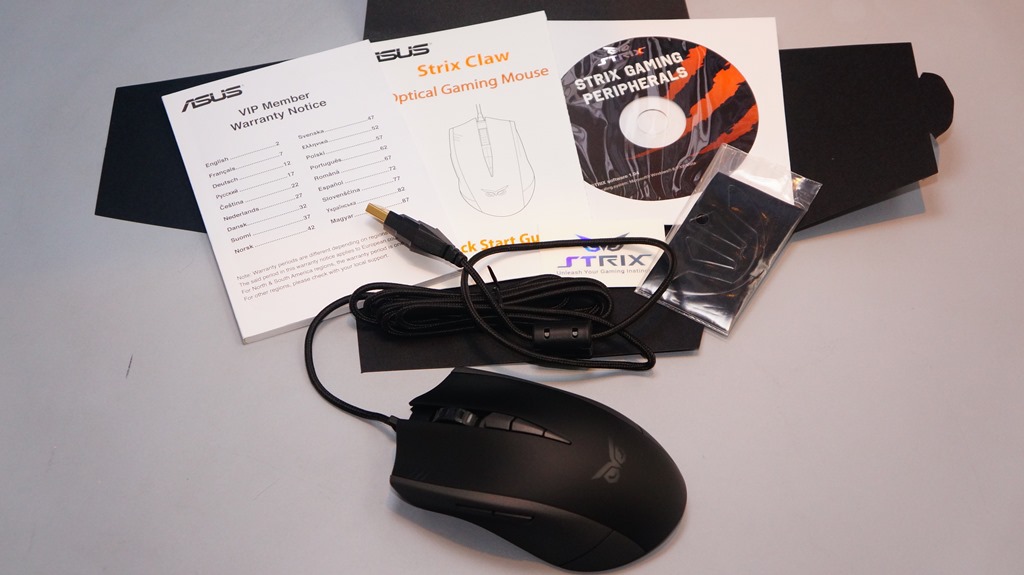
開盒取出所有物品。
盒內所有物品,除了STRIX CLAW電競滑鼠本體,還包括使用說明書、產品保固書、軟體安裝光碟和STRIX Logo貼紙。
來看看採用非對稱式設計的滑鼠本體。

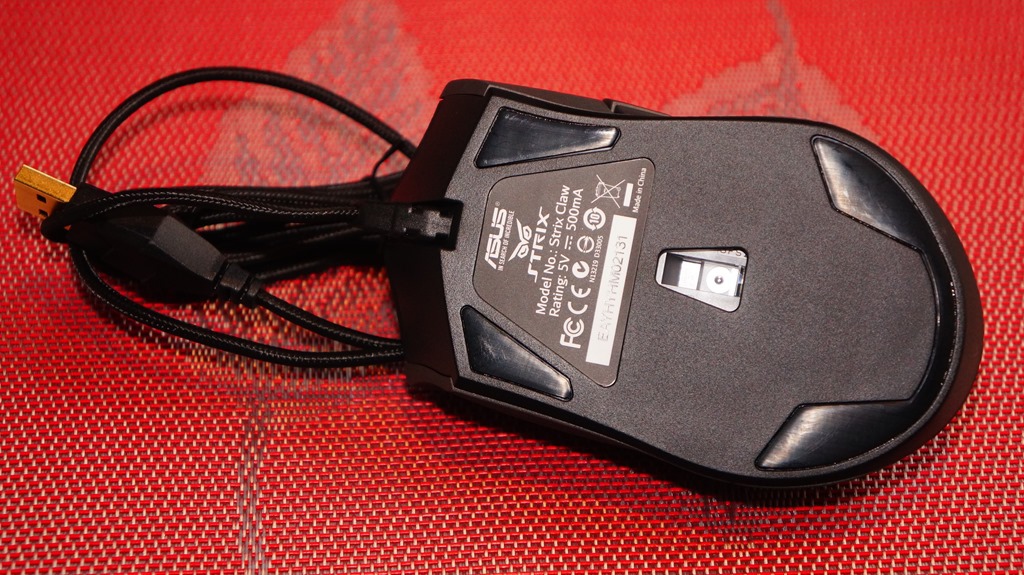
滑鼠底部,除了光學感應器,就是超順滑的Teflon滑鼠腳貼。
從正面來看,滑鼠左右鍵以及右側,都有依人體工學設計凹槽,讓實際抓握時更順手!
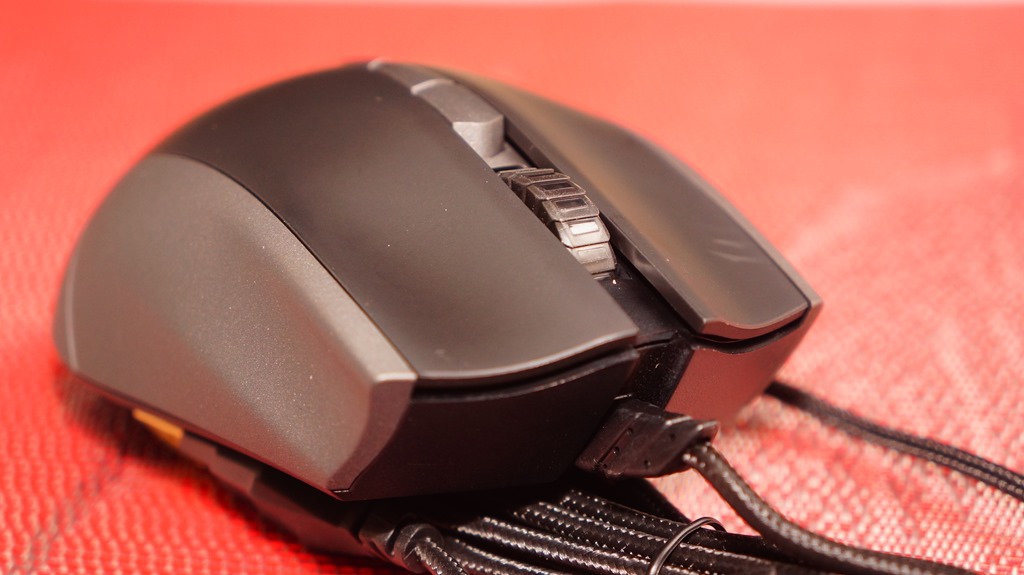
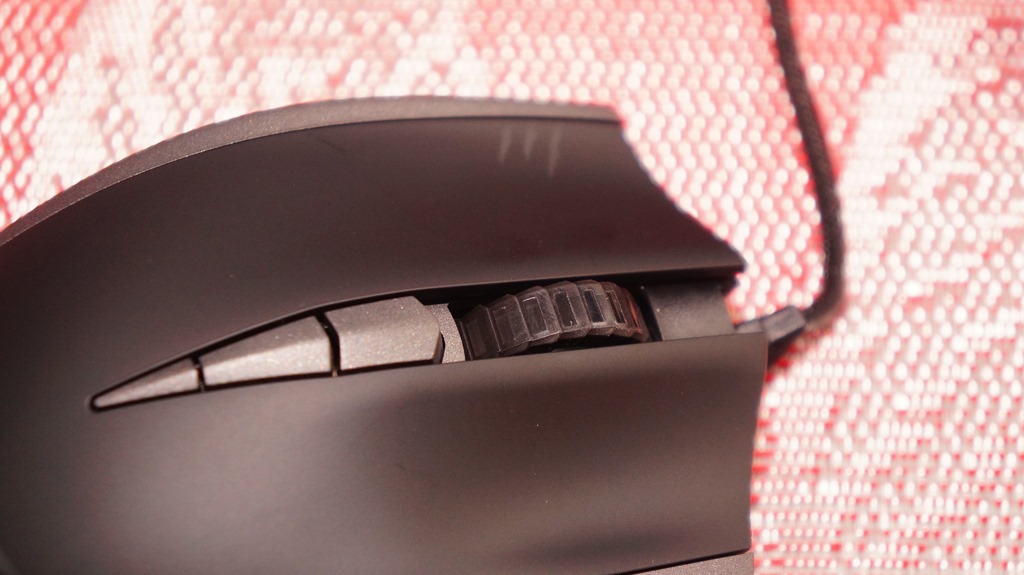
滾輪與盔甲形狀的DPI調整鍵。
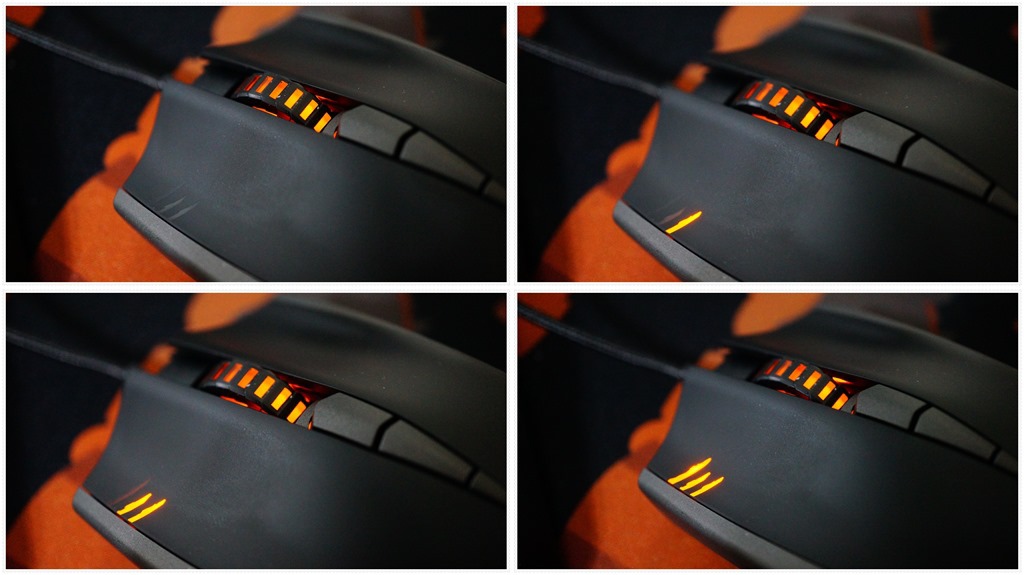
DPI調整鍵可進行三段式調整,隨著段數不同,左鍵上像爪痕的LED燈,也會對應亮起,讓使用者一眼就看得出目前調整到哪一段?至於每一段的DPI間距,則可透過公用程式軟體進行設定。
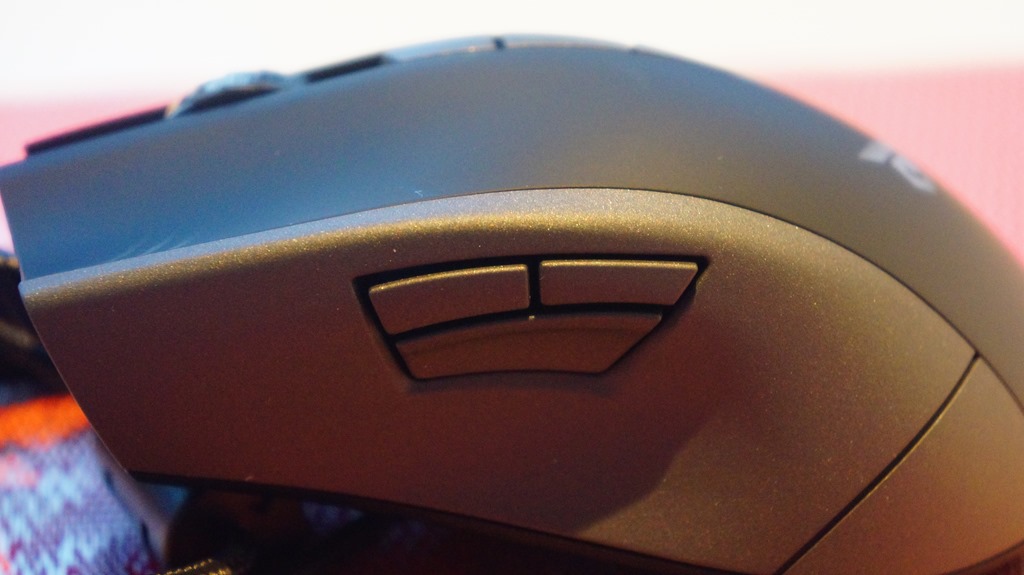
滑鼠左側的預設向前、向後,以及DPI clutch按鍵。而這裡為了讓大拇指抓握更舒適,也依人體工學設計了大角度的凹槽。
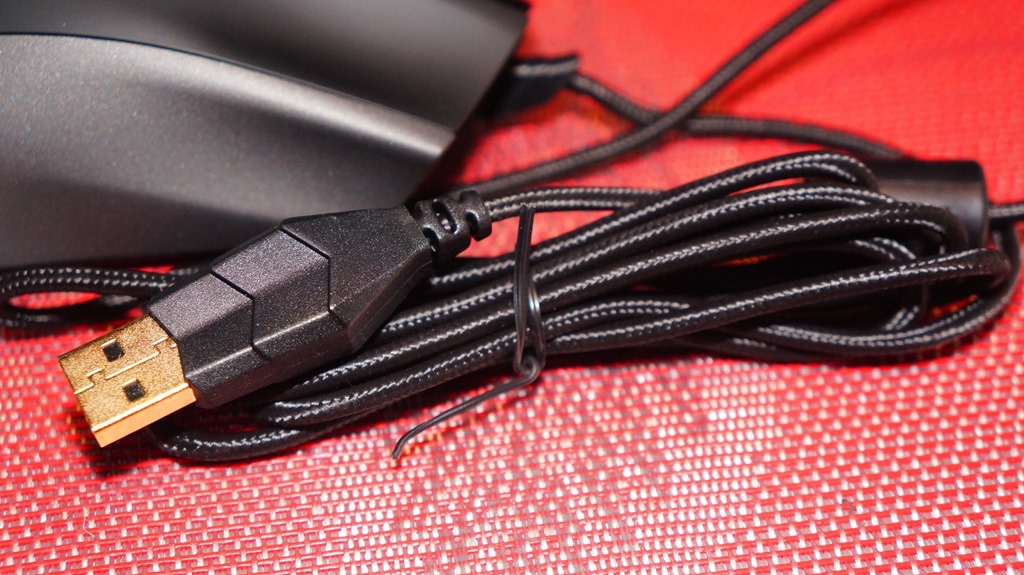
連接線材部分,與STRIX TACTIC PRO機械式電競鍵盤一樣使用編織線材,並採用USB鍍金接頭。
滑鼠接上電腦,並開啟電腦電源,就能看到滑鼠上STRIX Logo的LED背光會定時重複亮滅,增加獨特性!

最後一個開箱的PRO電競耳麥,外盒一樣以黑色為主體顏色。
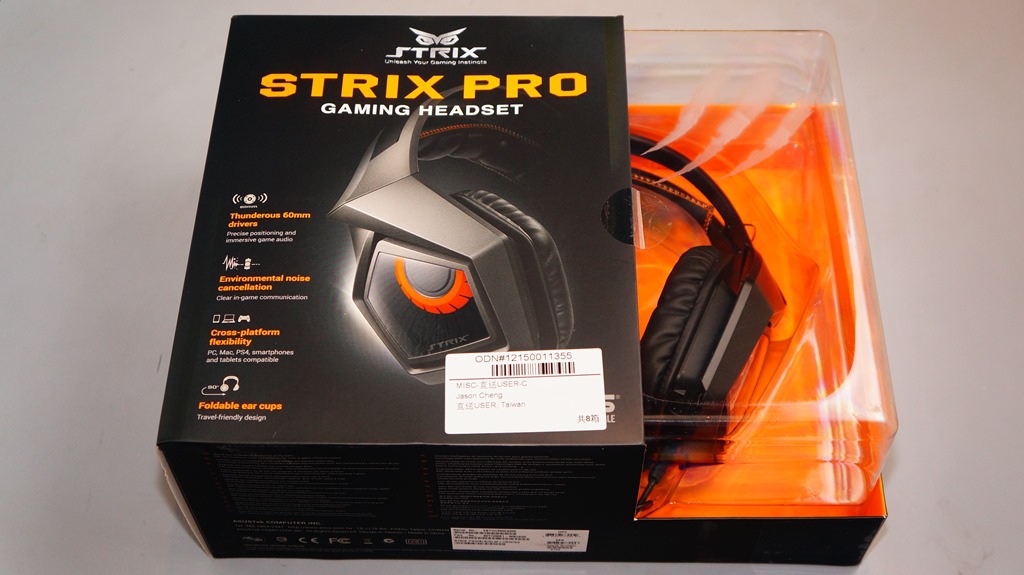
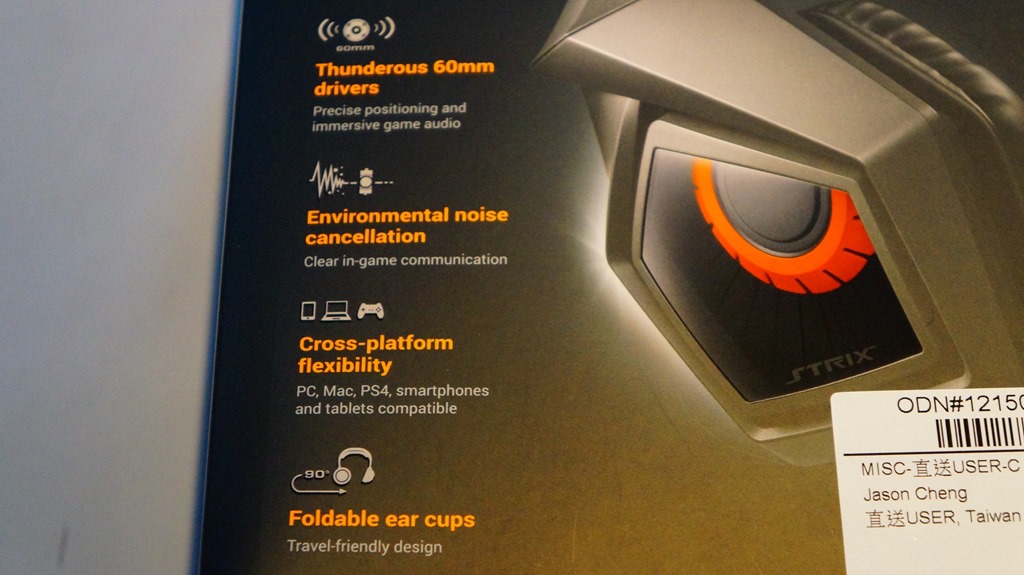
外盒正面左下方介紹這支電競耳麥的重要特點,包括60mm的驅動單體、雜音過濾功能、支援多種設備與平台,以及可以90度轉動的耳罩。
STRIX PRO電競耳麥外盒背面。
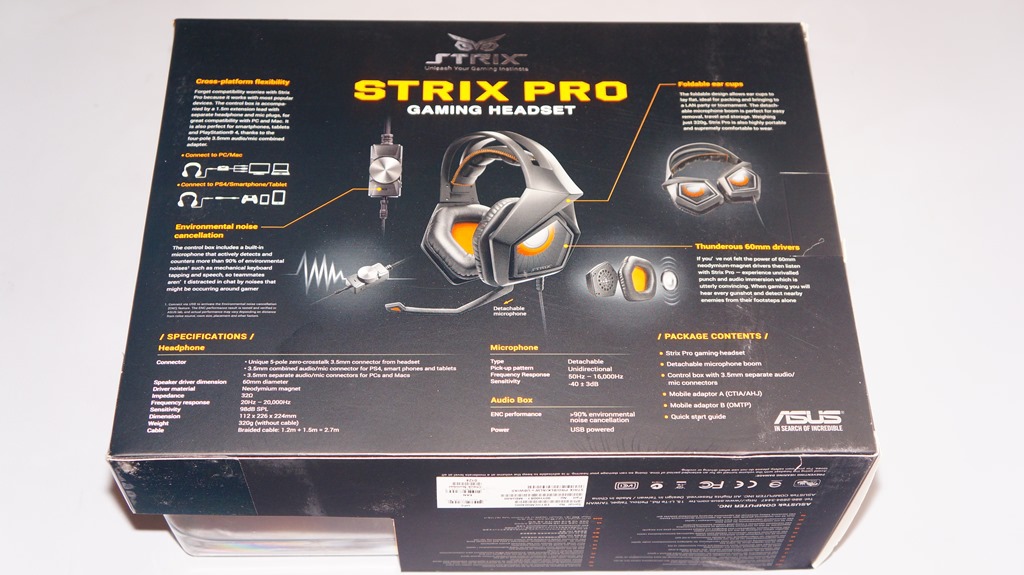
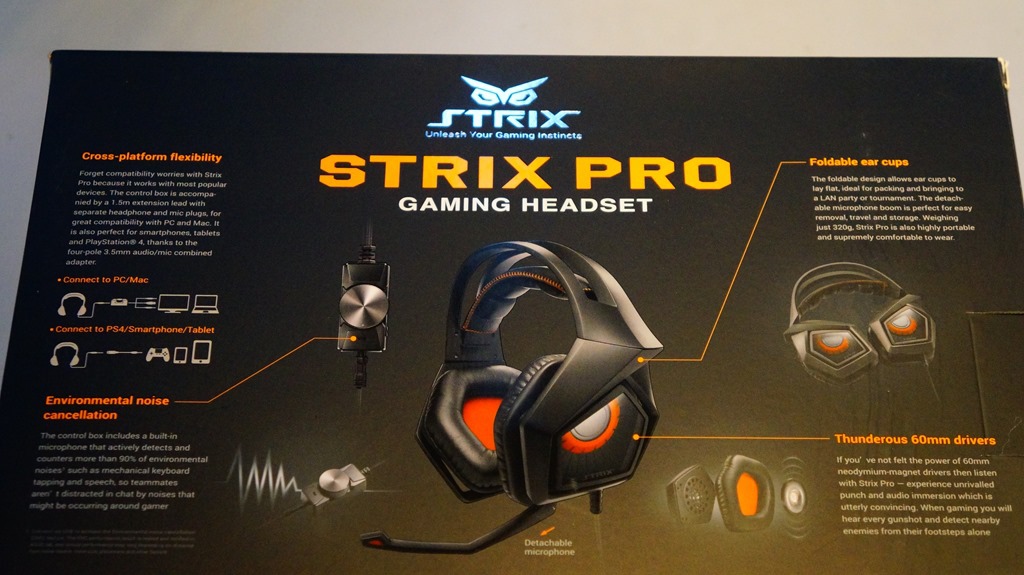
外盒背面上半部介紹這支電競耳麥的重點特點。
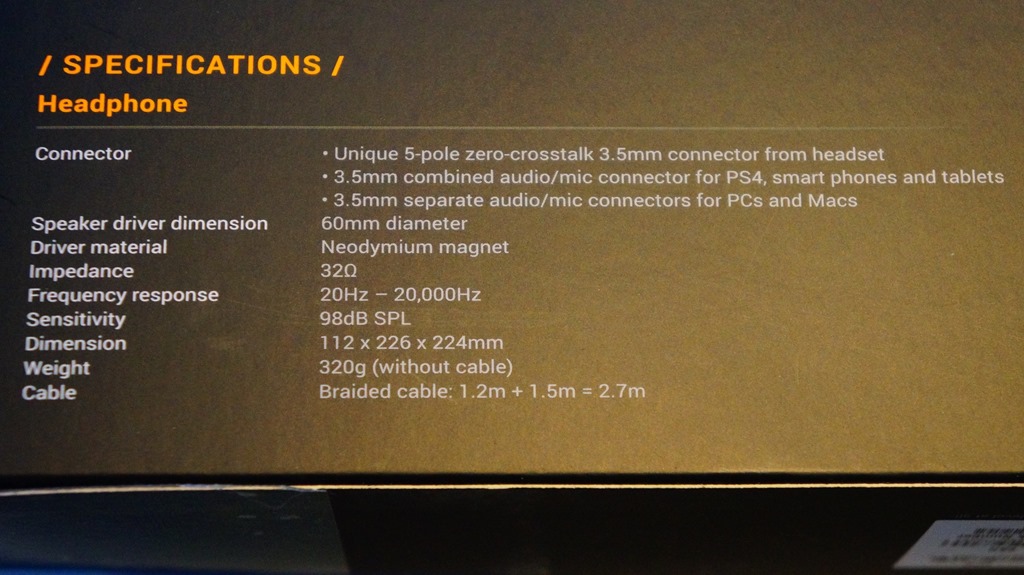
下半部是規格介紹。

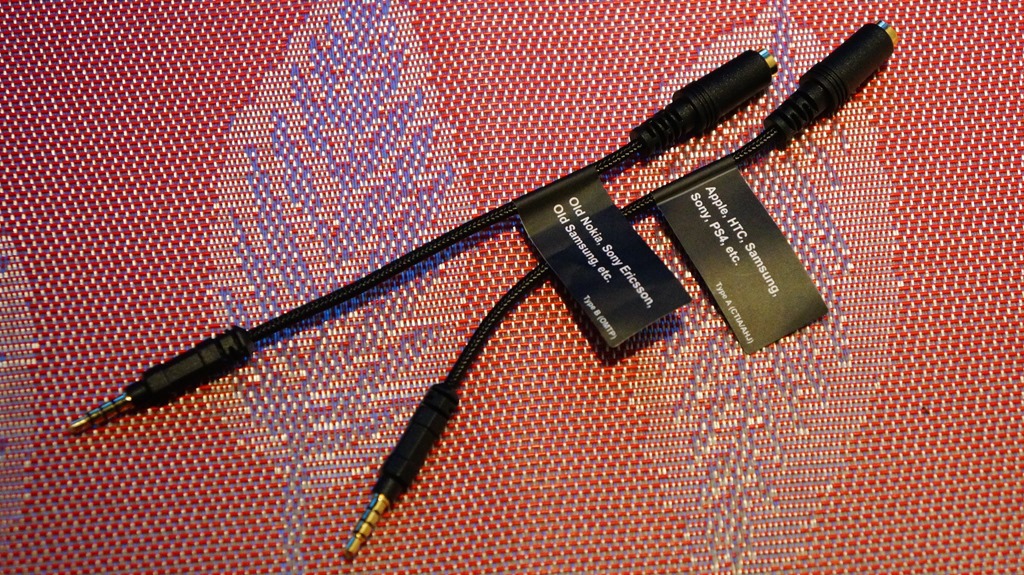
取出盒內所有物品,除了STRIX PRO電競耳麥本體,還包括使用說明書、產品保固書、可拆式麥克風、線控裝置與兩條轉接線。

來看看STRIX PRO電競耳麥本體。
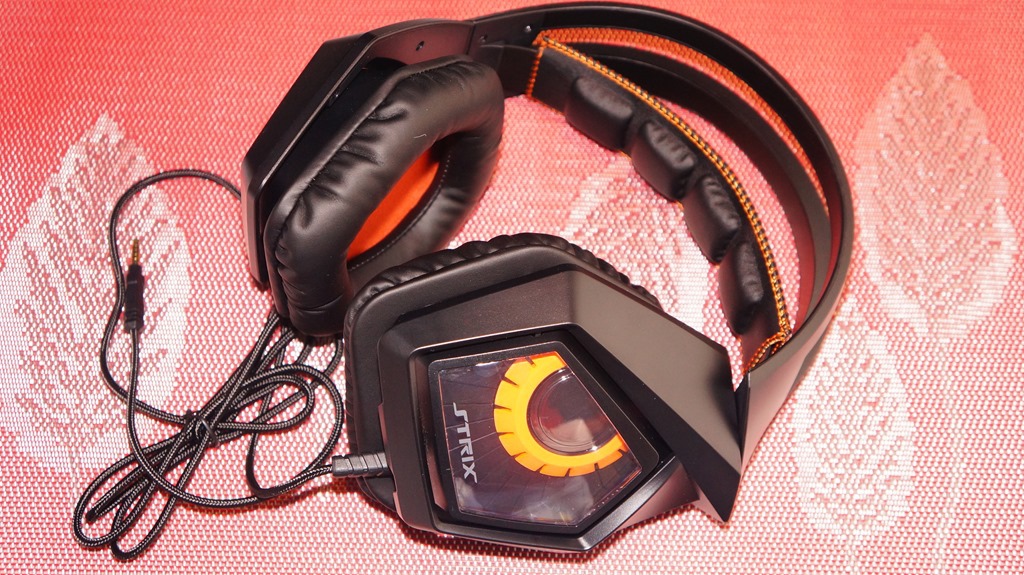
頭帶部分,採用外框大小固定,內部為伸縮式的設計。
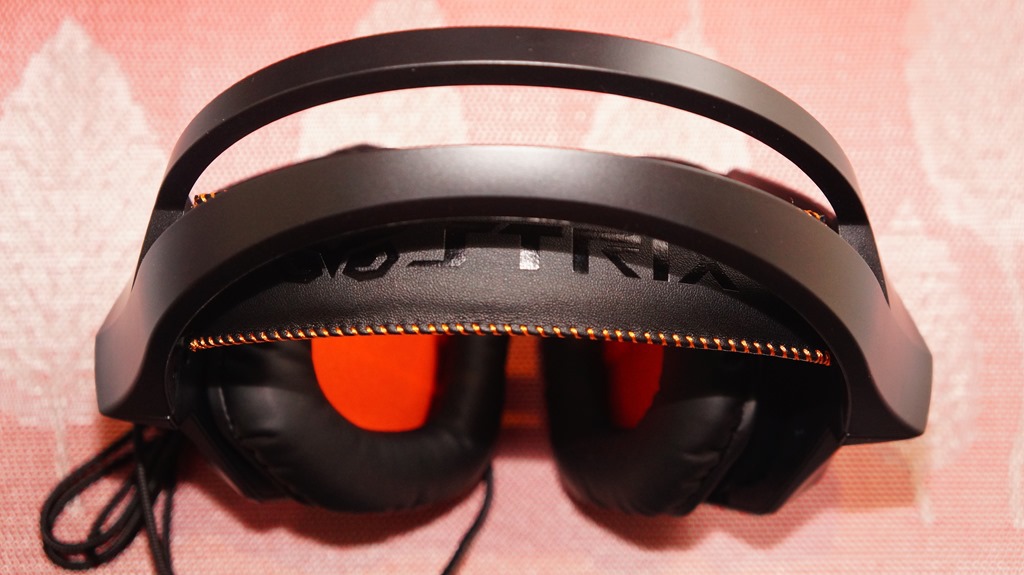
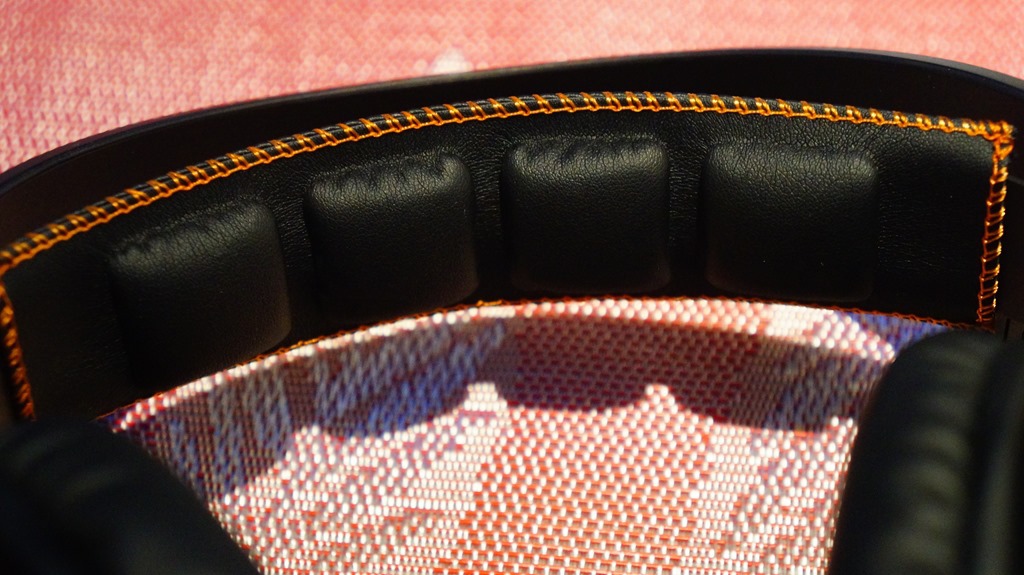
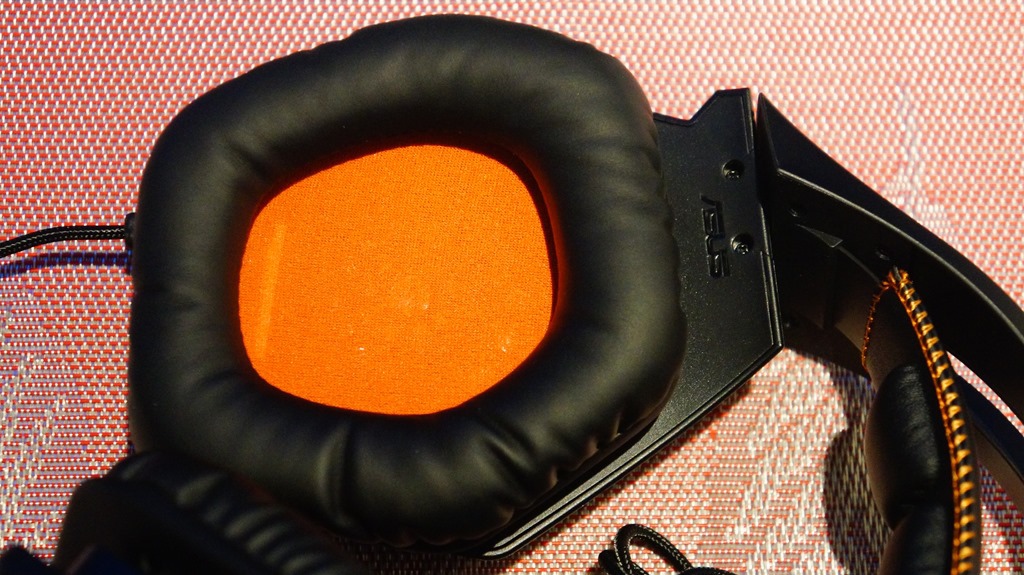
採用皮革搭配橘色縫線材質,緩衝墊部分則是分成四塊。
兩邊單體部份使用透明外殼,而且上面貼有防刮模。
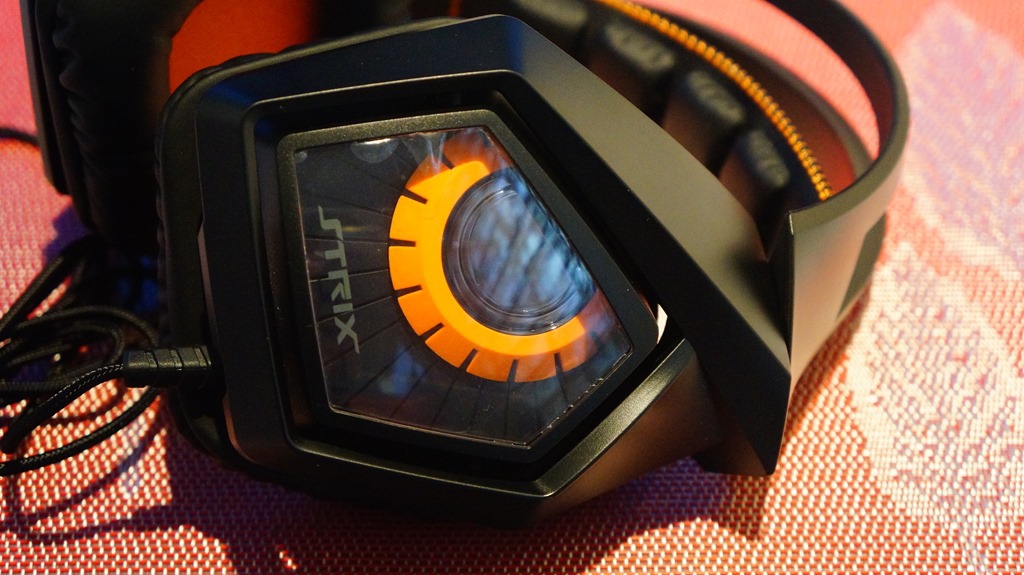
將兩邊單體左右轉90度後,梟鷹的眼睛就出現了!

耳機內側標示了L、R,以方便識別。
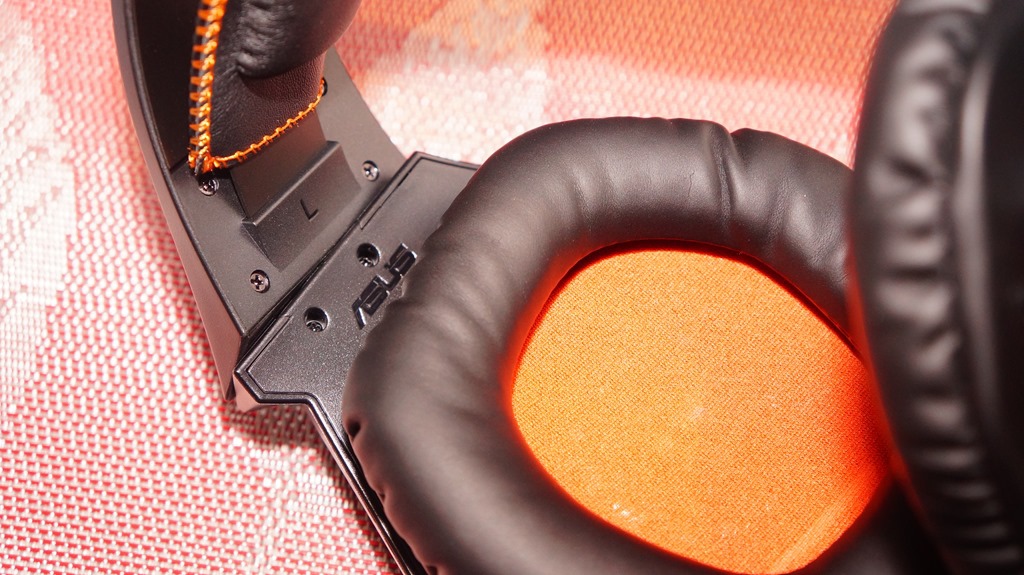
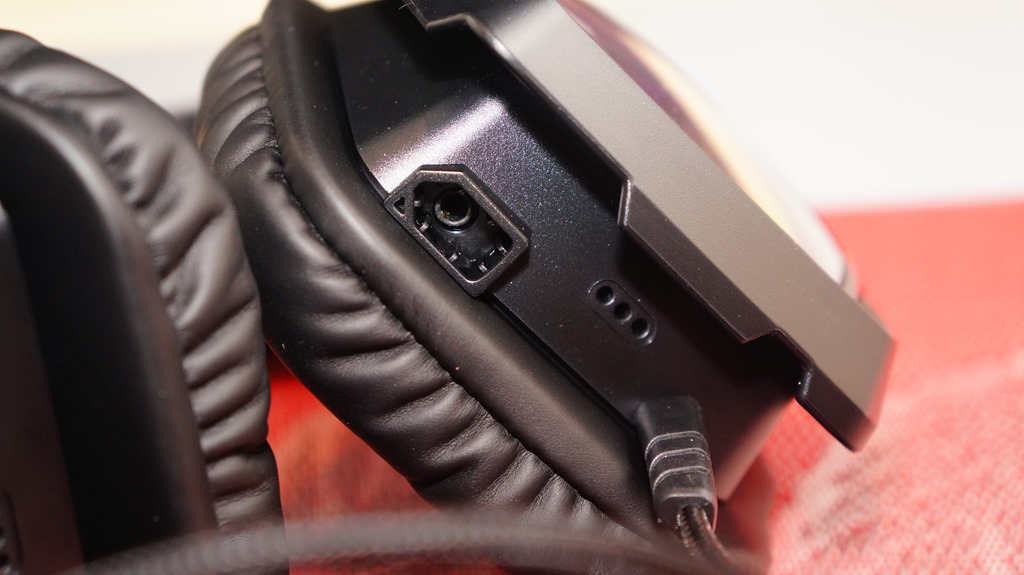
配置在耳機左側的固定式線材、散熱孔跟麥克風接孔。
使用皮革材質的耳罩,尺寸上可以完全覆蓋住耳朵。
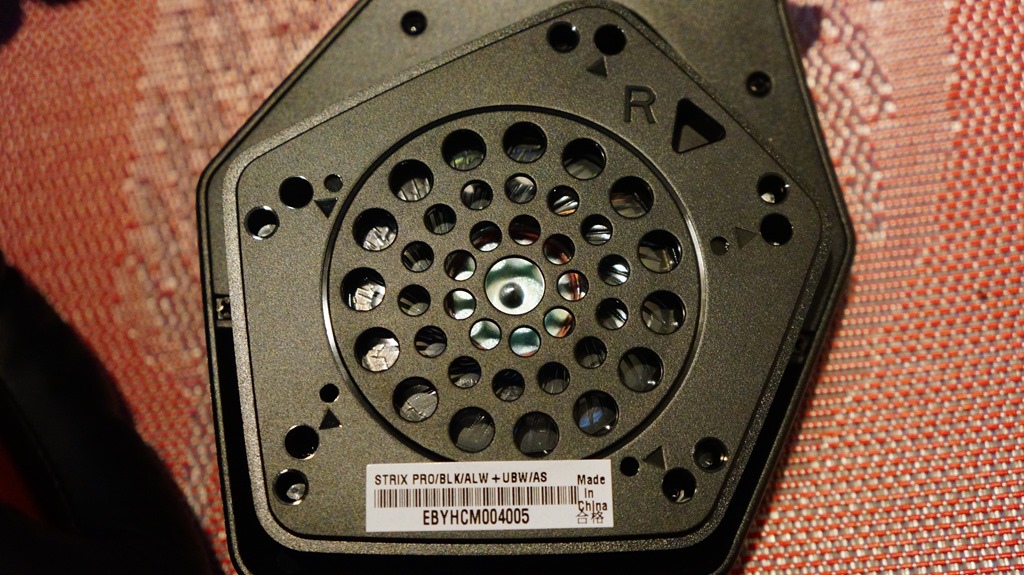
拆下耳罩,可以看到裡面60mm的驅動單體。
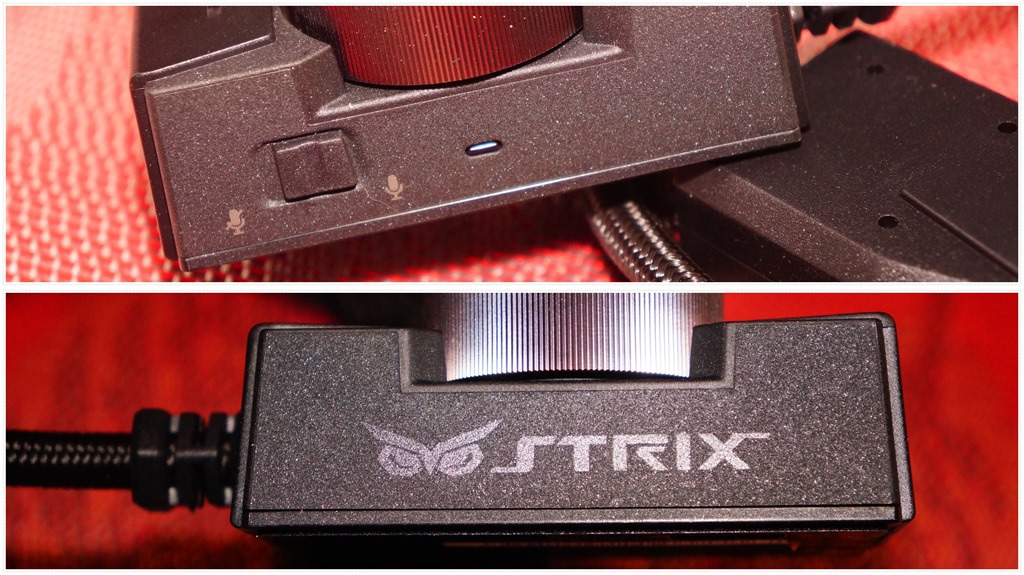
蠻有份量的線控裝置。而材質上使用噴砂外框,上面左右有旋轉邊界的金屬無段落旋鈕,轉起來相當順暢!

裝置兩側,一邊有麥克風靜音開關以及LED指示燈(開:綠色,關:紅色),另一邊則有印上STRIX Logo。
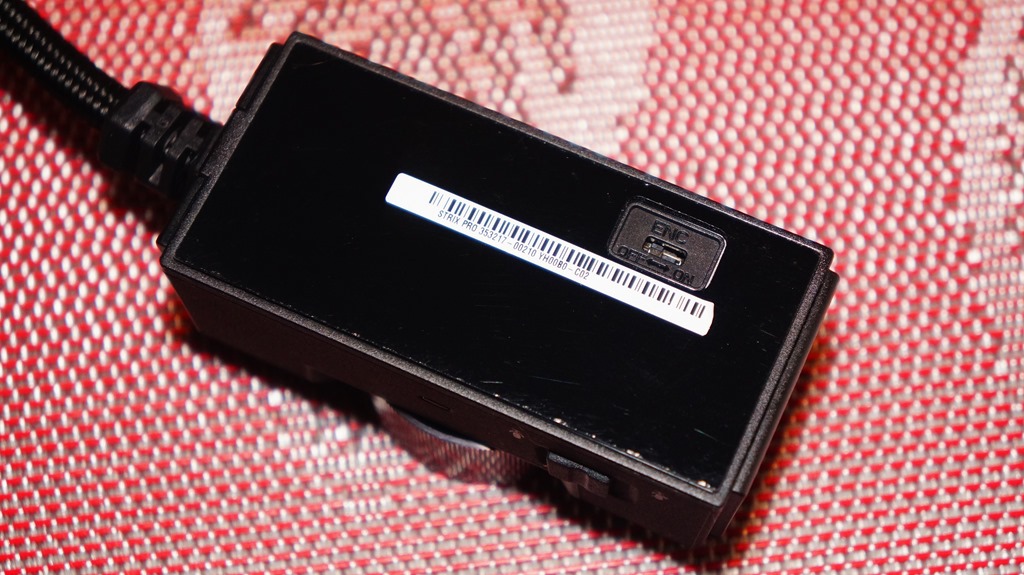
放在背面的ENC降噪開關。
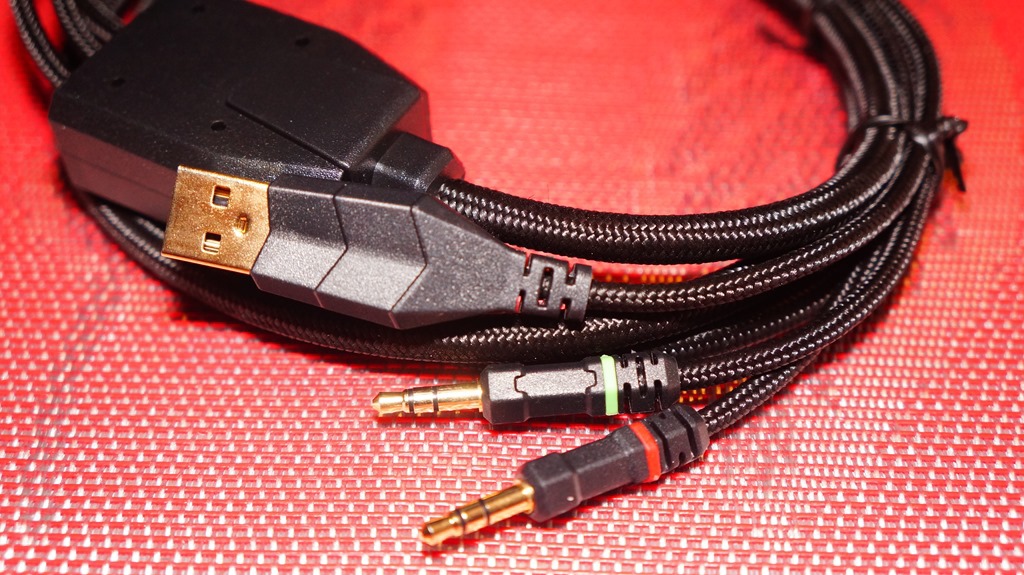
線材部分,同樣使用編織網包覆,USB接頭與端子部分也都鍍金處理。
中間黑色橡膠區塊可大幅度彎折的可拆式麥克風。而相同的,端子部分也鍍金處理。
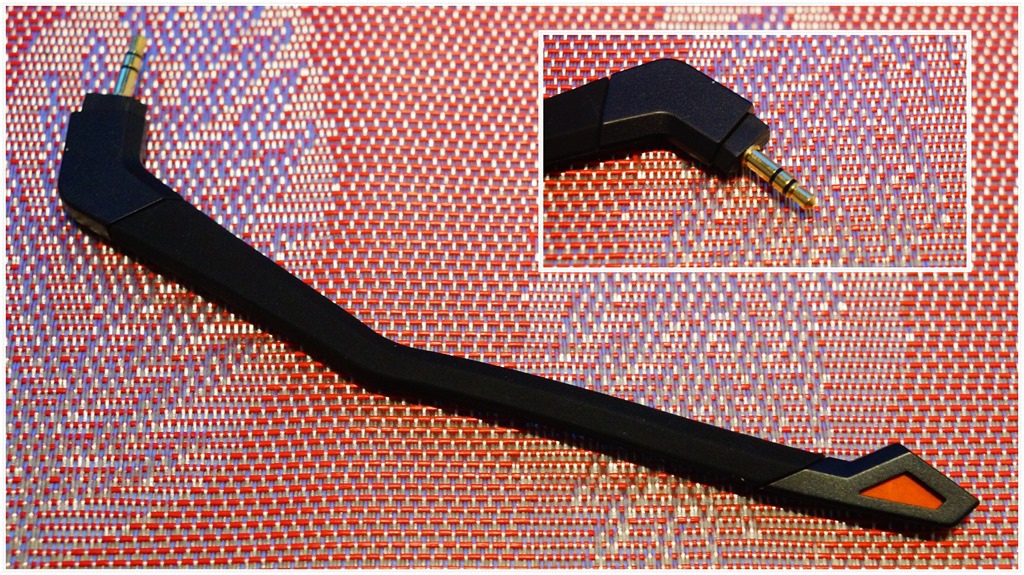
最前端的麥克風收音孔。

兩條轉接線,用來對應OMTP以及CTIA裝置,讓使用者可以將電競耳麥連接到手機、平板等裝置使用。而不變的,這兩條轉接線也採用編織網包覆,端子部分也以鍍金處理。

開箱完畢後,梟鷹電競戰隊全員集合。不過,在正式出擊之前,還要透過公用軟體,把TACTIC PRO機械式電競鍵盤與CLAW電競滑鼠調整好,這樣出擊才能萬無一失!

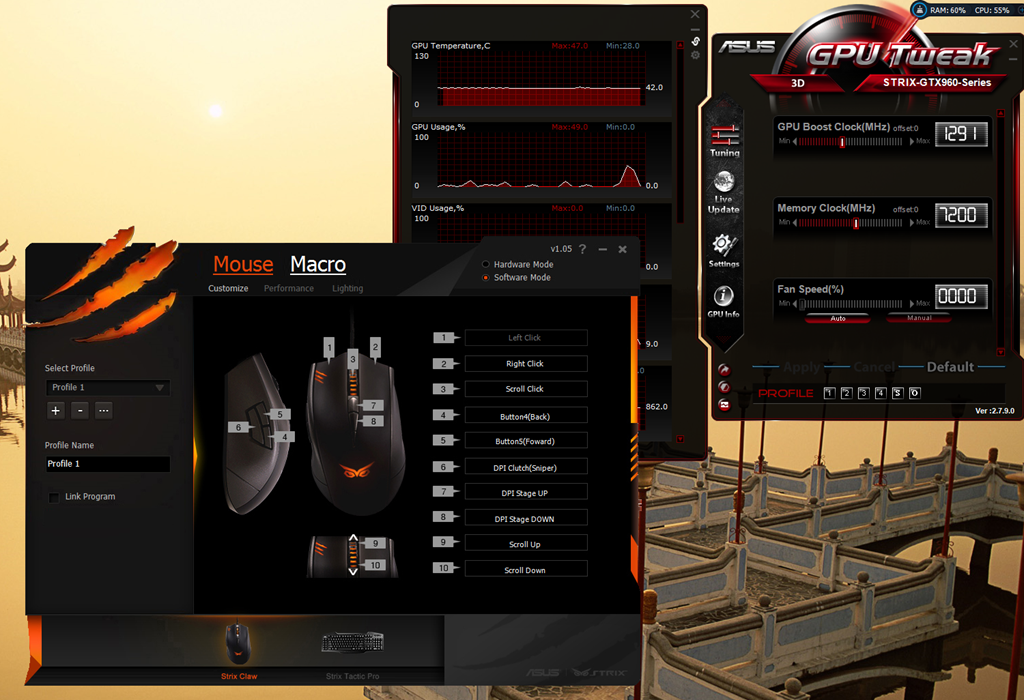
TACTIC PRO機械式電競鍵盤與CLAW電競滑鼠使用相同的公用軟體,目前官網最新版本是V1.05版。
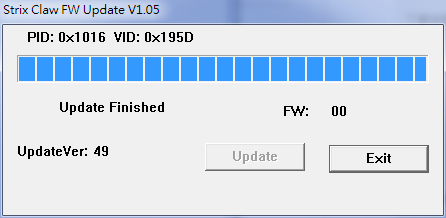
CLAW電競滑鼠目前官網也有新版韌體可以更新。
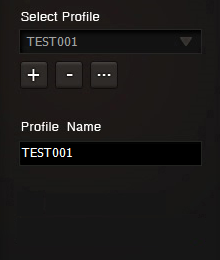
現在,先來看TACTIC PRO機械式電競鍵盤Keyboard部分的設定畫面。而在畫面中,左半部是profile檔案管理介面,右半部是鍵盤21個可自訂指令的個人化按鍵與3個profile選擇設定按鍵,使用者只要點選其中一個按鍵,就能進行設定。
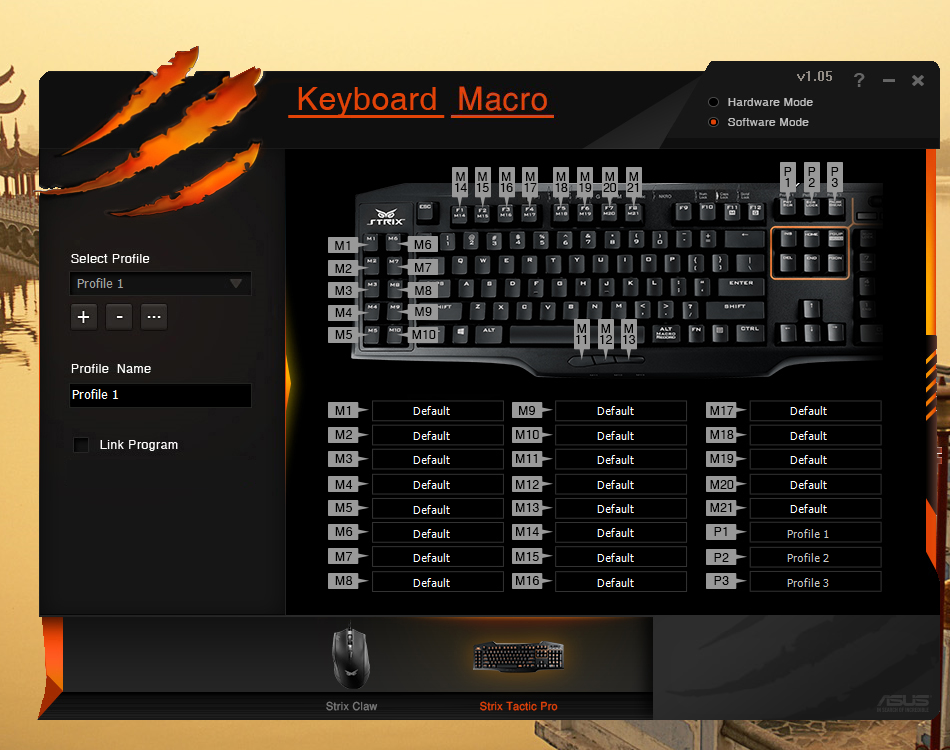
一開始進來,預設的profile有三組,使用者可以自己更改名稱。另外,也可以新增profile,以及刪除預設三組之外的profile。

如果要利用既有profile來新增新的profile,選擇copy進行複製。另外,使用者也可以將選定profile匯出儲存,或是將儲存在外部的profile匯入。

在設定畫面中,使用者可以選擇軟體模式與硬體模式。而這兩種模式在profile檔案管理介面上的差異,就是軟體模式可以設定程式關連(右圖)。
設定好的profile,有3組在選定後,就可以透過鍵盤上的按鍵快速切換。

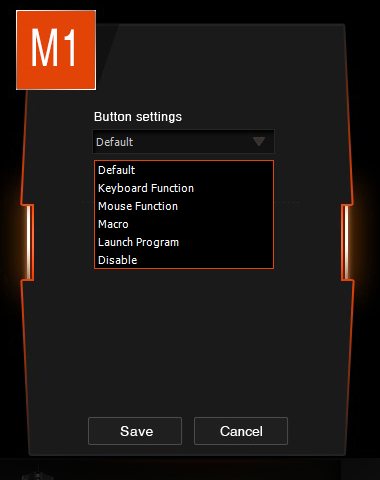
在可自訂指令的個人化按鍵部分,共有6個選項可以選擇,選好所要的選項與搭配的設定,按下Save鍵後就立即生效!接下來,就簡單介紹除了Default與Disable外的其它選項功能。
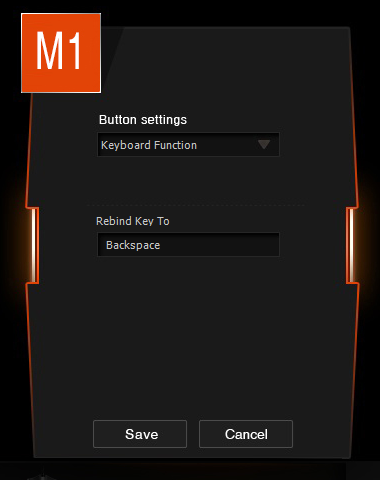
Kyyboard Function選項,是將這個個人化按鍵指定成鍵盤上的其中一個按鍵。
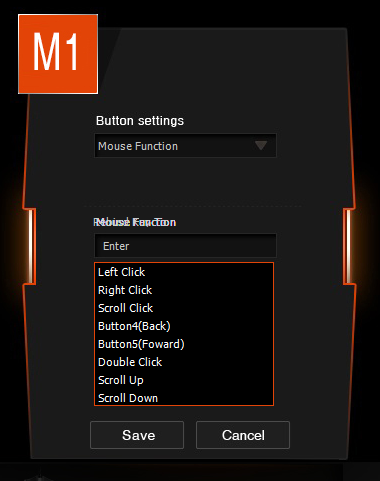
Mouse Function選項,是將這個個人化按鍵指定成滑鼠的某個功能。
Marco選項,是將這個個人化按鍵指定一個已經錄製好的巨集。
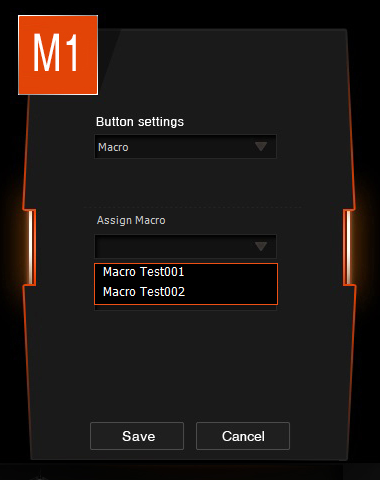
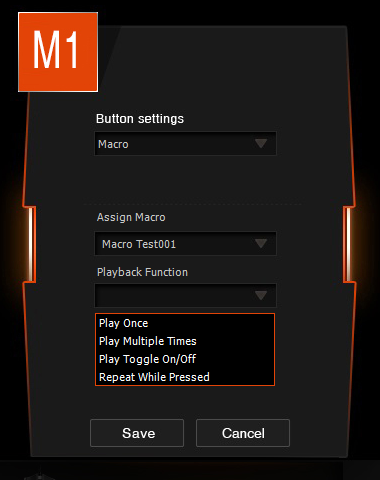
在選好巨集後,接著還要選擇按下按鍵後,這個巨集的執行方式。
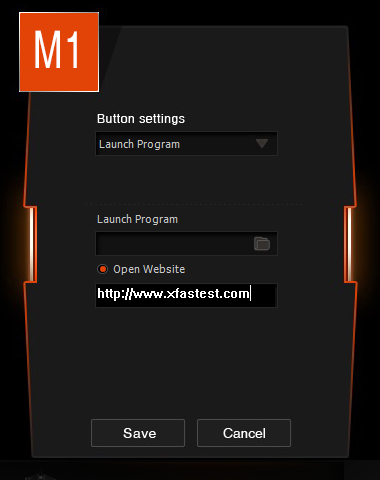
Launch Program選項,是將這個個人化按鍵指定開啟選定的程式或網站。
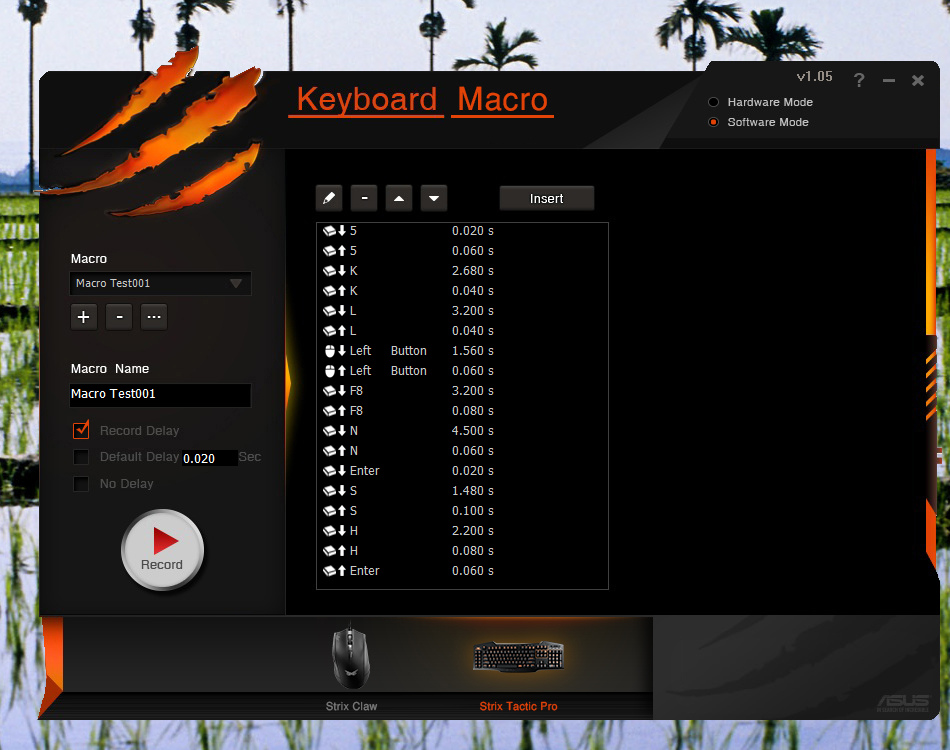
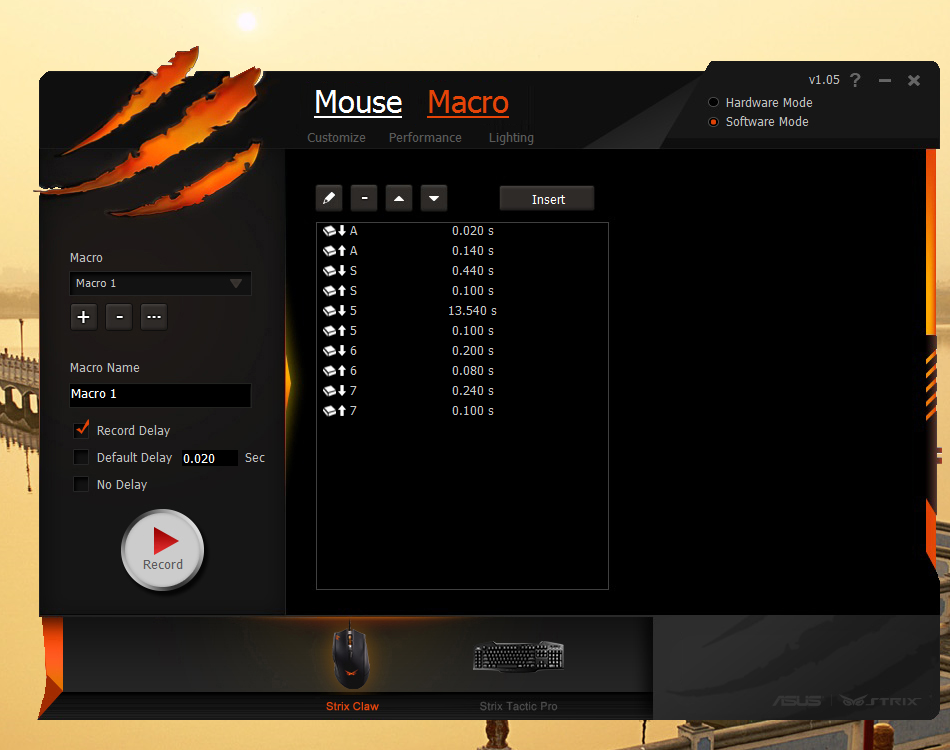
自訂巨集,讓遊戲或工作更加方便,也是這個公用軟體很重要的部分。而在Macro部分的設定畫面中,左半部是巨集檔案管理介面,右半部是巨集內容管理介面。
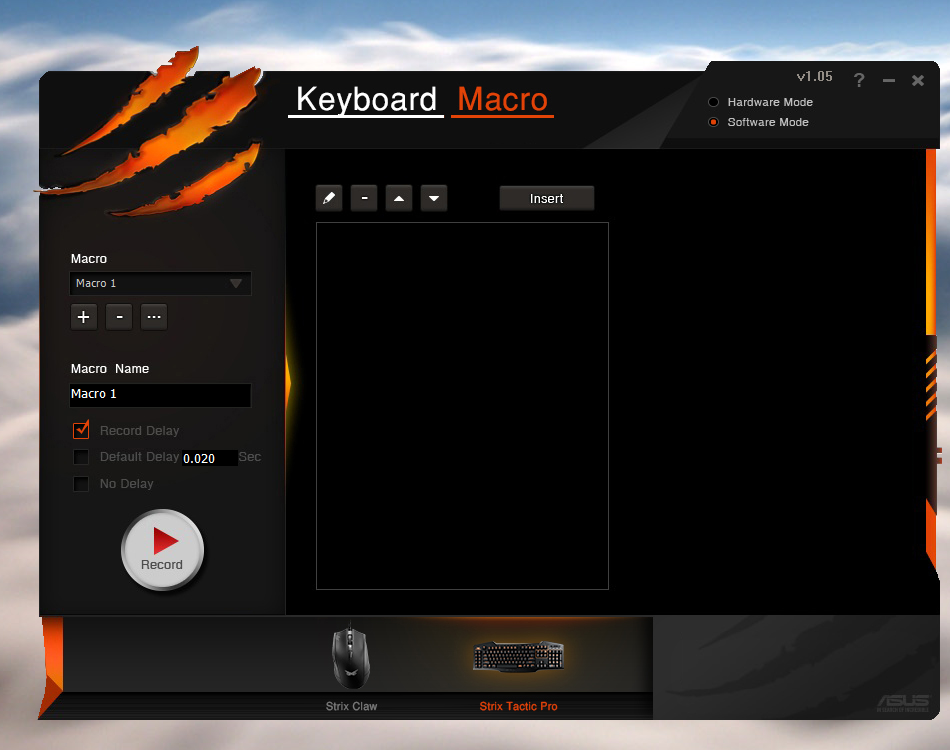
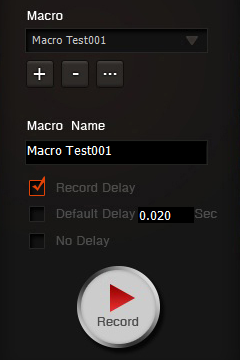
在巨集檔案管理介面中,使用者可以新增、刪除、複製,以及匯出或匯入巨集檔案。如果是新增巨集的話,按下Record按鍵後,就會開始進行巨集錄製,之後按下Stop按鍵,就完成巨集錄製。
錄製好巨集,可以透過巨集內容管理介面,進行巨集內每一個指令的名稱設定、刪除與上下搬移。
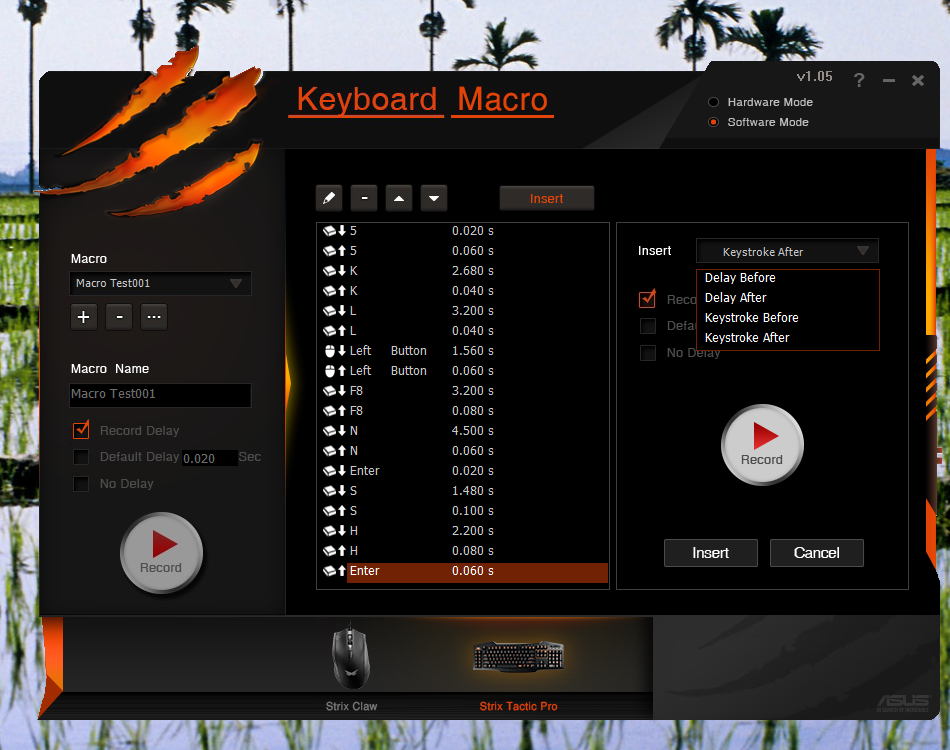
如果要在既有的巨集裡增加新的指令,只要選擇巨集裡的某一個指令,然後按下Insert按鈕,選好新增方式後按下Record按鈕,就可以錄製新的指令進這個巨集裡。
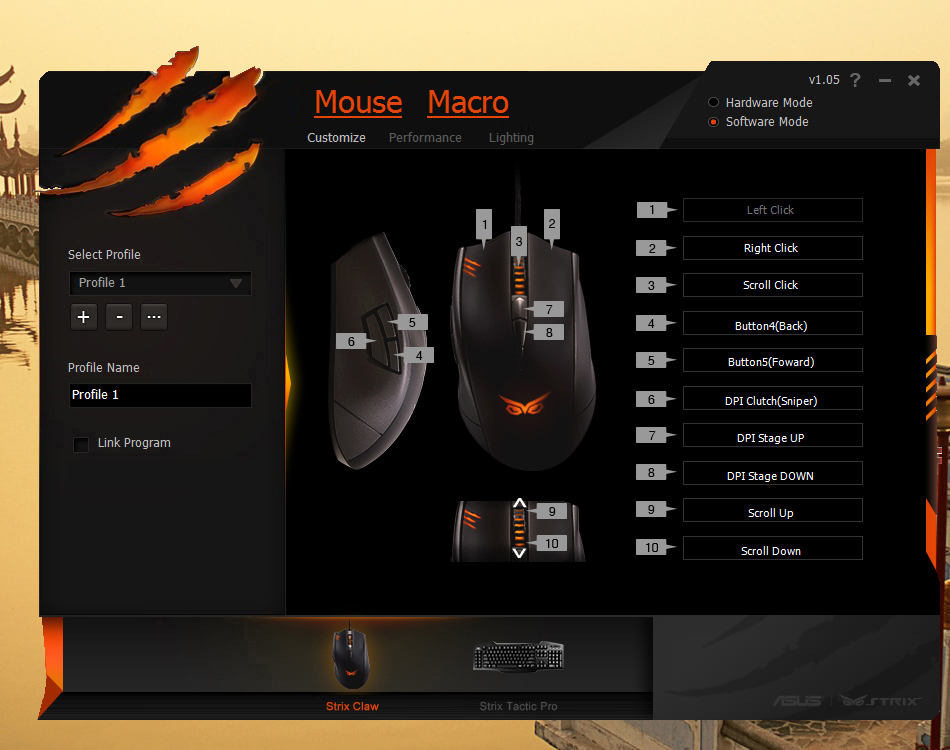
繼續來看CLAW電競滑鼠Mouse部分的Customize設定畫面。其中,左半部是profile檔案管理介面,右半部是滑鼠10個按鍵的選擇設定按鍵,使用者只要點選其中一個按鍵,就能進行設定。而這部分的profile管理與按鍵功能設定部分,與TACTIC PRO機械式電競鍵盤Keyboard部分的設定方式相同。至於有差異的部分,就是CLAW電競滑鼠的預設profile只有一組,另外也只能儲存一組profile到滑鼠的記憶體裡。
至於按鍵選項部分,以下針對TACTIC PRO機械式電競鍵盤沒有的部分,簡單介紹一下。

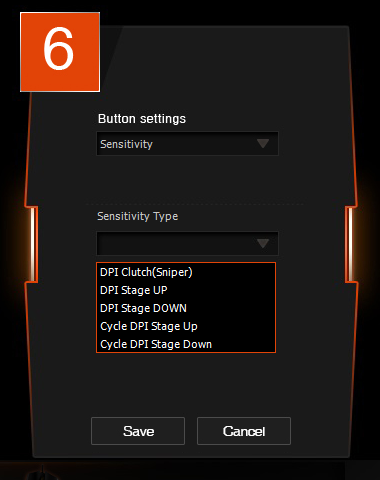
Sensitivity選項,是將這個按鍵指定一個DPI靈敏度選項。
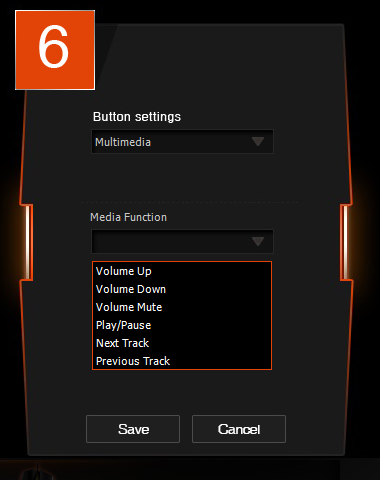
Multimedia選項,是將這個按鍵指定一個多媒體播放功能選項。
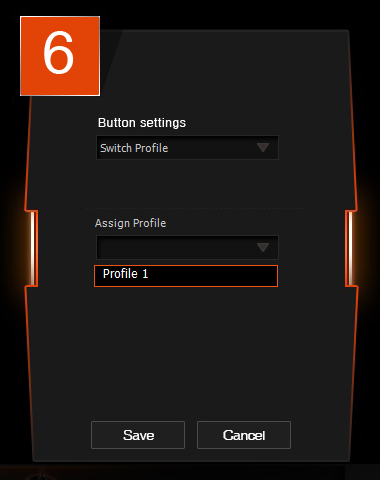
Switch Profile選項,是將這個按鍵指定一個現存的profile設定。
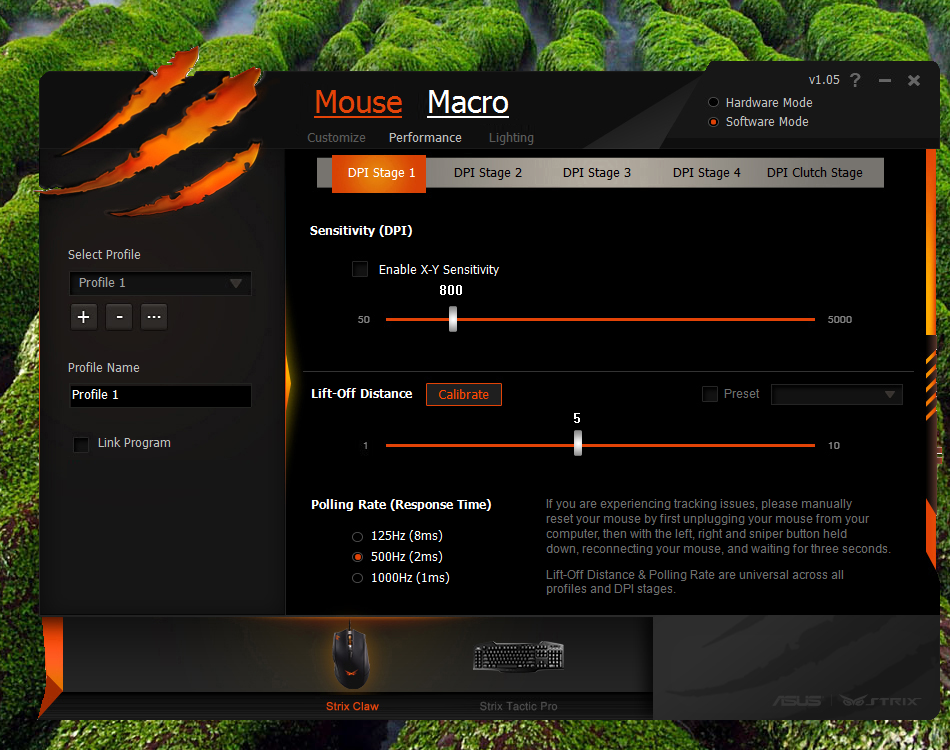
Mouse部分的Performance設定畫面中,可以調整滑鼠的DPI值、抬升距離與回應時間。
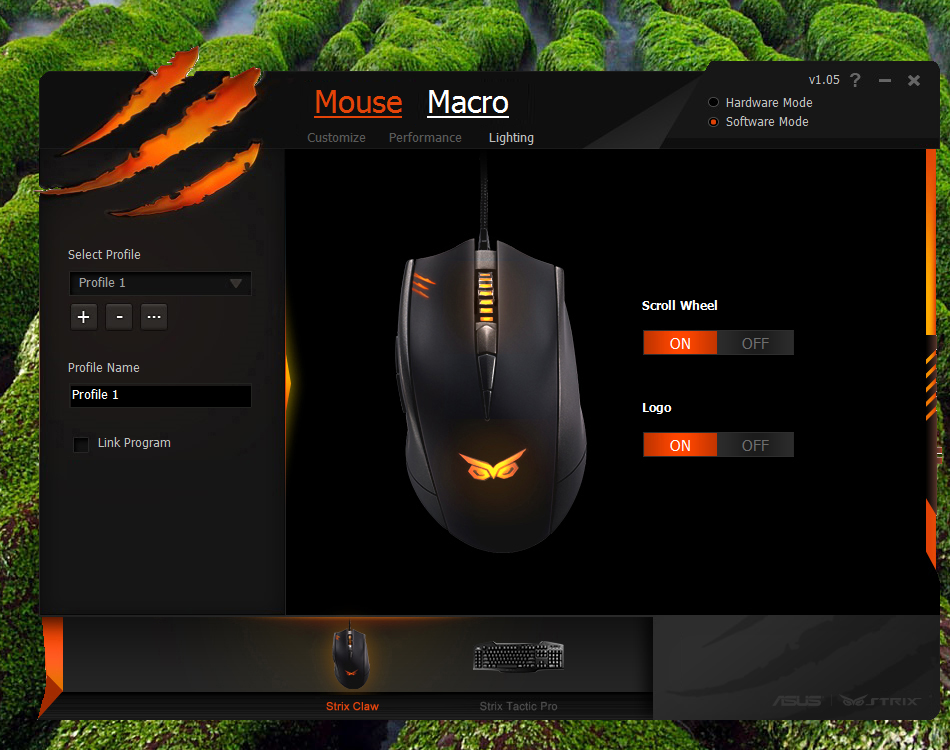
Mouse部分的Lighting設定畫面中,可以設定開啟/關閉Logo或滾輪的LED燈光。
CLAW電競滑鼠的Macro部分設定畫面與管理方式,都與TACTIC PRO機械式電競鍵盤相同,就不再贅述。

這次體驗了STRIX系列的TACTIC PRO機械式電競鍵盤、CLAW電競滑鼠與PRO電競耳麥,針對這三項產品的體驗小心得,簡單報告如下:
TACTIC PRO機械式電競鍵盤這把使用Cherry MX青軸的鍵盤,雖然會有機械鍵盤無法免除的較大敲擊聲音,但打起字來感覺相當地順暢!而鍵盤本身提供13個獨立和8個與F1~F8功能鍵共用的自訂指令個人化按鍵,對多數人來應該是相當夠用。另外,可直接透過鍵盤錄製巨集,以及儲存3組profile設定在鍵盤的記憶體裡,也大大地增加使用便利性!
CLAW電競滑鼠以有接觸過的滑鼠來說,這支滑鼠的體積算大的,但因為有人體工學設計,所以實握操作時感覺不錯!而靈敏度的部分,可以透過公用程式調整,而且除了左鍵外的其它按鍵可以自由設定,也可錄製巨集,並將profile檔案儲存在滑鼠本身記憶體裡,方便在沒有公用程式的電腦上使用。至於可改善的部分,就是我自己使用時,覺得這支滑鼠對我來說還是稍輕了點,如果有提供增加重量的方式,使用起來就會更順手啦!
PRO電競耳麥就實際以自己有玩的CS來測試,這支電競耳麥在水平方向定位、距離感呈現,以及殘響收縮的速度,我覺得有不錯的表現。而拿它來聽自己手機裡的音樂,聲音表現部分,或許不如其它專業耳機來得好,不過就我的標準來說,因為手機裡多數非高品質數位音樂檔,搭配這支電競耳麥來聽其實就OK了。至於配戴感部分,耳罩部分的接觸感,在實戴後比想像中的舒服,所以連續戴著幾小時也不會感覺不舒服。只不過,耳罩的部分看來是特殊規格,就不知道萬一有損壞,是否可以向ASUS單獨購買耳罩來替換了?
最後,使用包括上述三項產品,以及之前購入使用的GTX960-DC2OC-2GD5顯示卡與GLIDE SPEED電競鼠墊,STRIX系列電競產品給我的印象還不錯!如果大大們想要選擇ASUS的電競產品,在預算不足以入手ROG系列產品下,那麼改入手STRIX系列產品,也是不錯的選擇哦!
文章同時刊登在個人Blog:hy321250財經資料、旅遊、資訊及讀書心得記錄處


