采用LGA1366脚位Core i7 CPU及所搭配X58晶片组,虽然INTEL已推出相当长的时间,也获得相当多的好评价,不可忽略的是它仍是最高阶的个人PC平台,当然从今天开始顶级平台王座要交棒给最新的X79晶片组及最新的Sandy Bridae-E系列之CPU,包括Core i7 3960X、Core i7 3930K及Core i7 3820价格分别为美金$999、583及294,采用LGA2011接脚,TDP为130W,支援HyperThreading、内建4通道DDR3记忆体控制器及新的QPI连接介面。于2011年11月所发表32奈米制程拥有六个实体核心产品,代号Sandy Bridae-E的i7,将是目前Intel CPU产品的效能及顶尖之作,为此主机板大厂-ASUS针对主流市场也推出采用X79晶片组的P9X79 PRO主机板,本次ASUS推出P9X79 PRO,是目前ASUS在X79晶片组主流产品中担任中坚干部的角色,以完善的产品设计及功能,拥有包括支援Intel 6核CPU产品、支援3WAY SLI&CrossFireX、Bluetooth 3.0+HS及Extreme Engine Digi+数位供电等功能配置,在用料也是全板固态电容,整体用料不马虎,CPU供电部份采用数位供电设计配置,网路卡部分则是因应众多玩家们的需求采用Intel制品的82579V,另外也加入了前后共2组asmedia晶片,加上VLI USB3.0 HUB功能计提供6组USB3.0,提供最夯的USB 3.0支援能力,使用者马上就享用USB 3.0带来的10倍于USB2.0高速传输速度,另外主机板所搭配的PCH南桥晶片提供了原生的2组SATA 6Gbps连接埠,仅仅2个怎够用所以也另外增加控制晶片提供2组SATA 6Gbps的传输性能外,也加入SSD 快取技术,补足原Z68平台有的智慧型快取技术,这是目前Intel X79平台所较令人诟病的原生规格之一,采用SATA 6Gbps介面的硬碟也慢慢增加,但对于未来的产品确是增加不少升级性。这片主机板属于较一般ATX规格,也是一般人装机接受度很高的选择,图形化的UEFI BIOS的设定也相当完整。以下将带领各位了解ASUS在X79晶片组主机板产品中阶产品P9X79 PRO的面貌及效能。
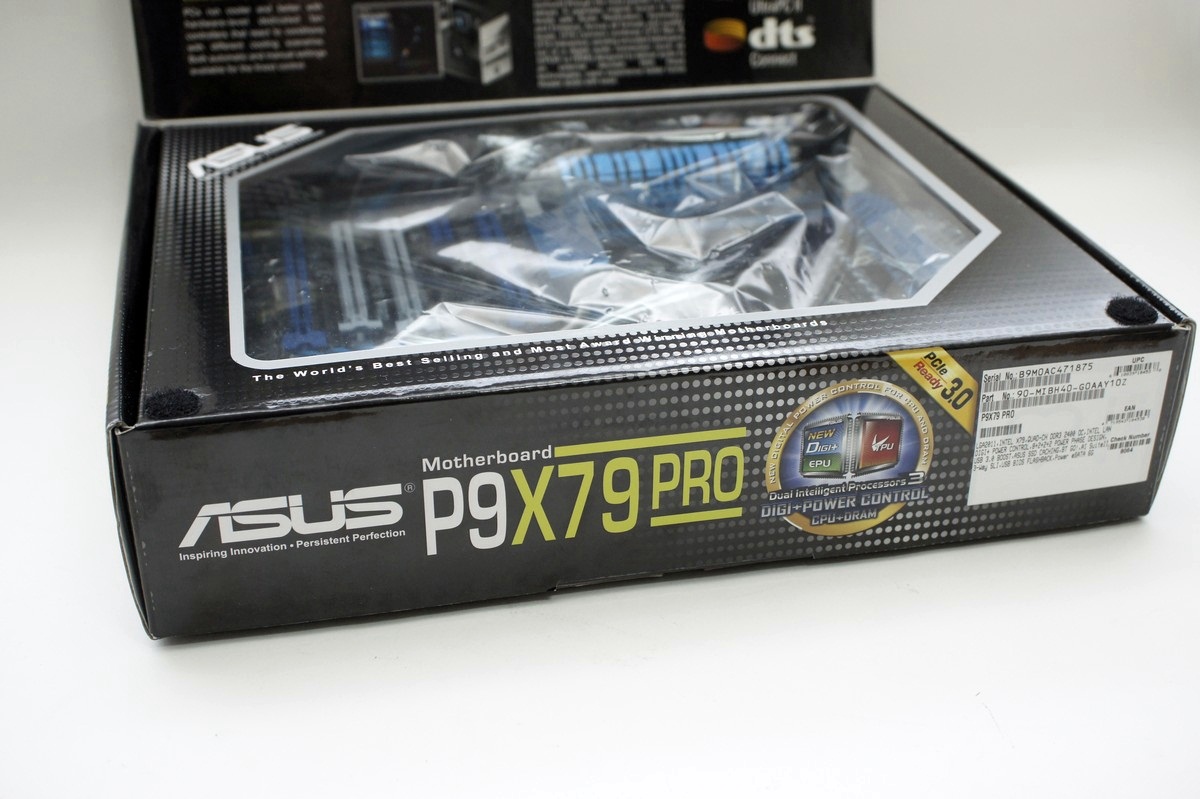
P9X79 PRO外盒正面
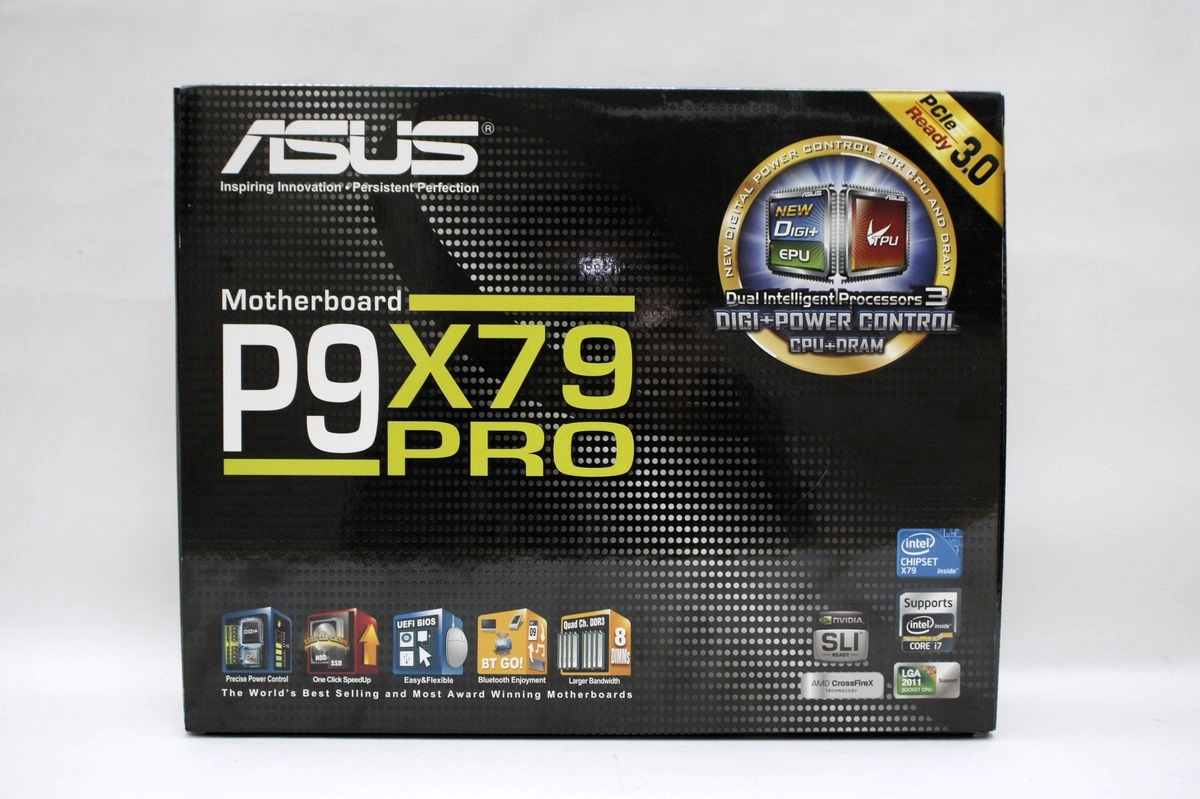
采用ASUS近期产品一贯经典款黑色设计。
P9X79 PRO支援的技术
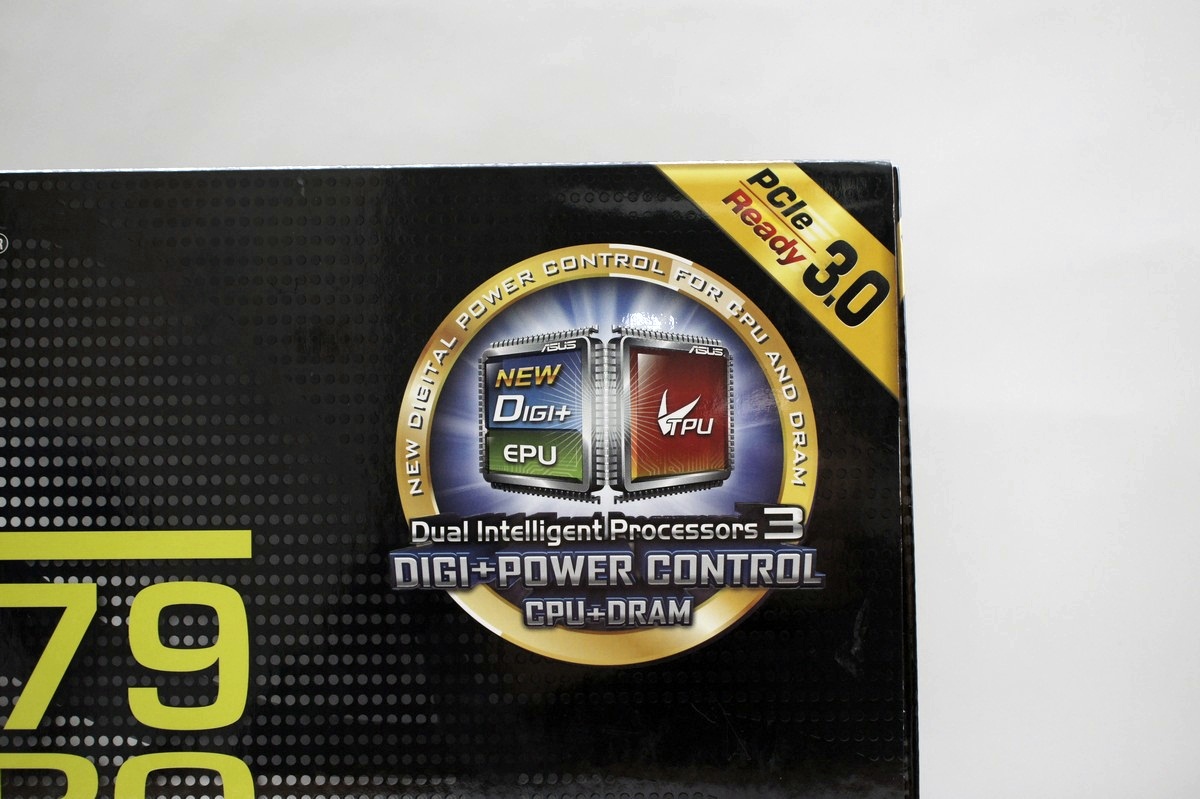
采用Intel X79晶片组,属于2011脚位,记忆体使用DDR3,可支援2011脚位32nm的CPU产品,
如Core i7 3960X、Core i7 3930K及Core i7 3820等,SLI&CrossfireX支援16X+16X或是8X+8X+8X+8X。
另外也正式支援PCI-E 3.0传输介面,也正式导入新一代的 DIGI+ POWER设计,另外提供更佳的电源供应设计,
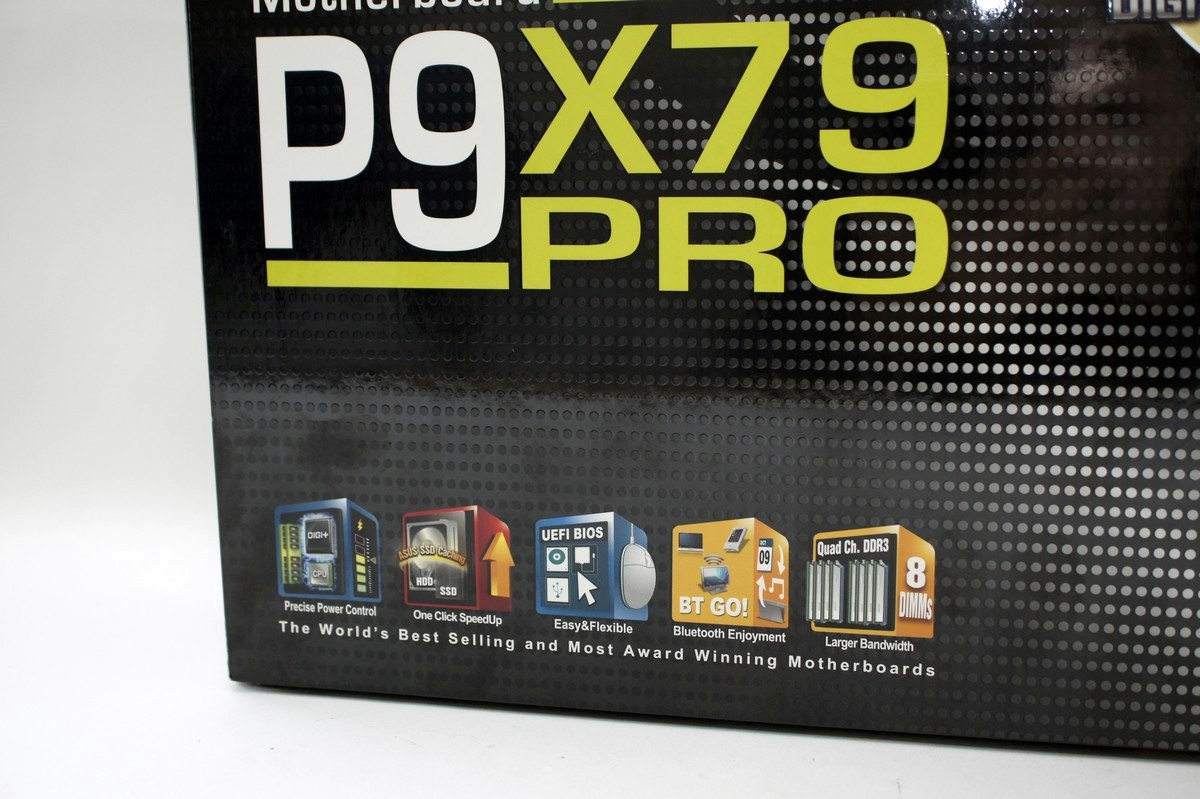
一键加速技术,UEFI BIOS、BT GO及提供8DIMMs记忆体插槽。
盒装市售版
已在市场上正式销售,有兴趣入手X79平台的玩家应该买的到啰!!
外盒内摺页主机板功能及特色介绍
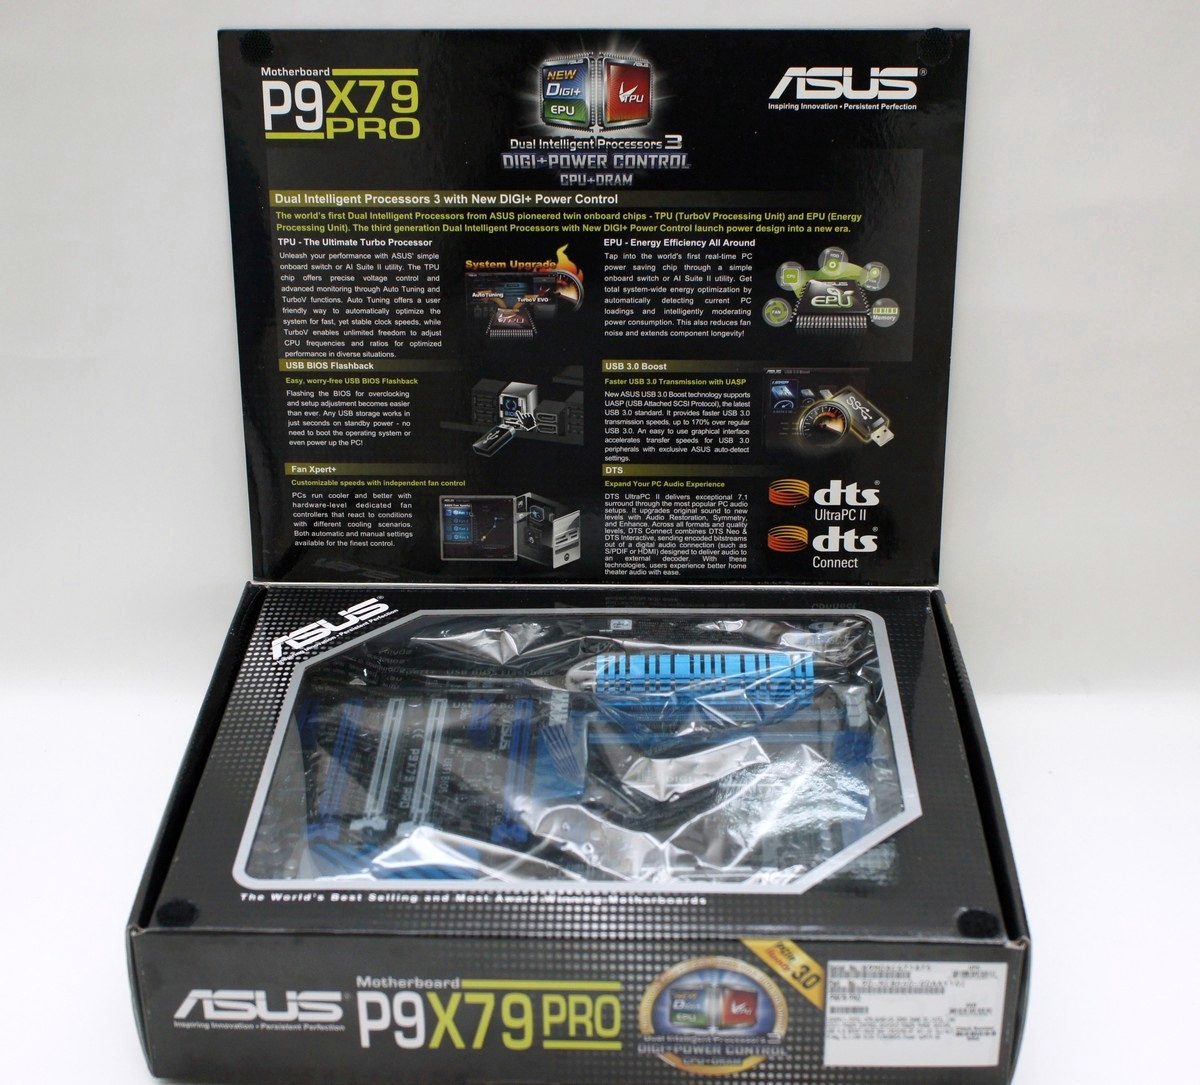
包括主打的TPU、EPU所组成的第三代双重智慧处理器 3 及新一代Digi+数位供电设计、USB3.0 BOOST、FAN Xpert+、USB BIOS FlashBack外,也提供的Q-DIMM、Mem Ok!等,
当然也要保留之前主流市场系列主机板备受好评的功能。
采用高阶主机板常用的橱窗式包装

让使用者可以先了解主机板外观及设计,让其了解是否符合其需求。
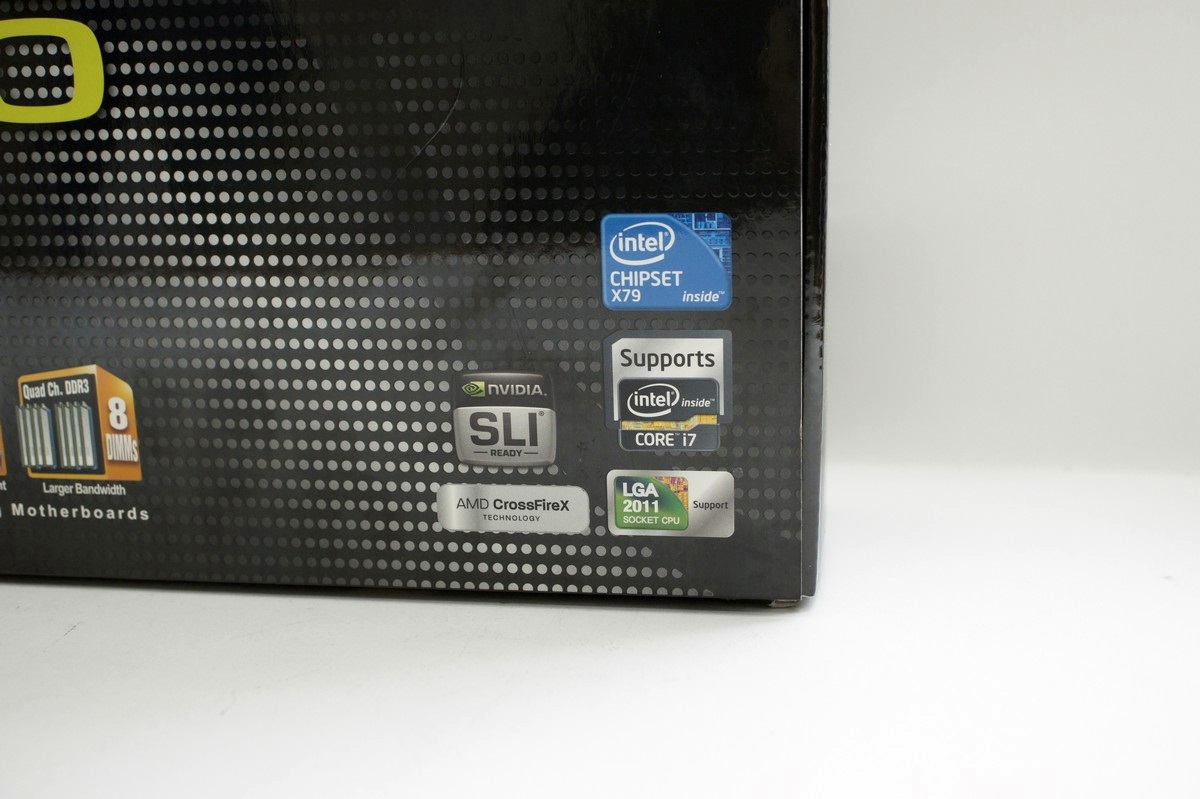
外盒背面规格及图示产品支援相关技术
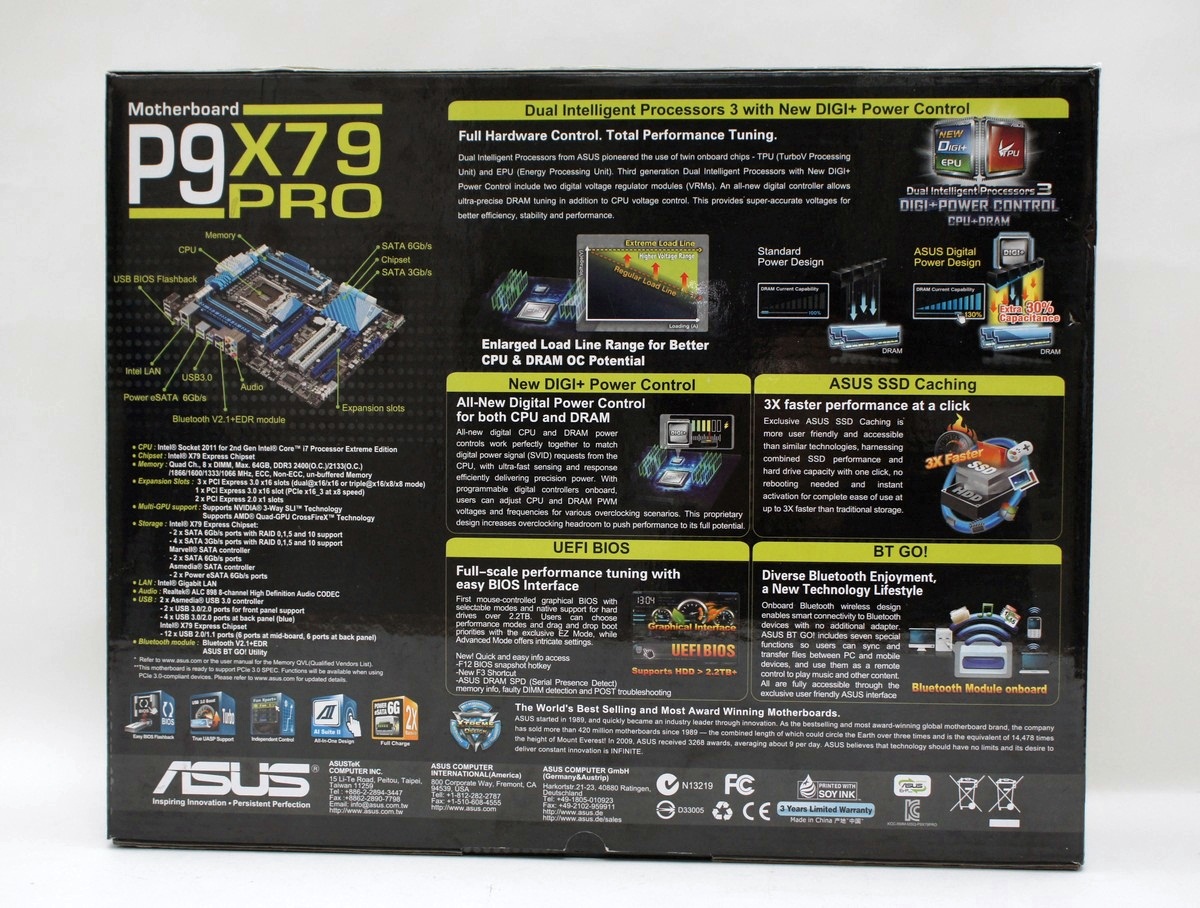
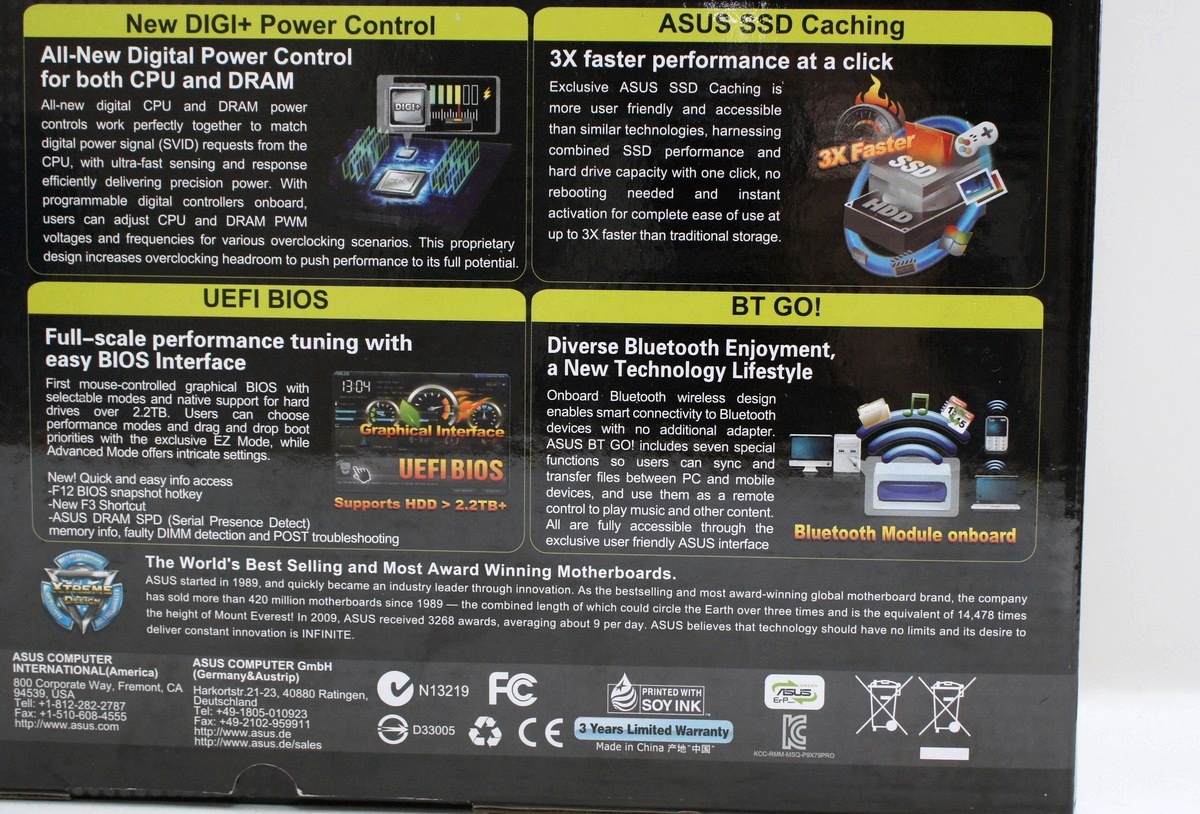
包括支援2011脚位CPU、X79晶片组主机板、技术、规格,并以简单图示简介主机板支援的功能跟特色,主打的TPU、EPU所组成的第三代双重智慧处理器 3 及新一代Digi+数位供电设计、USB3.0 BOOST、FAN Xpert+、USB BIOS FlashBack外,也提供的Q-DIMM、Mem Ok!等,让使用者快速透过简图了解主机板的特色,另外就是还是MIC(世界工厂产品)。
透明视窗设计及内盒包装
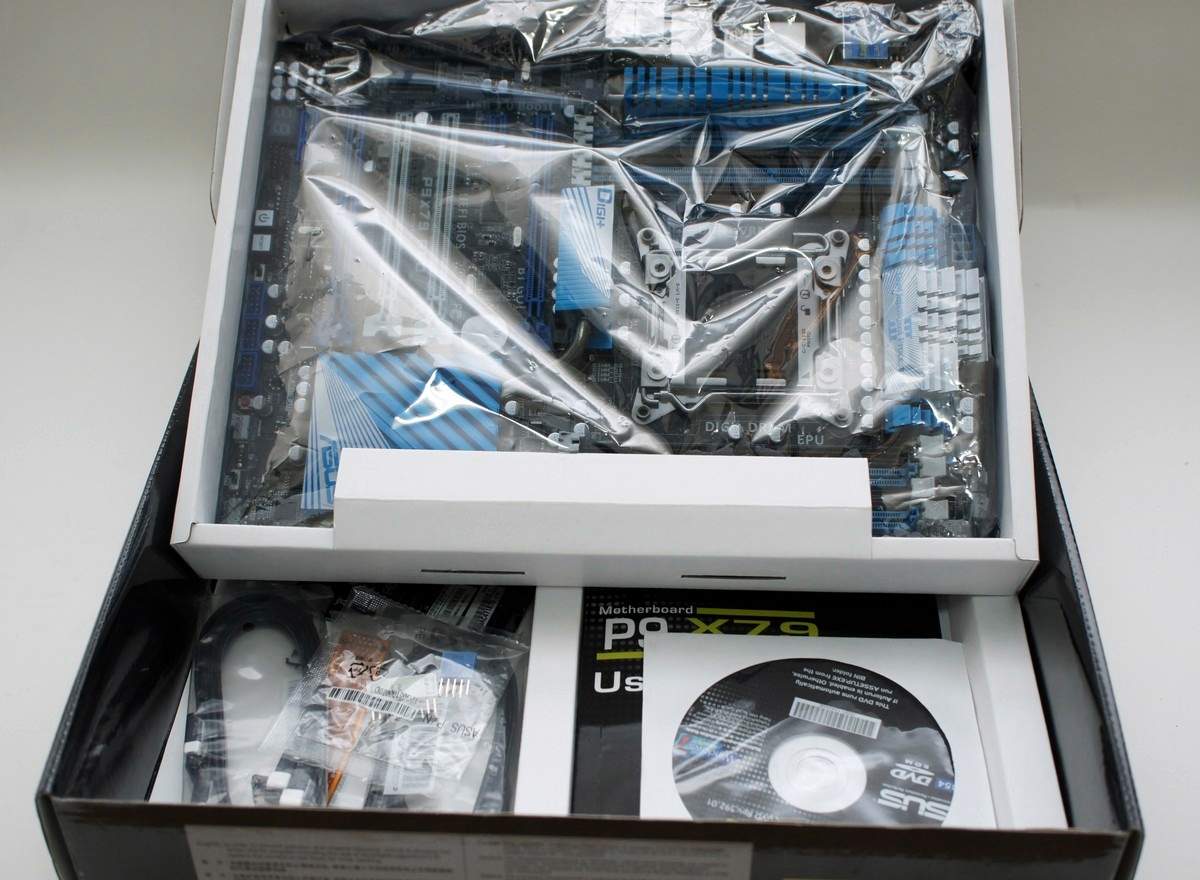
高阶主机板常用的包装设计,内盒为两层设计。
开盒及主机板配件
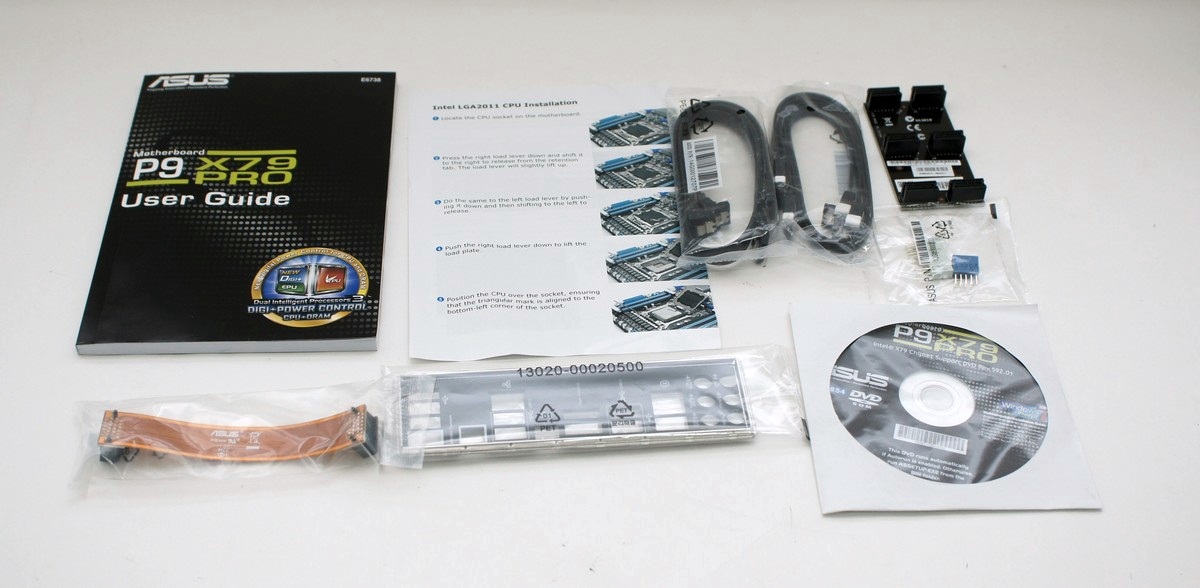
主机板配件有驱动光碟、SLI桥接器、SATA6G排线4组、IO档板、EZCONNECT及说明书等。
[page]p[/page][title] 主机板 [/title]
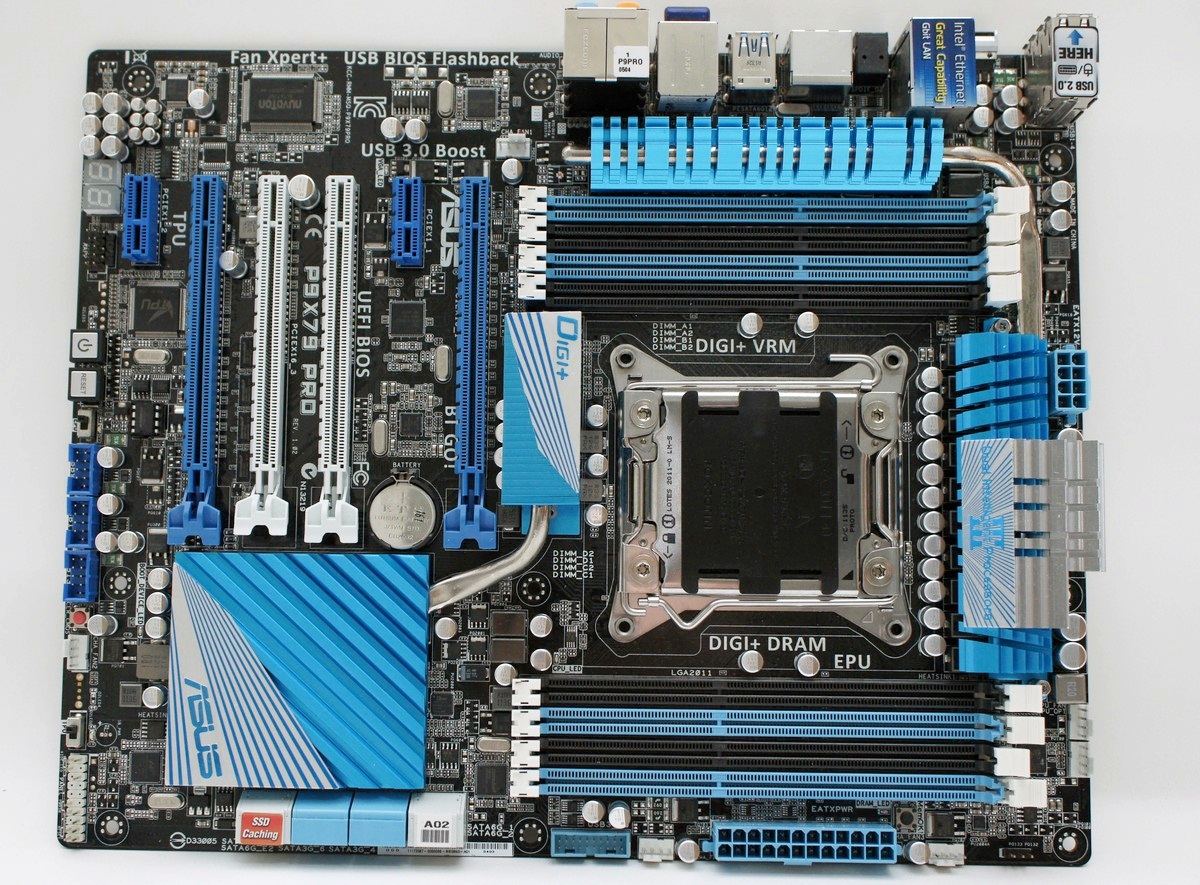
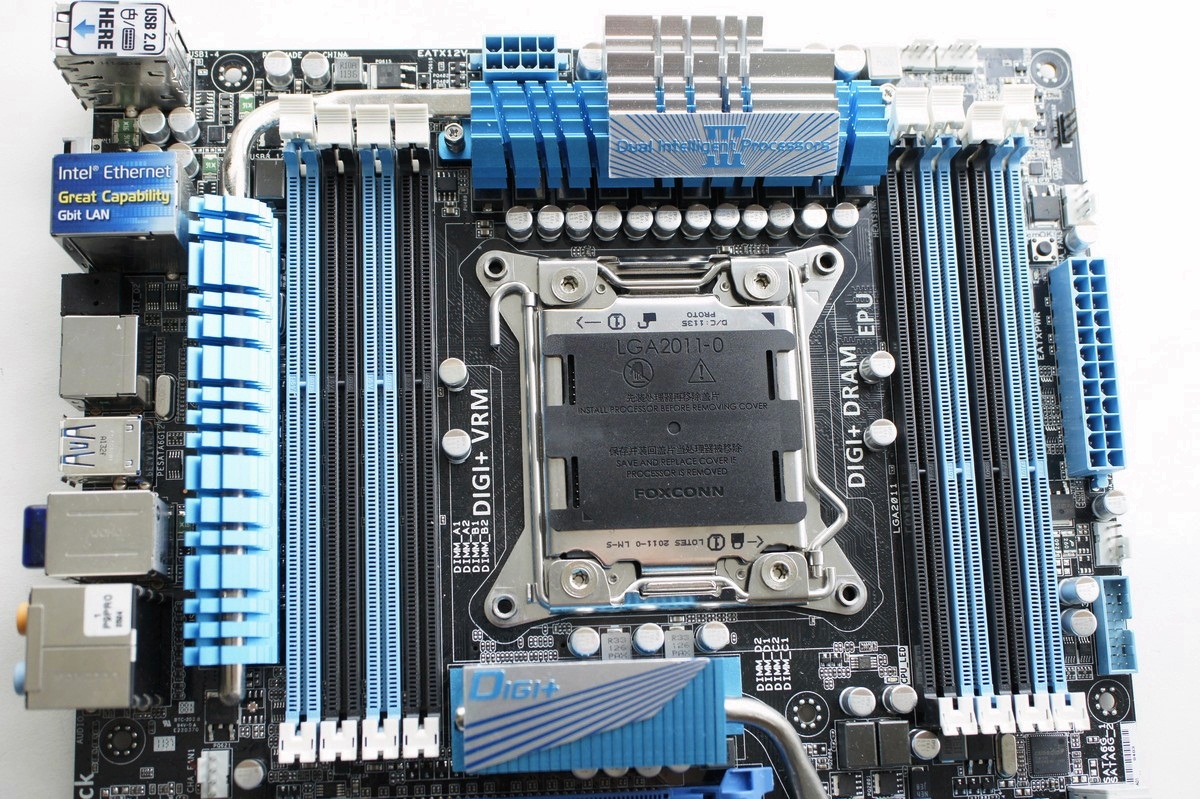
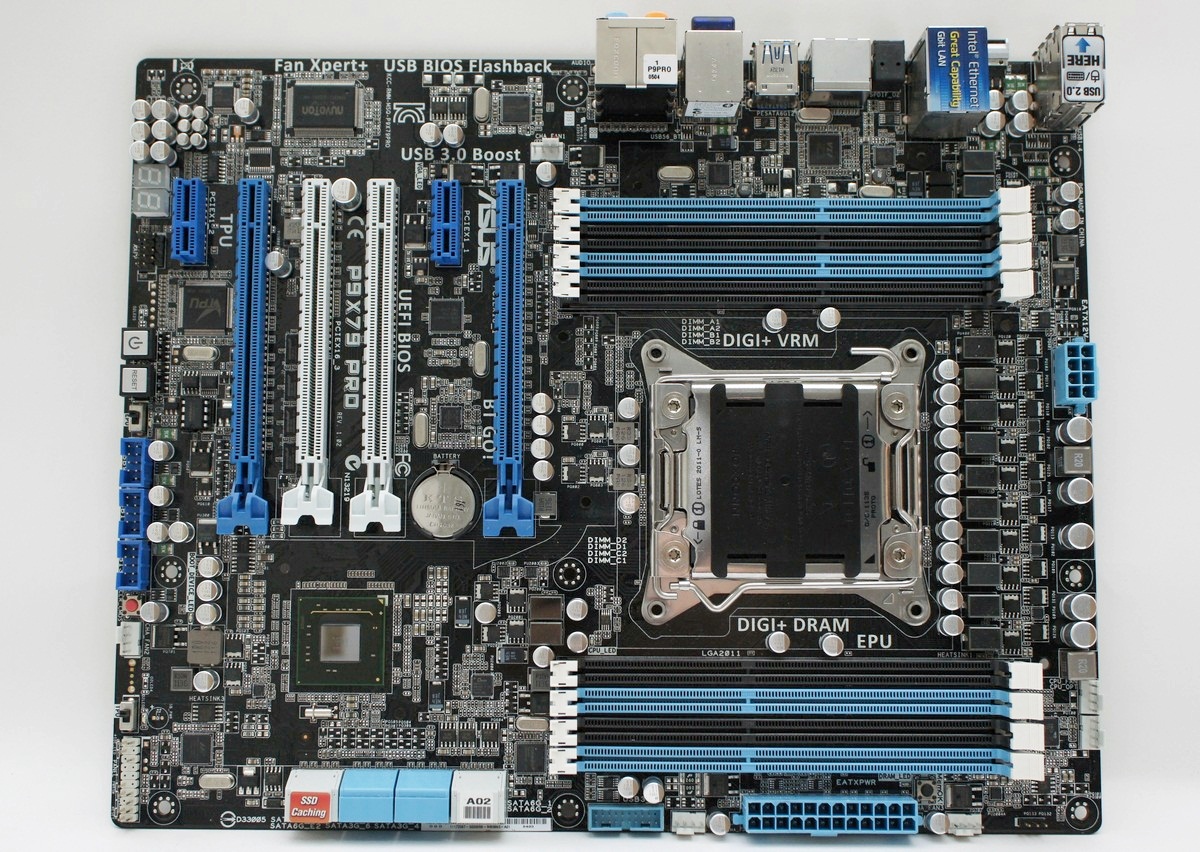
主机板正面
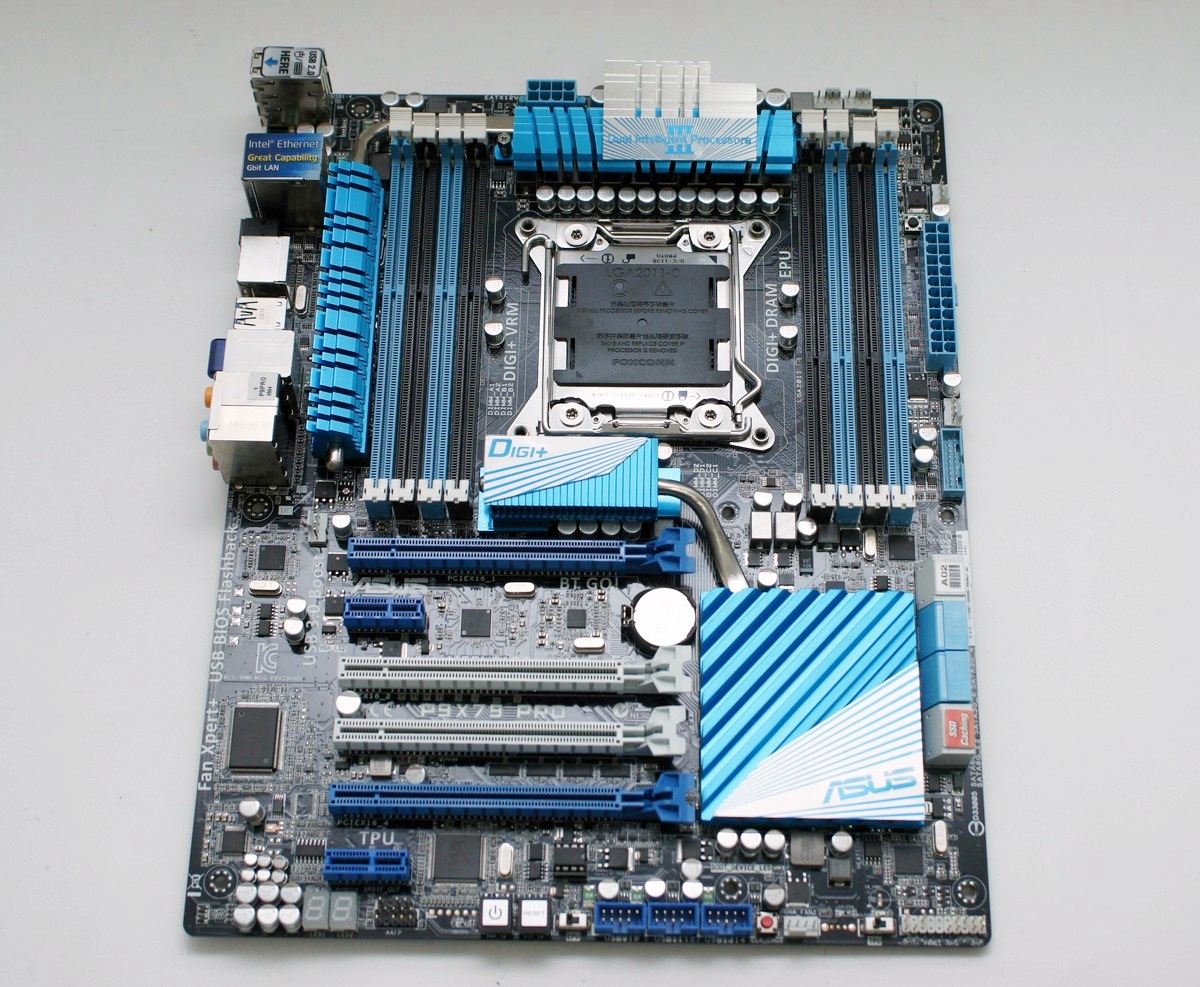
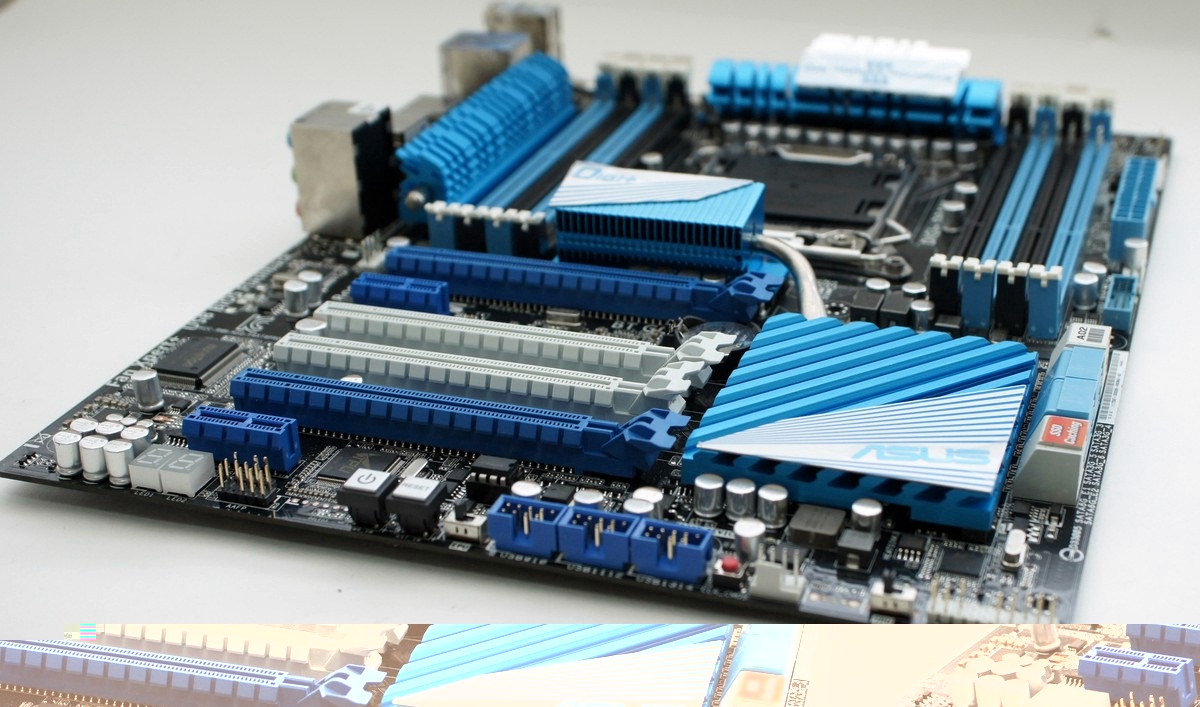
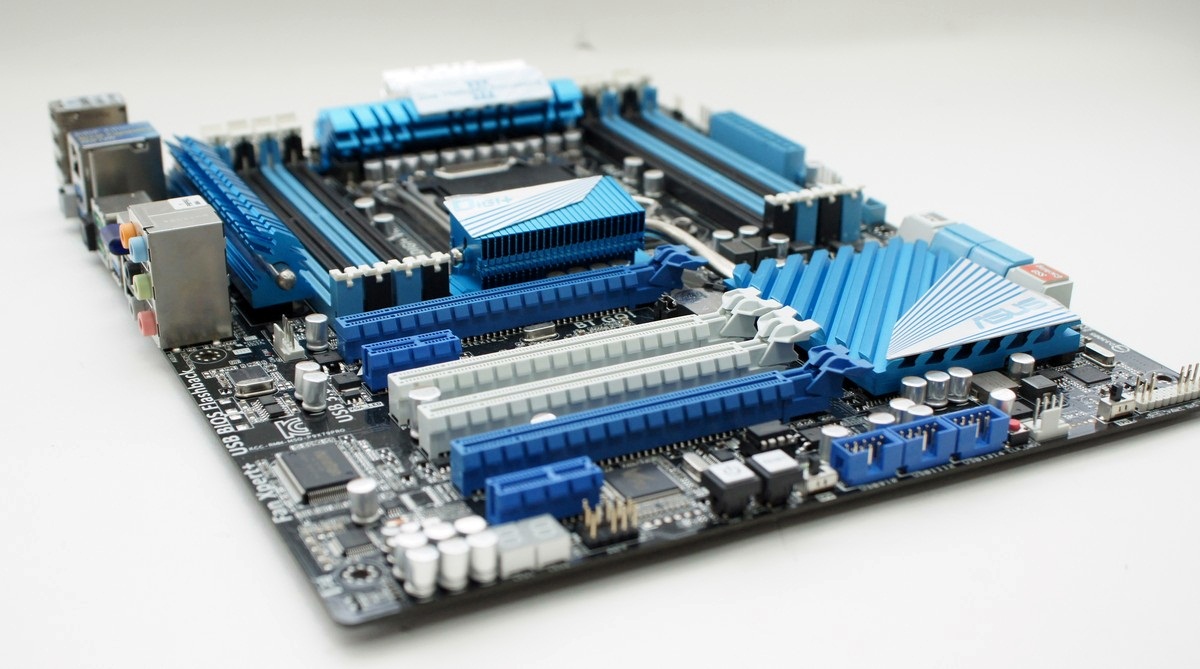
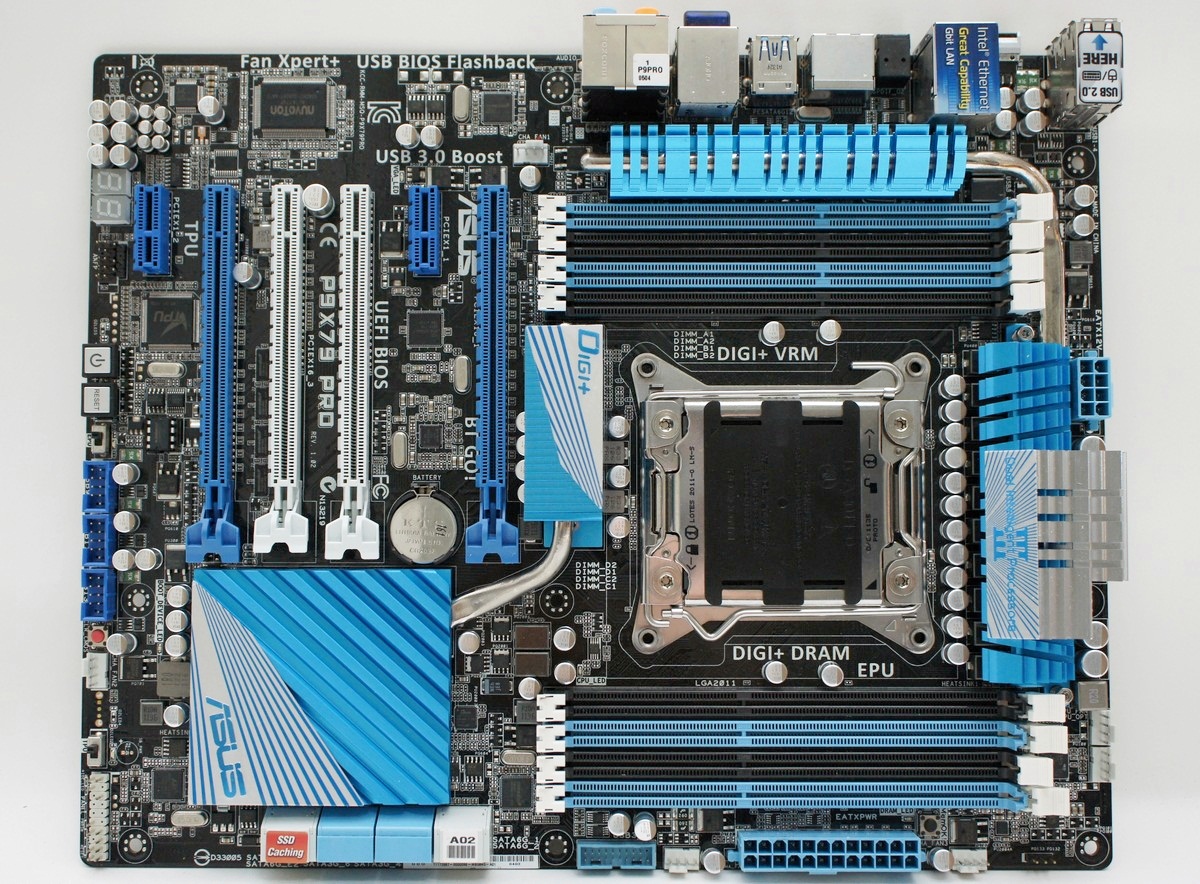
这张一样是定位在中阶X79 ATX主机板,主机板电容采用全固态电容,P9X79以价位来说就是当然用料设计就是提供更佳的用料给予使用者,供电设计采用数位化供电设计的DIGI+ POWER技术,MOS区以面积加大的热导管散热片导致后方,X79 PCH晶片组也采用1组热导管连接至CPU下方增加散热面积,使MOS及X79晶片组负载时降低工作温度,更可以有效控制热量,提高电脑工作稳定度,CPU端使用8PIN输入,并提供6组风扇电源端子(6组均为PWM)主机板上提供4组SATA6G、4组SATA2,此外整体配色采ASUS主流主机板产品传统黑蓝色为主。
主机板背面
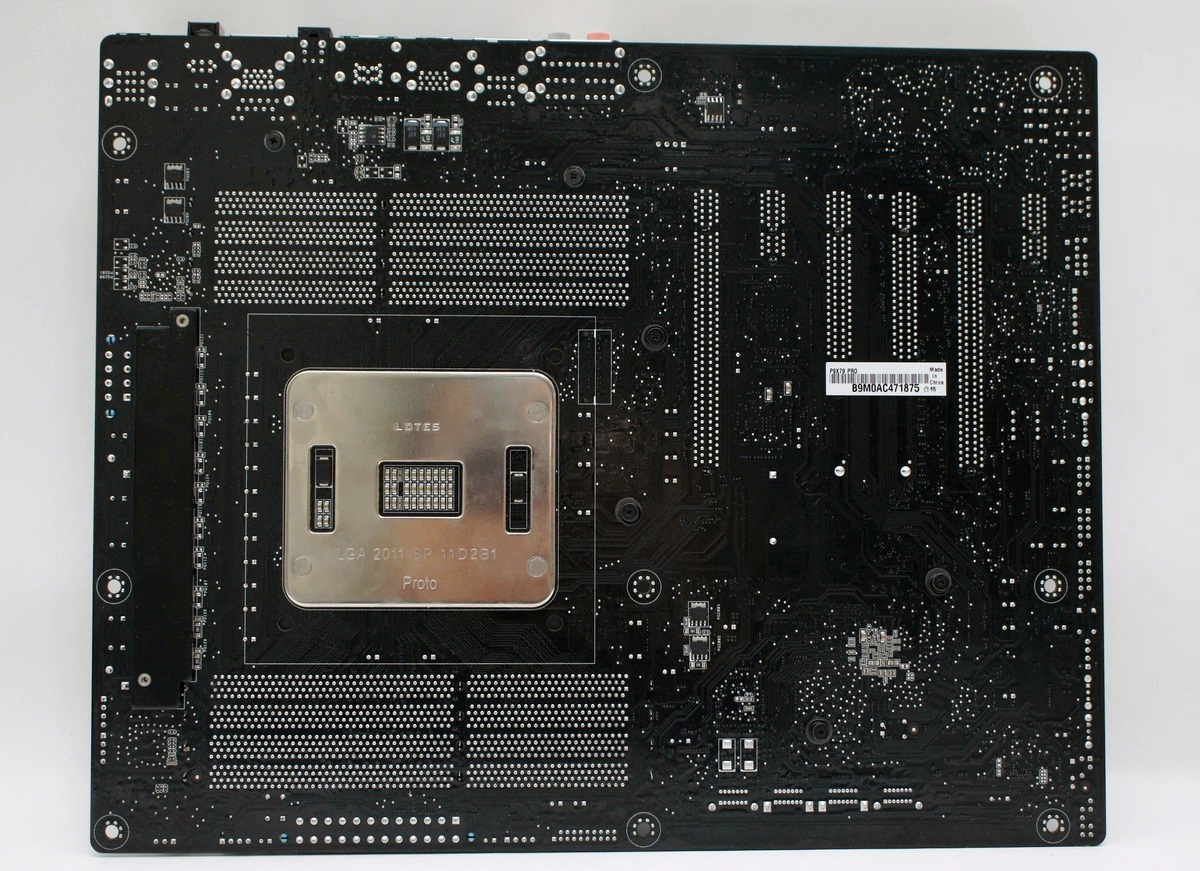
主机板CPU底板使用金属制防弯背板,X79晶片组及MOS散热片使用螺丝固定扣具,增加散热能力外也让正面的散热器效率更好!!
采用8层板
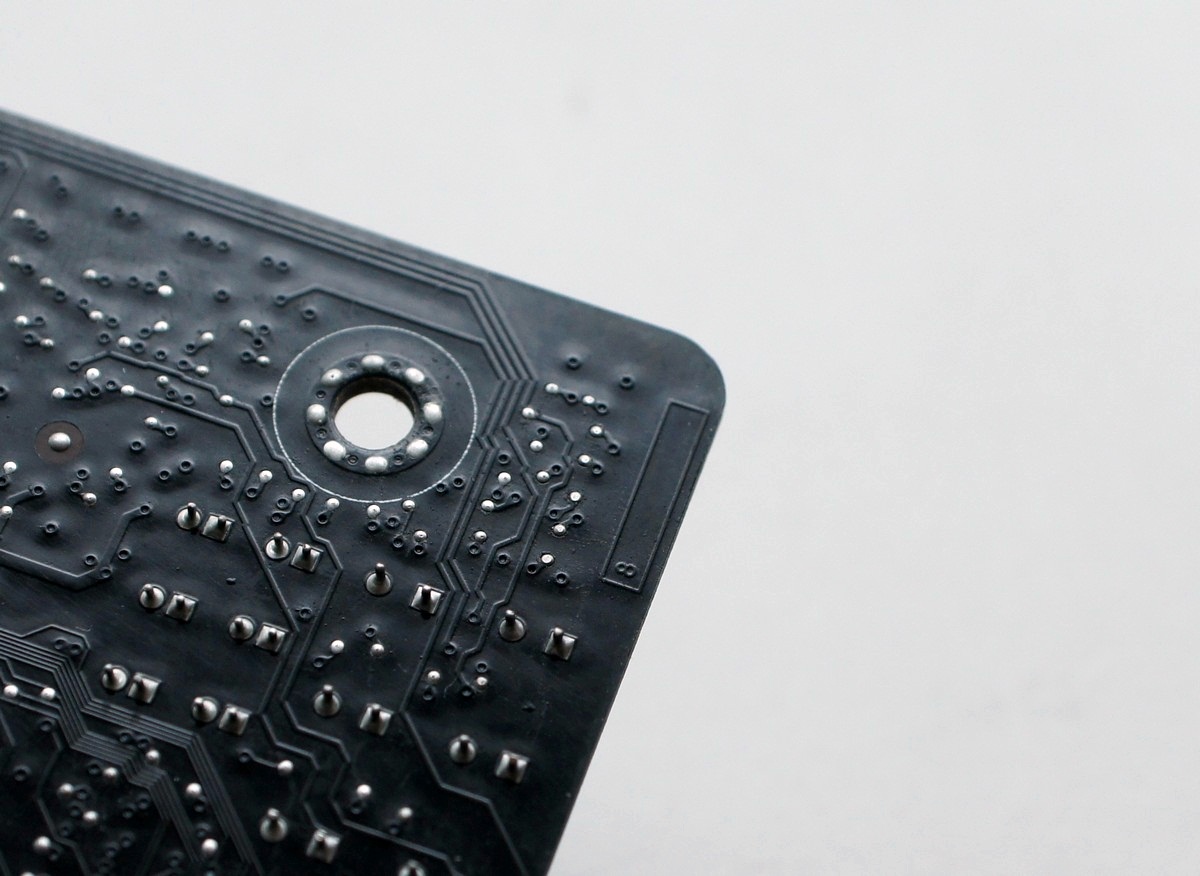
可以在主机板背面发现前面放不下的元件及钽质电容,可以说是用上相当高档的用料。
主机板IO区

如图,有USB BIOS FlashBack传输专用孔、蓝芽、1组Gb级网路、4组USB3.0、5组USB2.0、1组光纤输出及音效输出端子。
CLEAR CMOS及快速键,并提供POWER ESATA 2组。
CPU附近用料

采用新一代的DIGI+数位供电设计的电源供应配置,全版采用固态电容,MOS区及PCH也都加上热导管散热片加强散热,
CPU侧 12V采用8PIN输入及1组CPU+1组PWM风扇端子。
主机板介面卡区及内接装置区
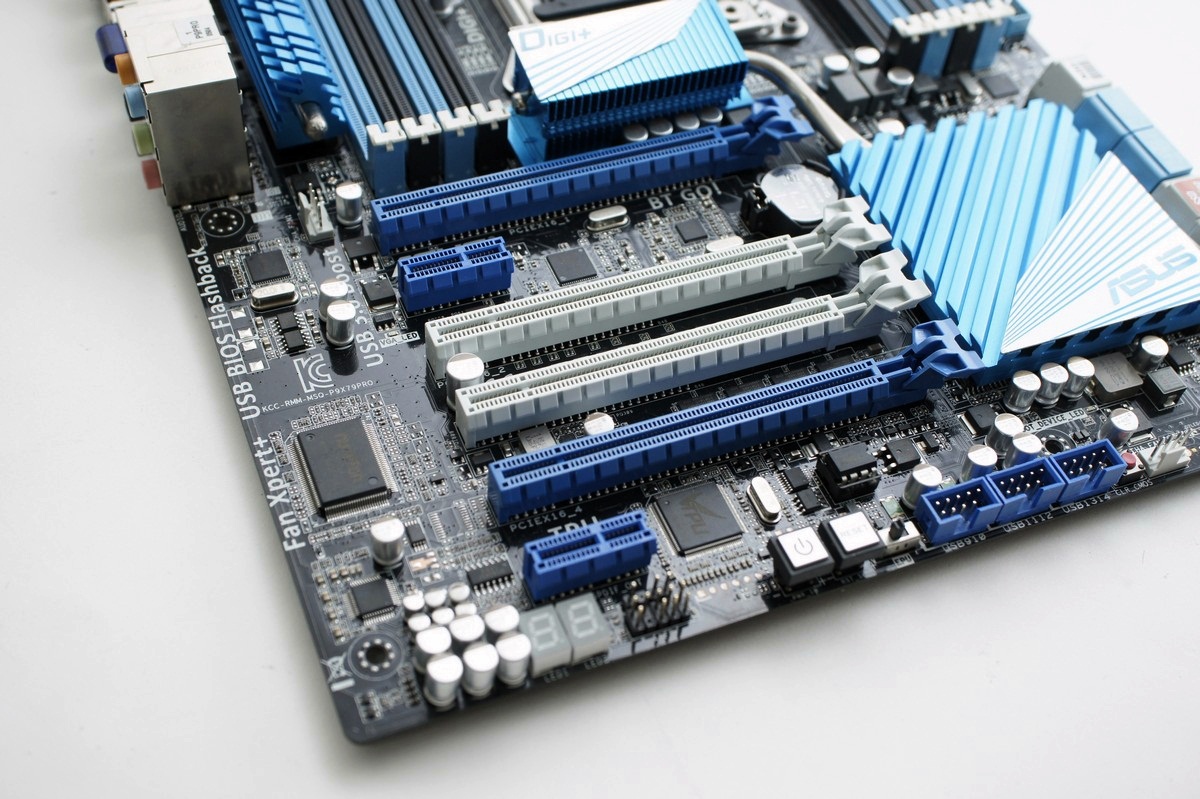
提供4组PCI-E 16X(组成CrossFireX平台为16X+16X或8X+8X+8X+8X,仅能支援3WAY SLI)、2组PCI-E 1X
这样配置对使用者来说对PCI-E介面卡越来越多的情形下,可说是因应市场需求。
PCI-E x16插槽采用海豚尾结构的卡榫,安装及移除显示卡时简便性相当不错。
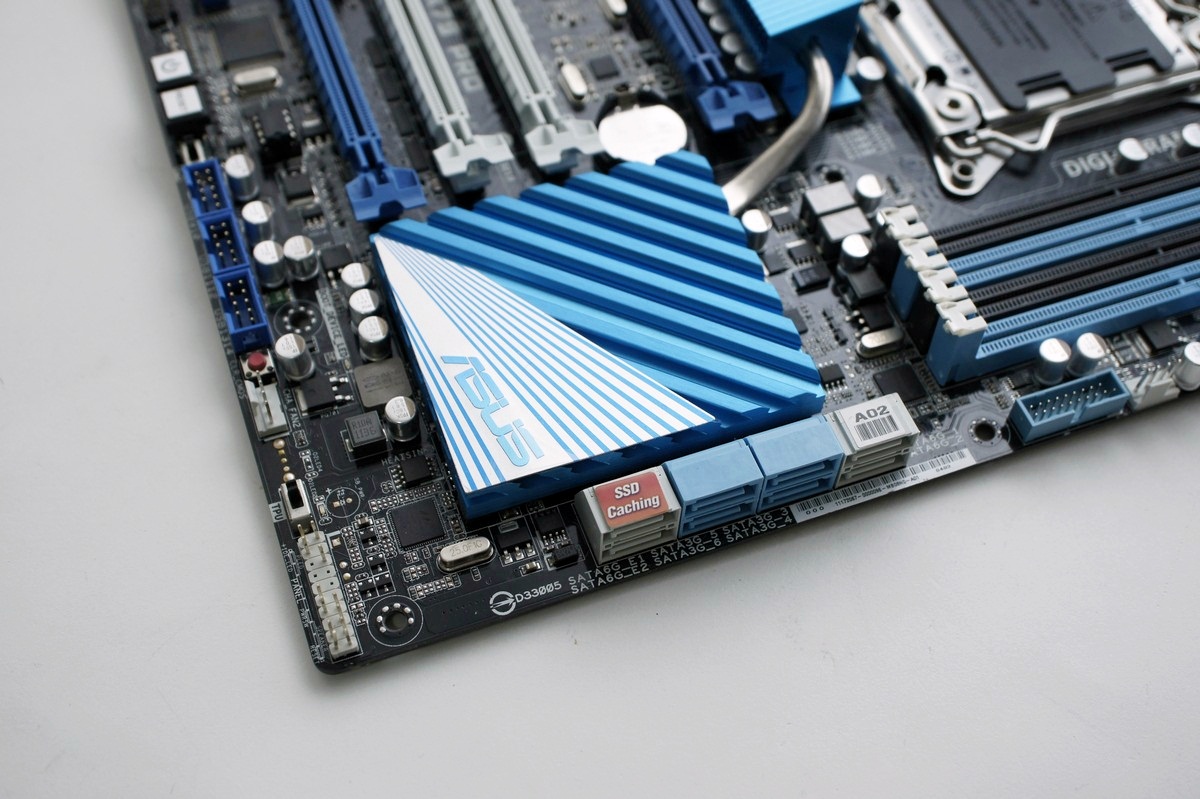
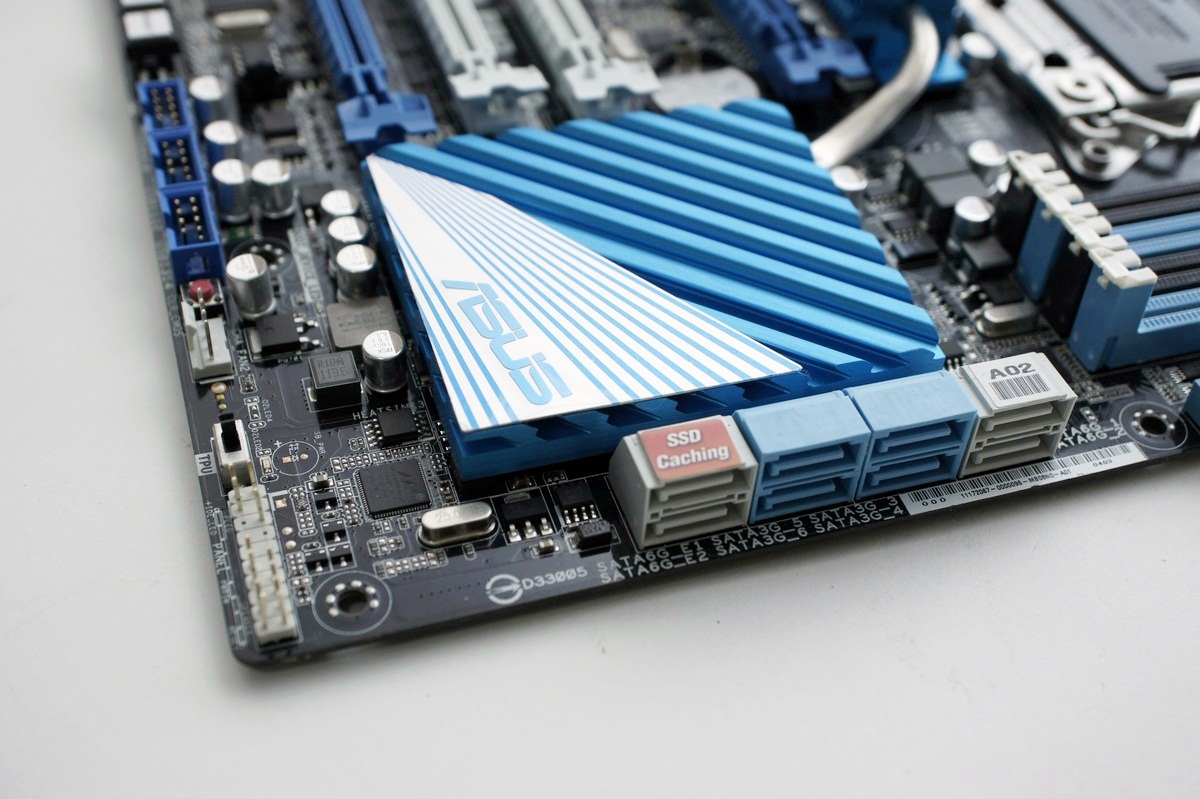
提供4组SATA2、4组SATA3、USB可扩充至14组。也可见到额外提供的前置2组USB3.0。
另外也提供快速开关、RESET及侦错灯号
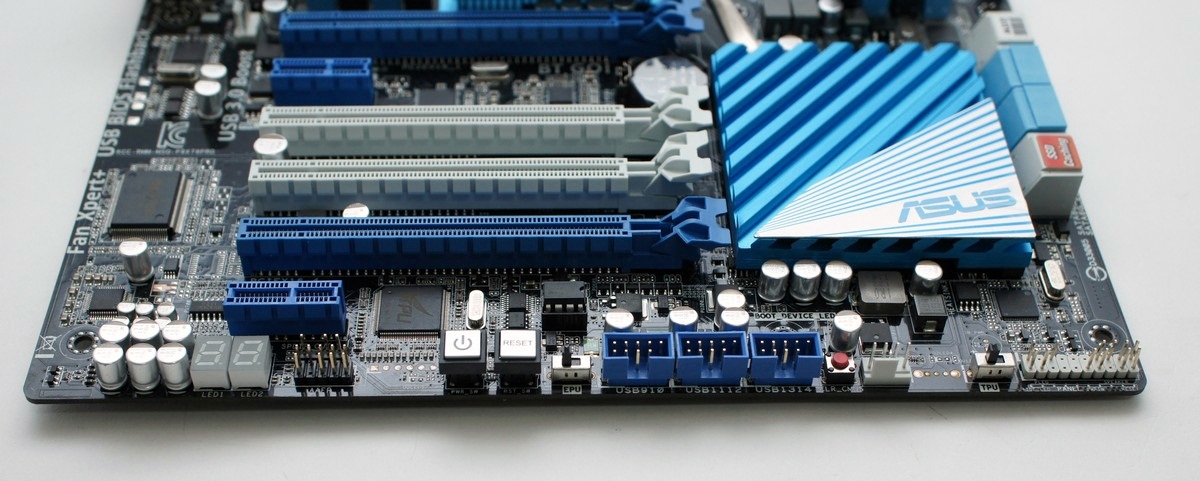
主机板快速开关及DEBUG LED,包含POWER、RESET、Mem Ok!(GO Button)开关。另外也提供DEBUG LED。
[page]p[/page][title] 主机板上控制晶片 [/title]
主机板上散热器

双件式的设计,用热导管连接,加强散热效率。
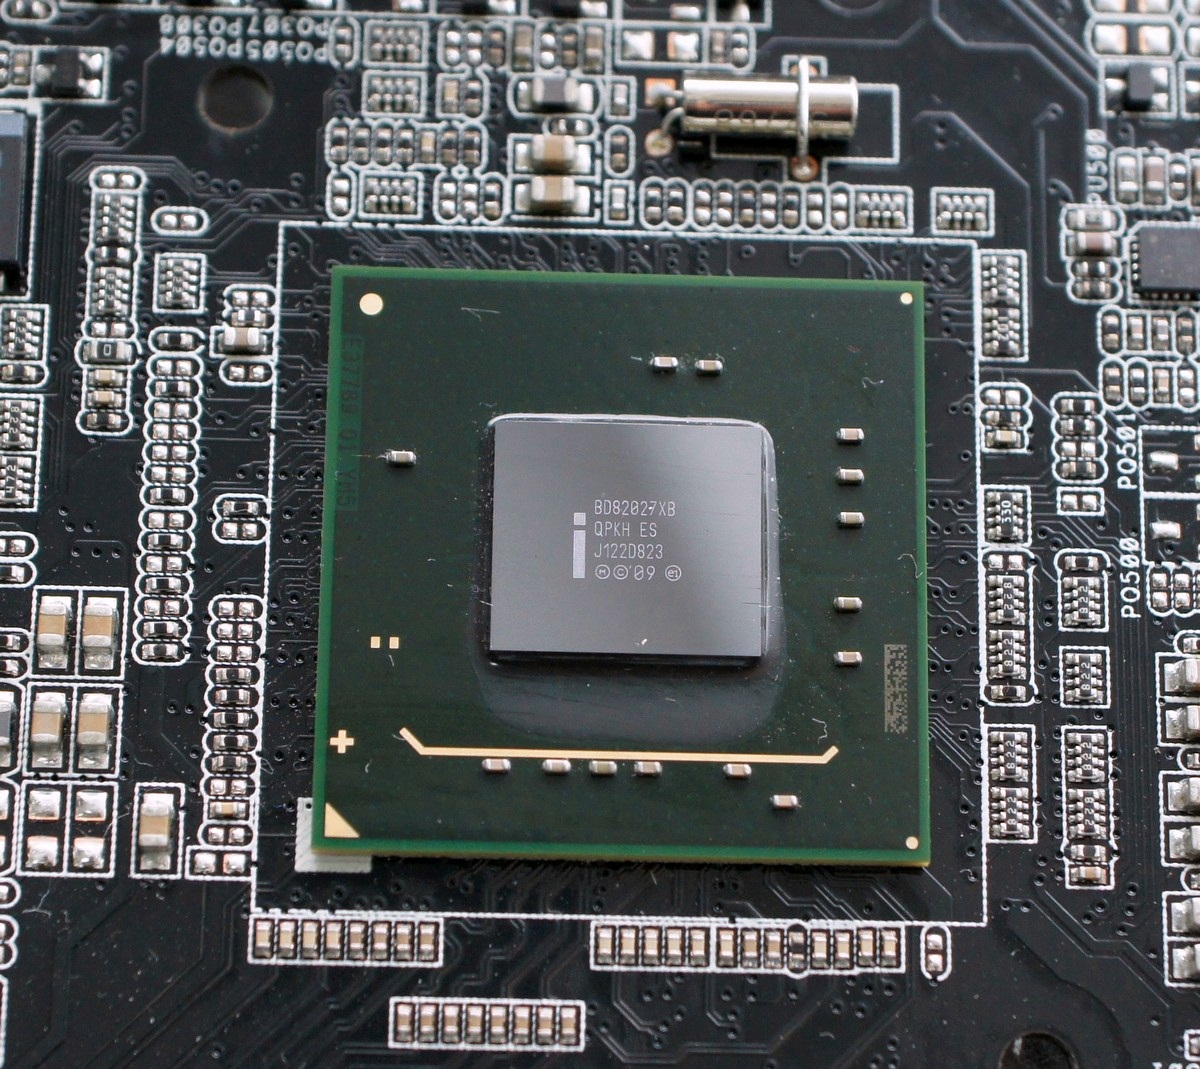
主机板裸板
X79晶片
供电区用料
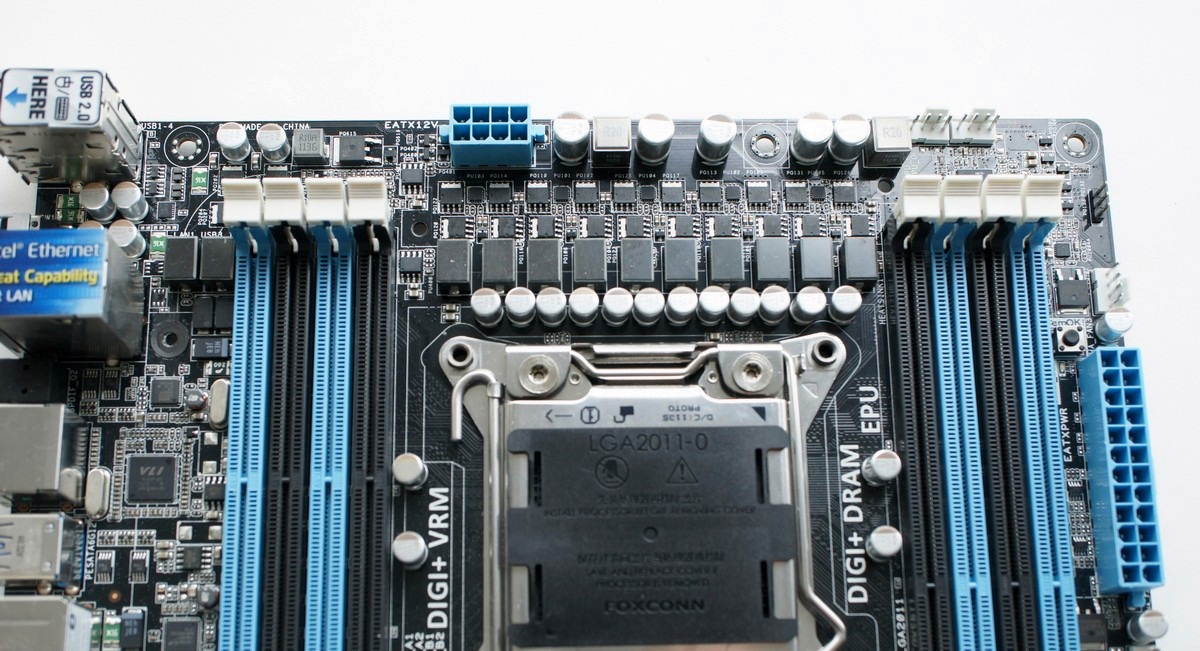
X79平台,CPU对供电区设计品质相当考验,这是产品能否稳定的关键之一。
后方USB3.0控制晶片及HUB区
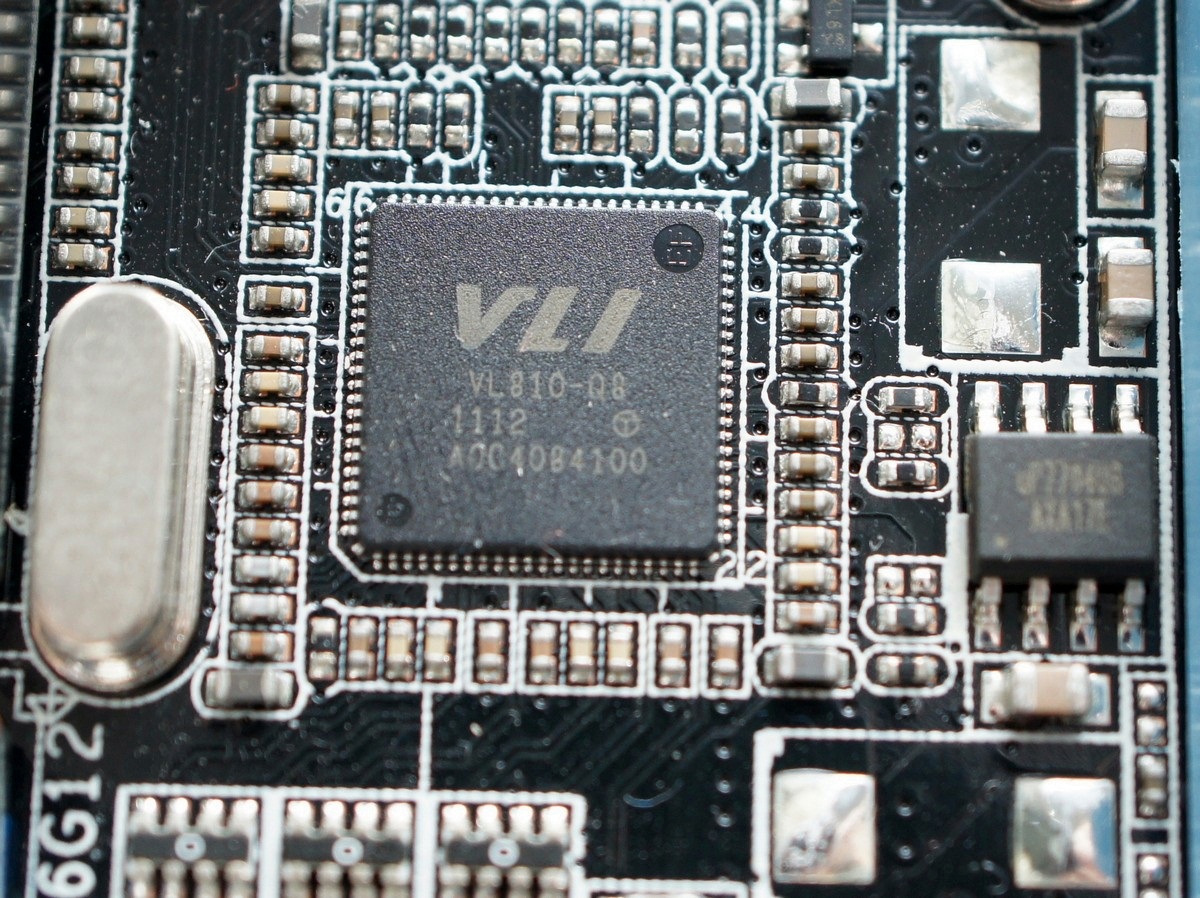
USB3.0晶片采用asmedia 1042晶片组及VLI USB3.0 HUB。
前置USB3.0控制晶片区
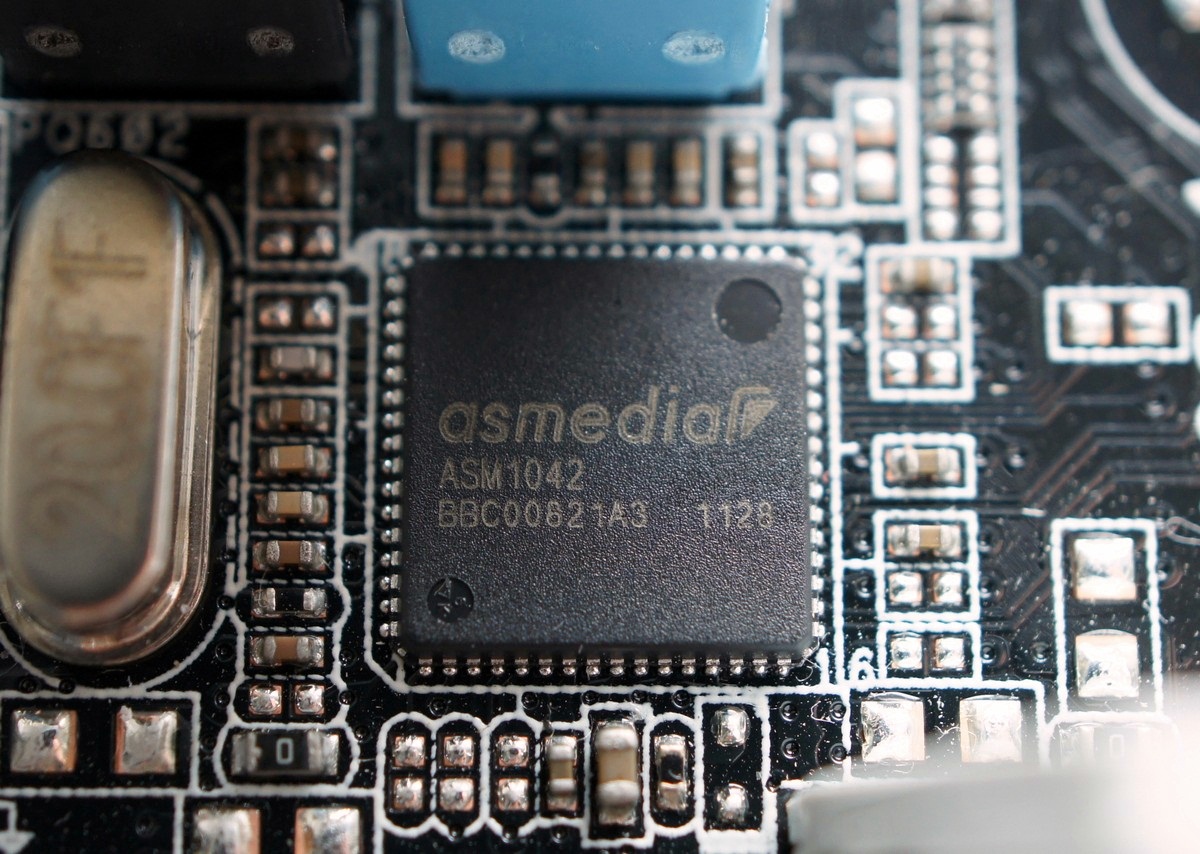
USB3.0晶片采用asmedia 1042晶片组。
网路晶片
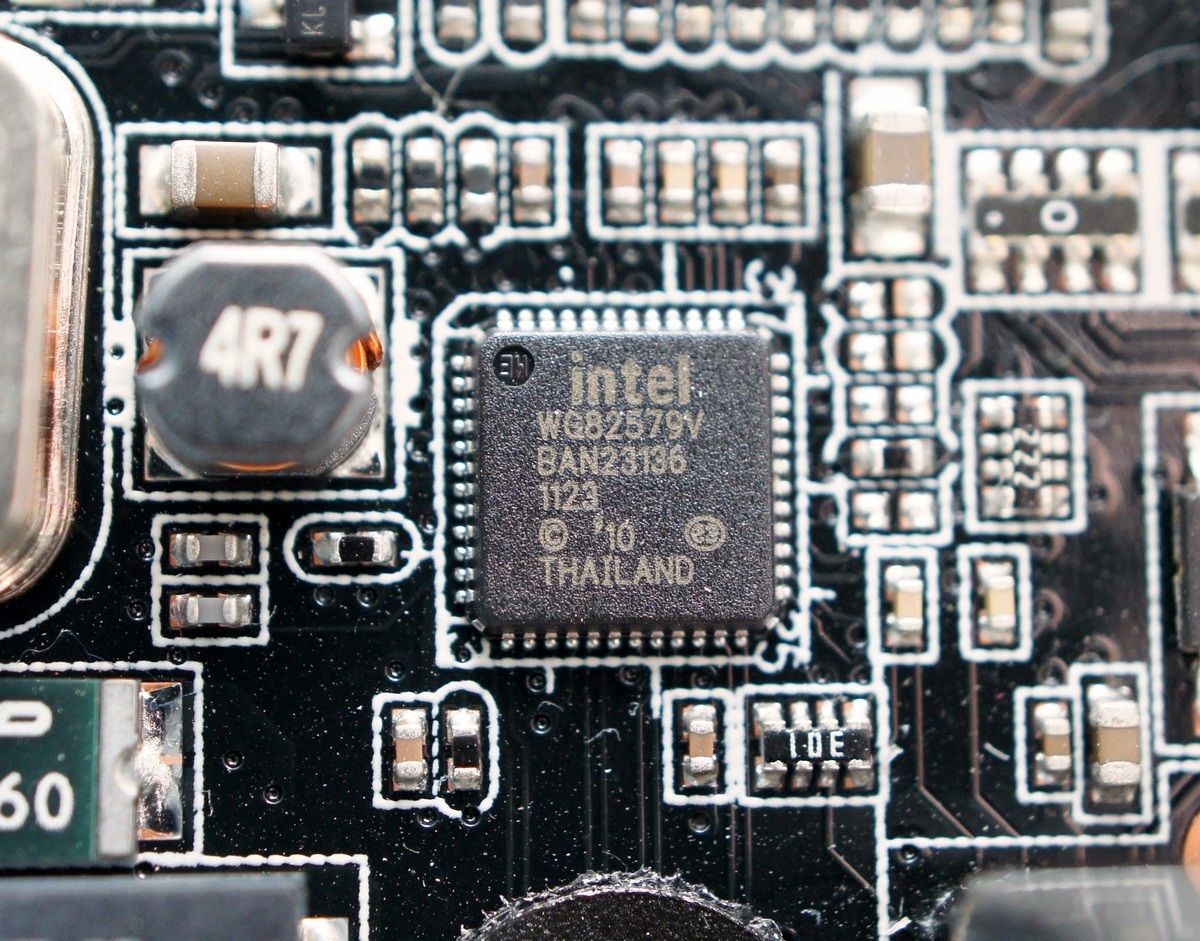
采用Intel 82579V Gigabit晶片。
音效晶片
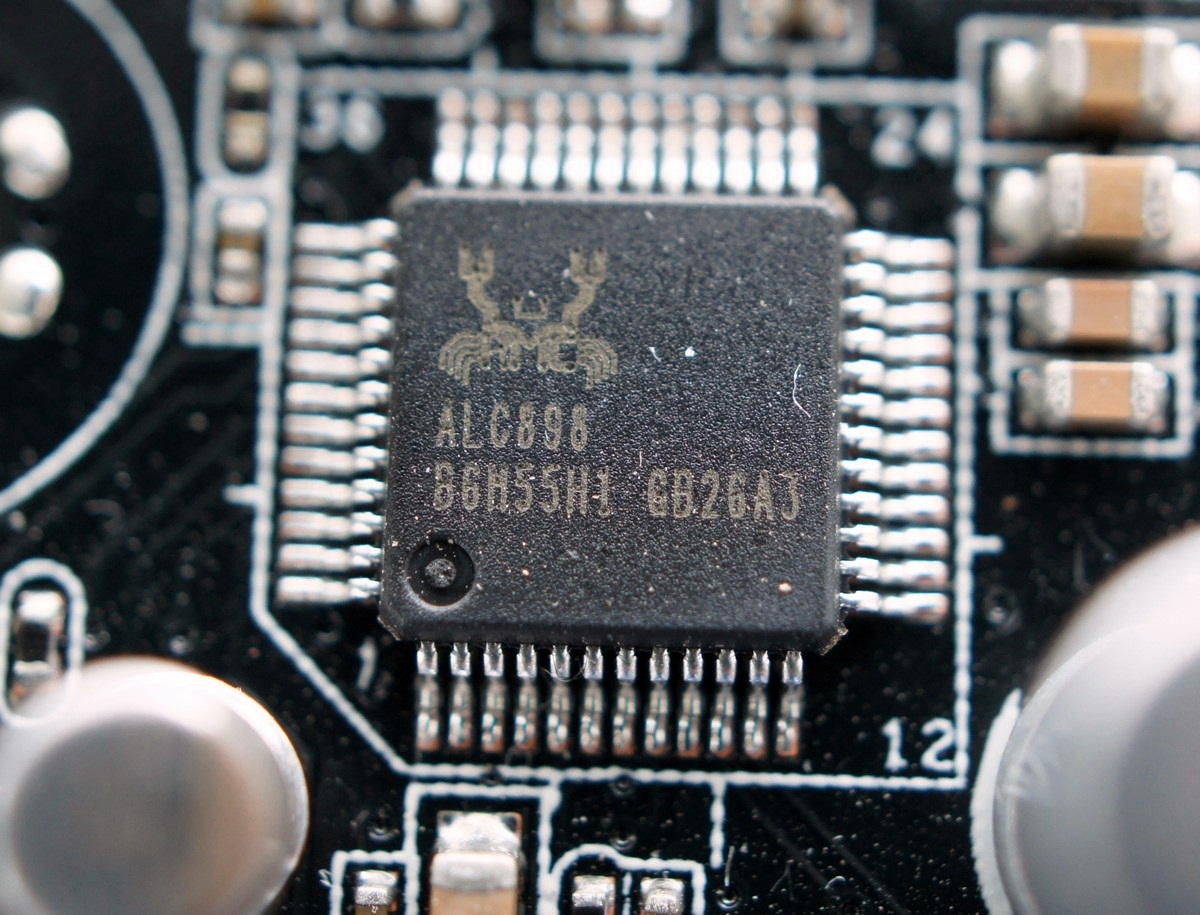
实际晶片为REALTEK ALC898
环控晶片
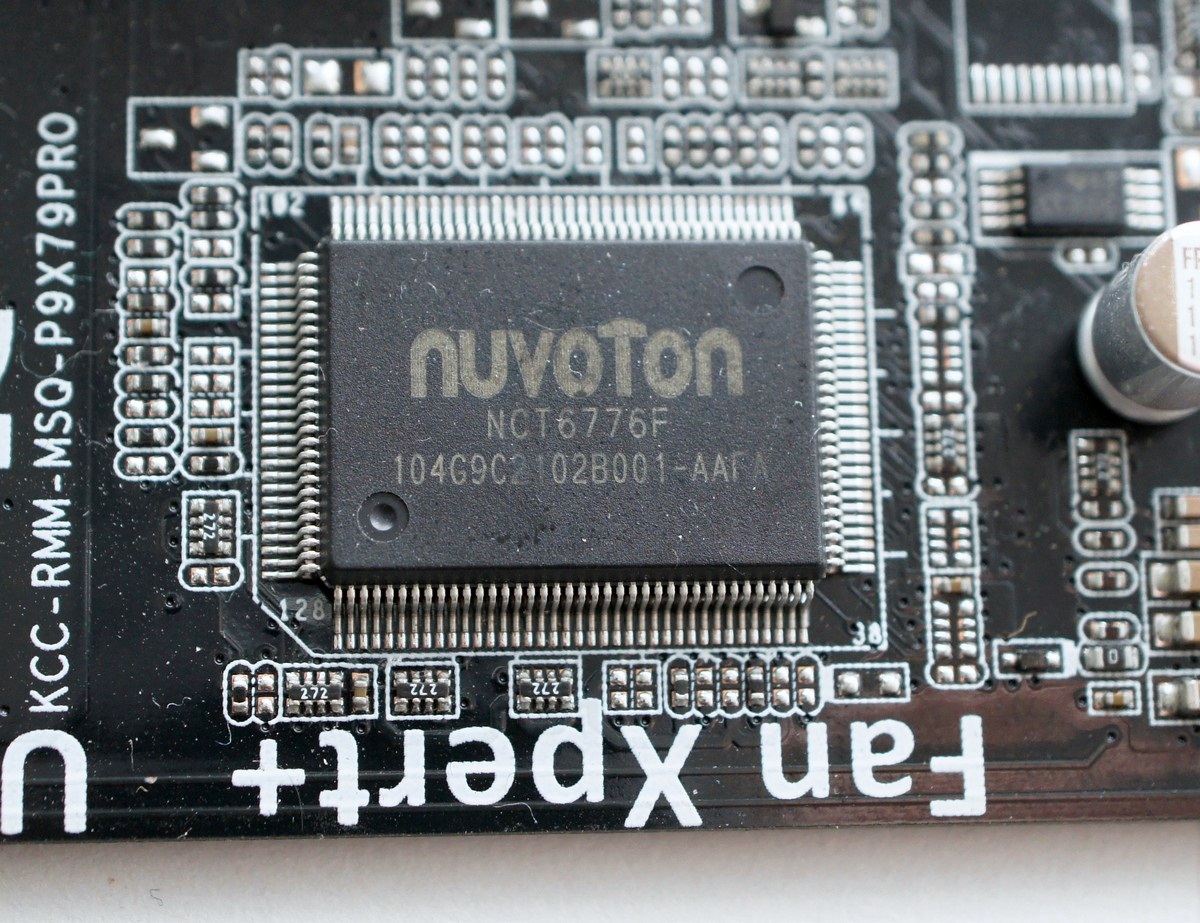
环控晶片采用nUVOTON制品。
内接SATA6G控制晶片
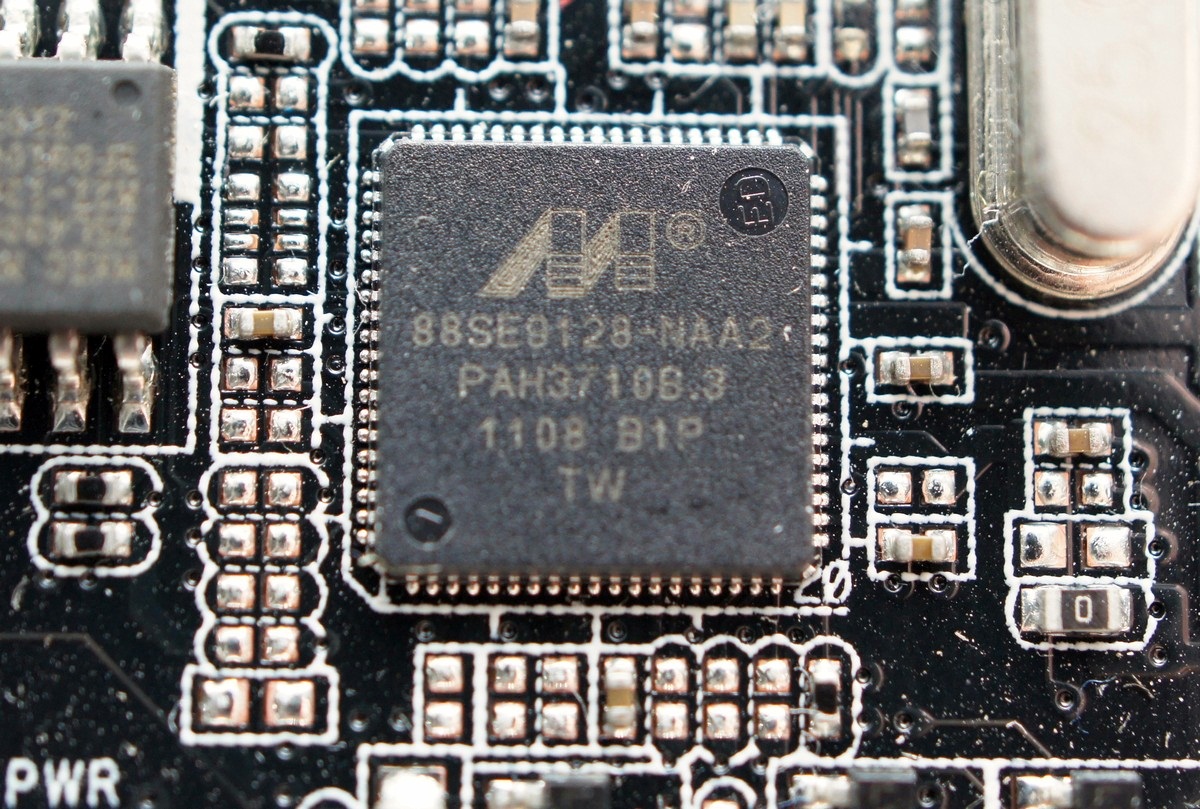
采用Marvell 88SE9128晶片,提供SSD快取功能。
时脉产生晶片
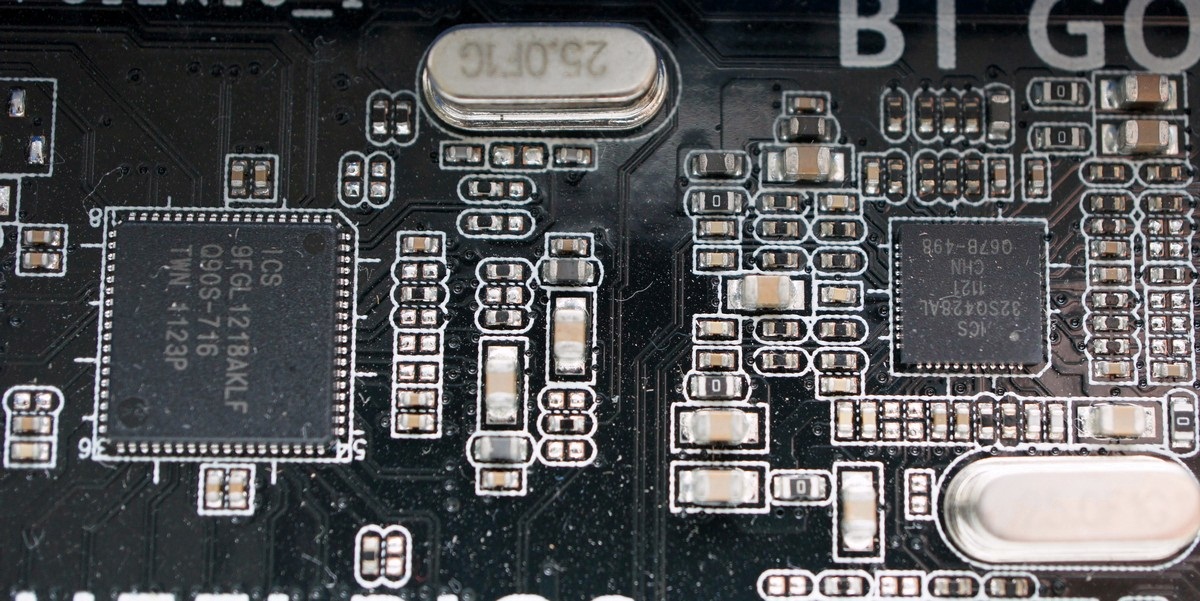
时脉产生晶片采用ICS产品。
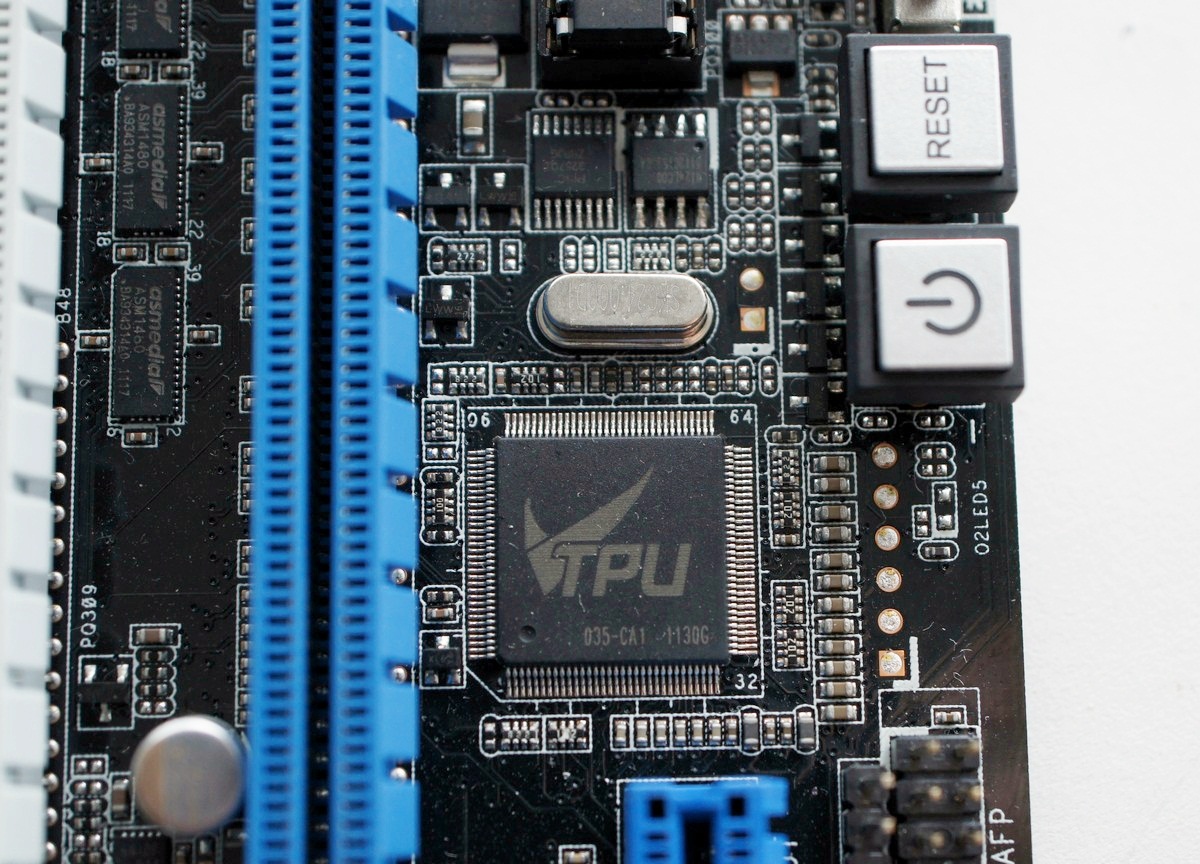
TPU晶片
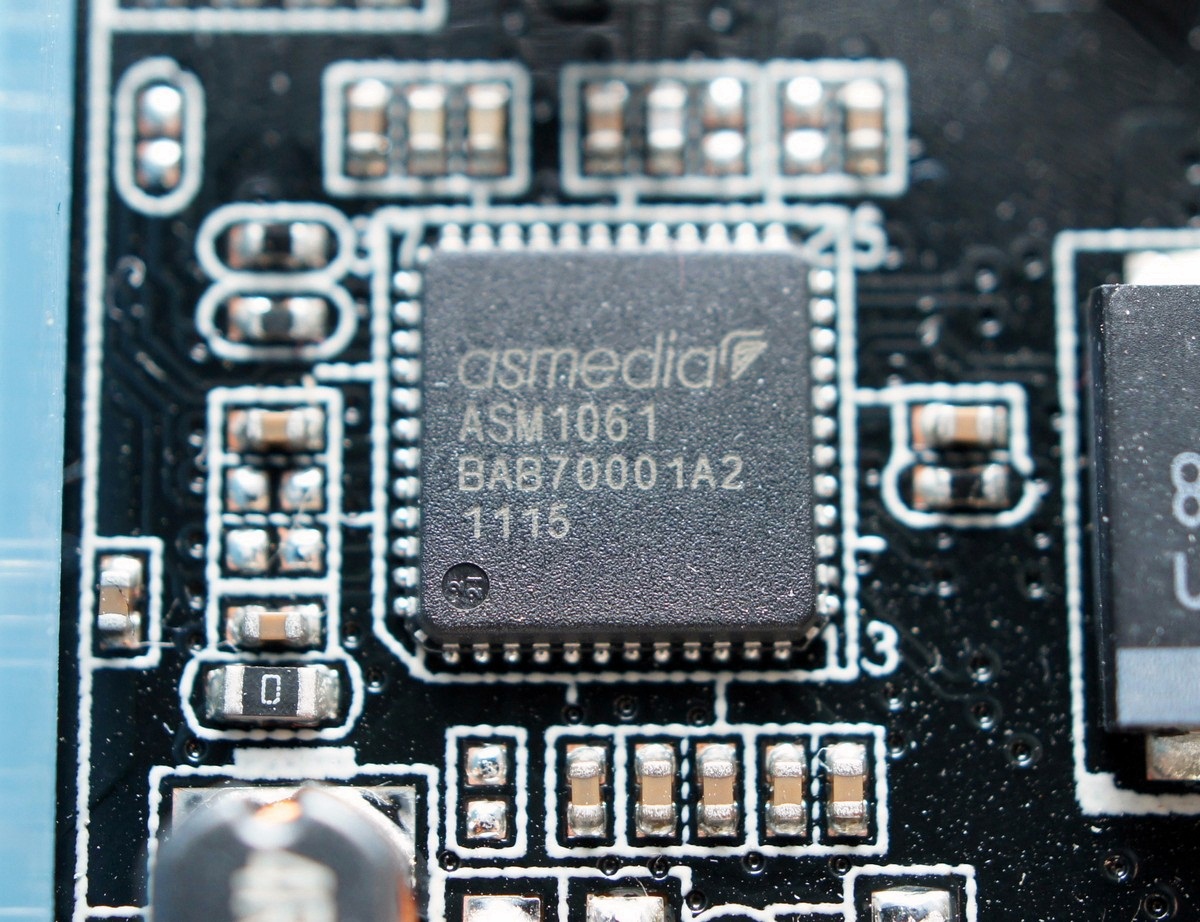
ESATA控制晶片
采用asmedia 1061控制晶片
数位供电控制晶片
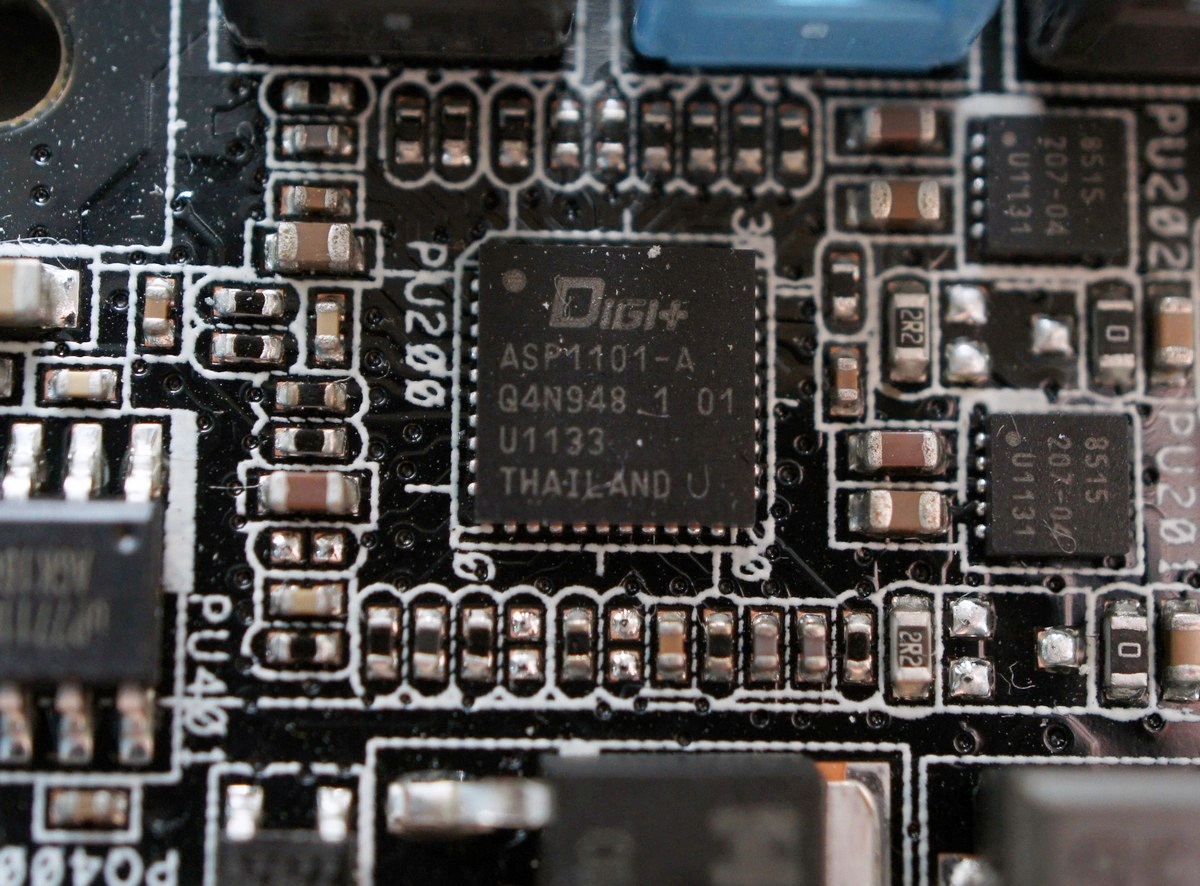
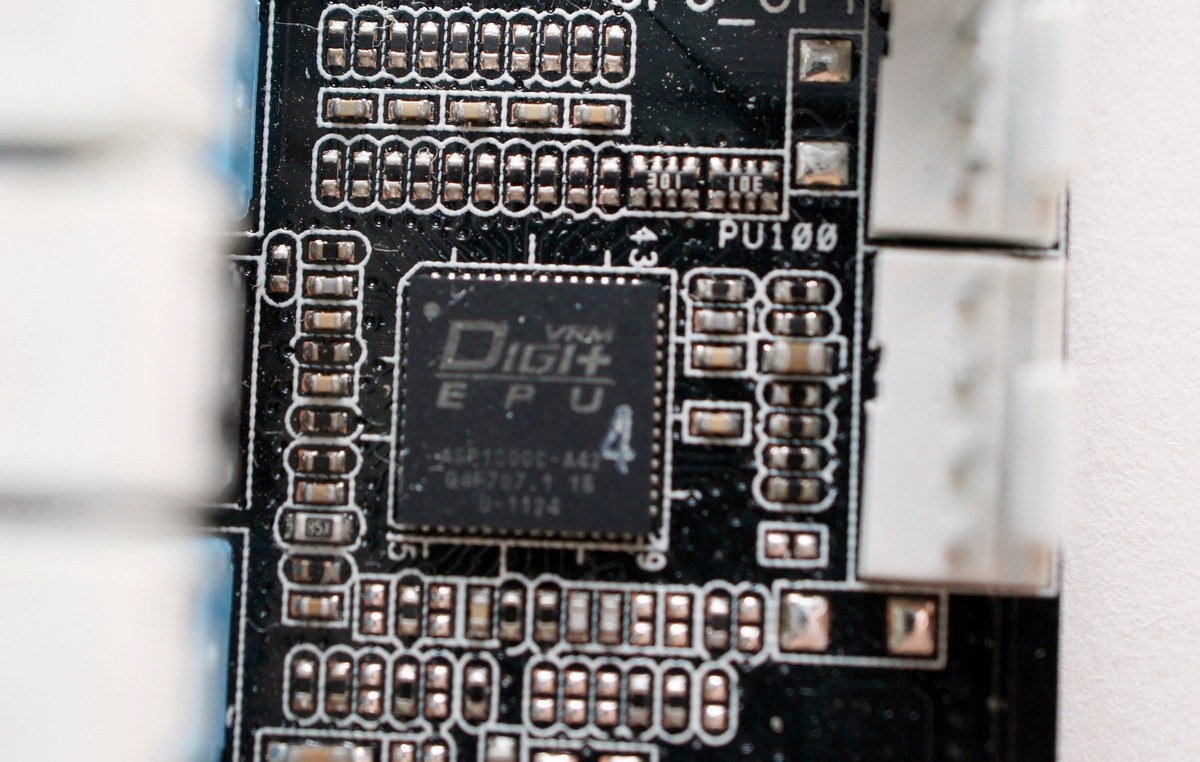
采用自行开发的解决方案,提供CPU及RAM的全数位供电能力,整体用料不马虎。
测试效能表现
上机实测
测试环境
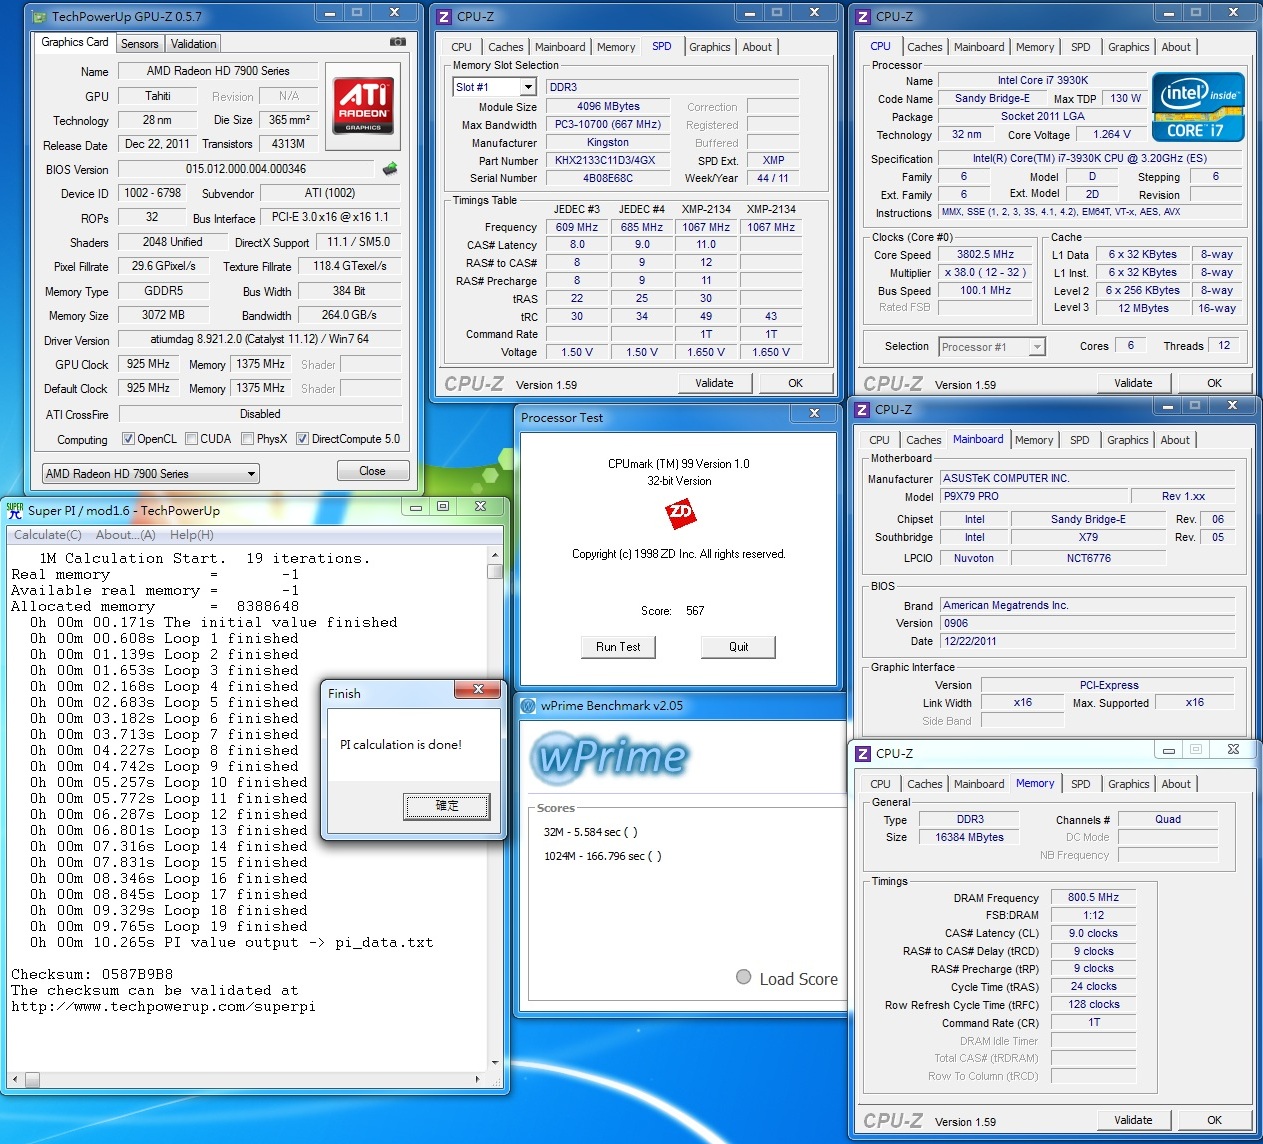
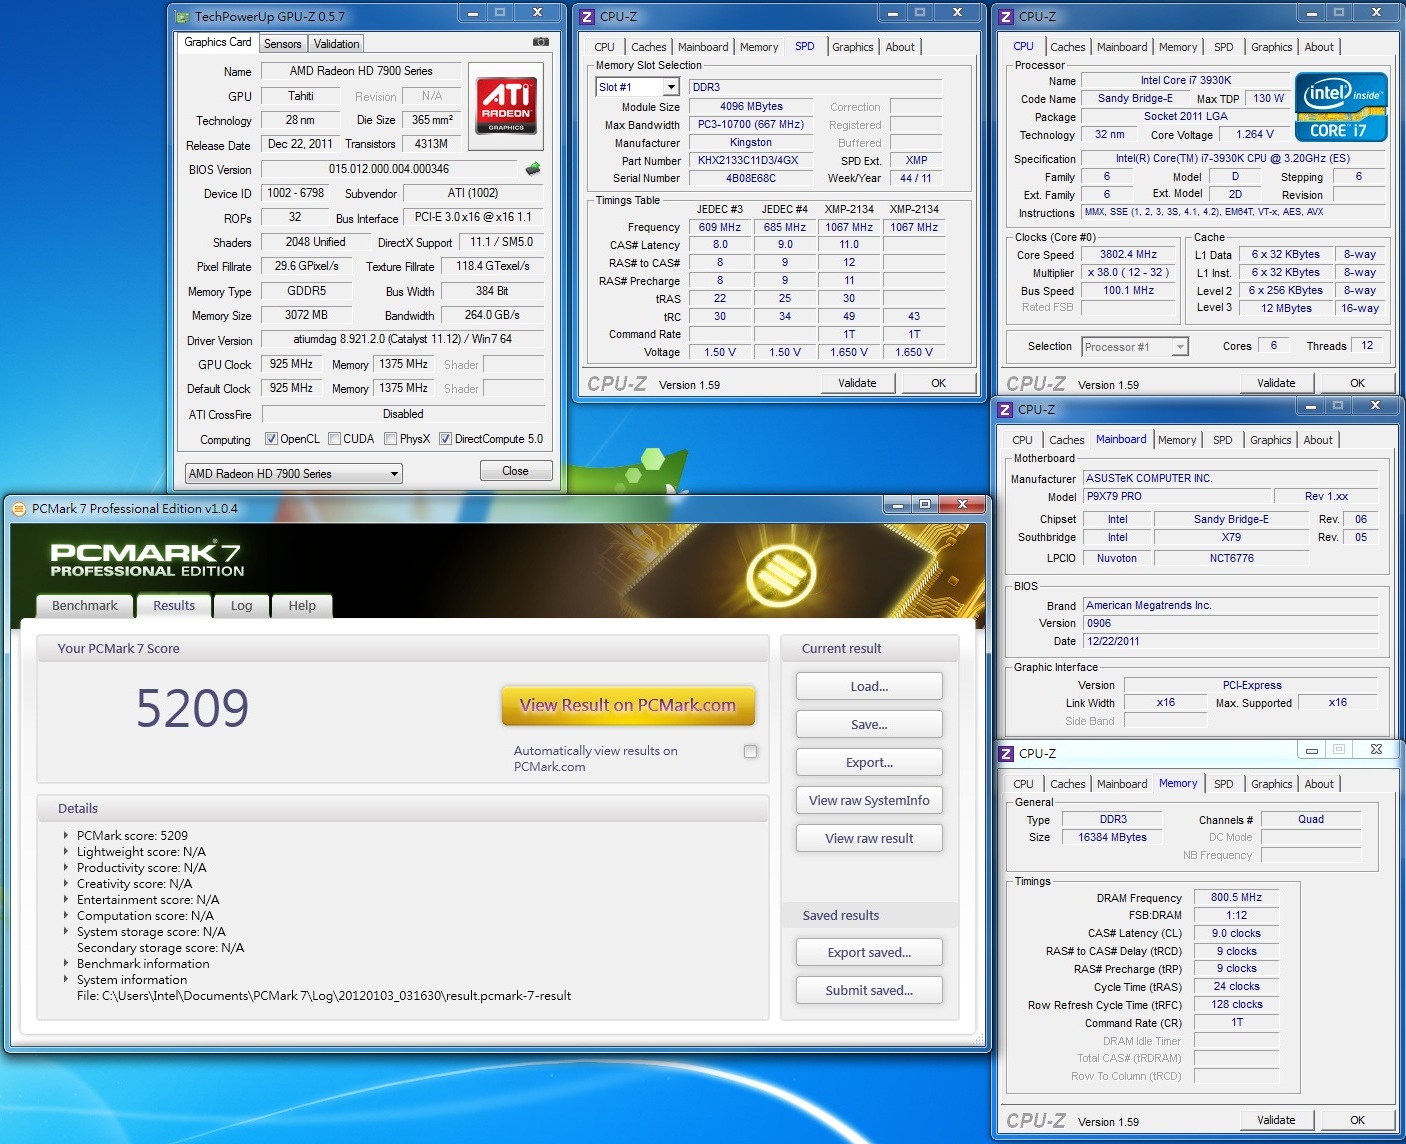
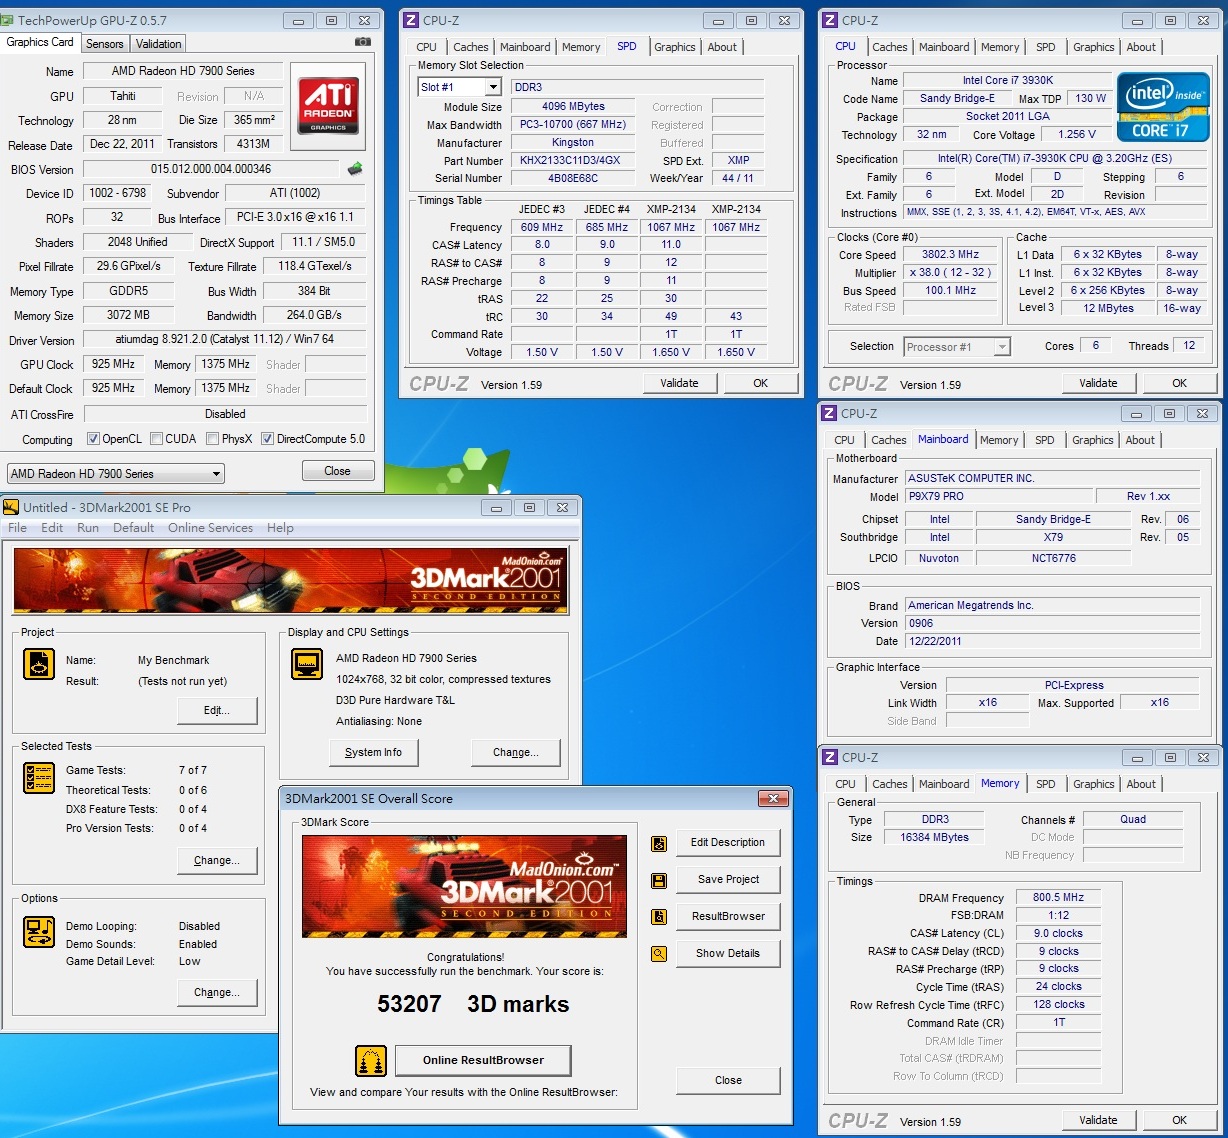
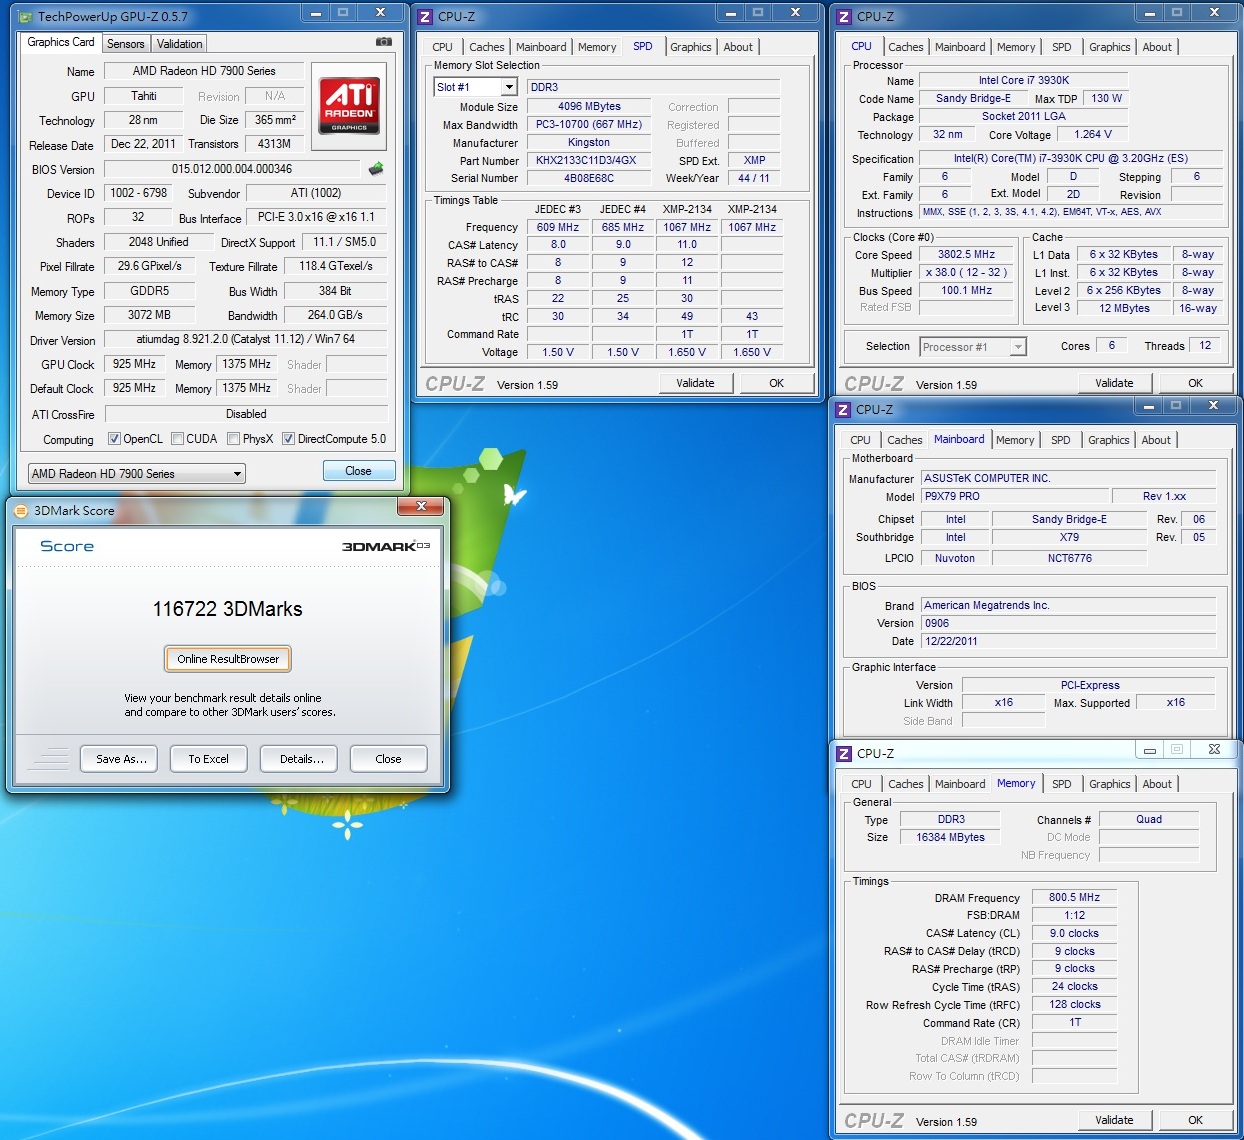
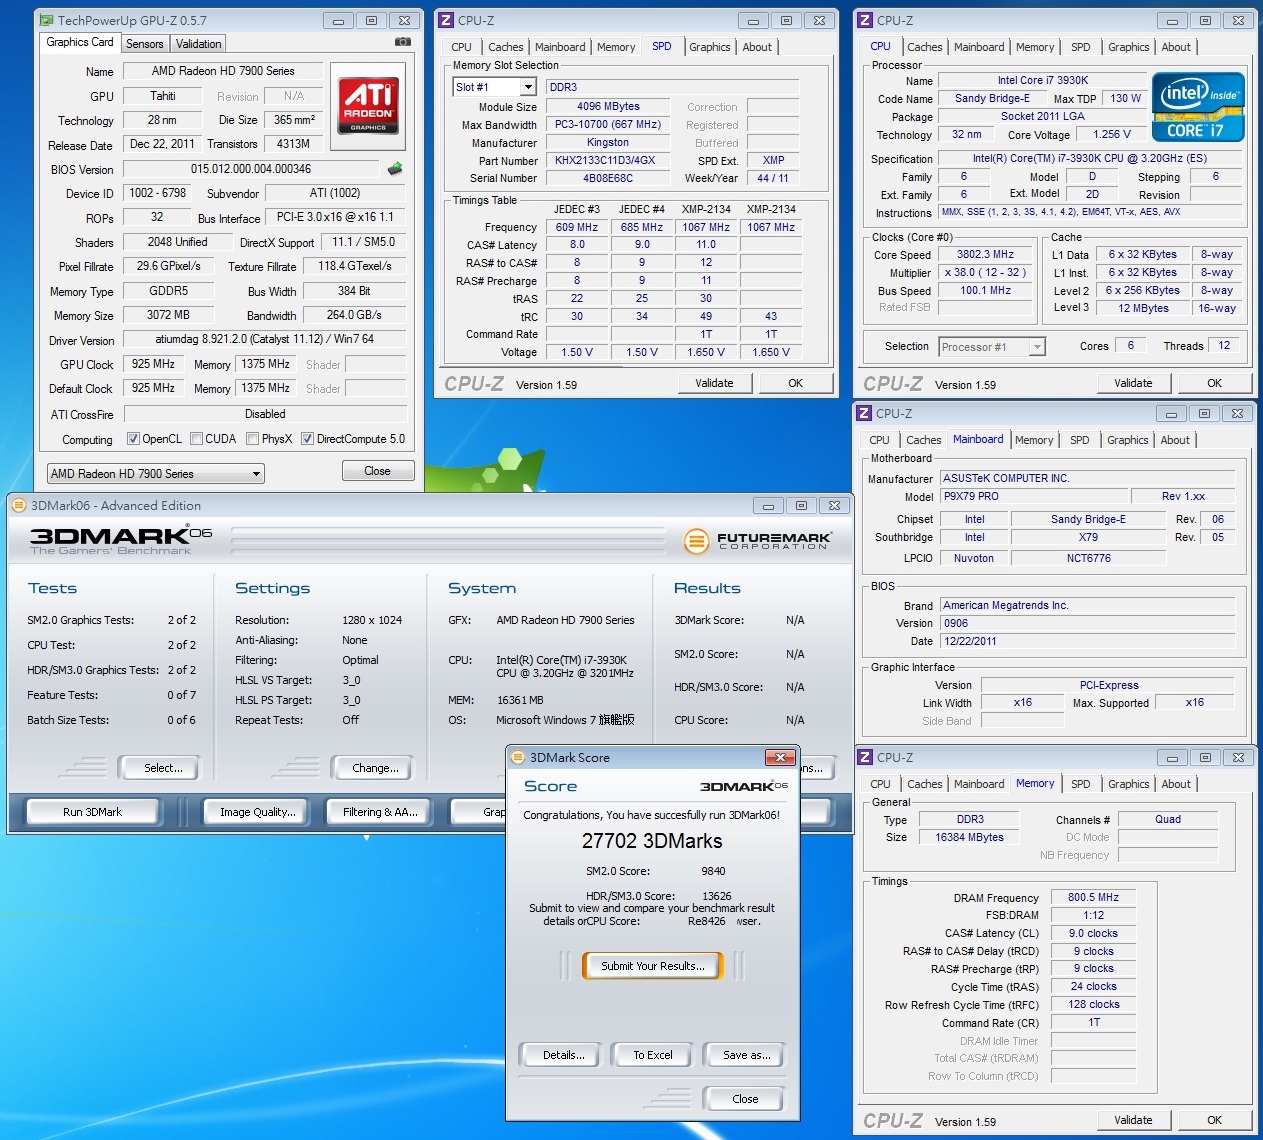
CPU:Intel Core i7 3930K
RAM:Kingston HyperX DDR3 2133 16GB Kit
MB:ASUS ROG P9X79 PRO
VGA:AMD HD7970 3G
HD:Kingston SSD NOW+ 64G
POWER:Cooler Master Silent Pro Gold 1200W
COOLING:CPU水冷+GPU空冷
作业系统:WIN7 X64 SP1
CPU-Z的侦测、GPU-Z、CPU MARK、PI 1M及WPRIME效能测试
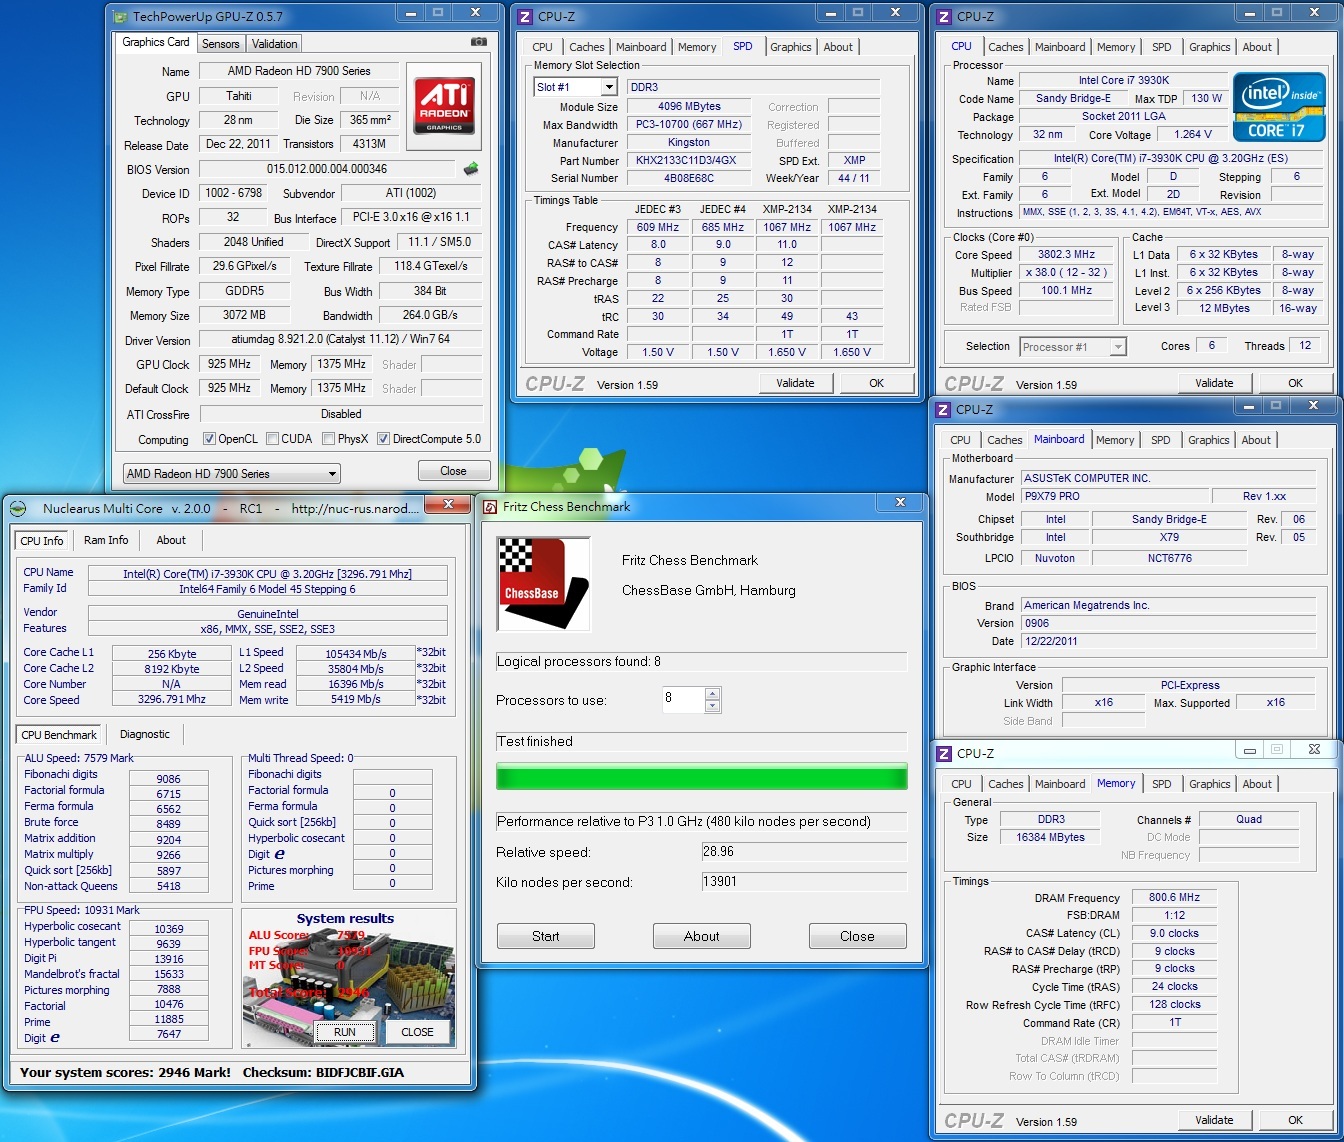
Fritz Chess Benchmark、Nuclearus
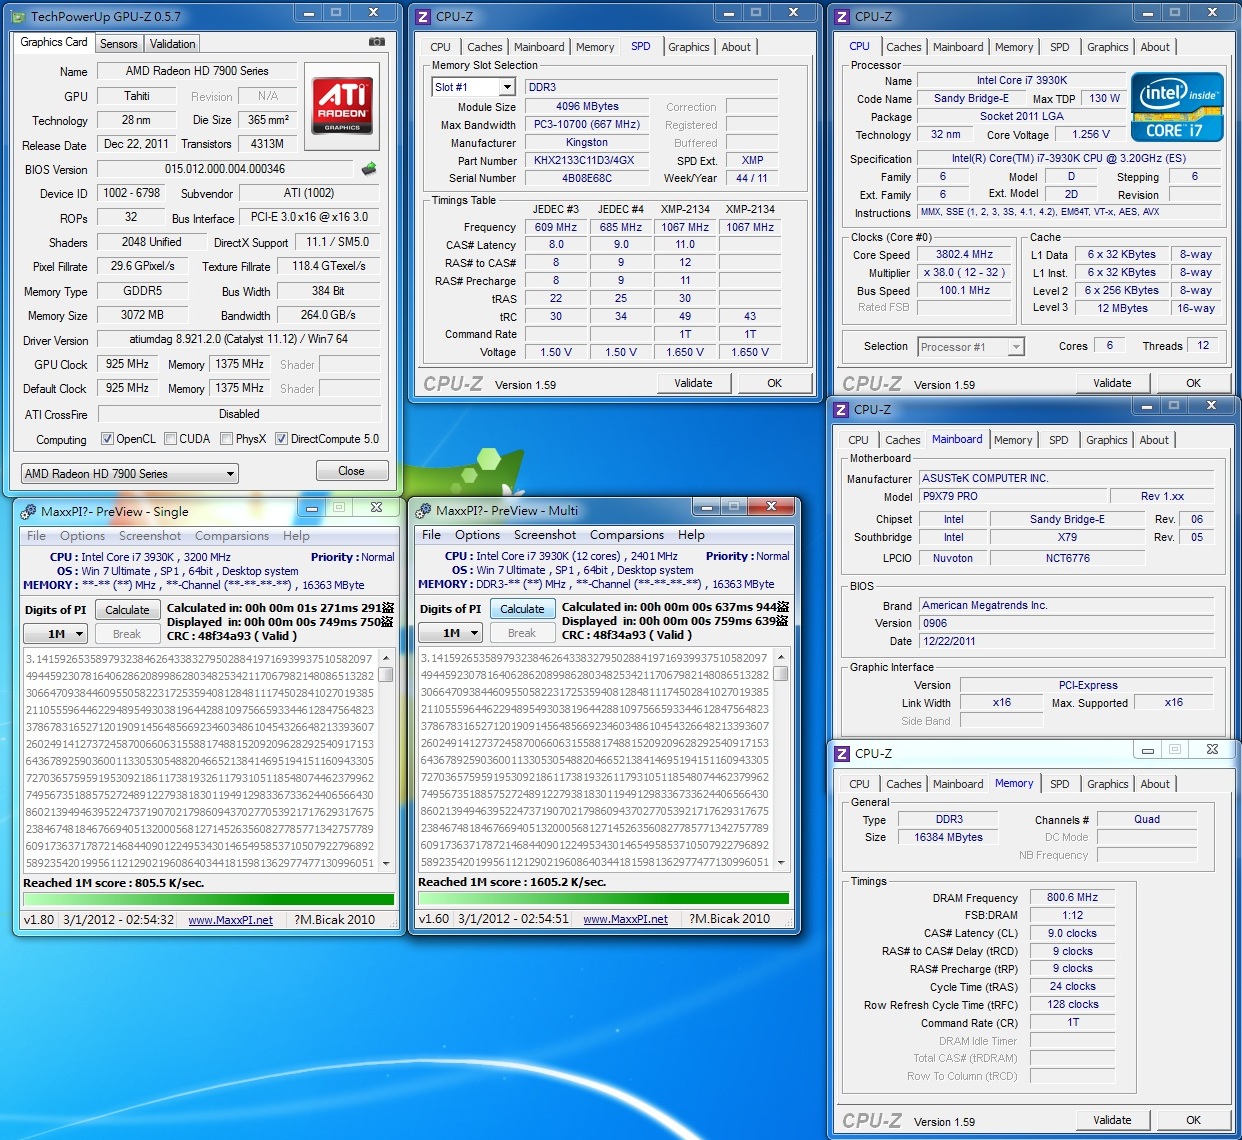
MaxxPI2M&MaxxPI2
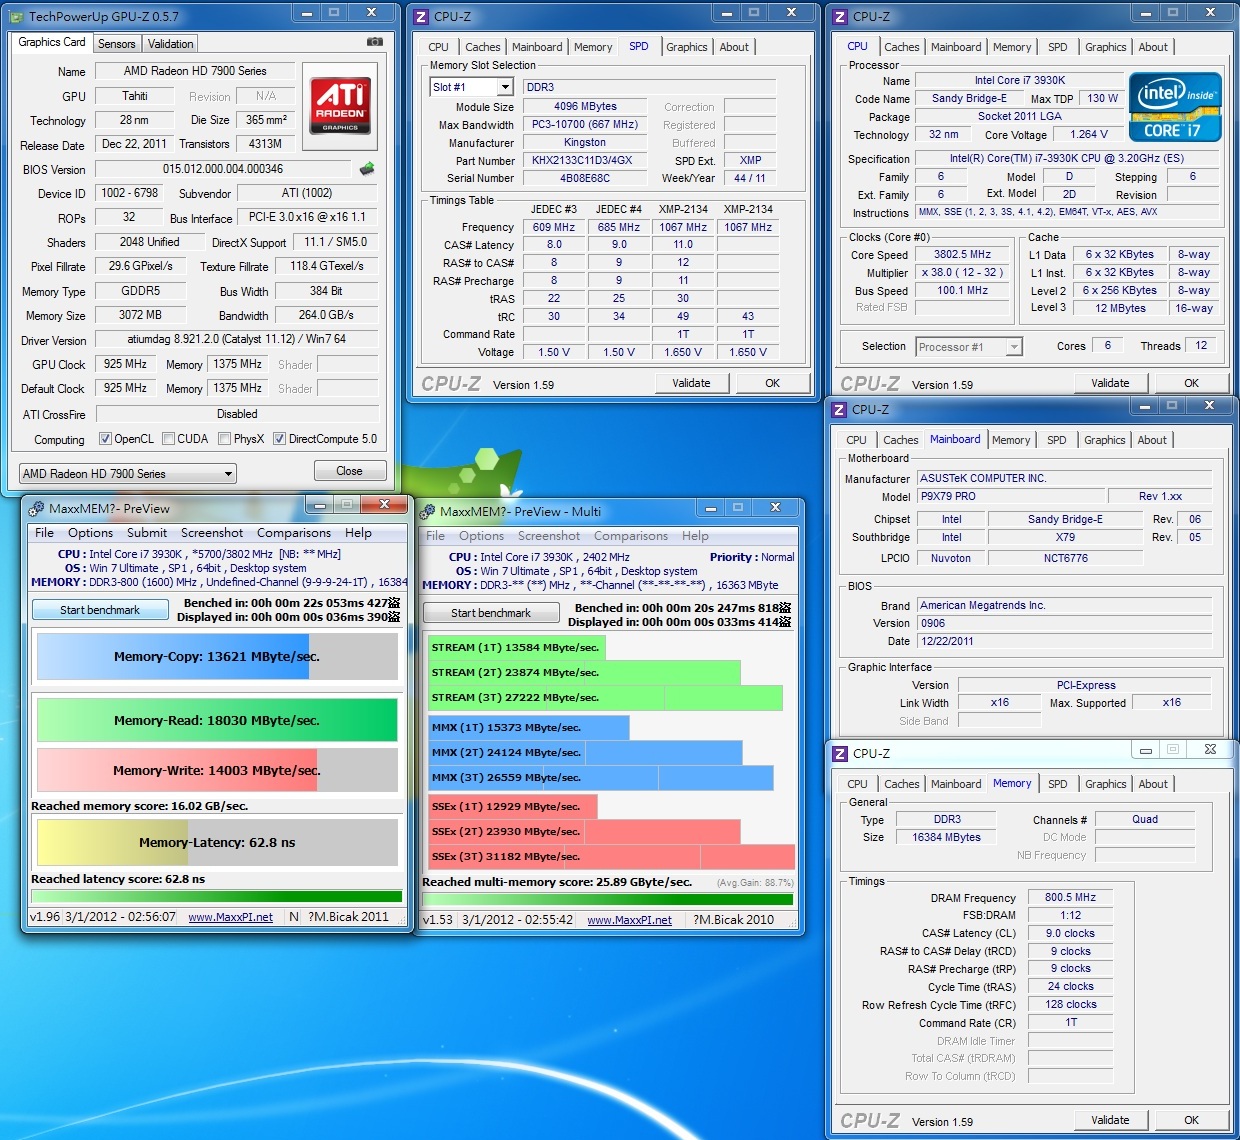
MaxxMEM&MaxxMEM2M
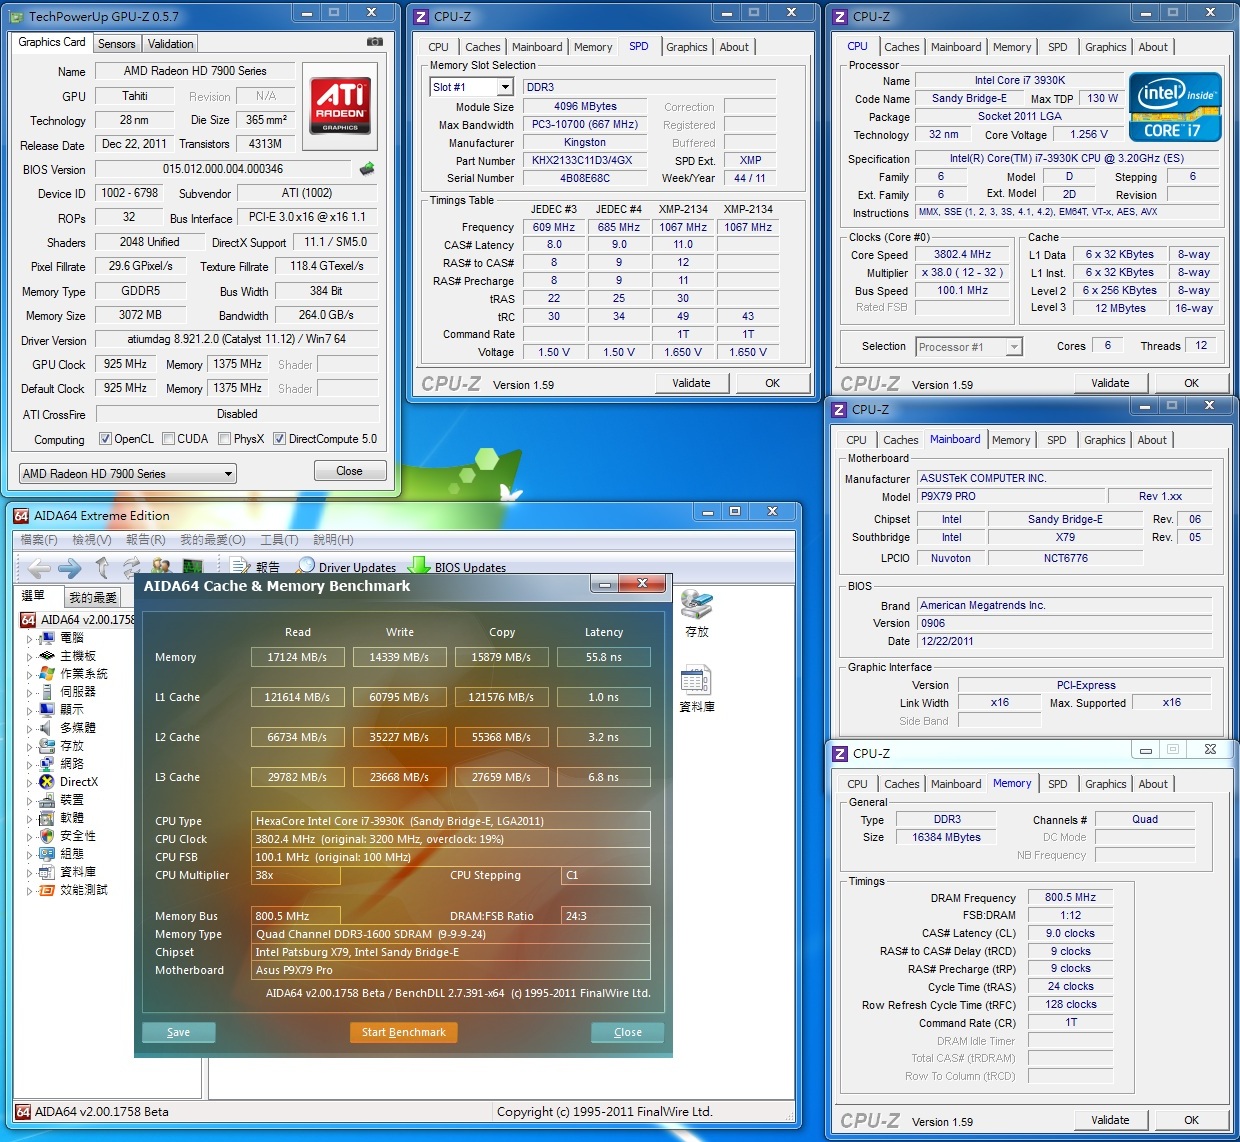
AIDA CPU

AIDA记忆体频宽
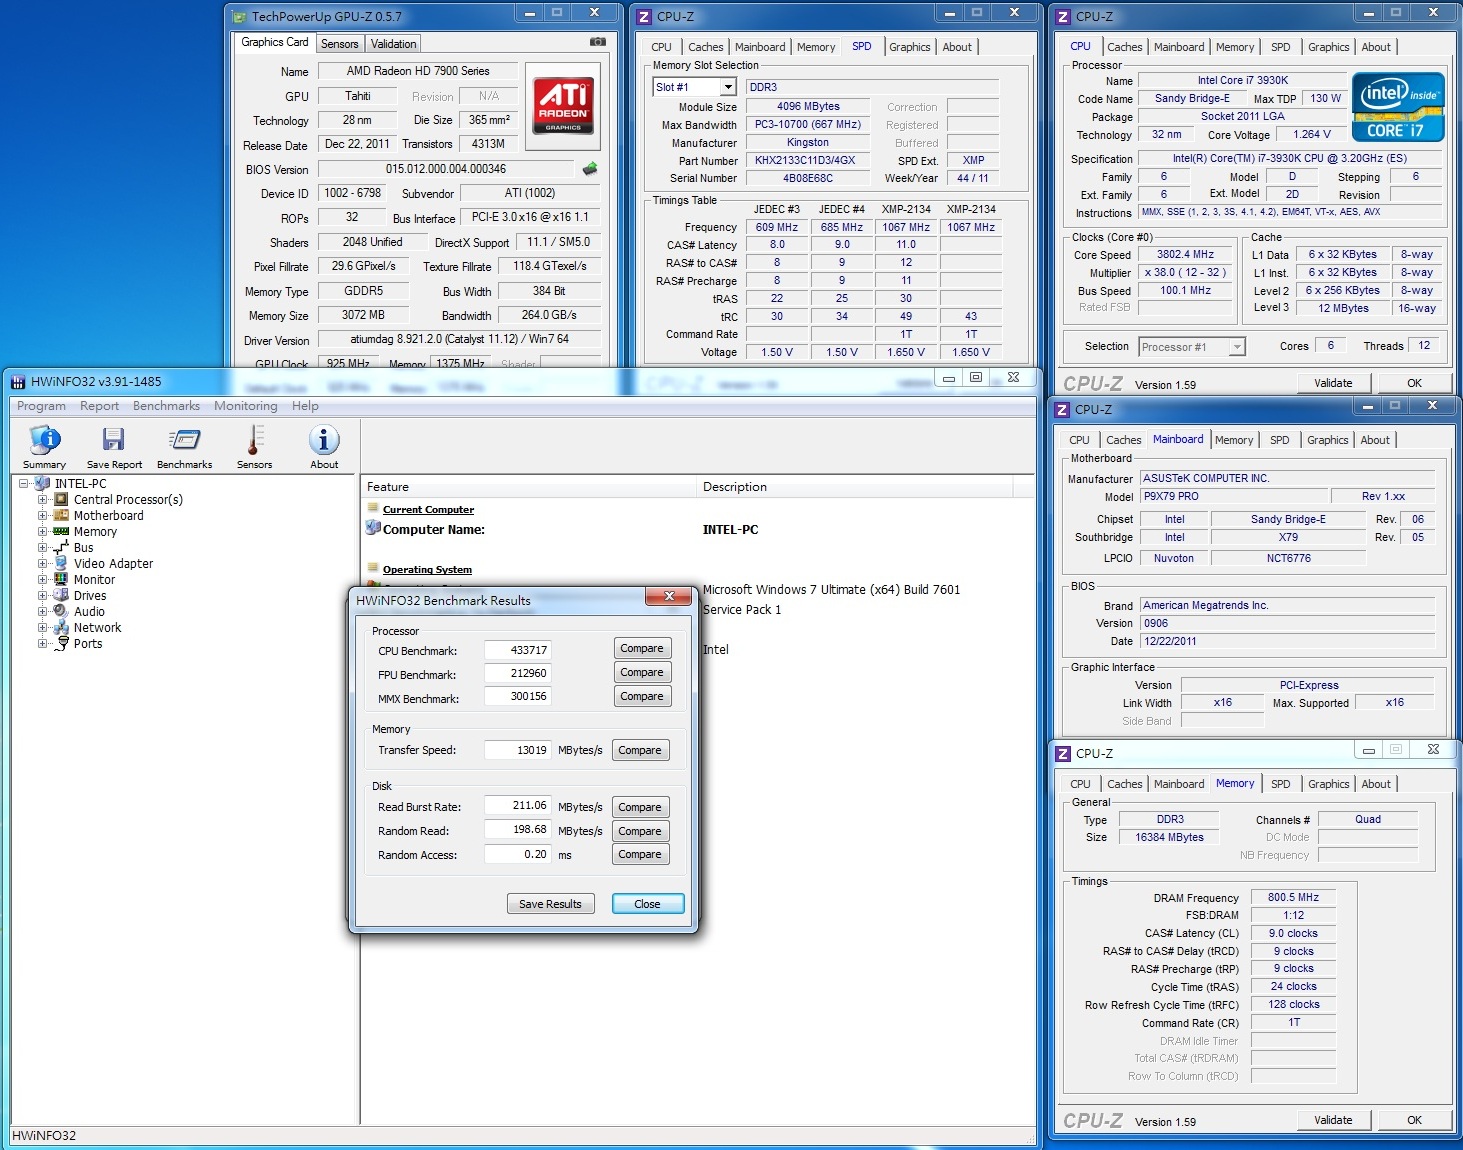
HWiNFO
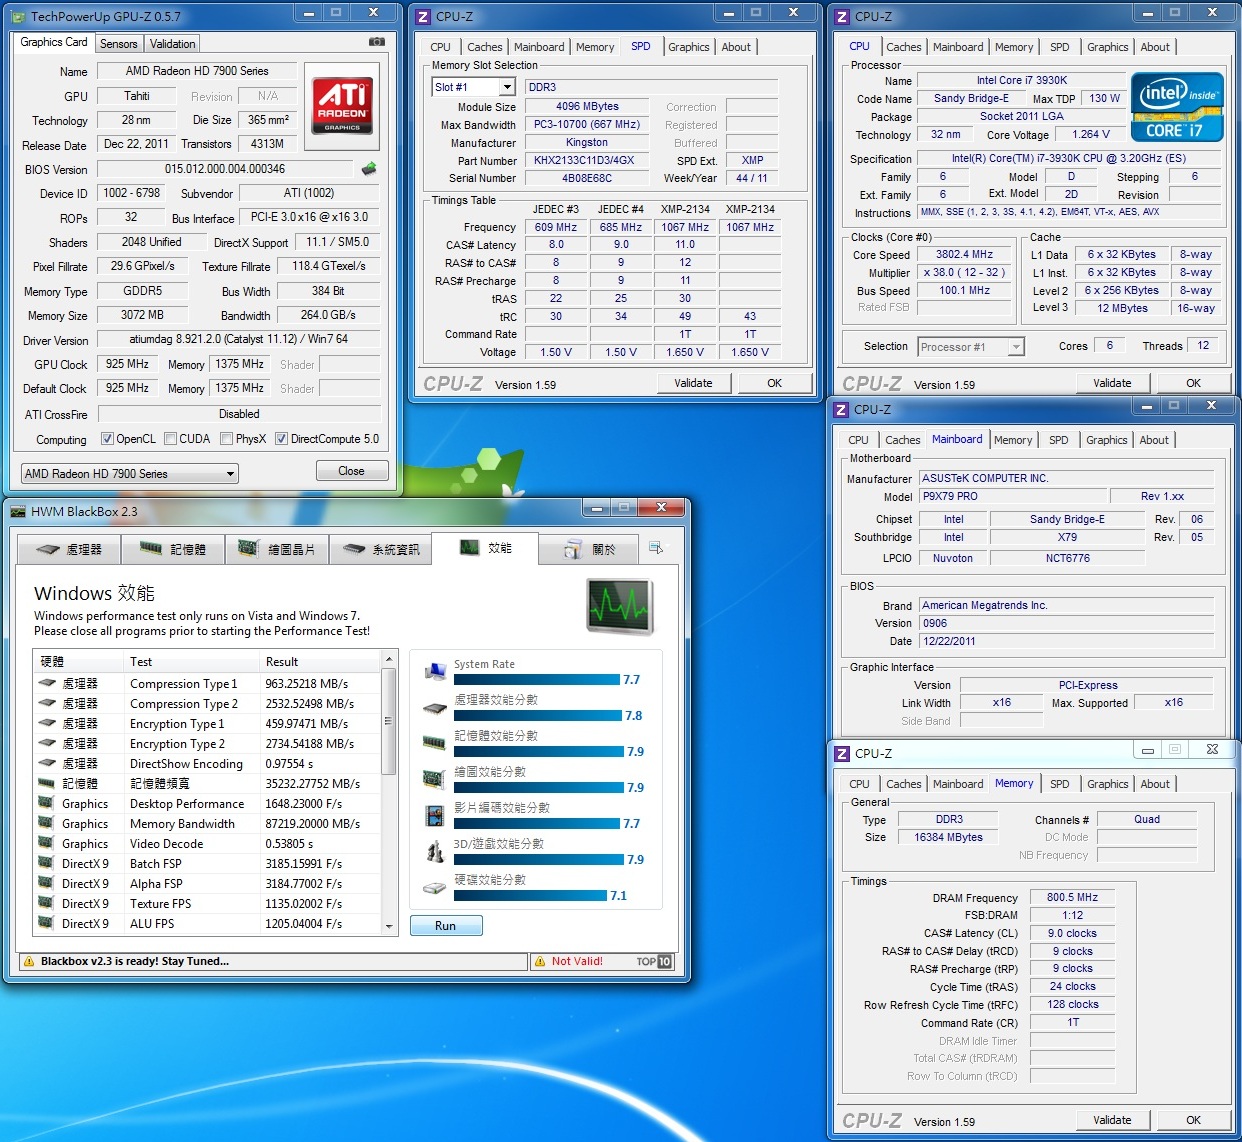
BLACKBOX 2.2
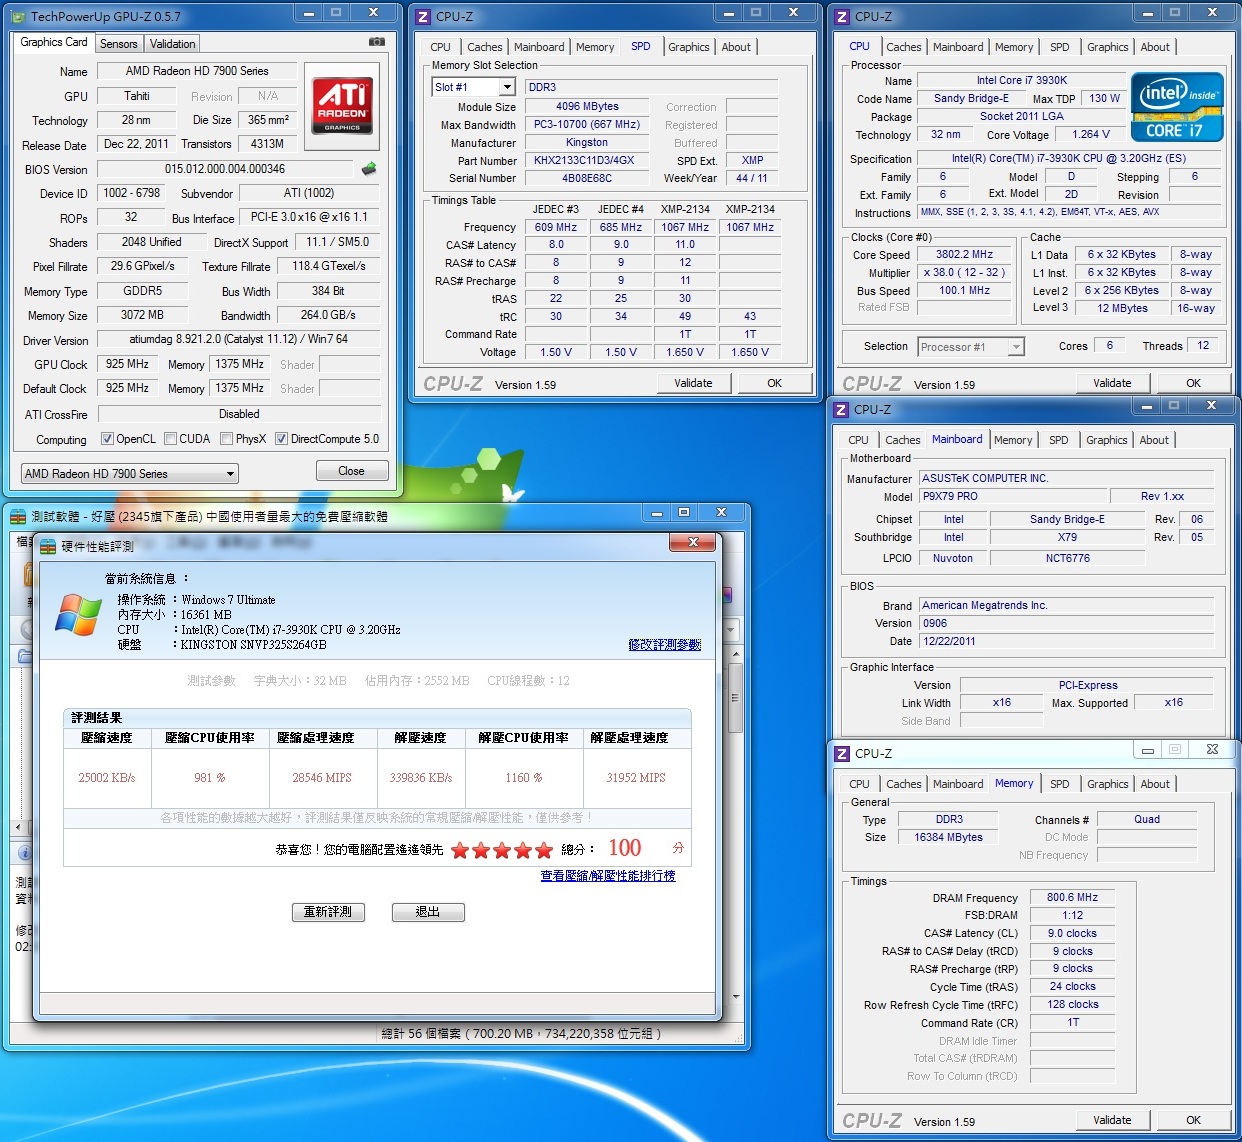
压缩/解压缩效能
PCMARK 11


3DMARK 01
3DMARK 03
3DMARK 06
3DMARK VANTAGE
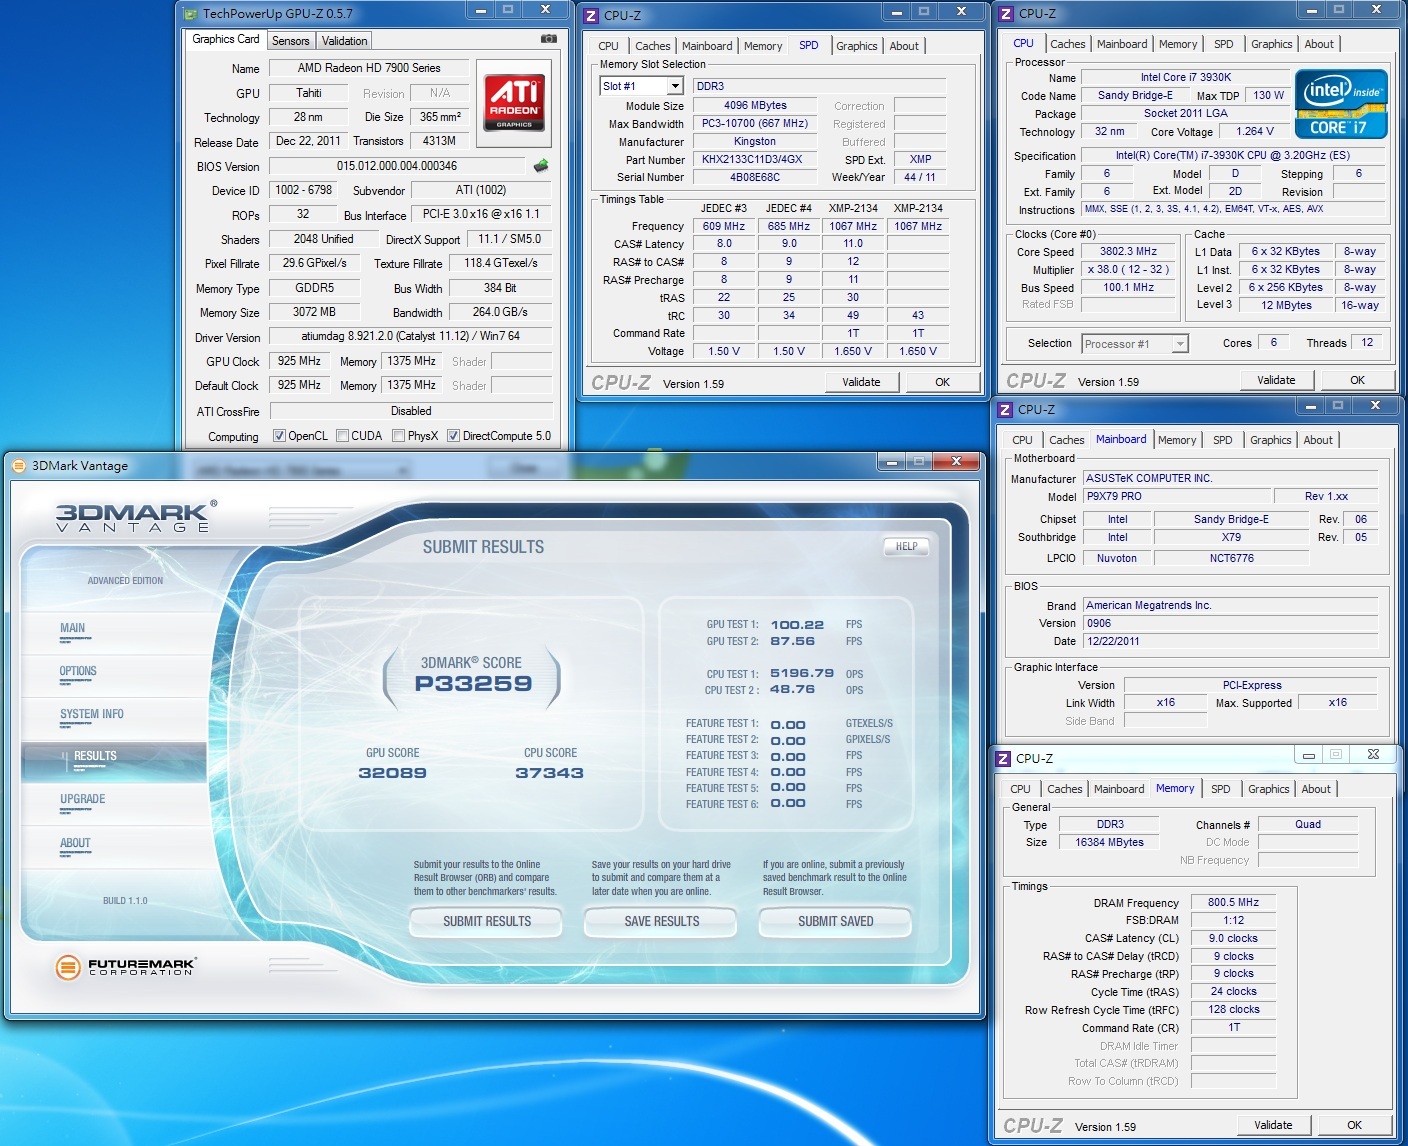
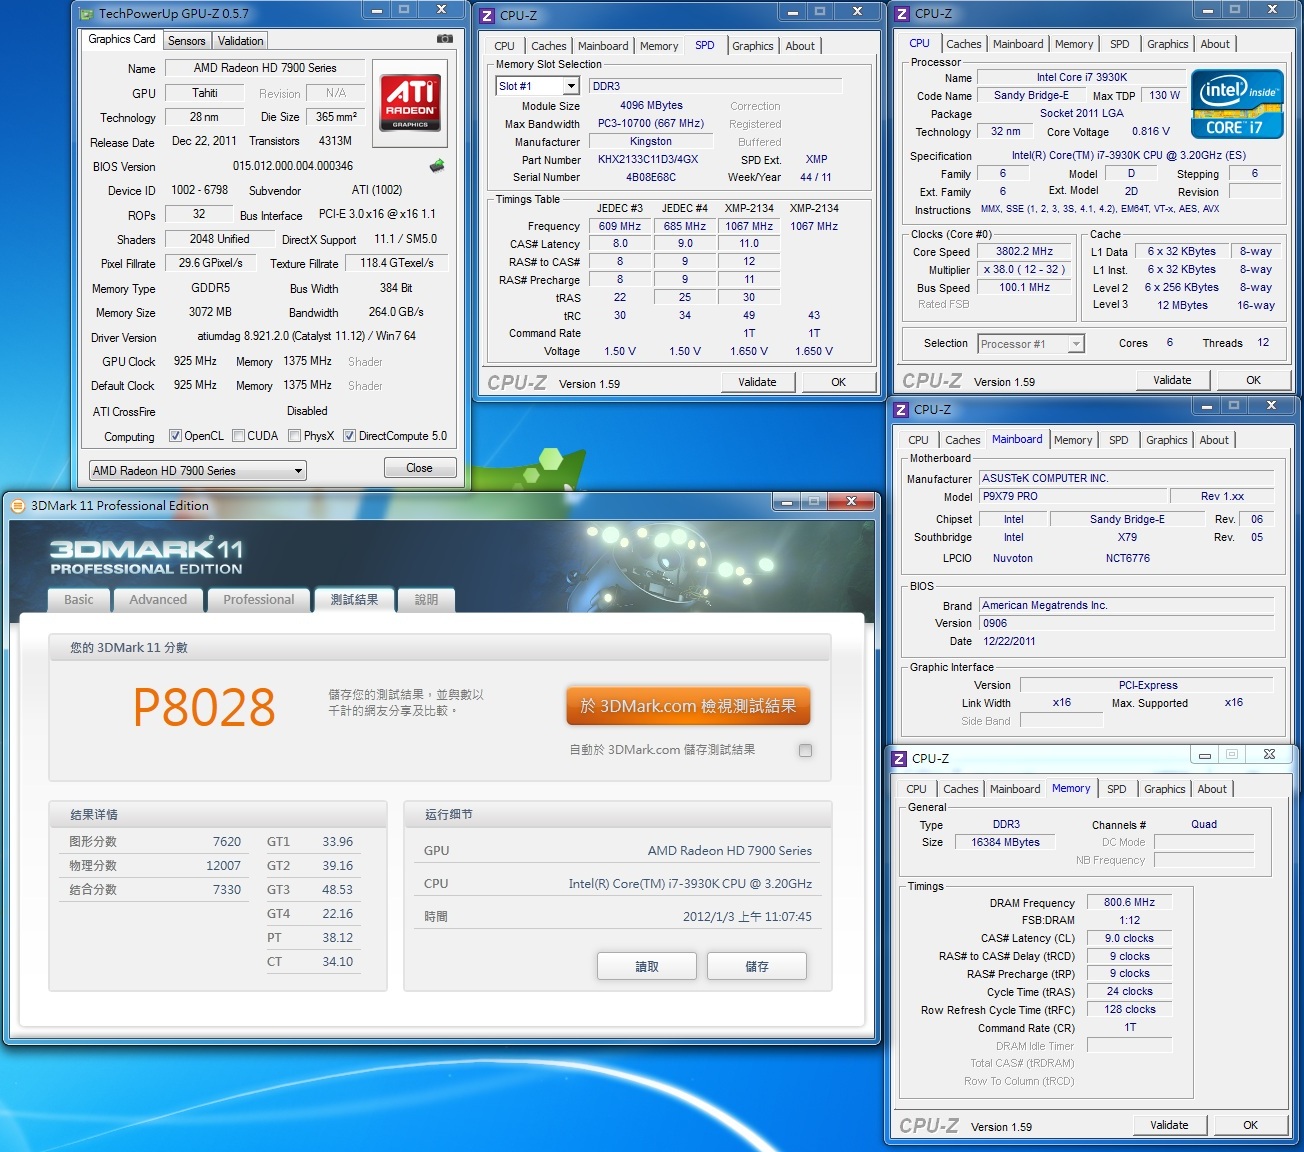
3DMARK 11
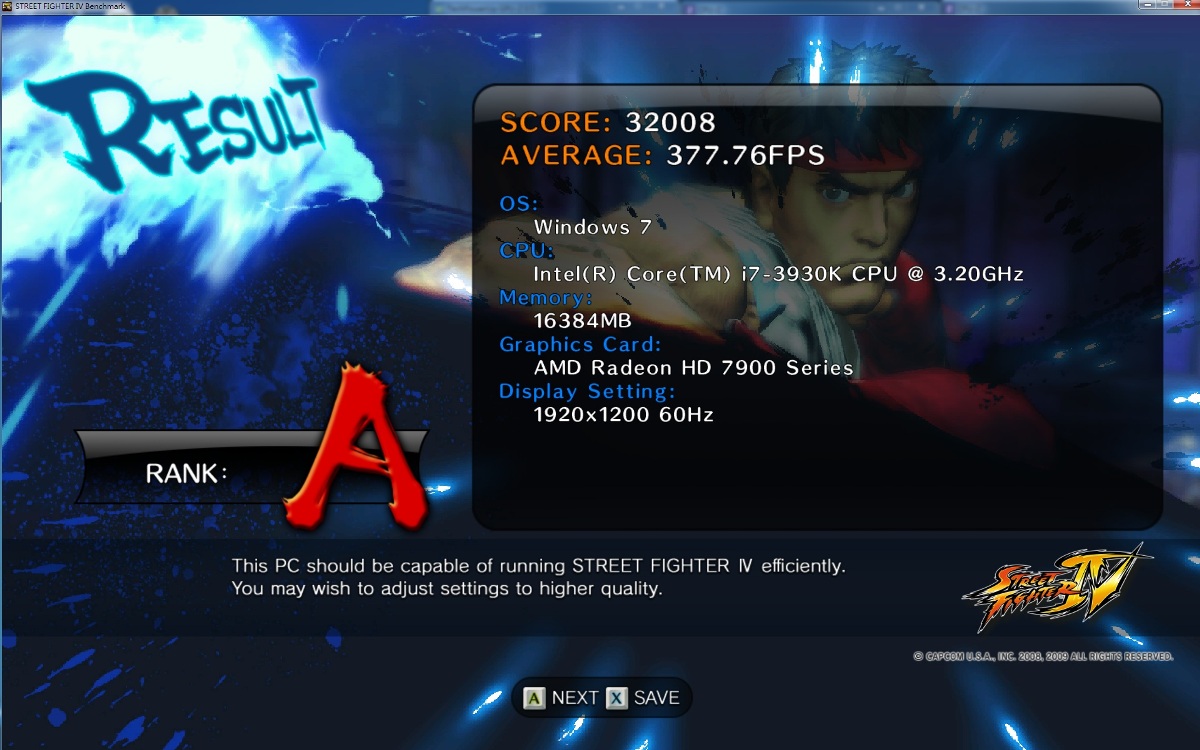
STREET FIGHTER4 Benchmark
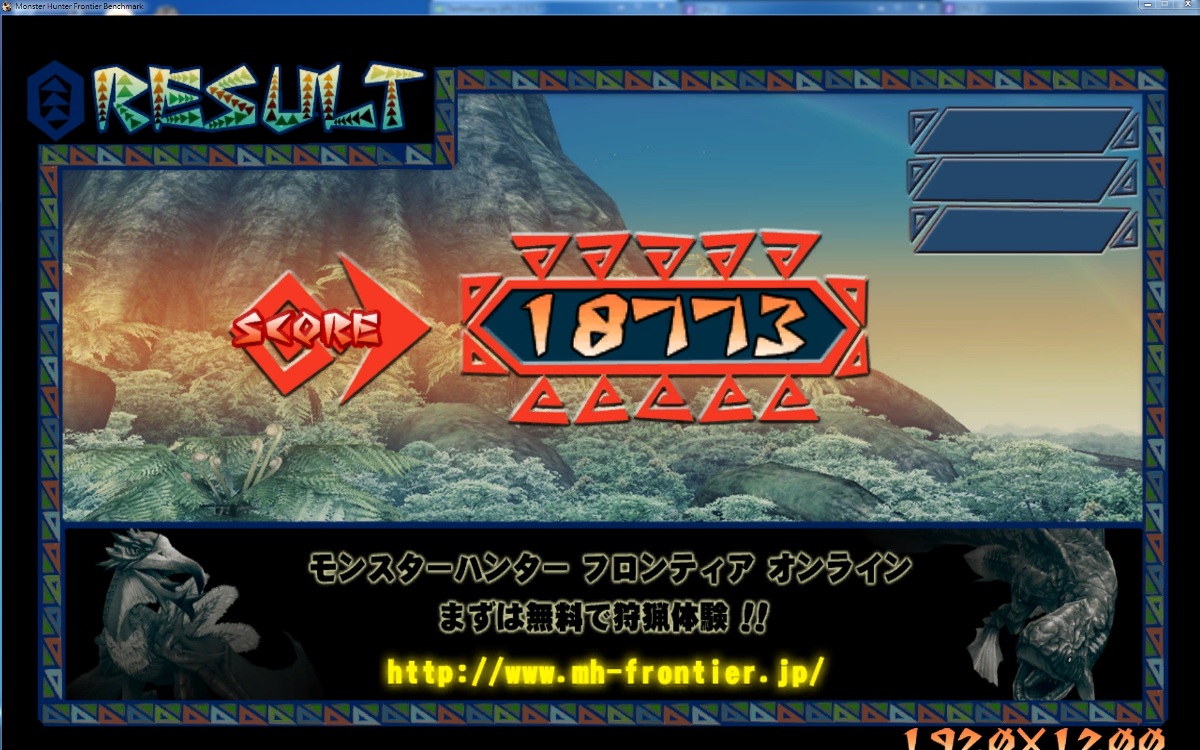
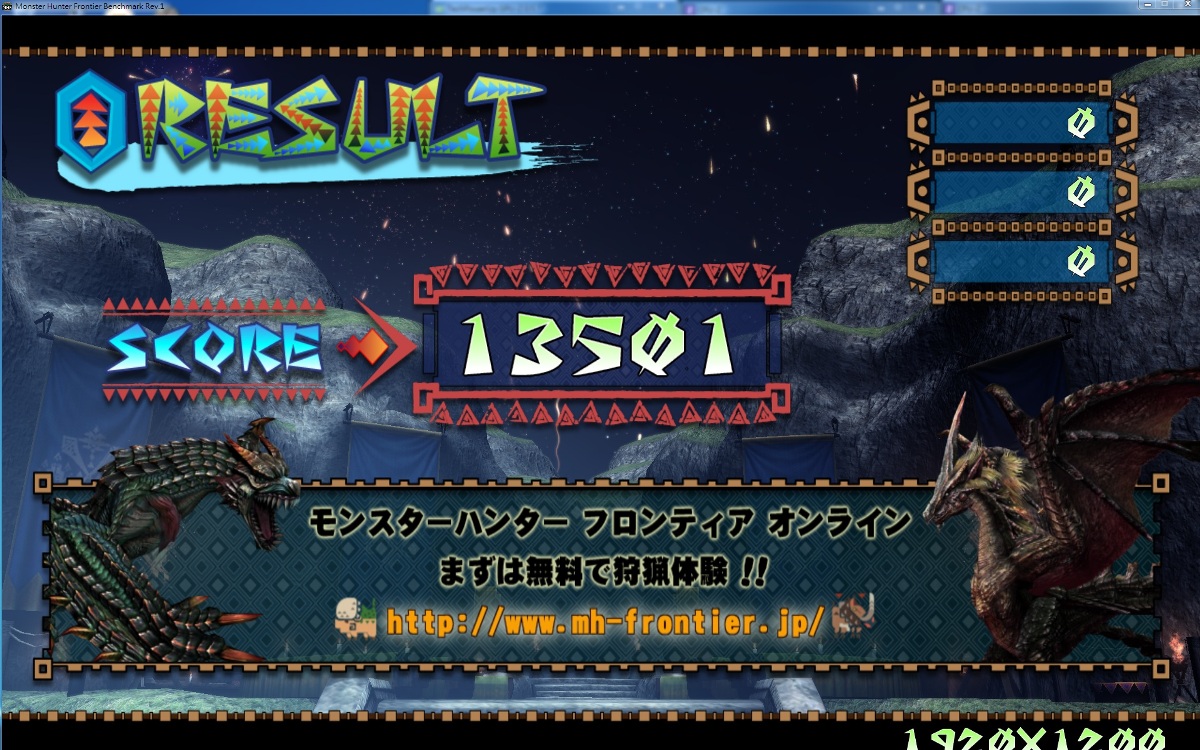
MHF Benchmark
MHF Benchmark 绊
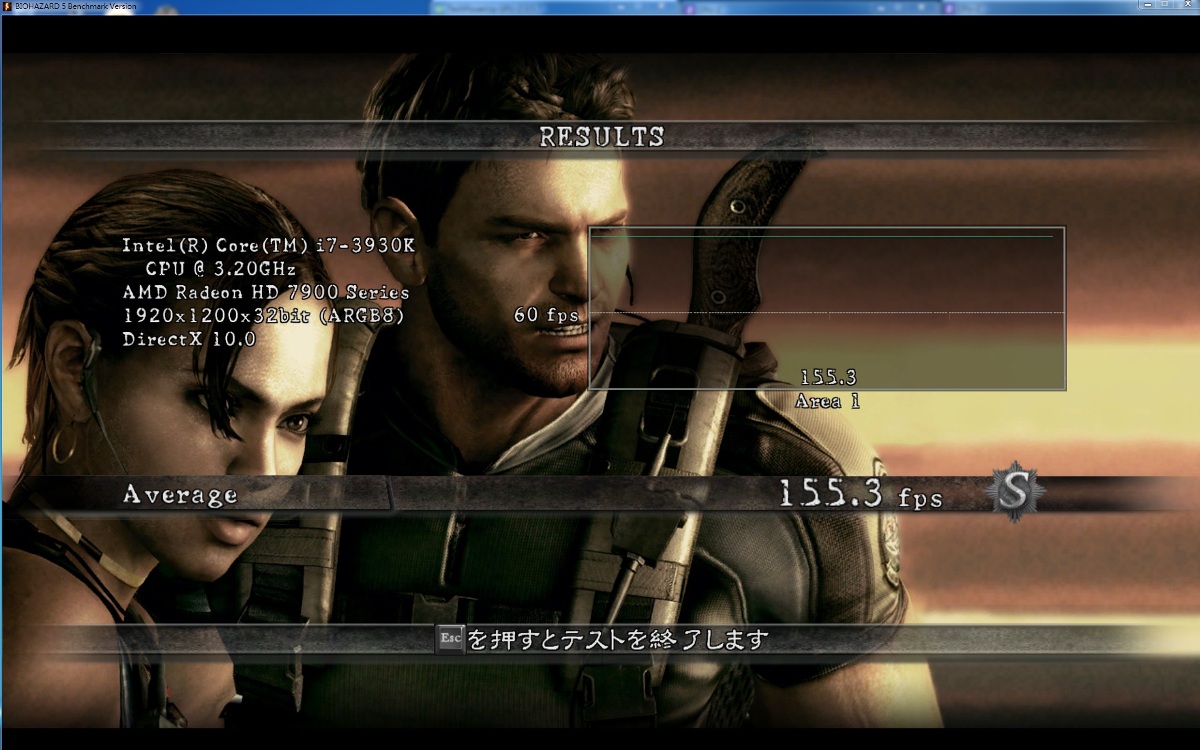
BIO5 Benchmark
DX9

DX10
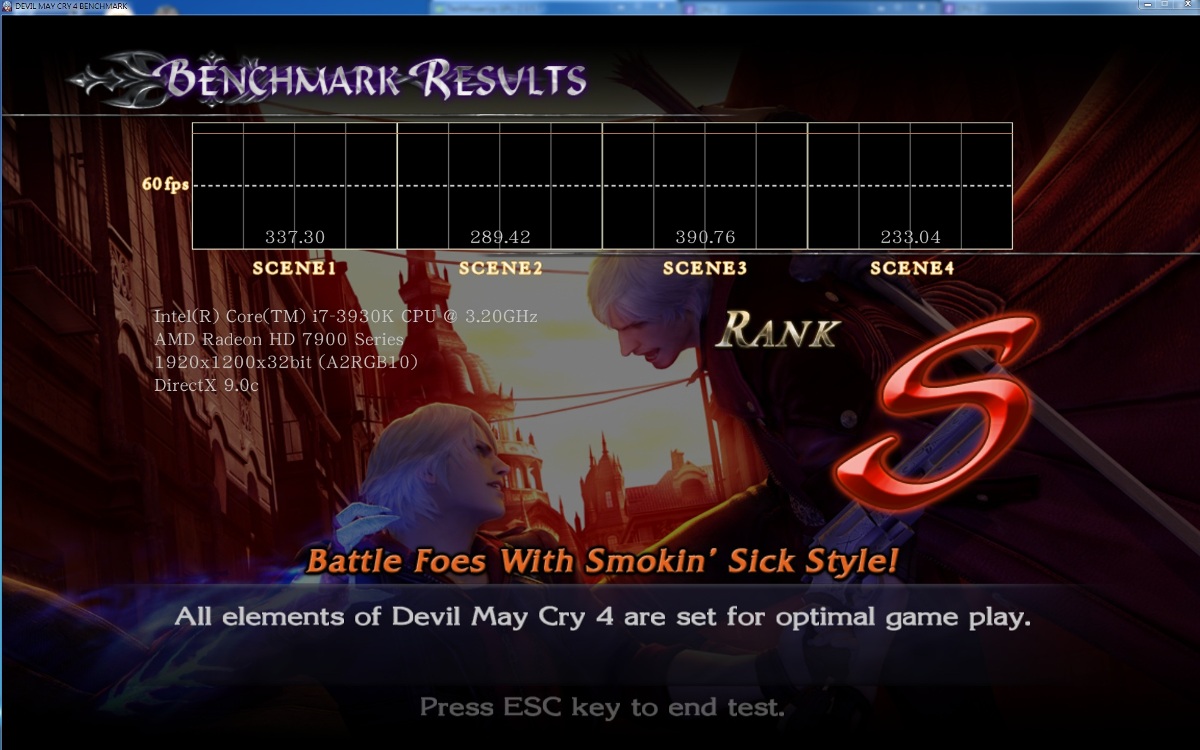
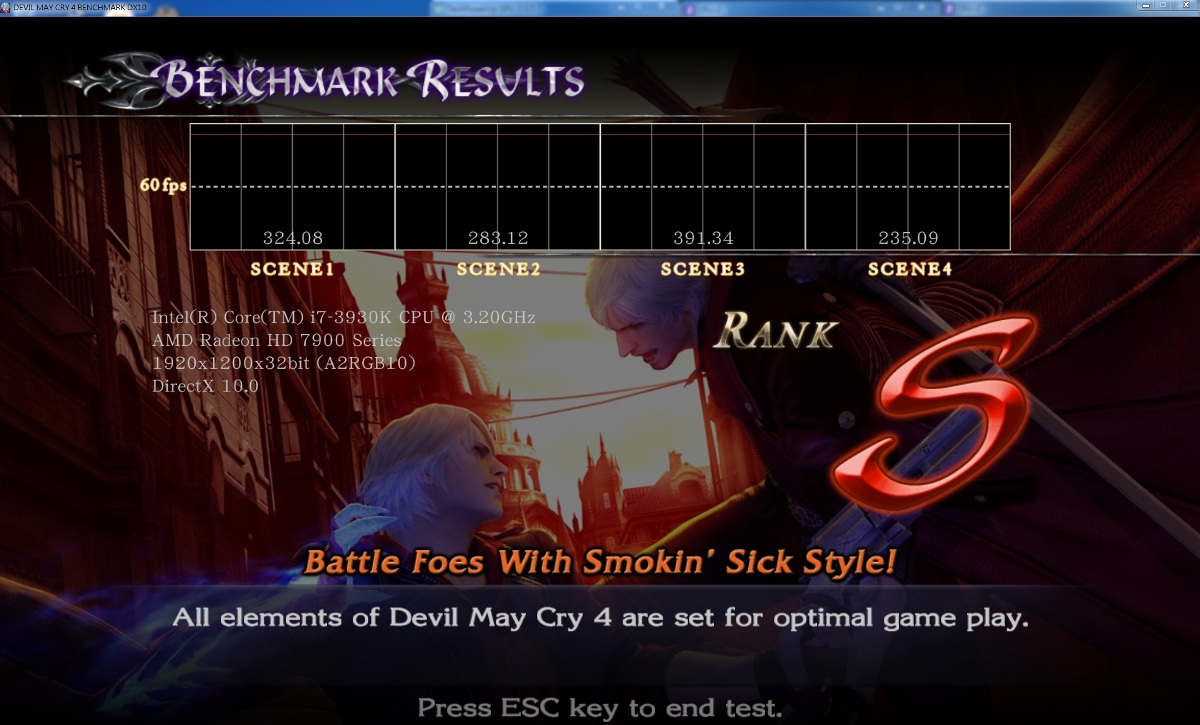
DEVIL MAY CRY4 Benchmark
DX9
DX10
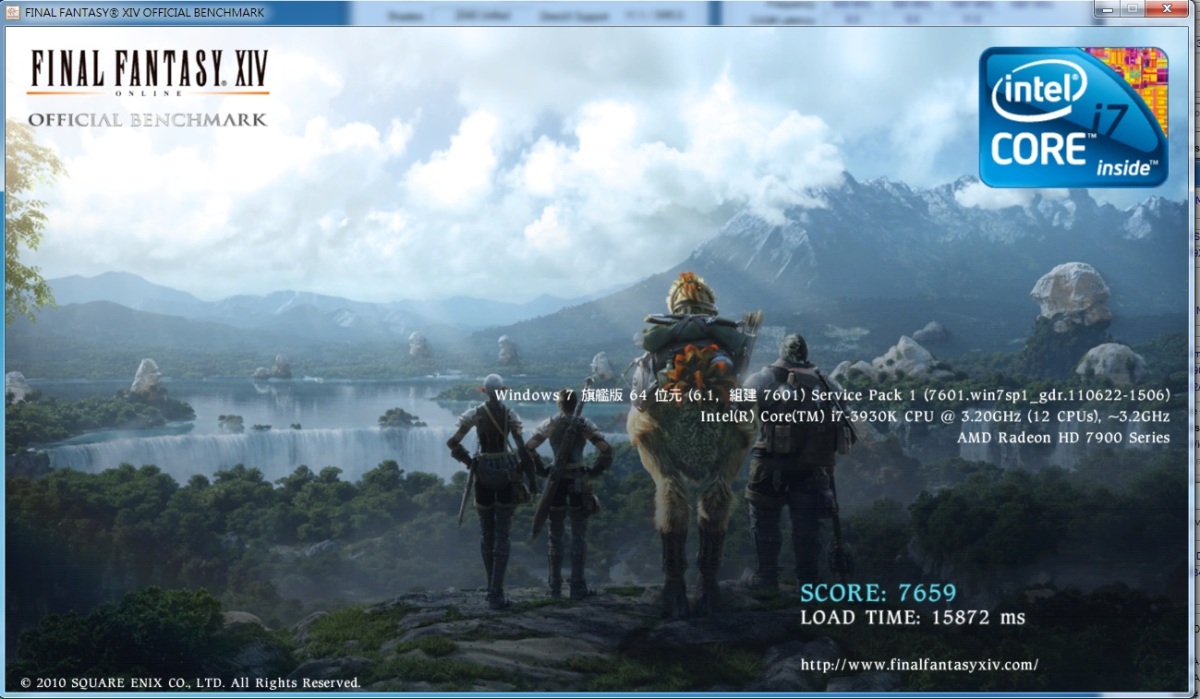
Final Fantasy XIV Benchmark Low
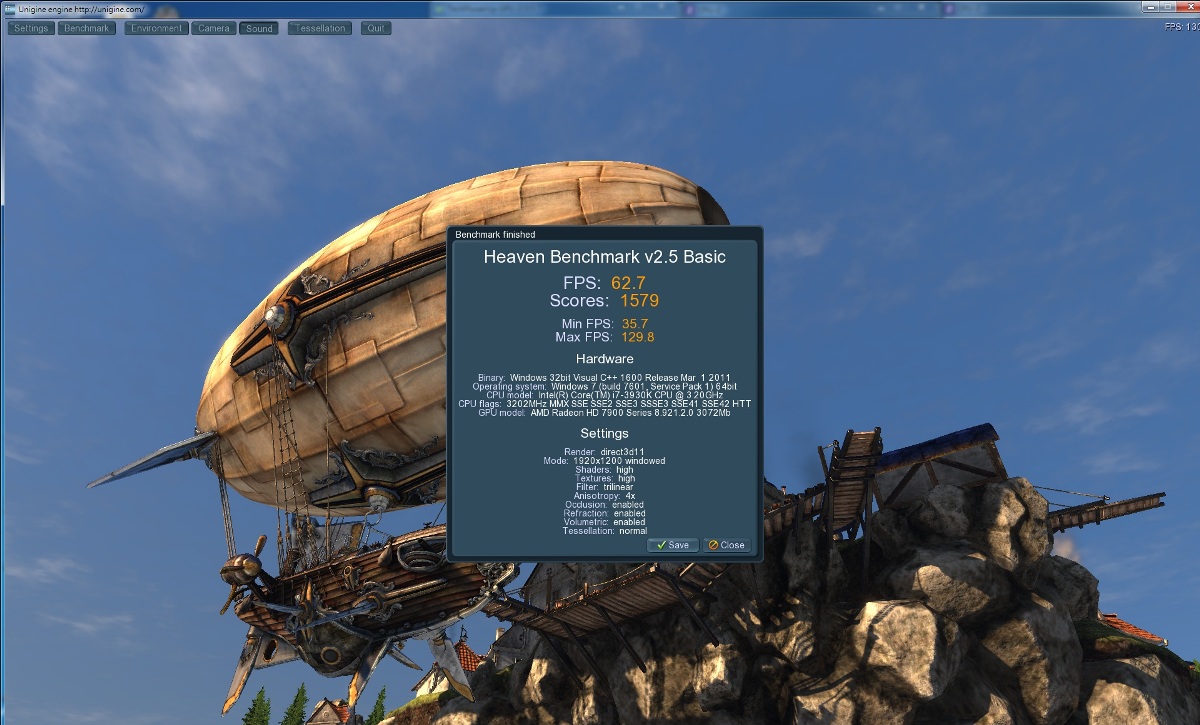
HEAVEN BENCHMARK 2.1
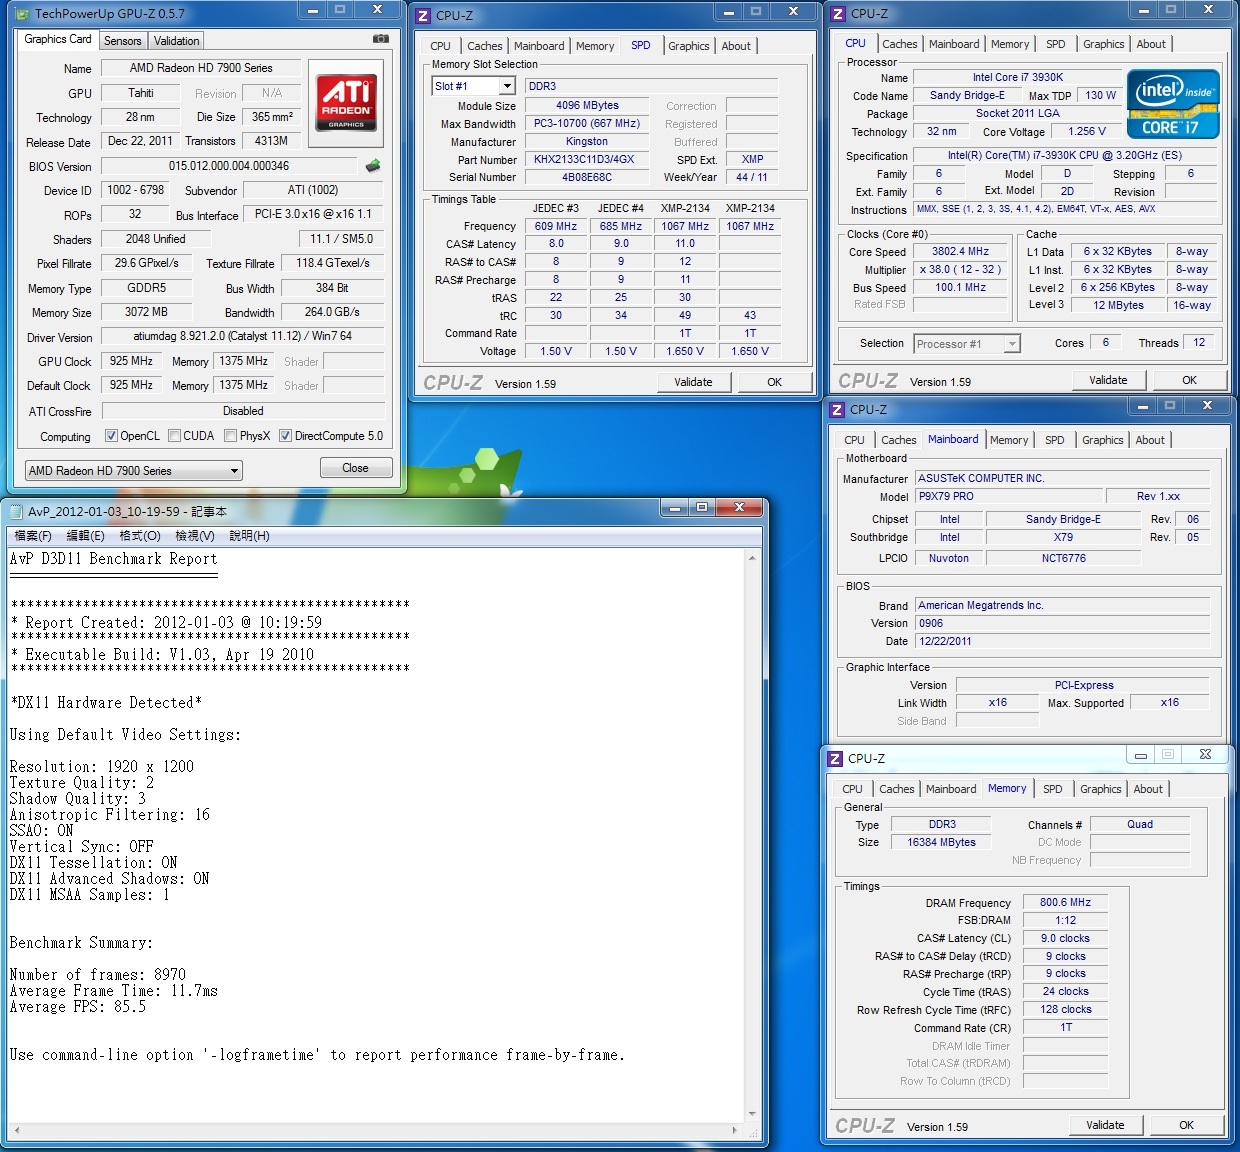
异形战场 Benchmark
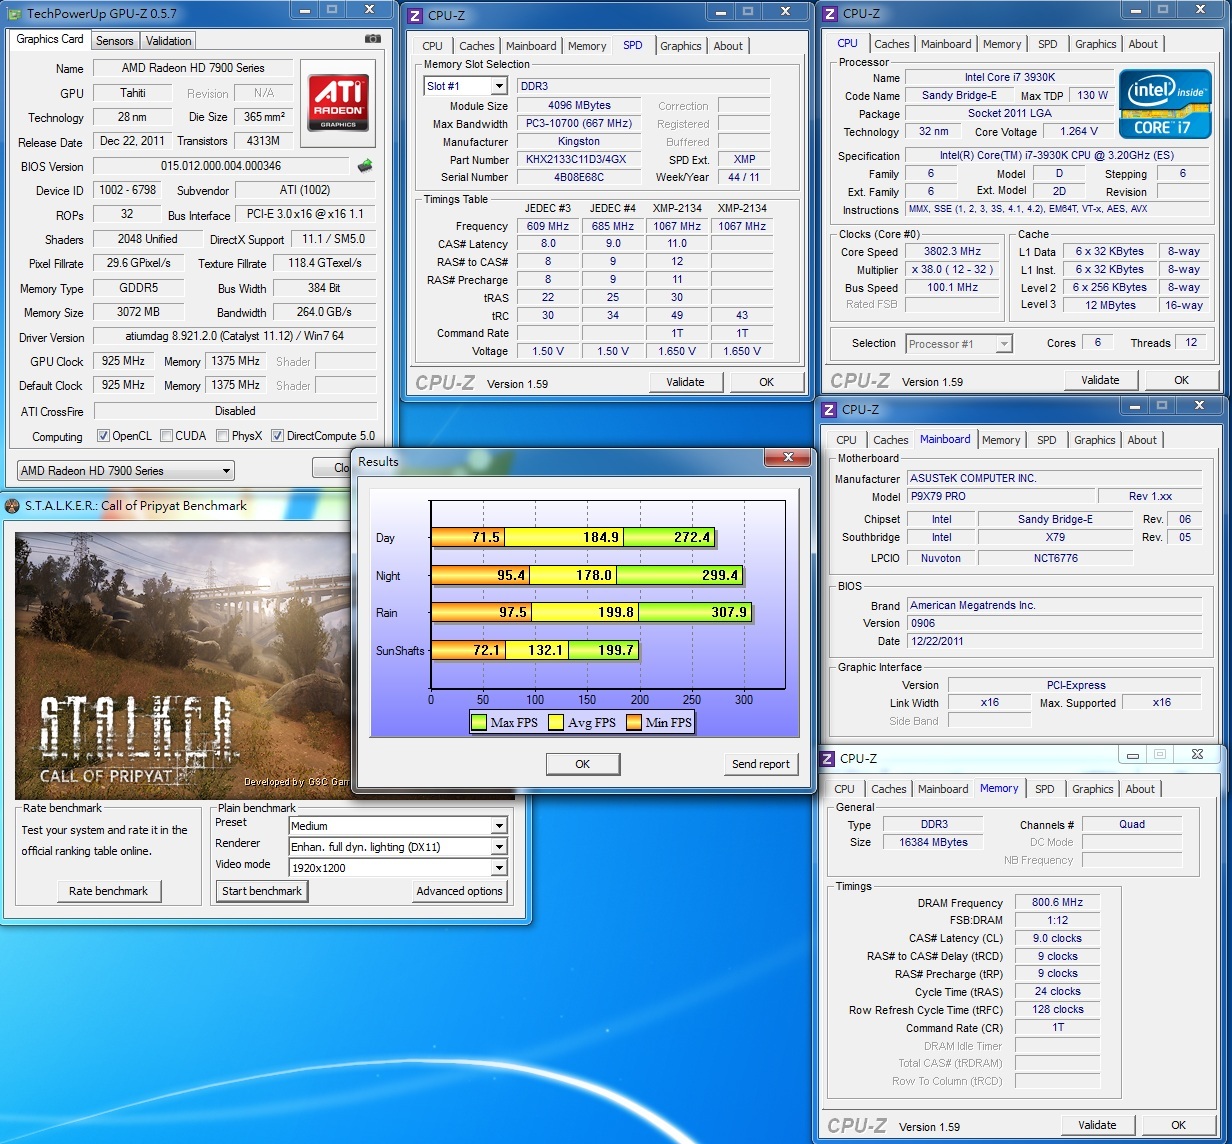
STALKER Call of Pripyat DirectX 11 Benchmark
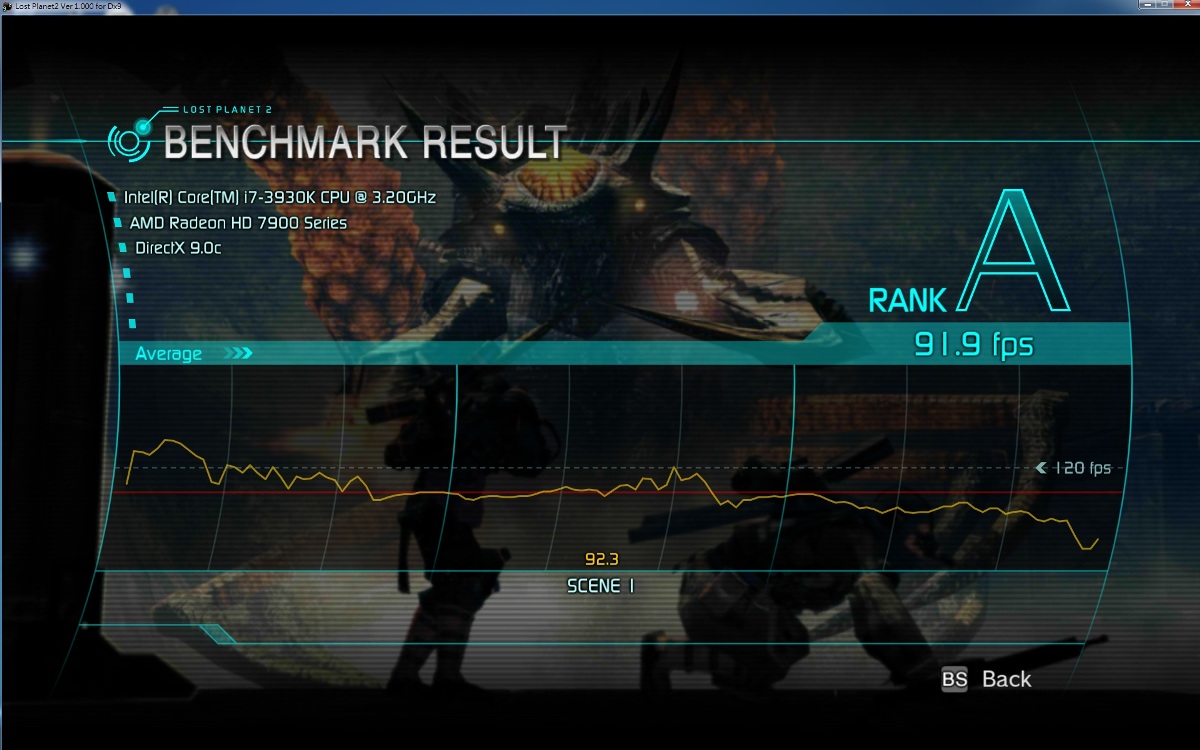
Lost Planet 2 Benchmark DX9 TESTA 1920*1200

Lost Planet 2 Benchmark DX9 TESTB 1920*1200
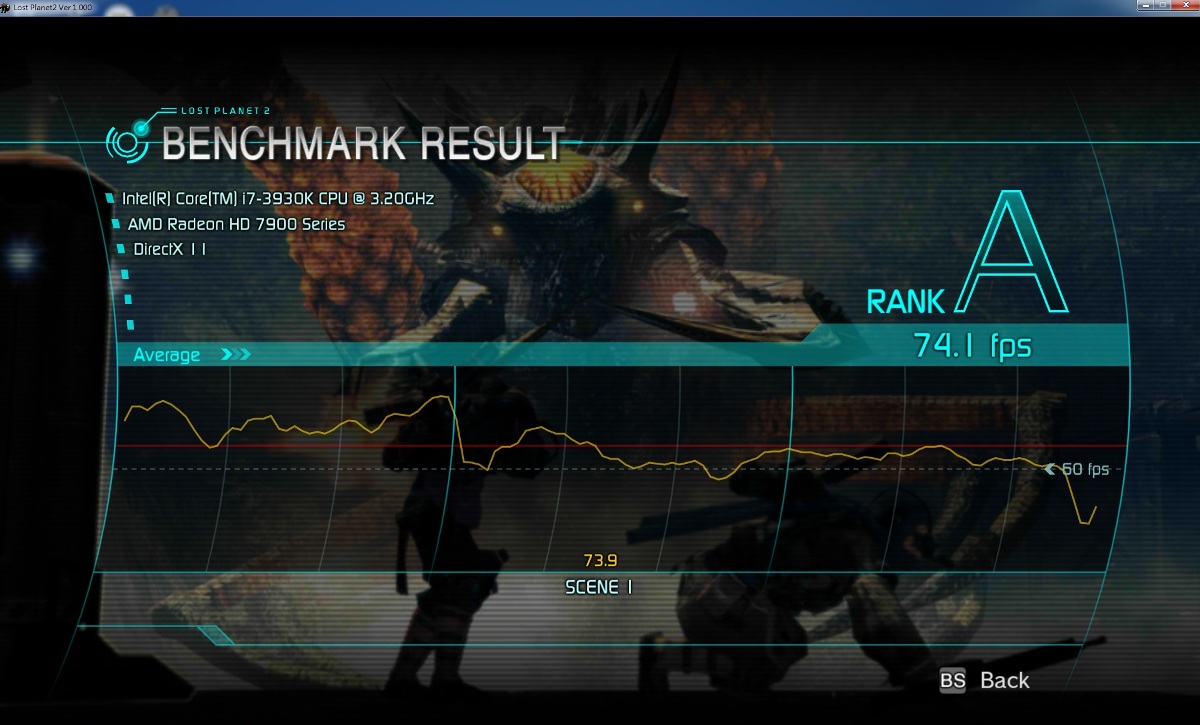
Lost Planet 2 Benchmark DX11 TESTB 1920*1200
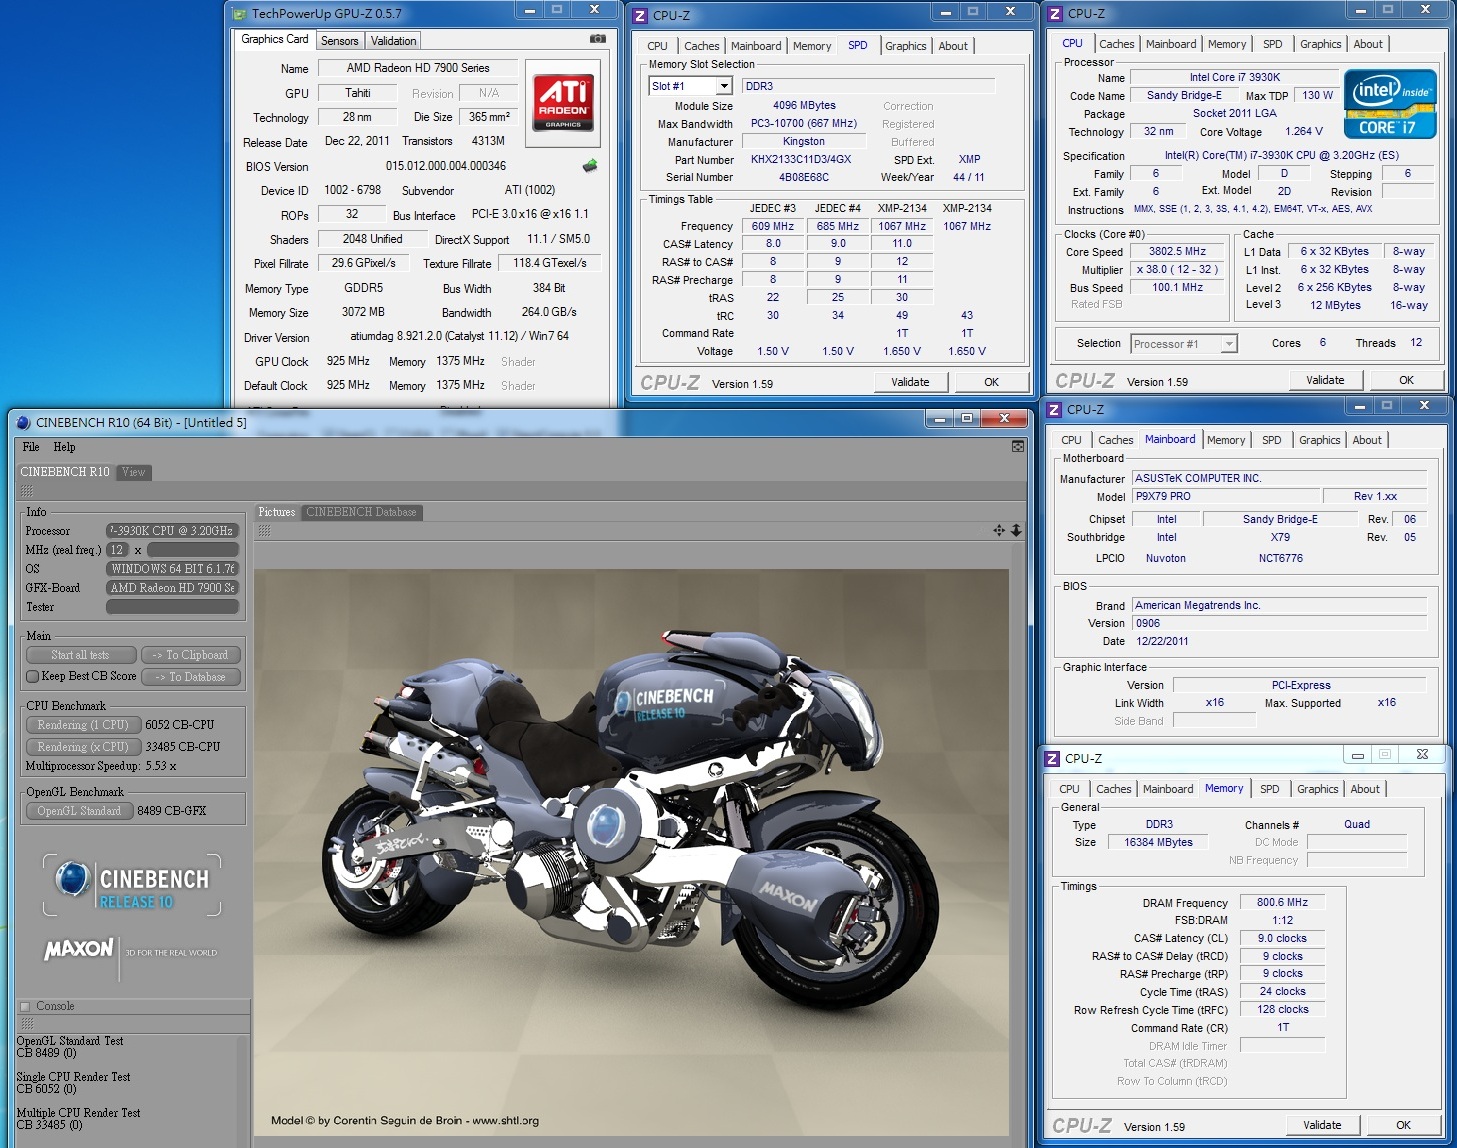
CINBENCH R10 X64
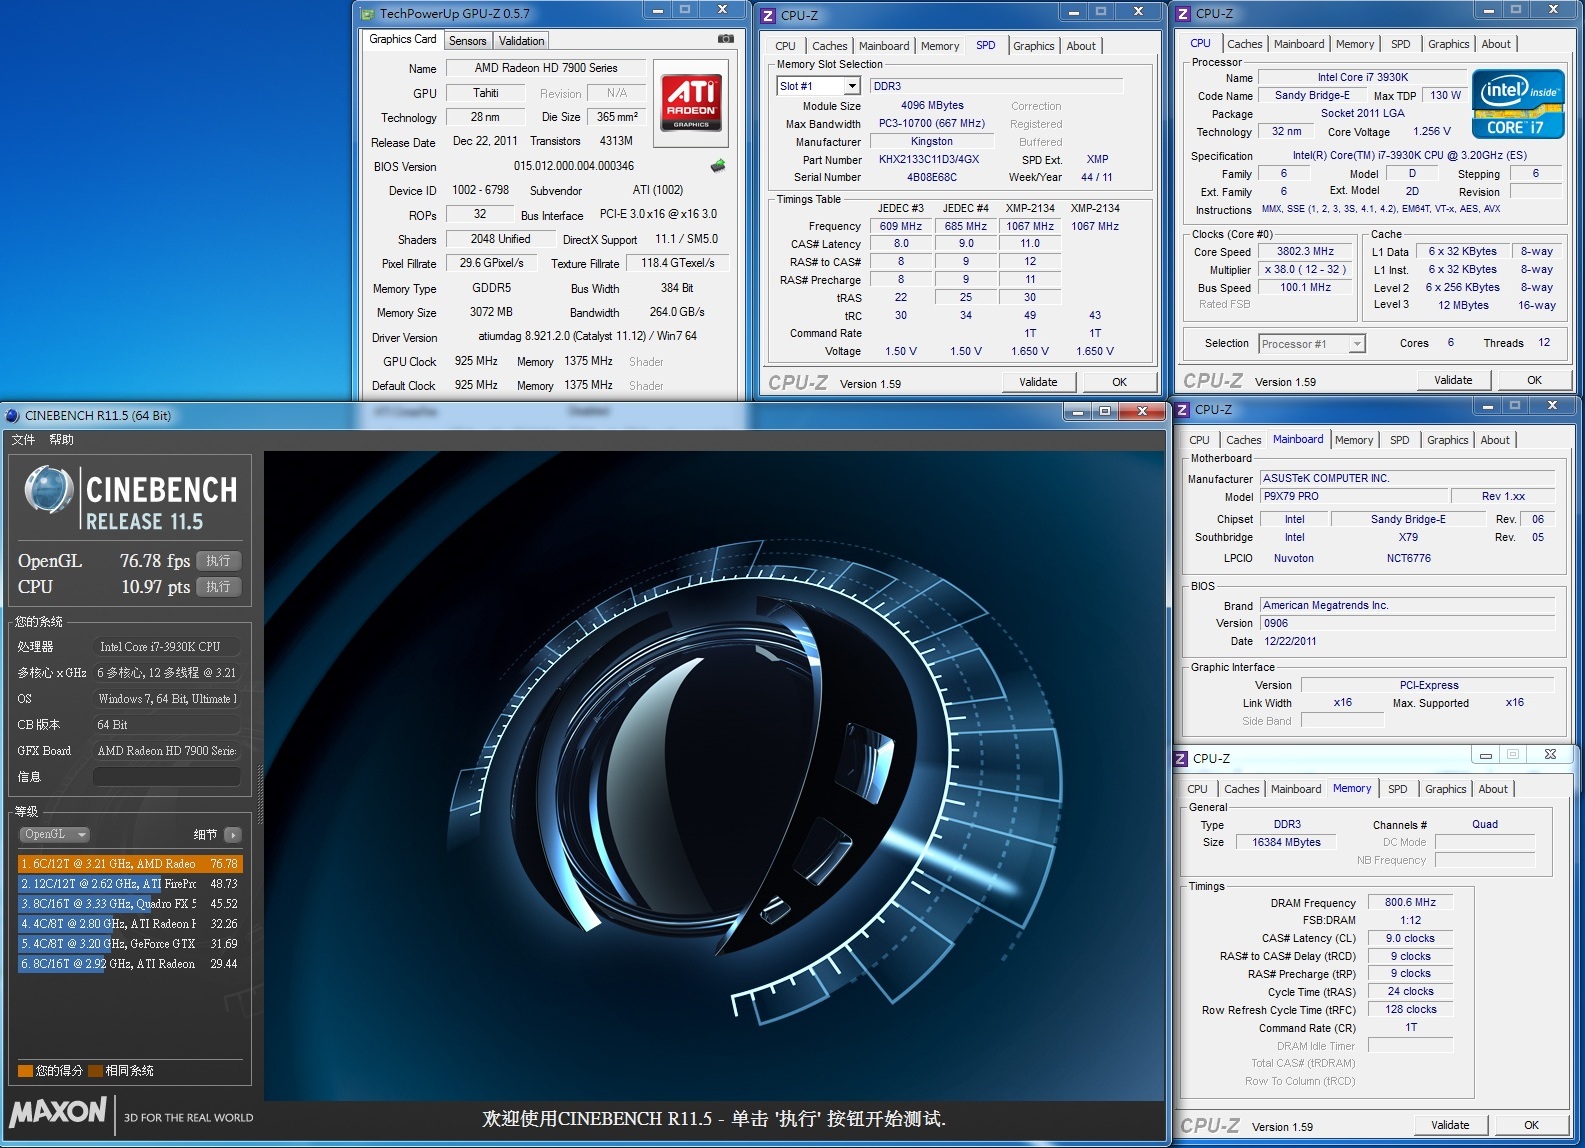
CINBENCH R11.5 X64
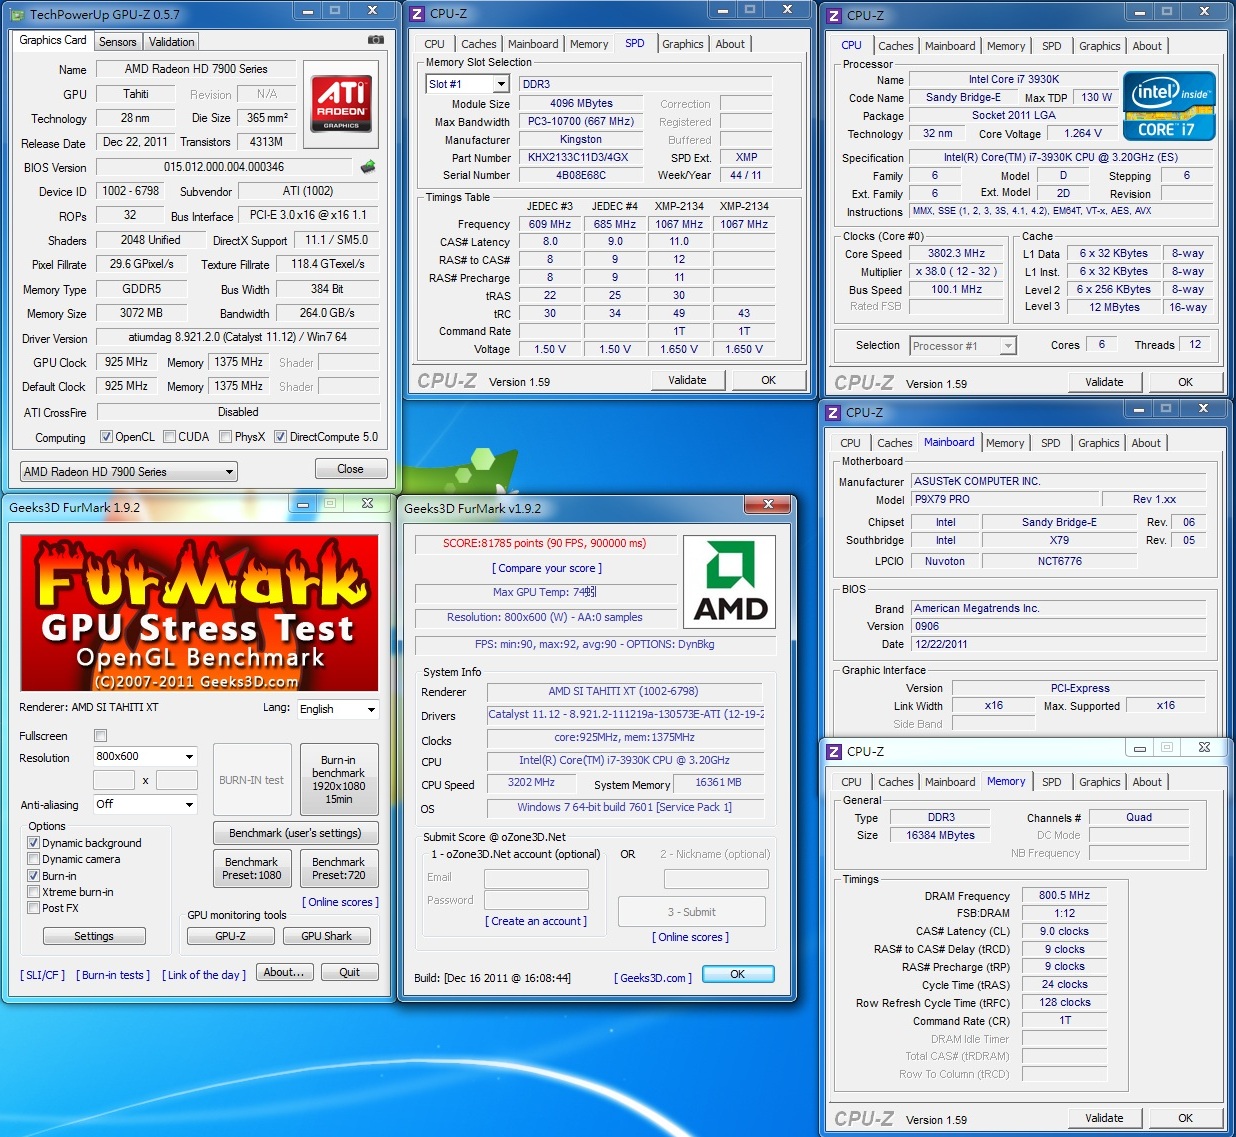
FurMark 1.92
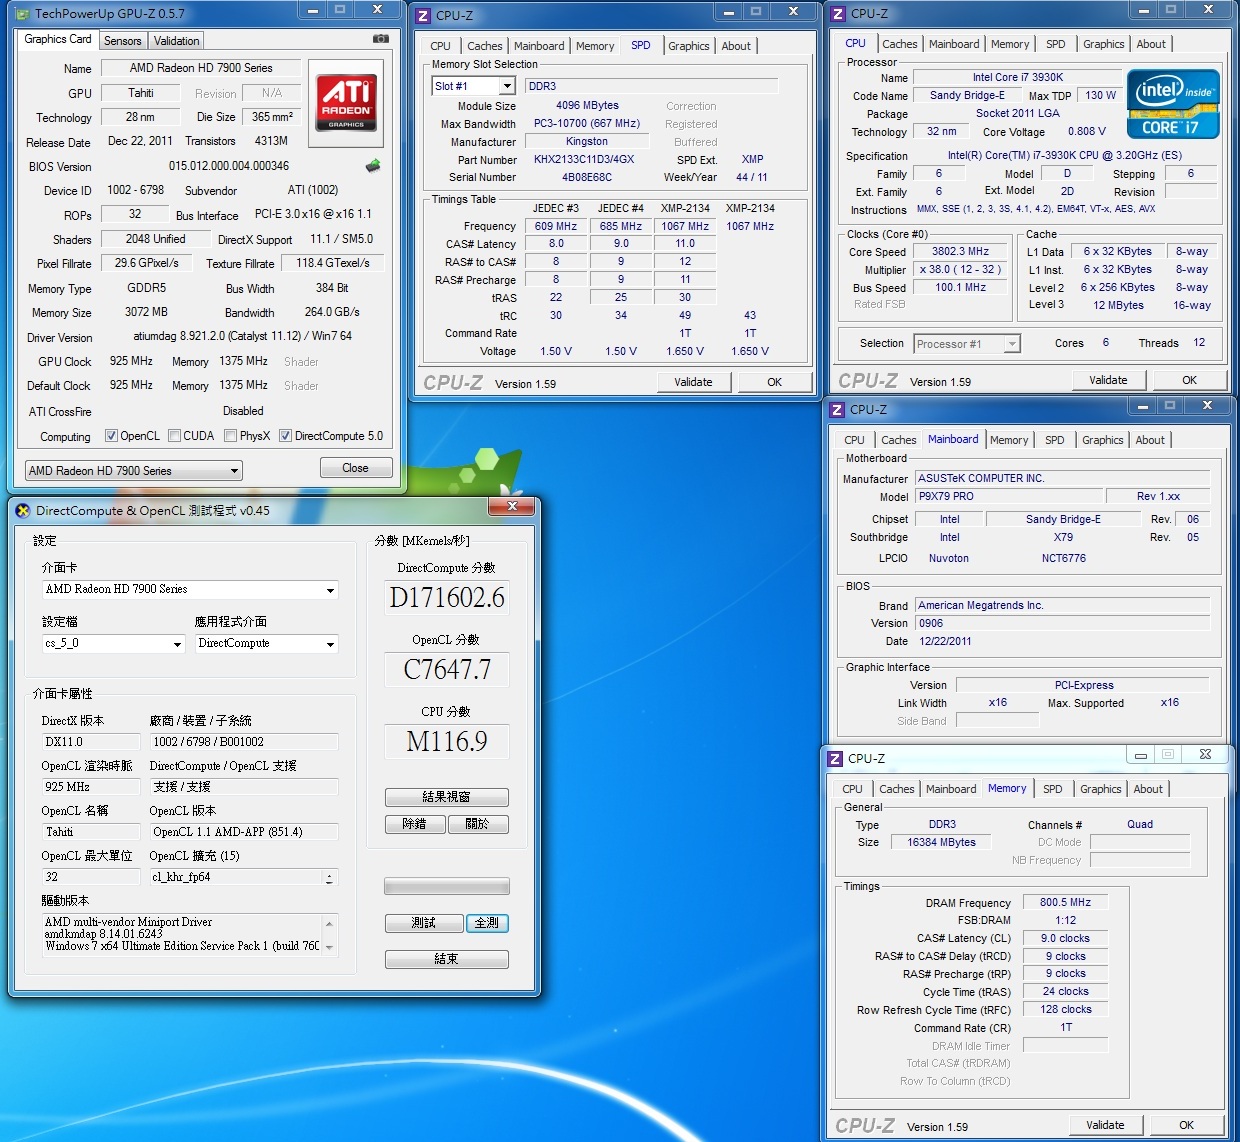
DirectCompute
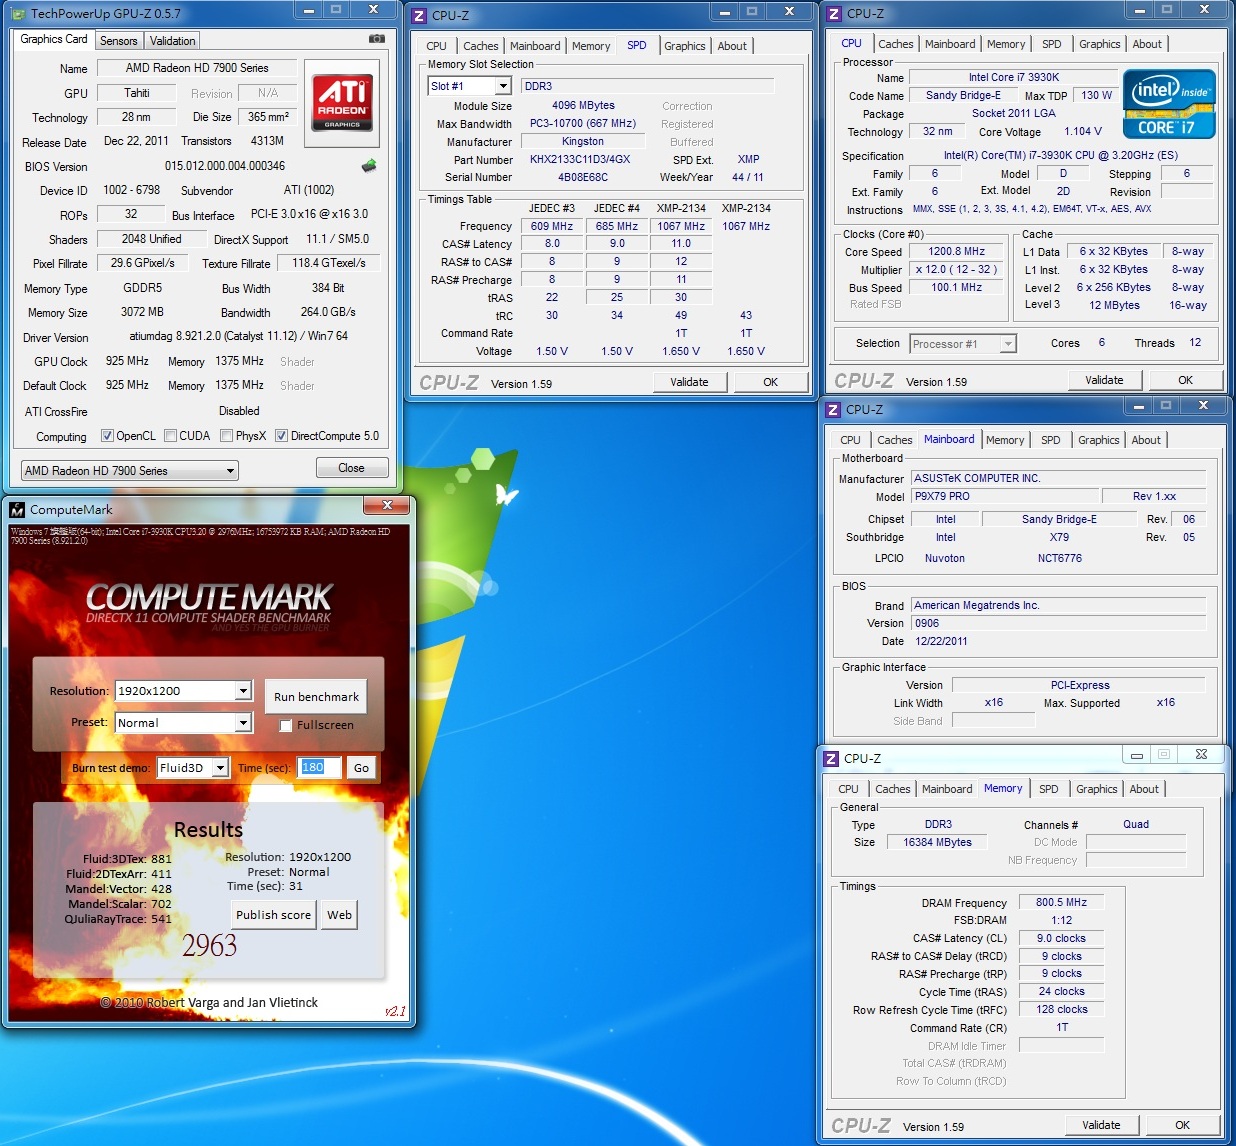
COMPUTE MARK
以下就分享ASUS USB3.0 Boost技术、ASUS SSD Caching技术、BIOS及AI Suite II相关应用环境,
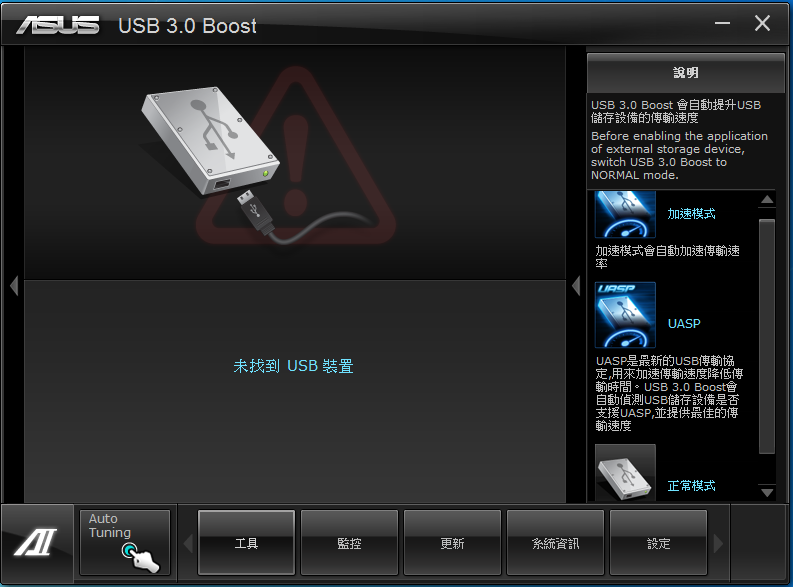
这次ASUS 加入USB3.0 Boost技术,采用UASP及Turbo模式双管齐下的加速USB3.0传输效能,让使用者有更高速的传输体验。
USB3.0 Boost

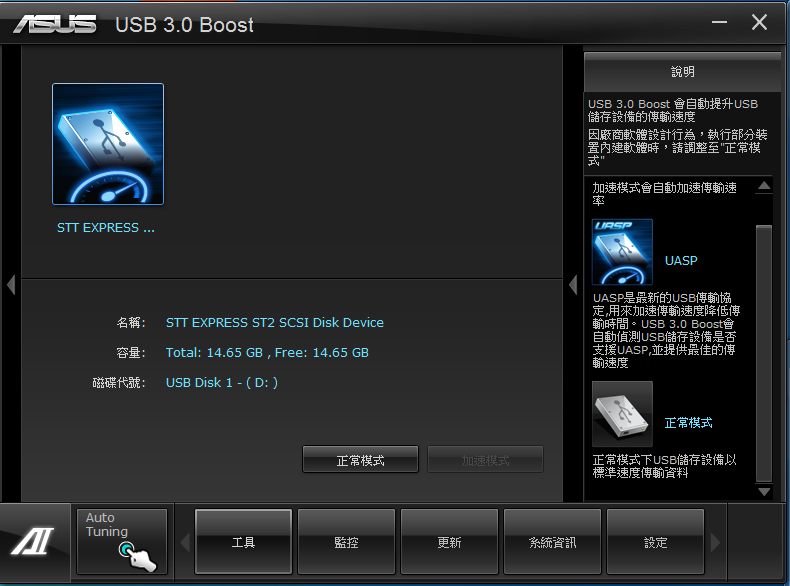
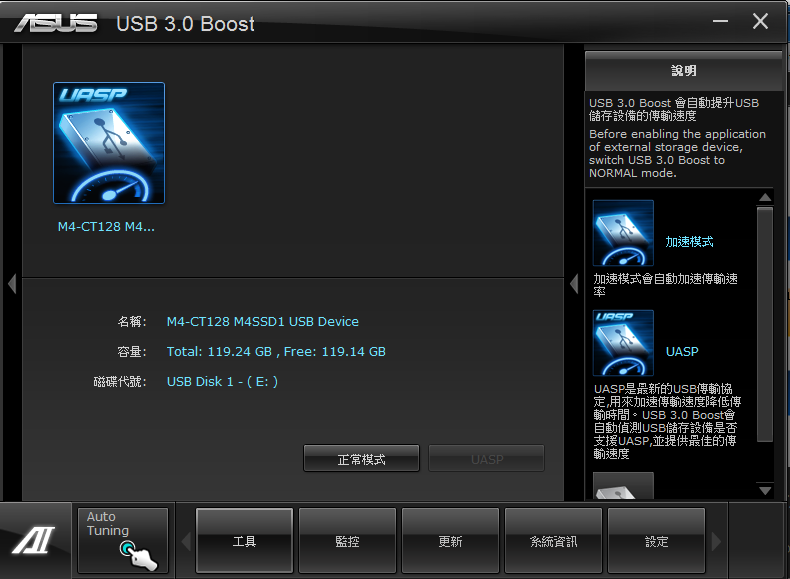
会侦测USB3.0装置,如有支援UASP装置可以选择启动UASP加速,如果未支援也有一般加速模式可以进行加速。
就实测而言,确实也增加部分效能增益。手边没有支援UASP模式加速的装置,所以就一般加速模式来做对比。
正常模式
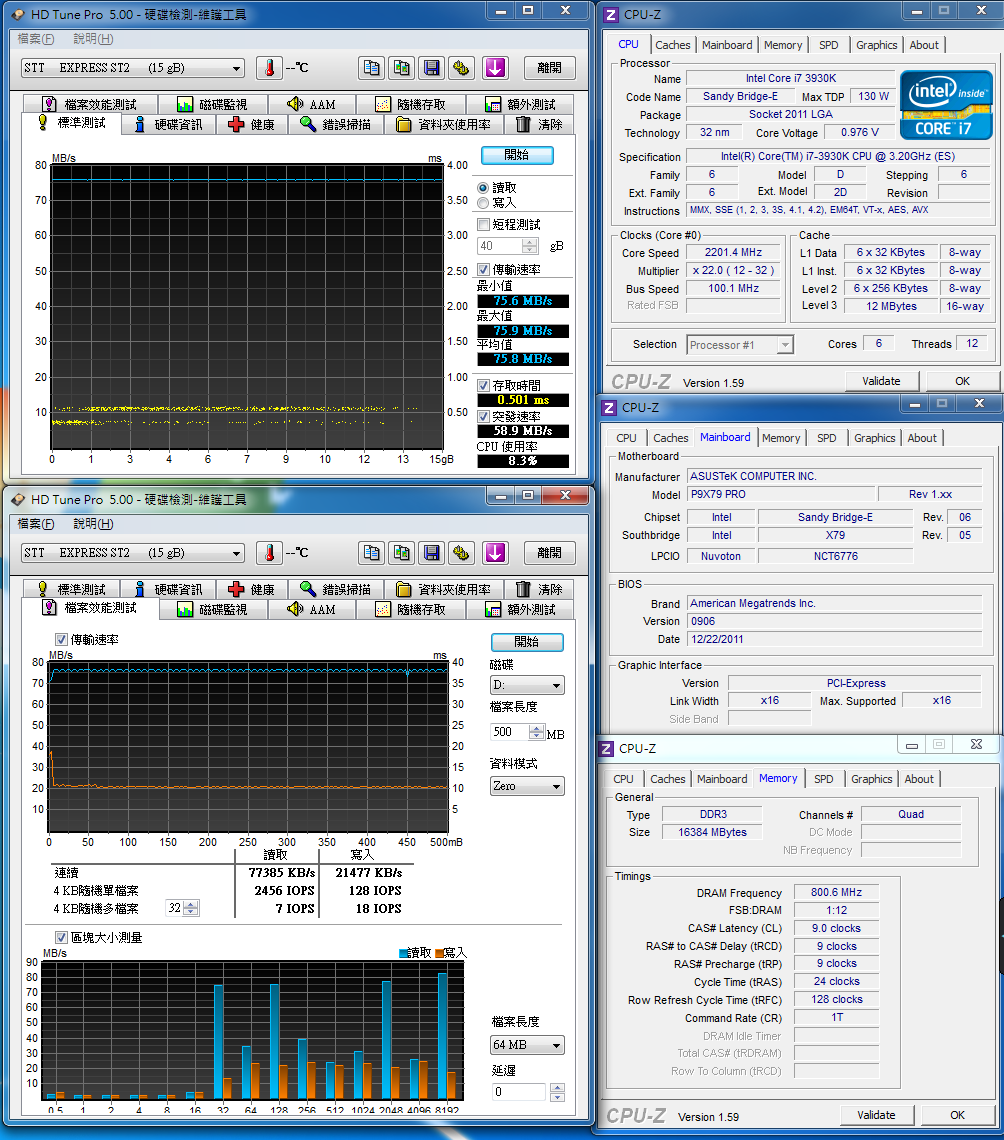
加速模式
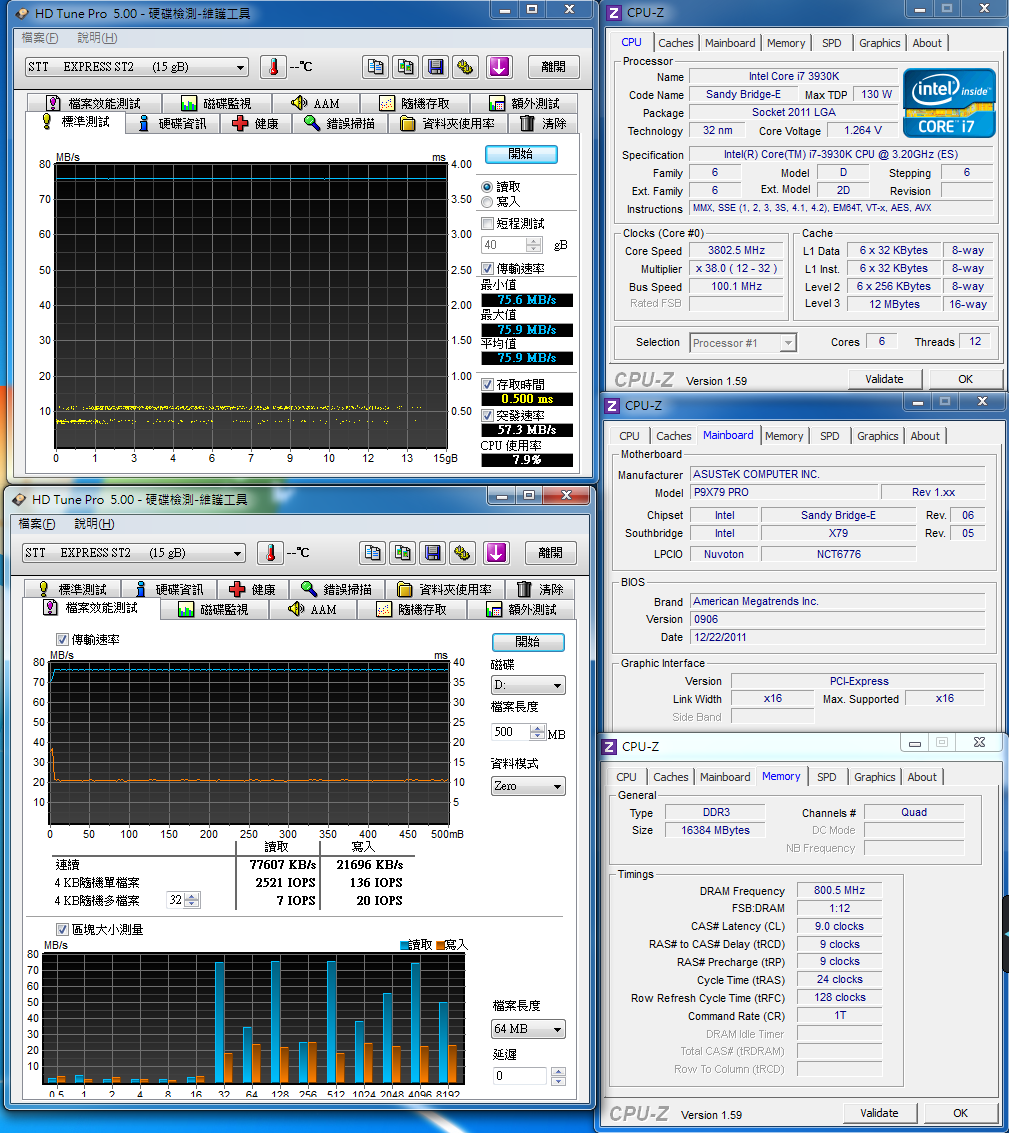
正常模式
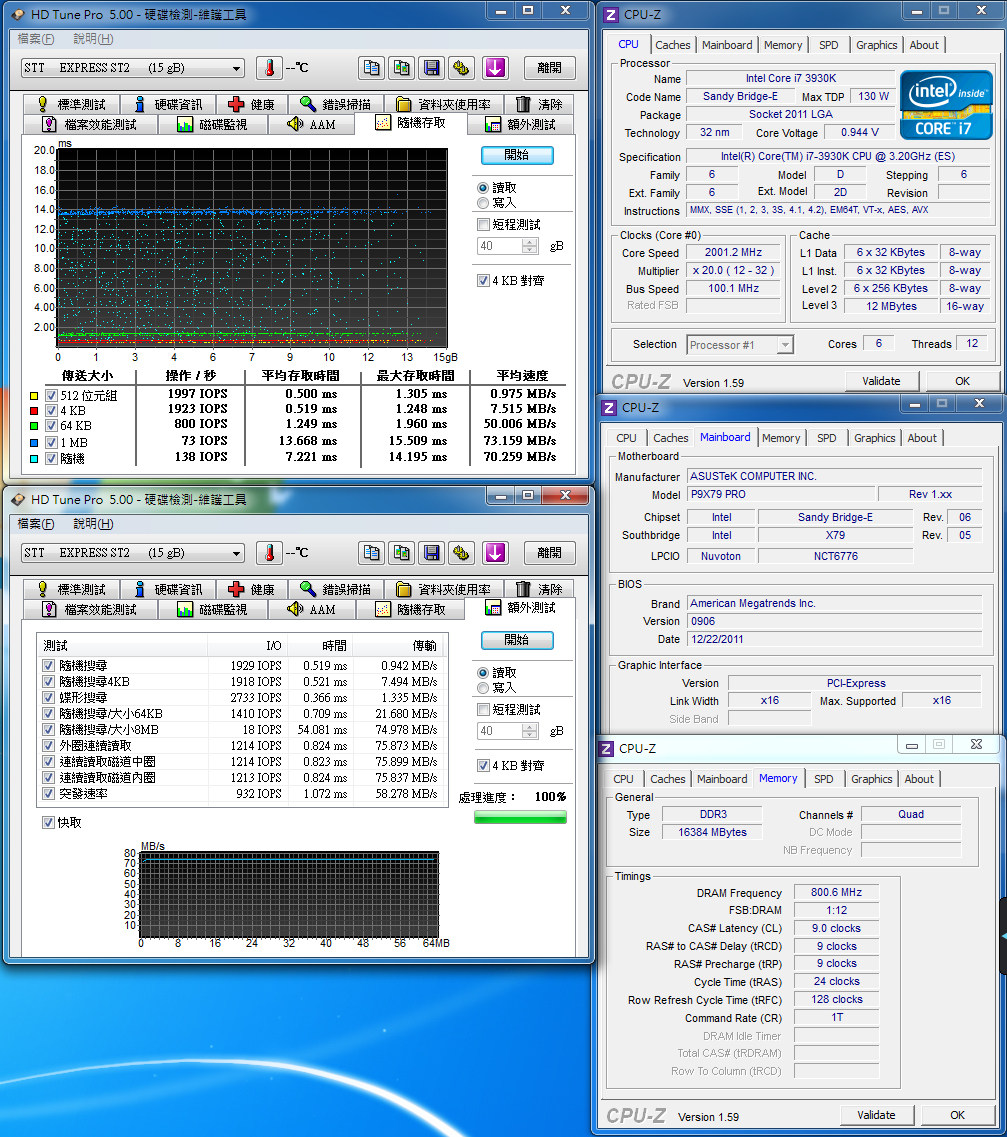
加速模式

正常模式
加速模式
正常模式
加速模式
虽然增加幅度不大,但仍是小有进步。
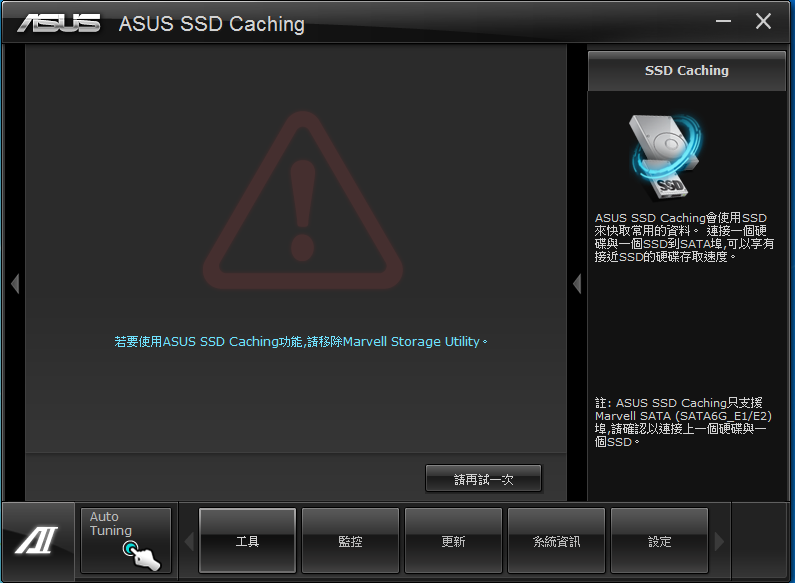
[page]p[/page][title] ASUS SSD Caching [/title]
ASUS SSD Caching技术,Intel在X79上并未导入Z68时代的iSRT技术,对有些需要这样技术的使用者来说是种小缺憾,
虽说败的起X79的玩家,应该多能购买大容量的SSD使用,但是以SSD作为传统硬碟之快取也不见得不好,
能帮系统加速也是件好事,所以ASUS独家开发SSD快取技术补上,另外更是青出于蓝胜于蓝。
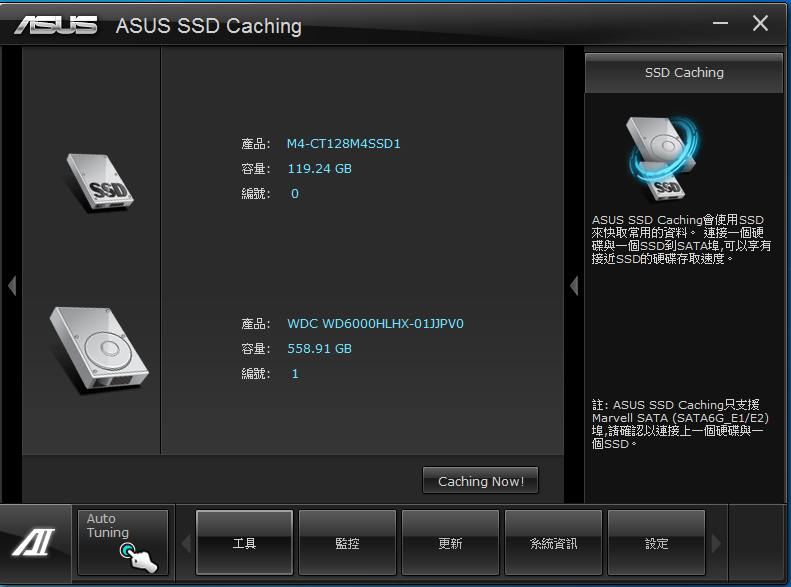
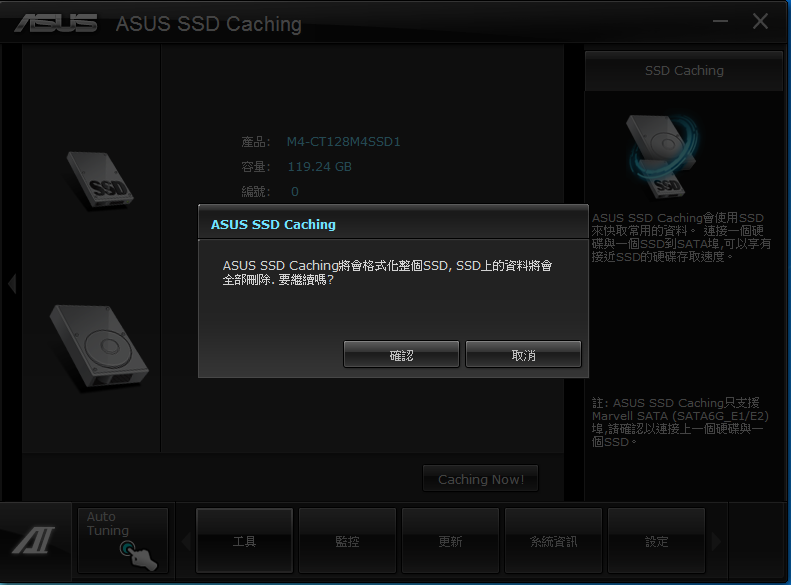
进行SSD Caching设定会将SSD上的资料消除
搭配的SSD为M4 128G
初始化
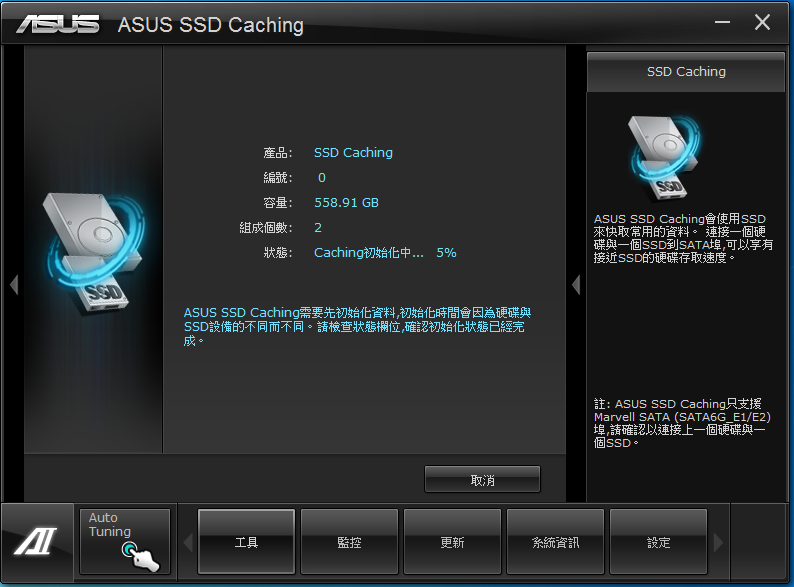
5%大约过了2分钟。
初始化中
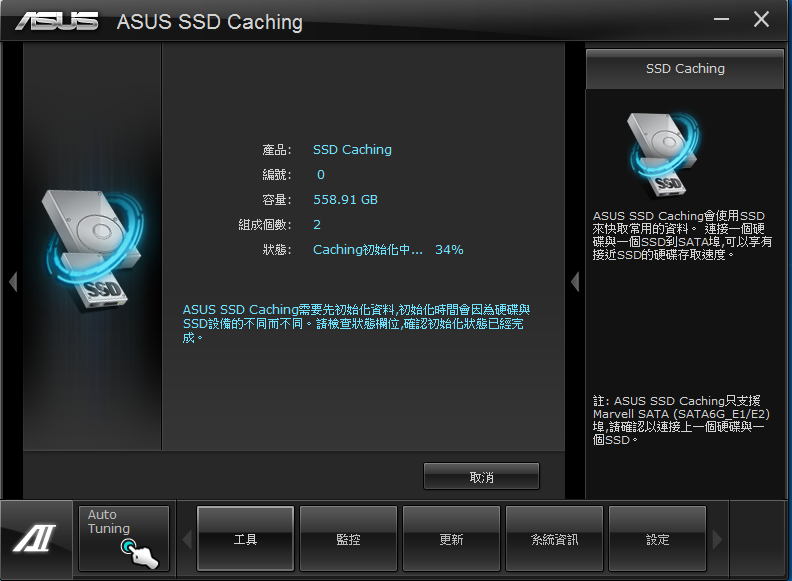
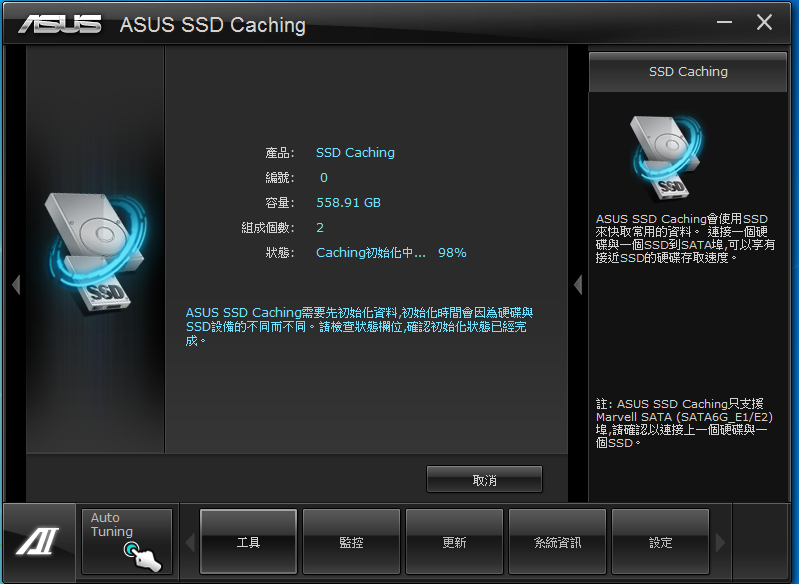
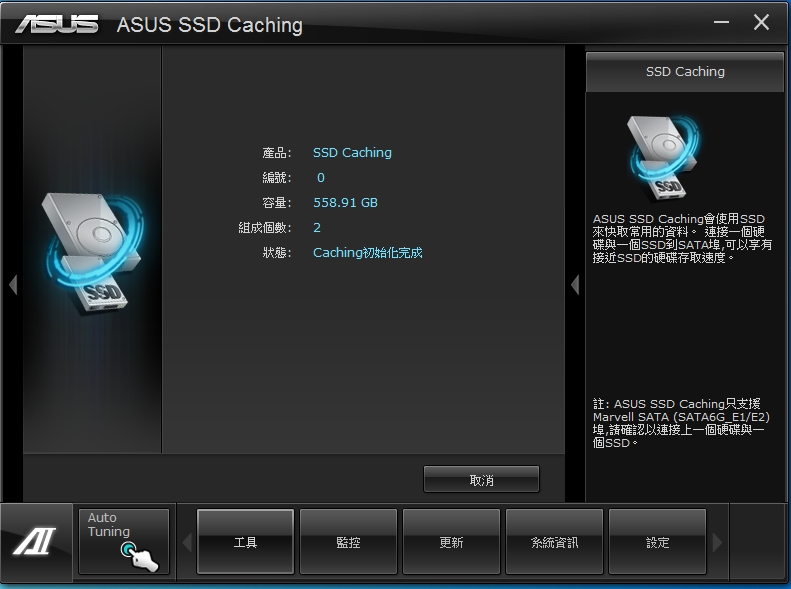
完成约花了20分钟。这点会根据使用者环境及装置不同而有所差异。
效能实测
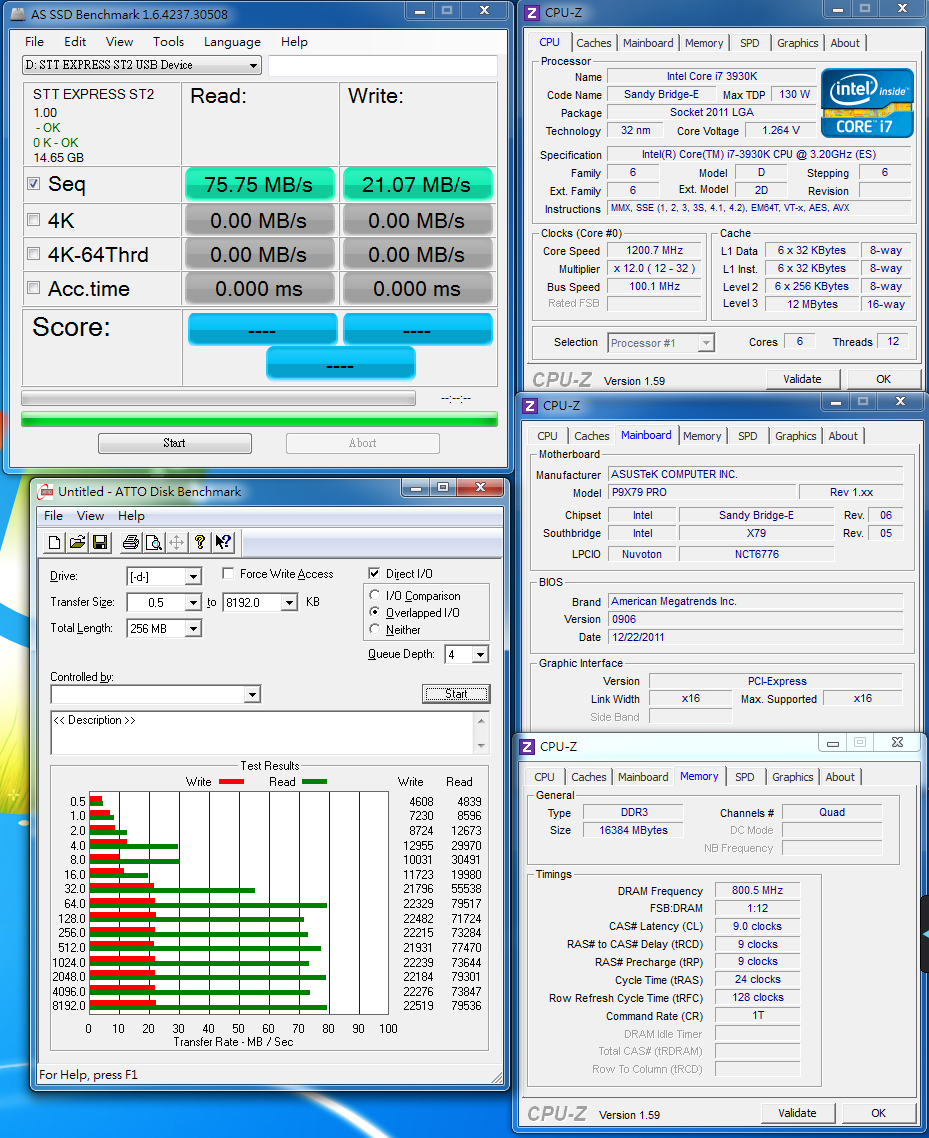
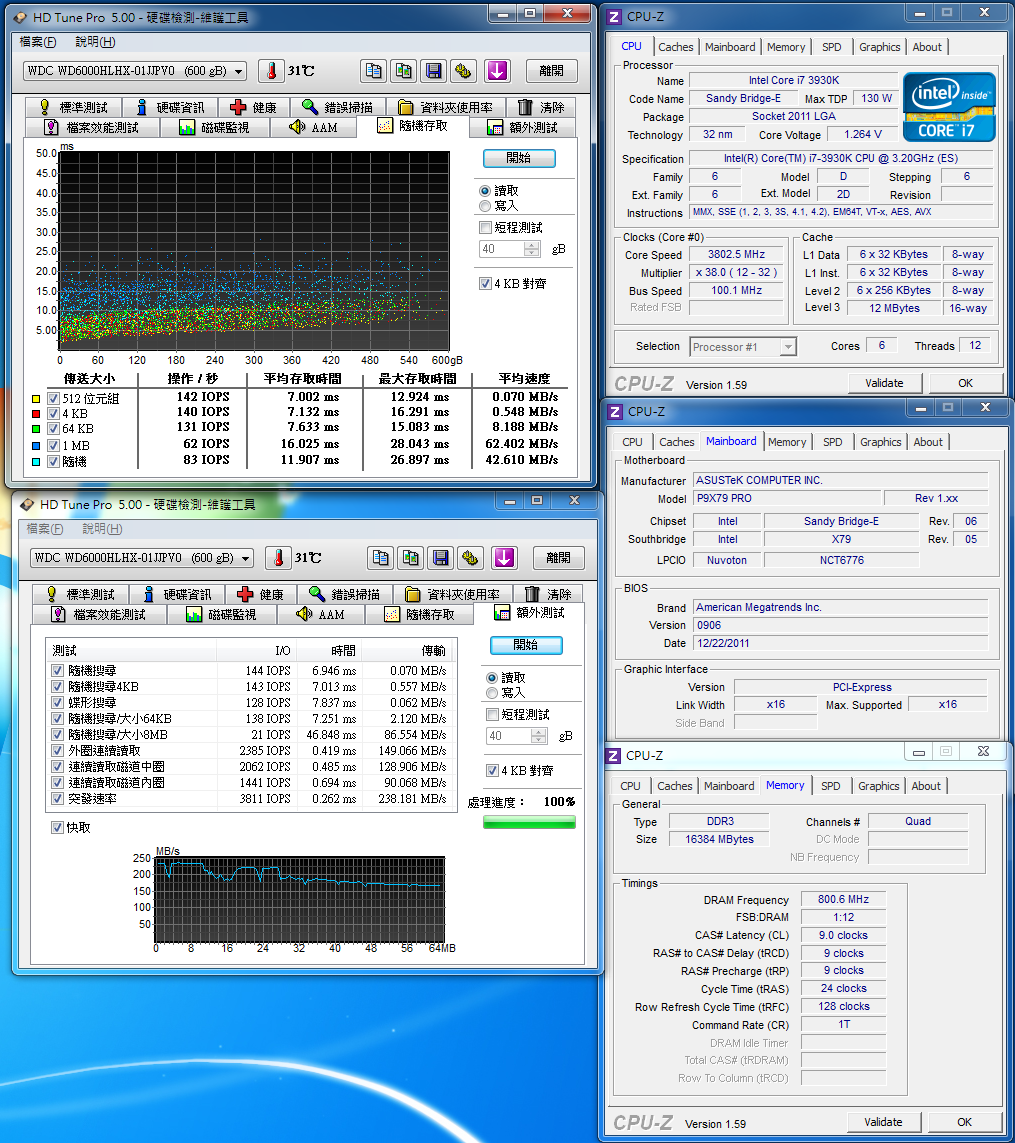
单颗迅猛龙表现
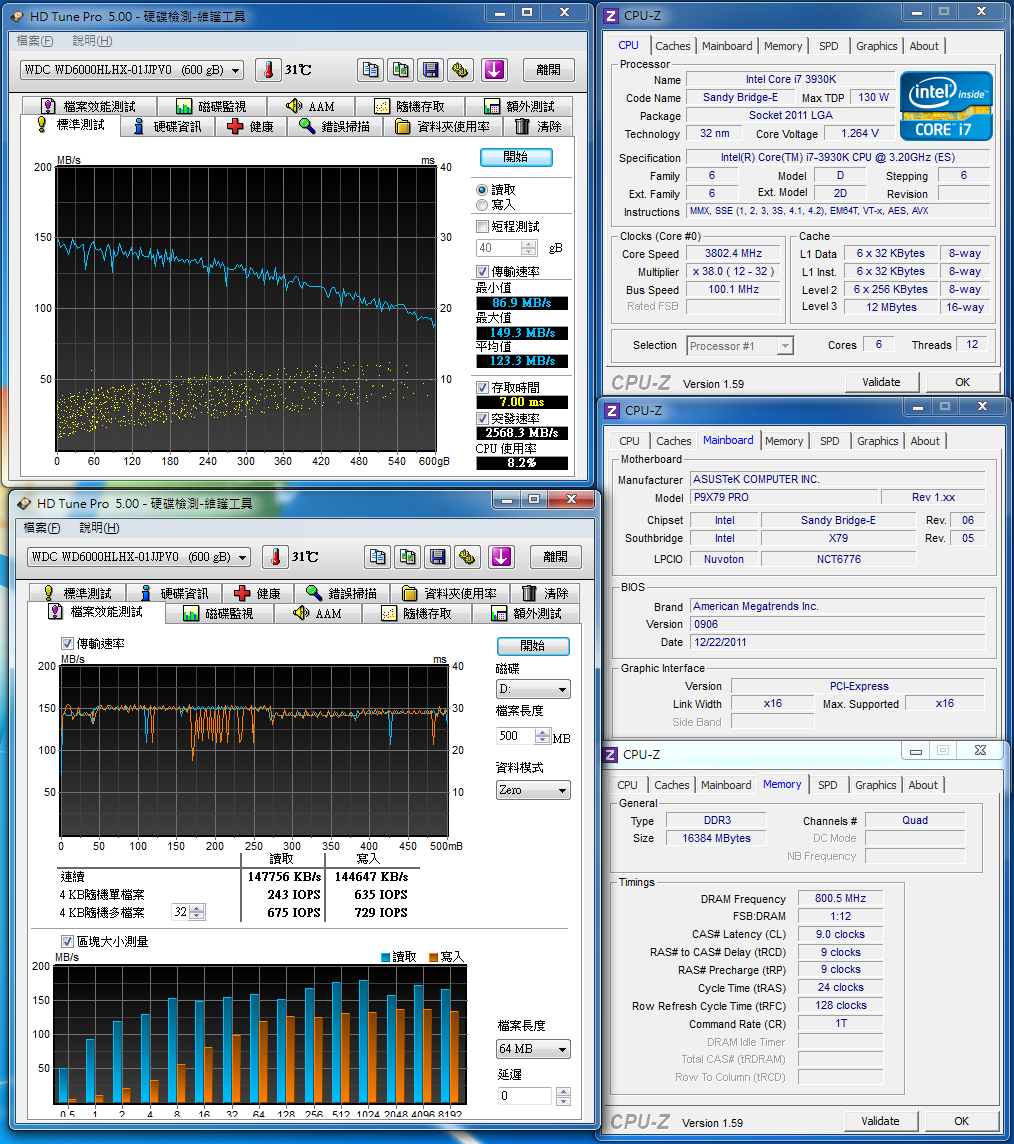
SSD Caching

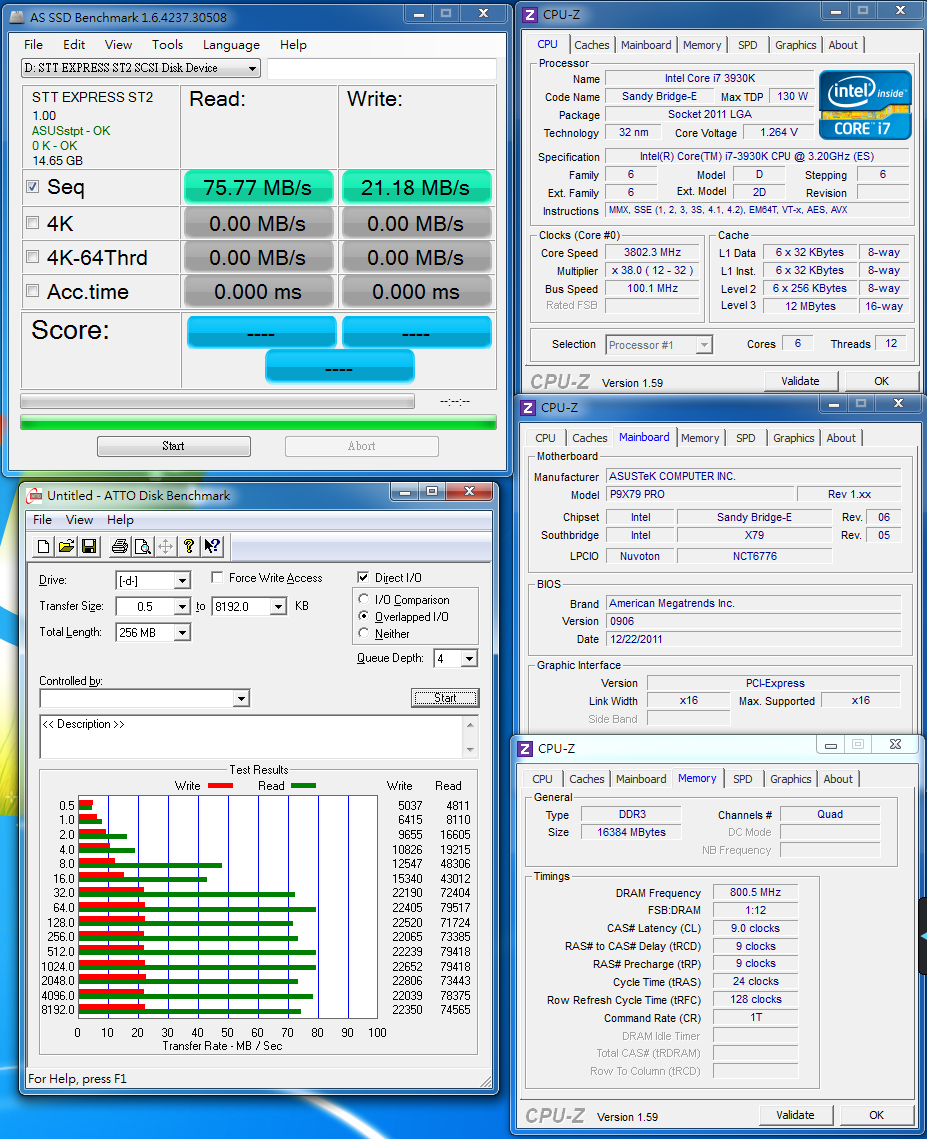
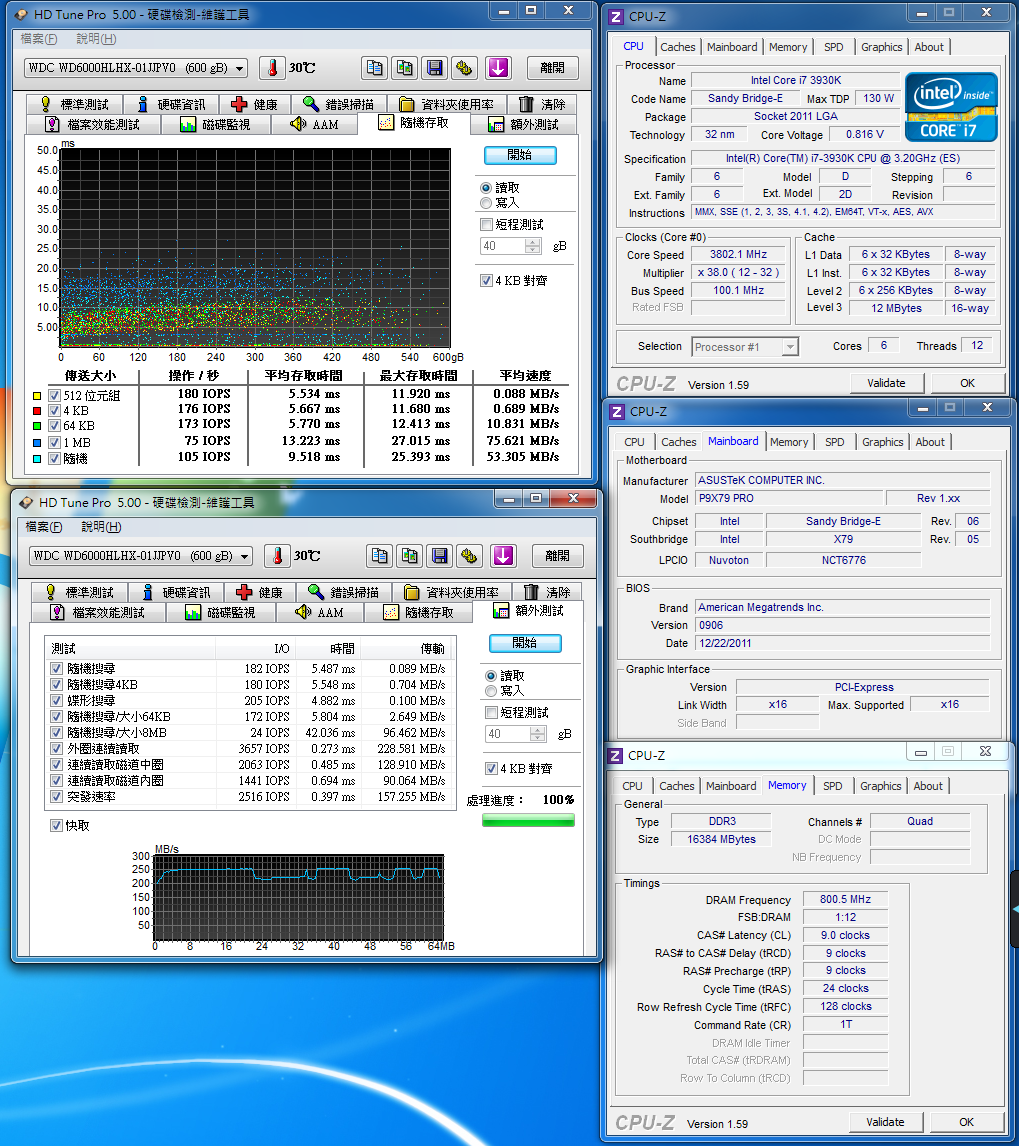
单颗迅猛龙表现
SSD Caching
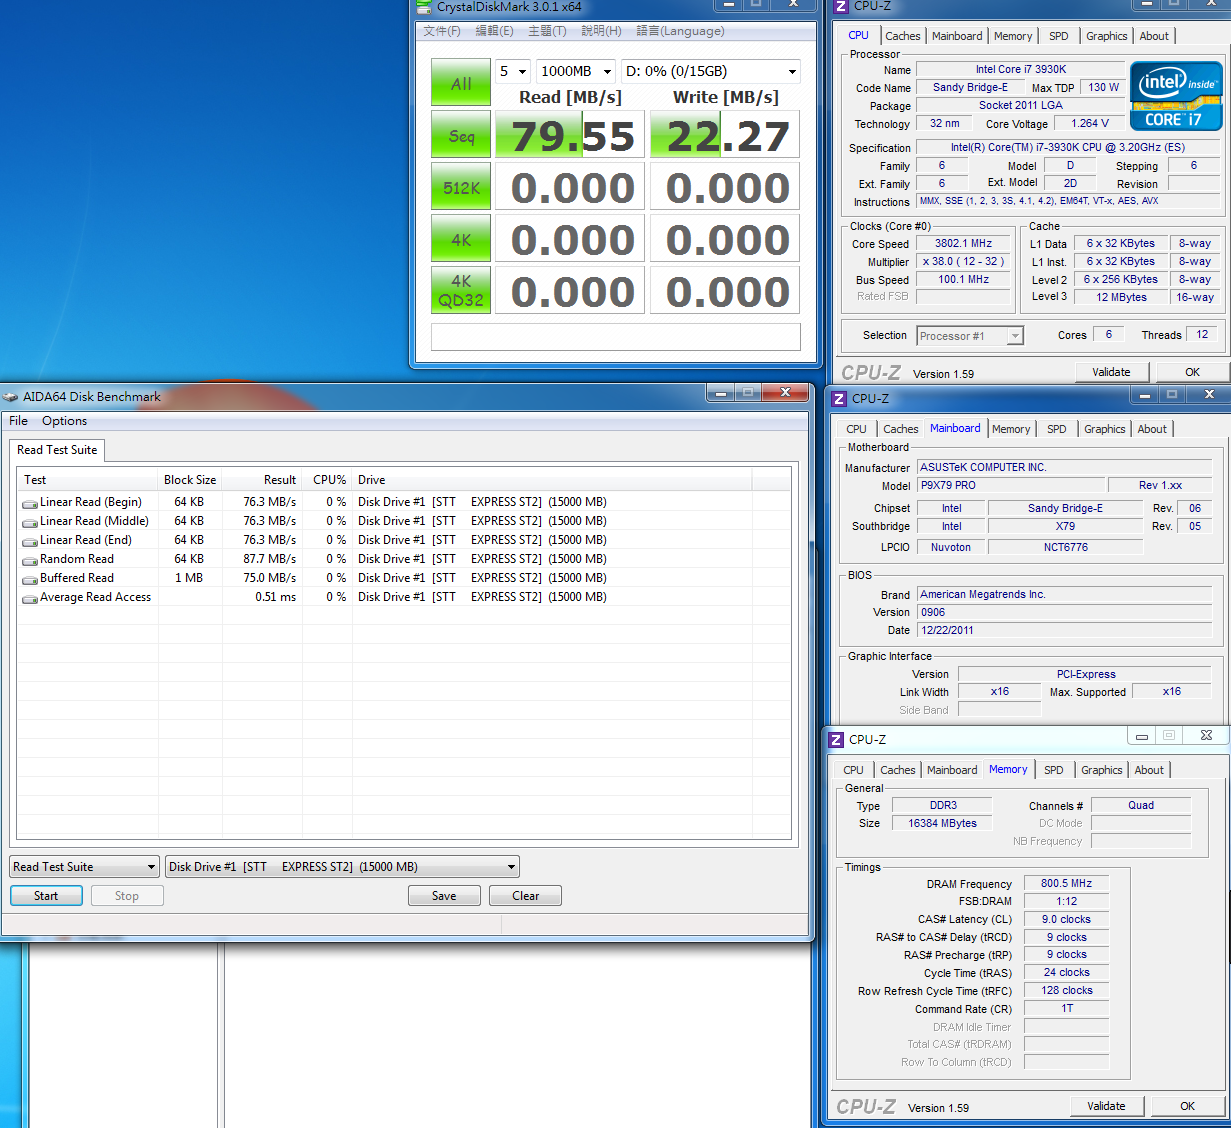
单颗迅猛龙表现
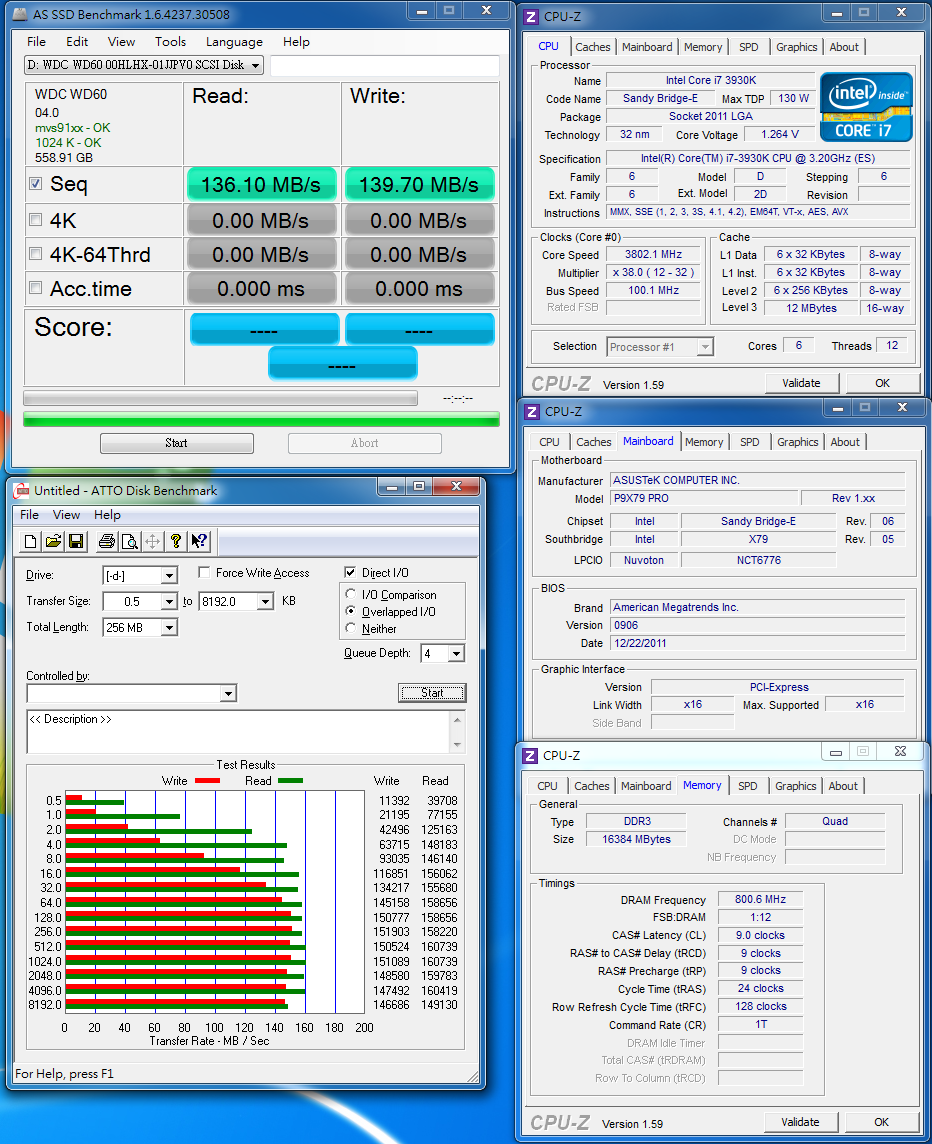
SSD Caching
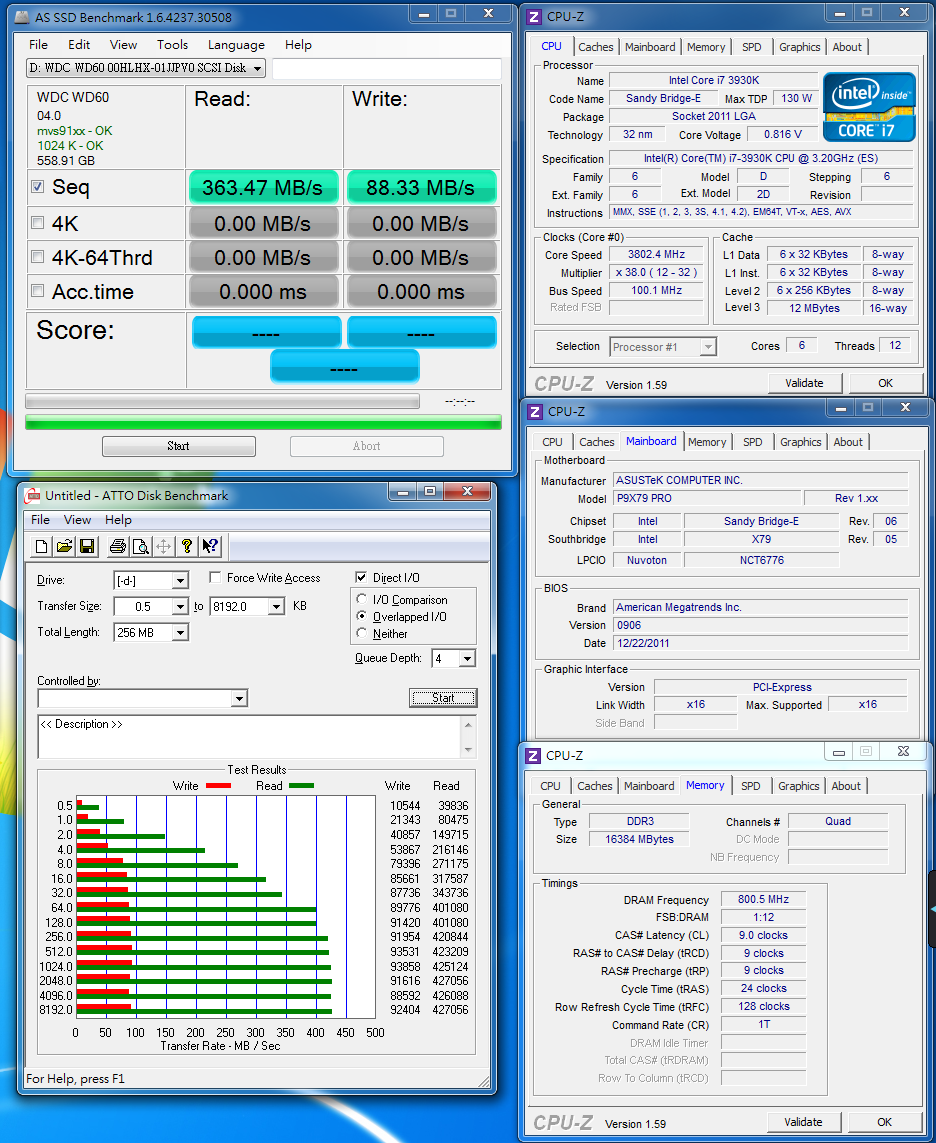
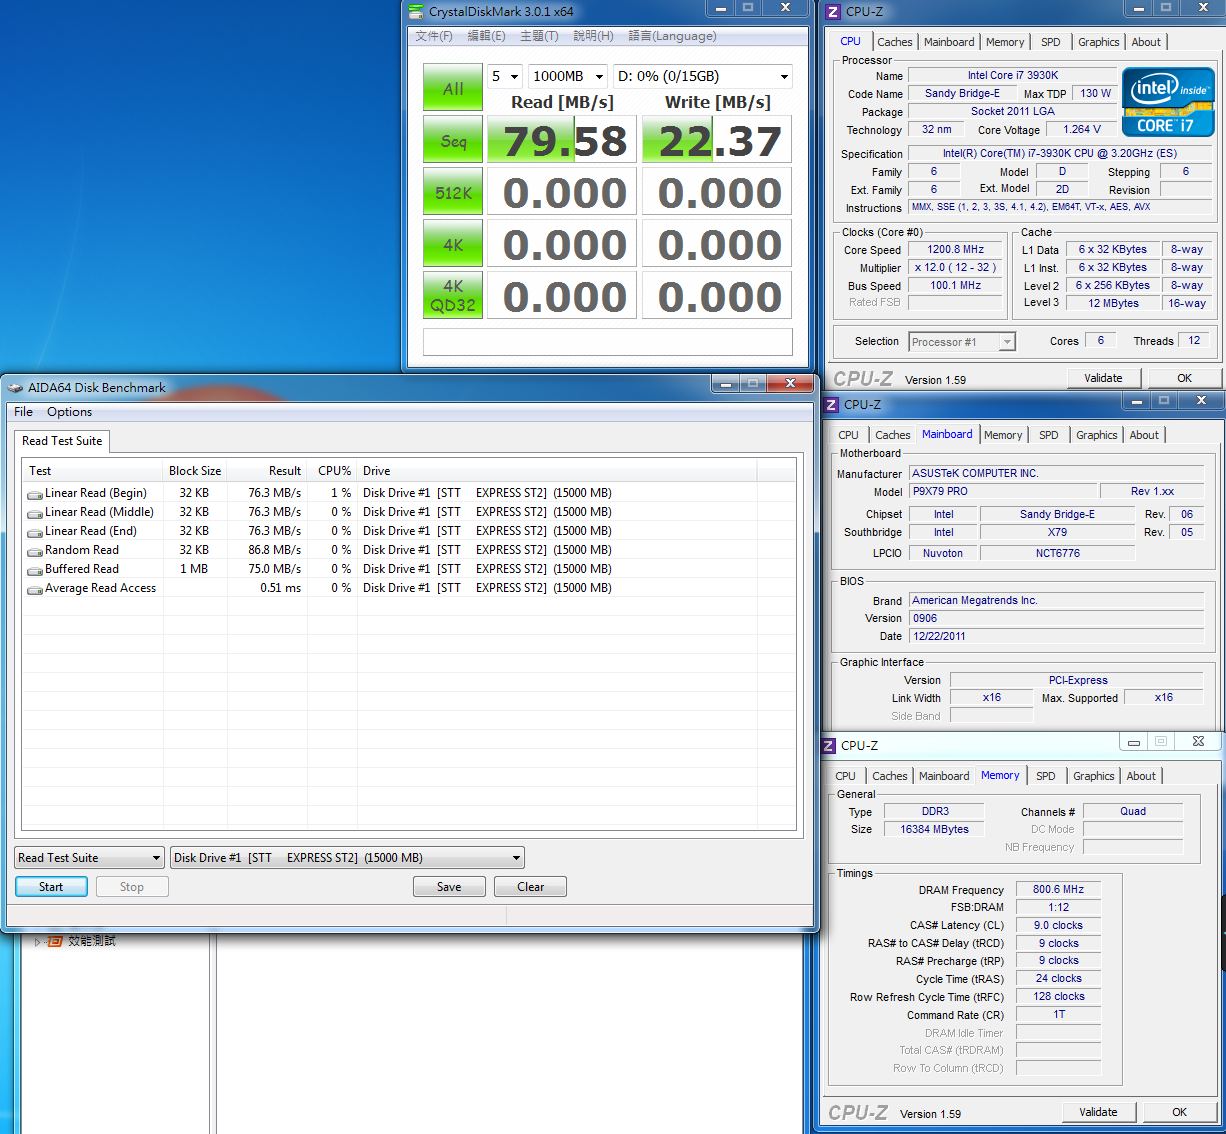
单颗迅猛龙表现
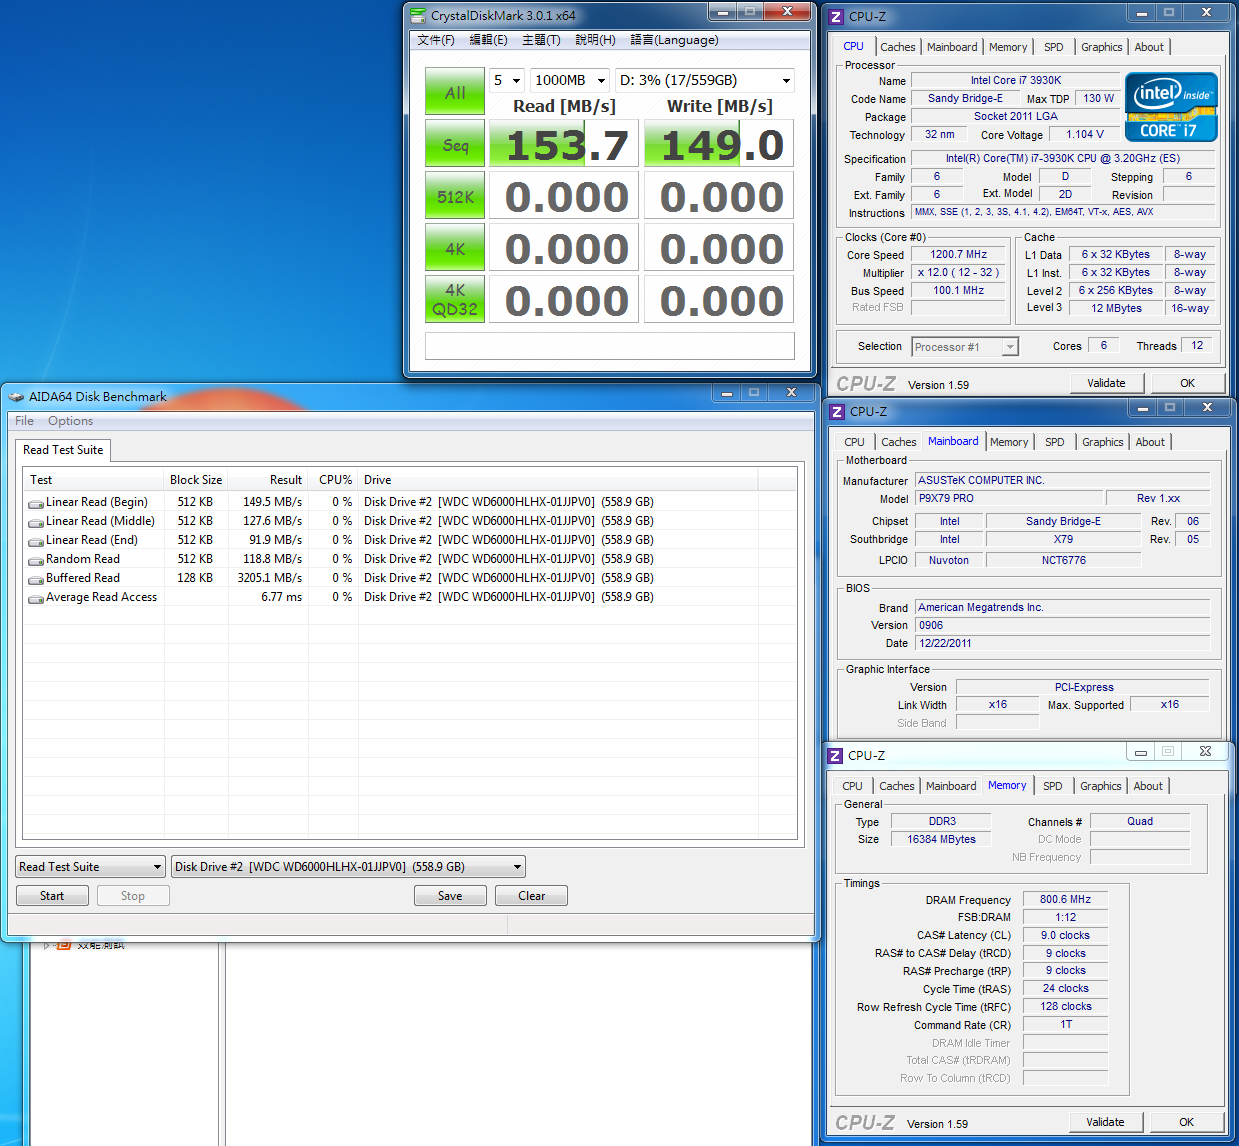
SSD Caching

整体来说效能增加蛮明显的,尤其是读取部分,透过SSD的增益,让效能暴增不少,
写入部分则囿于硬碟本身的写入效能并无太大的效果。
[page]p[/page][title] BIOS介面 [/title]
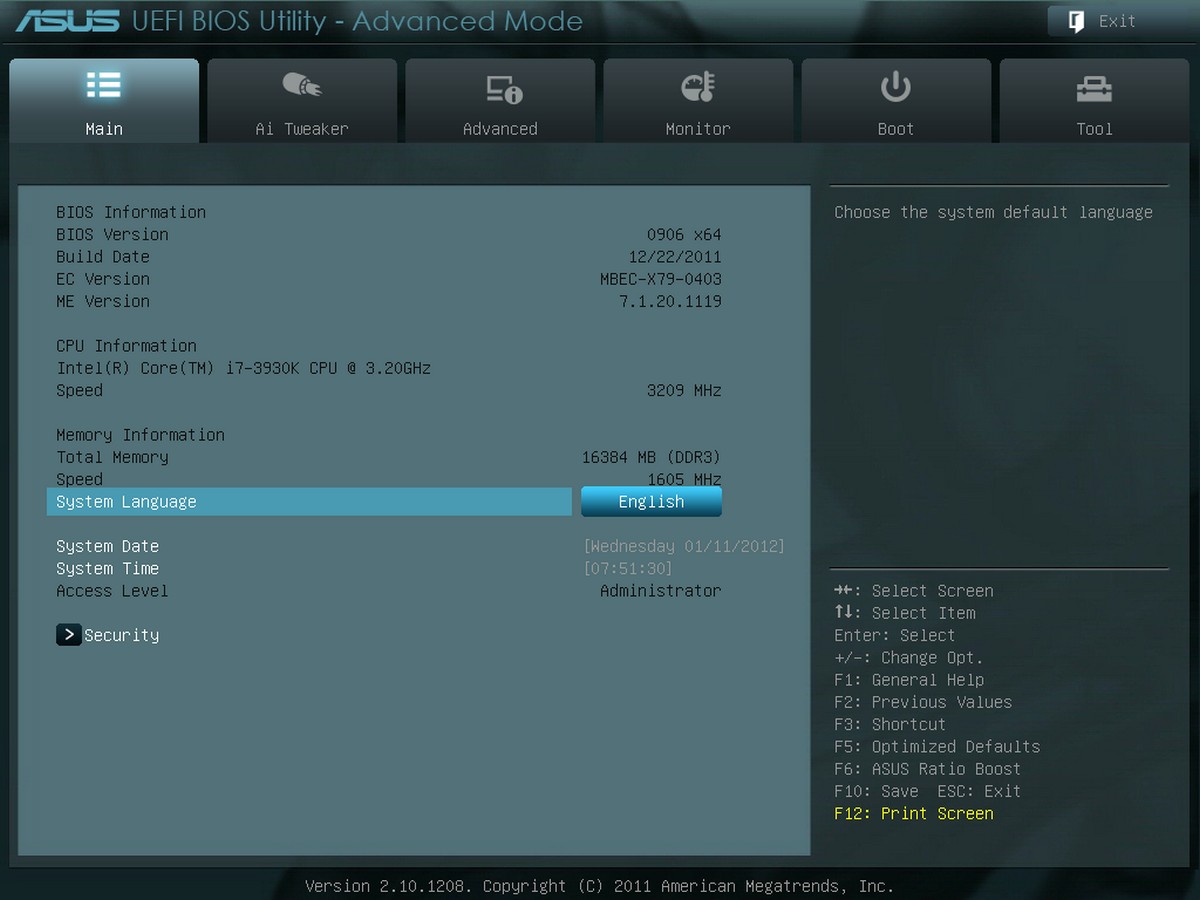
BIOS的相关图片
系统资讯
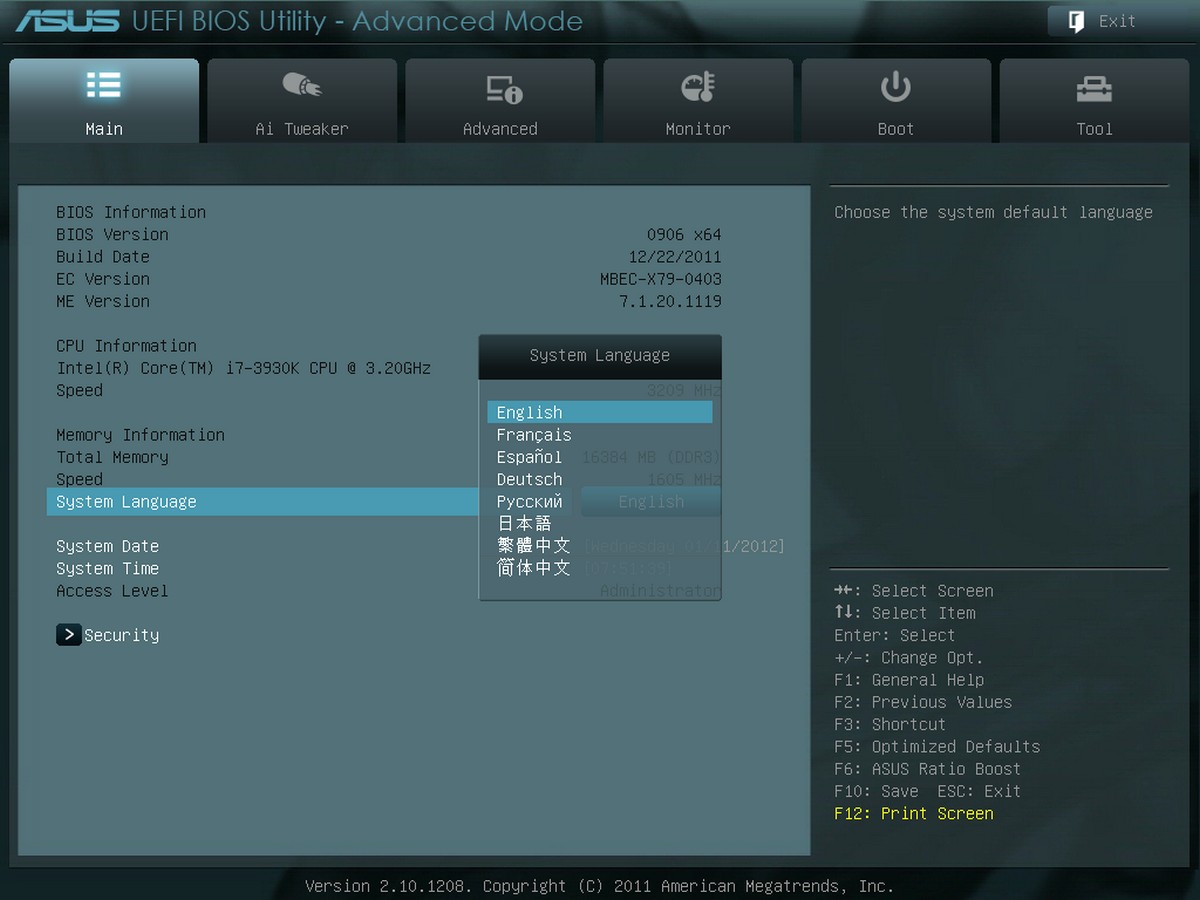
多国语言
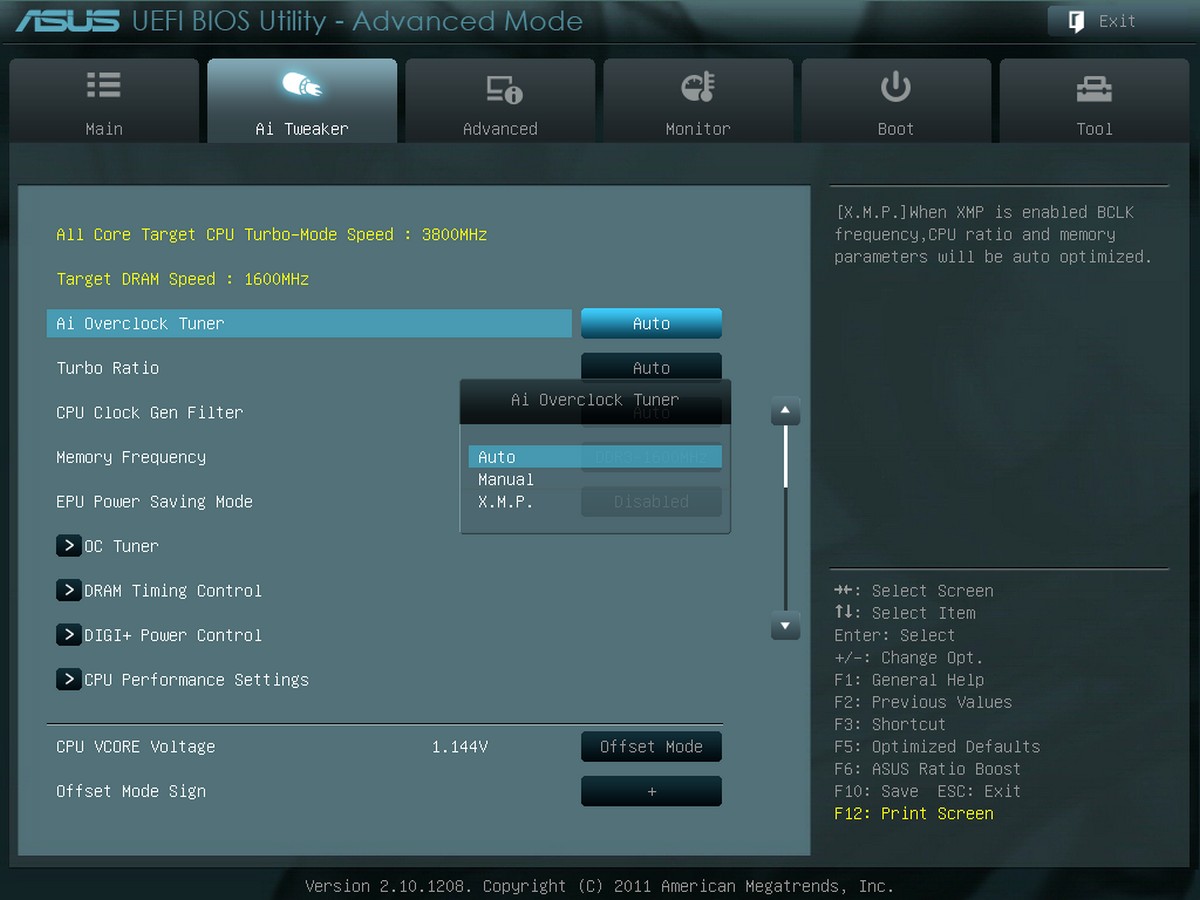
AiTweaker设定选单
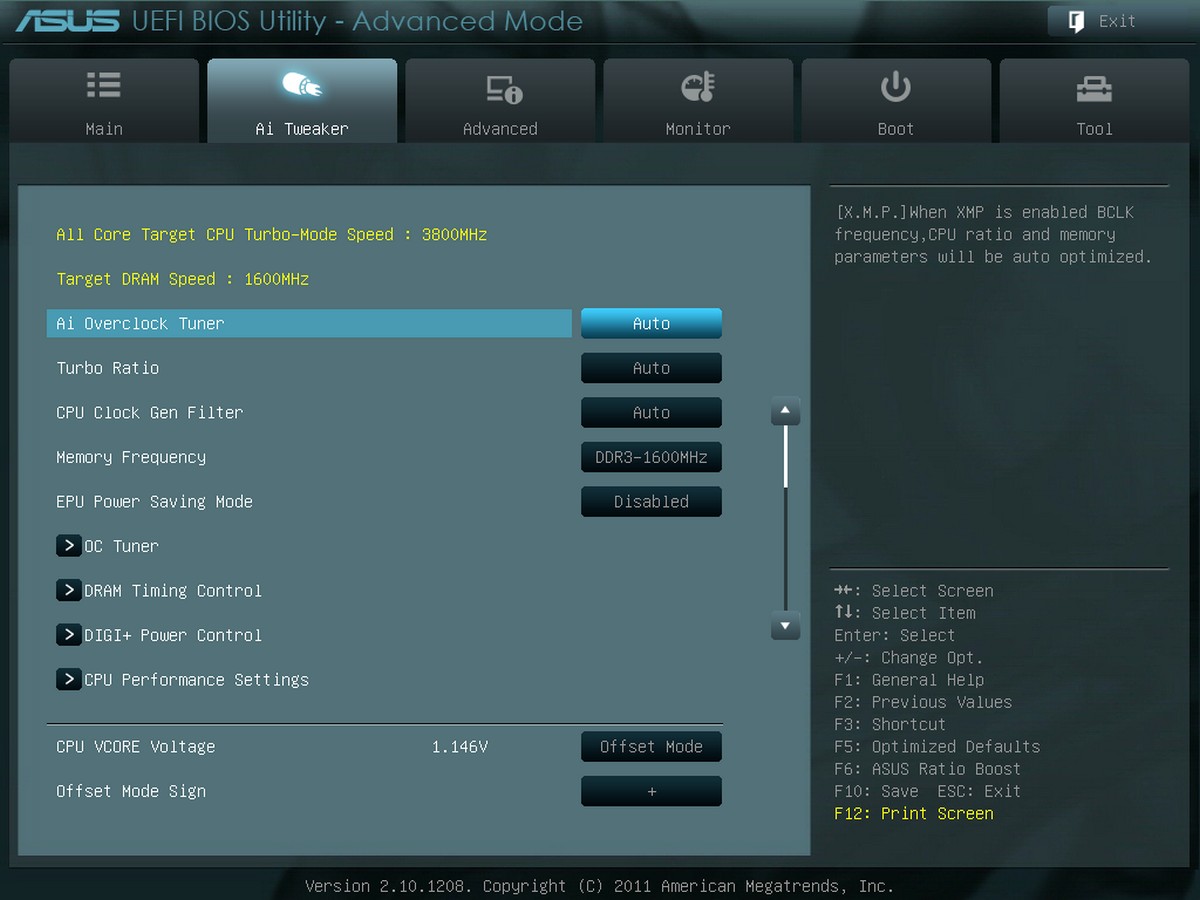
超频模式的调整,有关超频选项几乎都在这个页面设定就能搞定。
Ai Overclock Tuner
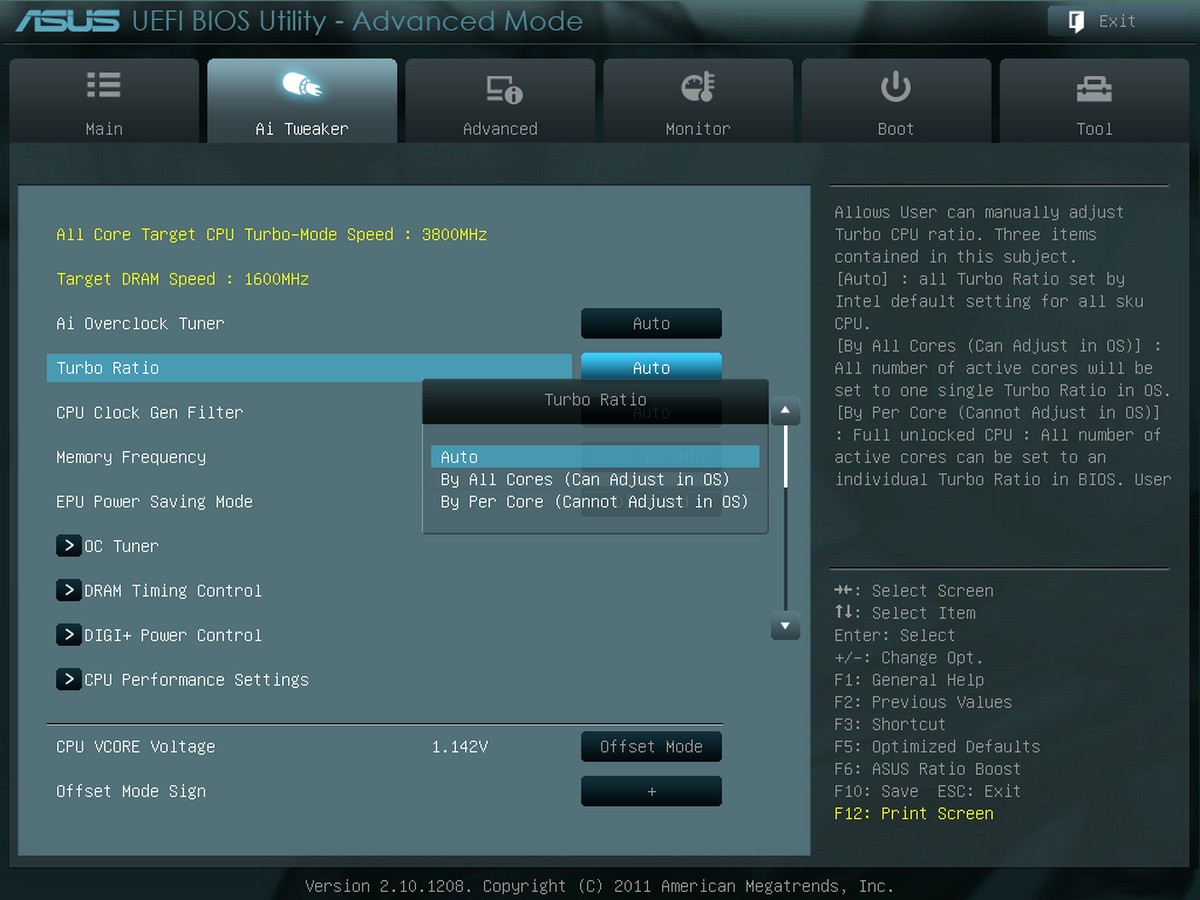
Turbo Ratio
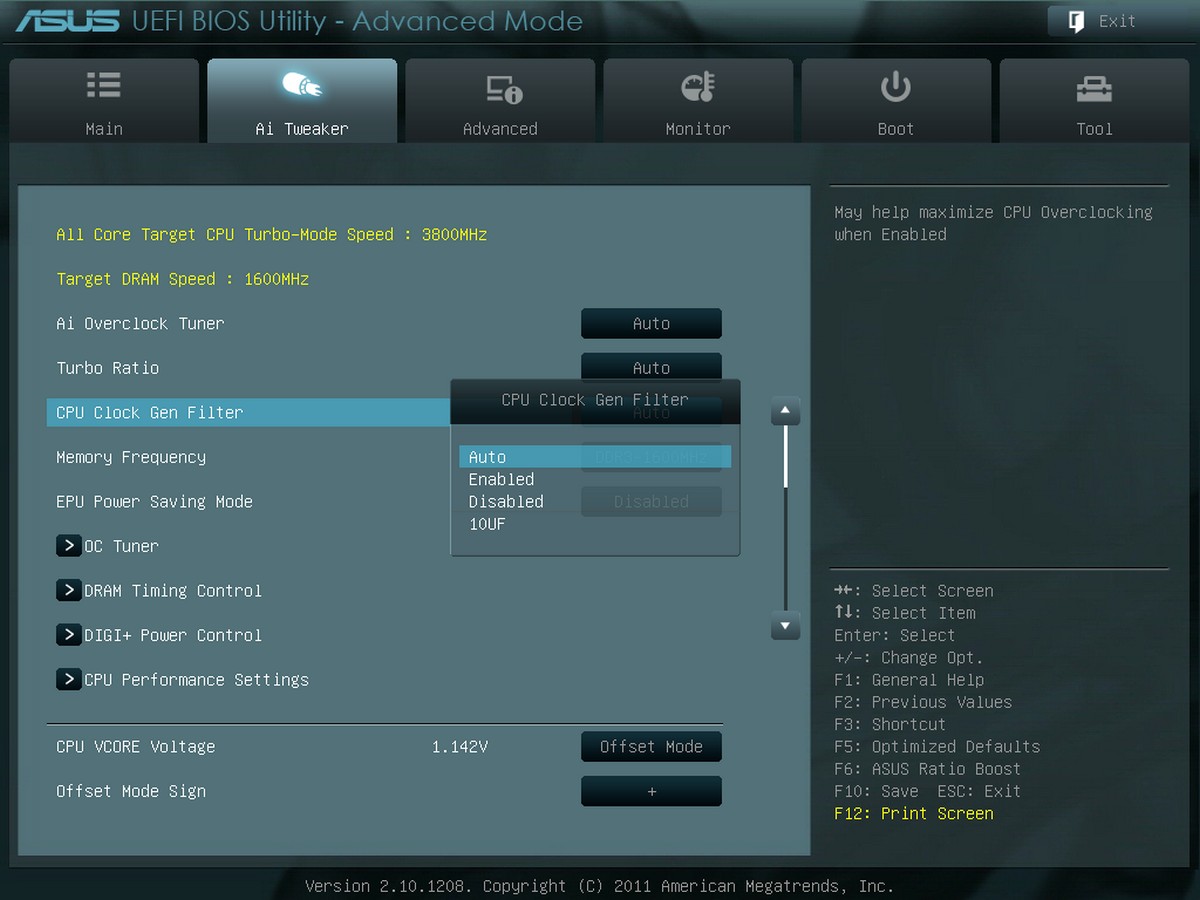
CPU Clock Gen Filter
记忆体除频设定
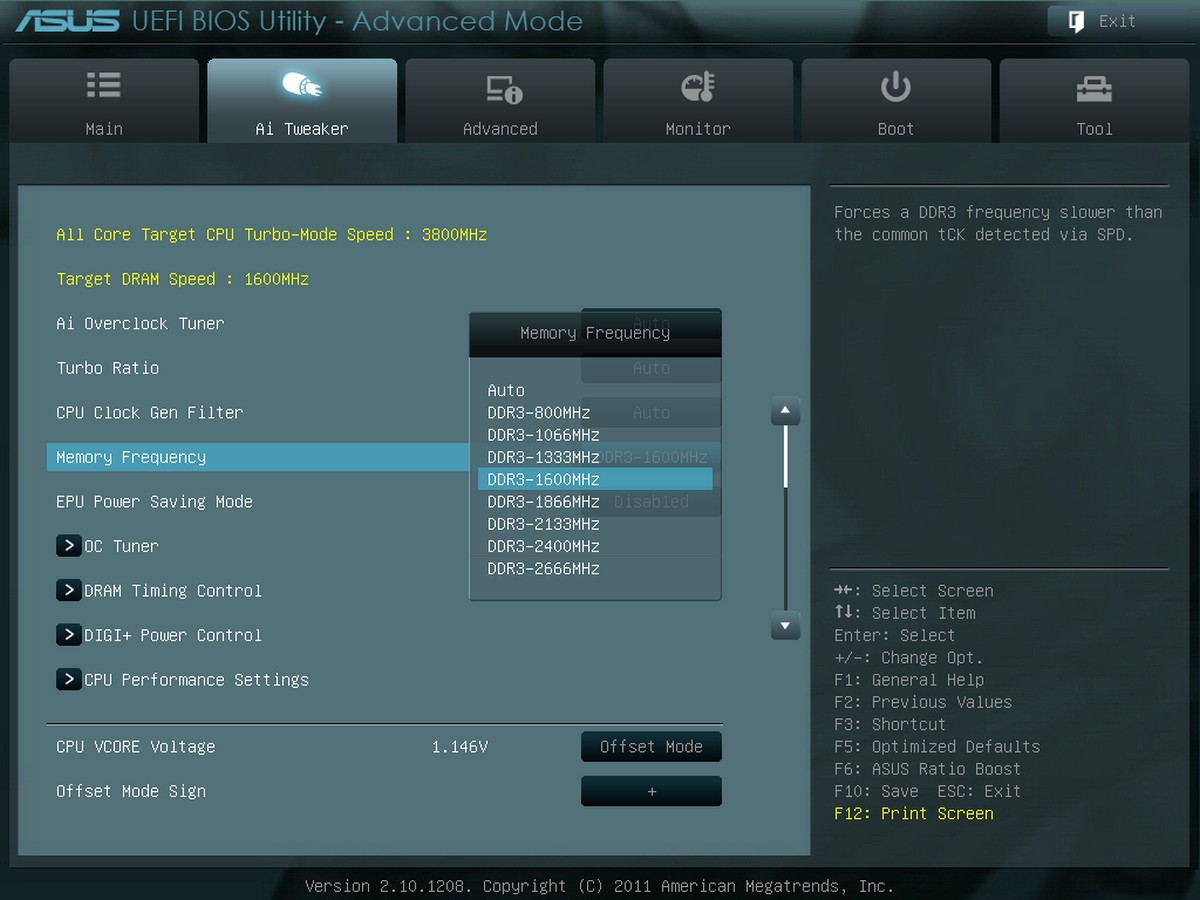
调整范围从800、1066、1333、1600、1866、2133、2400等,最高可以设定到DDR3 2466。
EPU Power Saving Mode
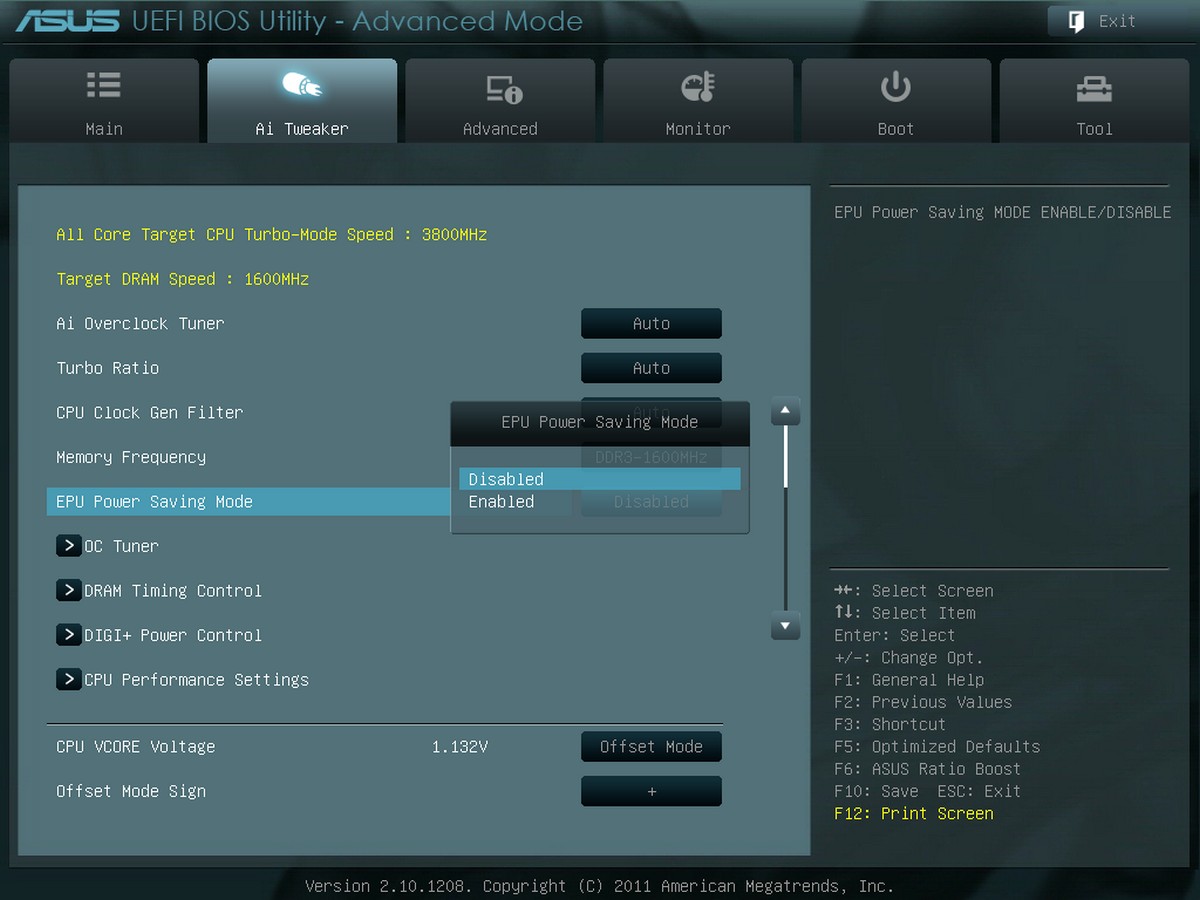
EPU省电模式开启于否。
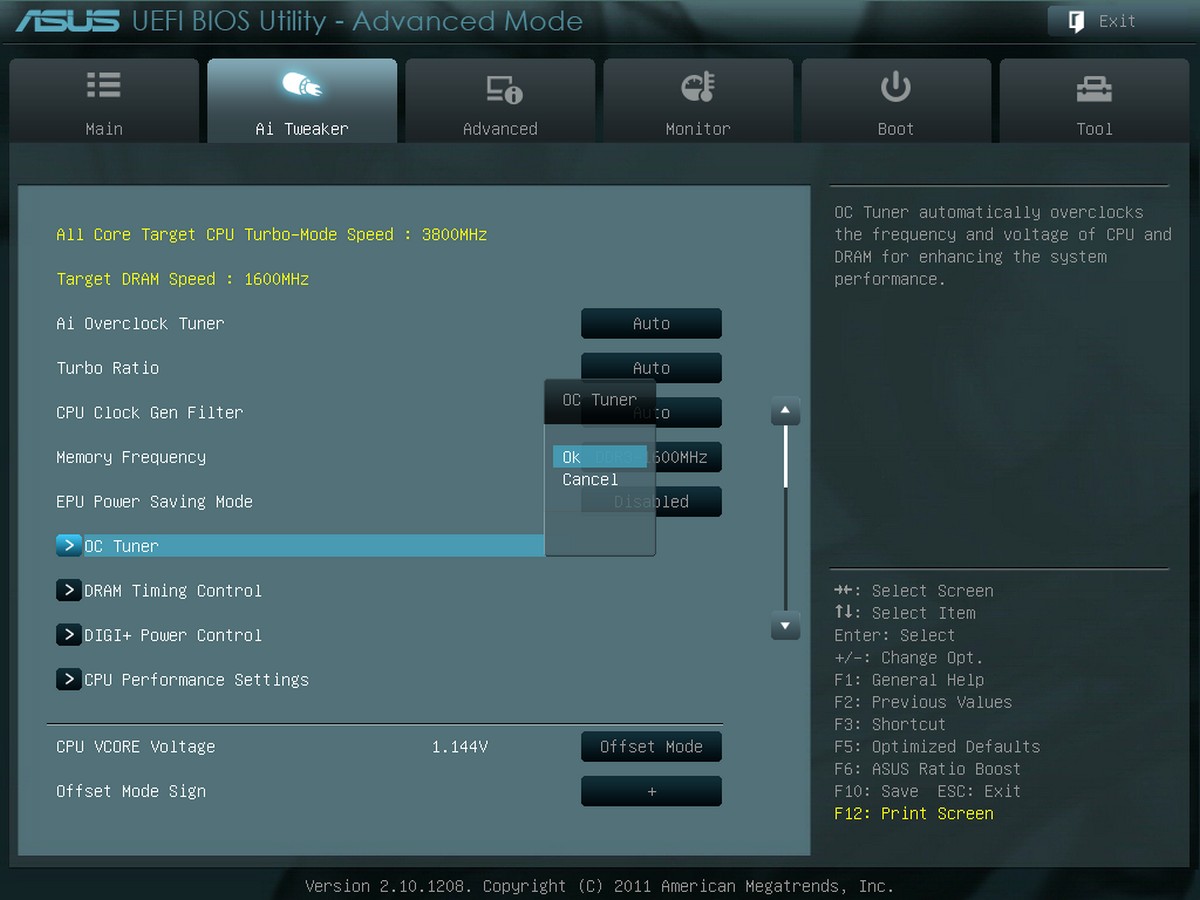
OC Tuner
记忆体相关参数设定
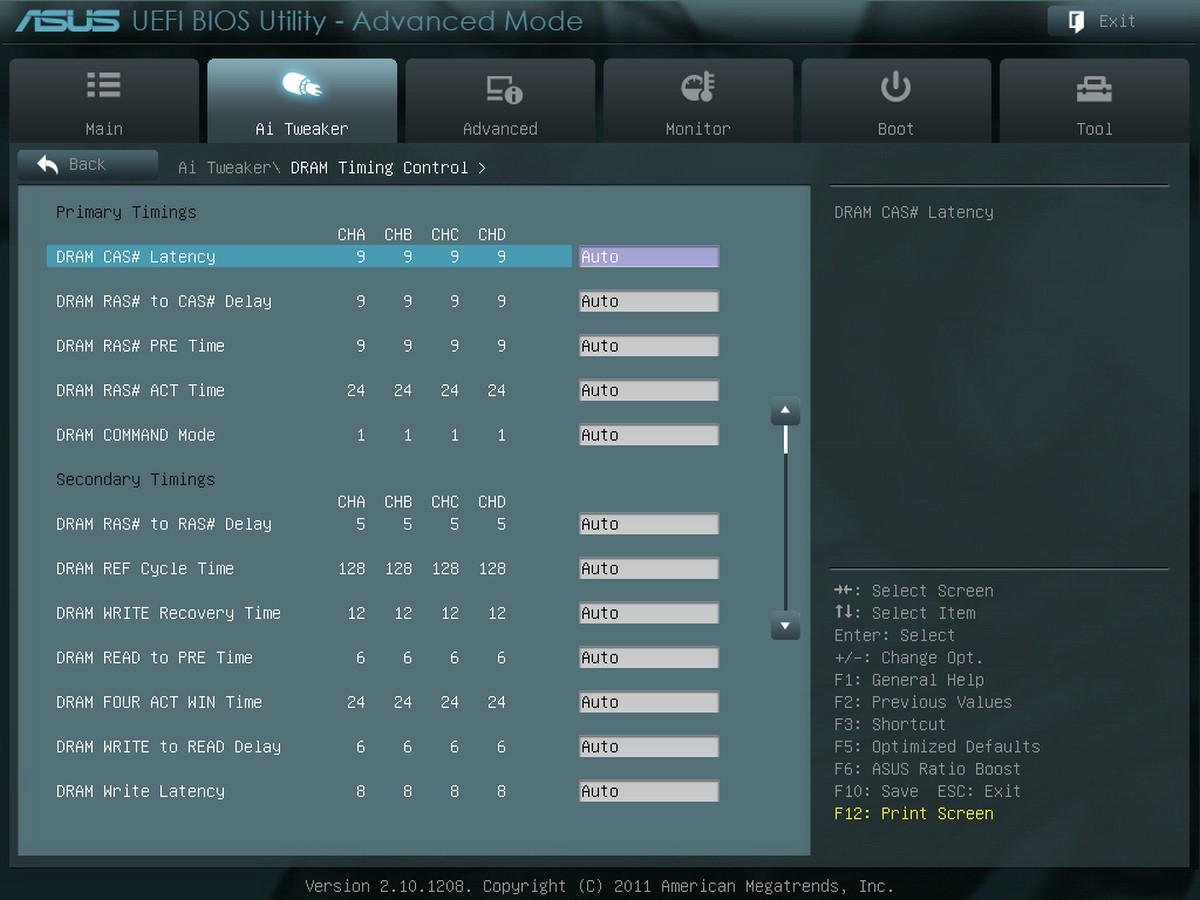
相当完整的调整范围。
数位电源供电设定

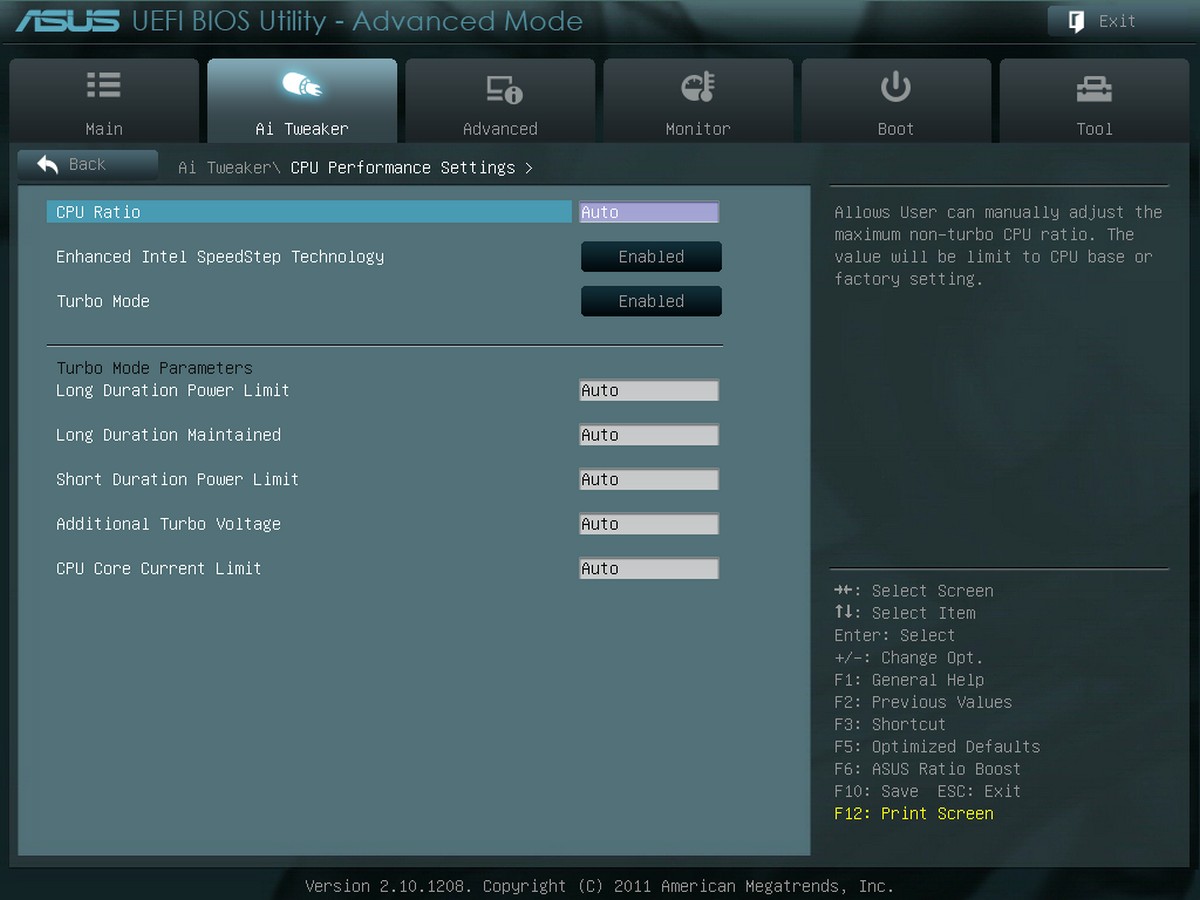
CPU效能设定
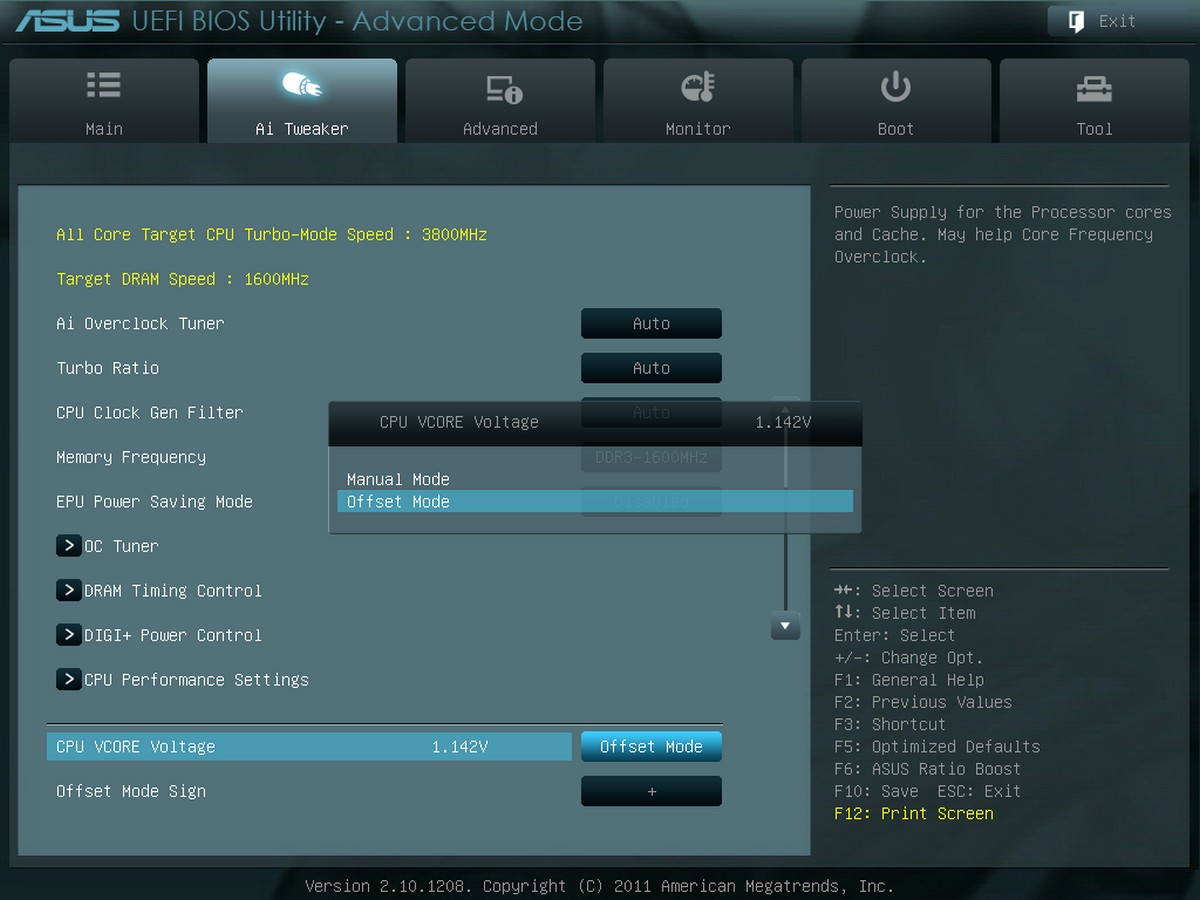
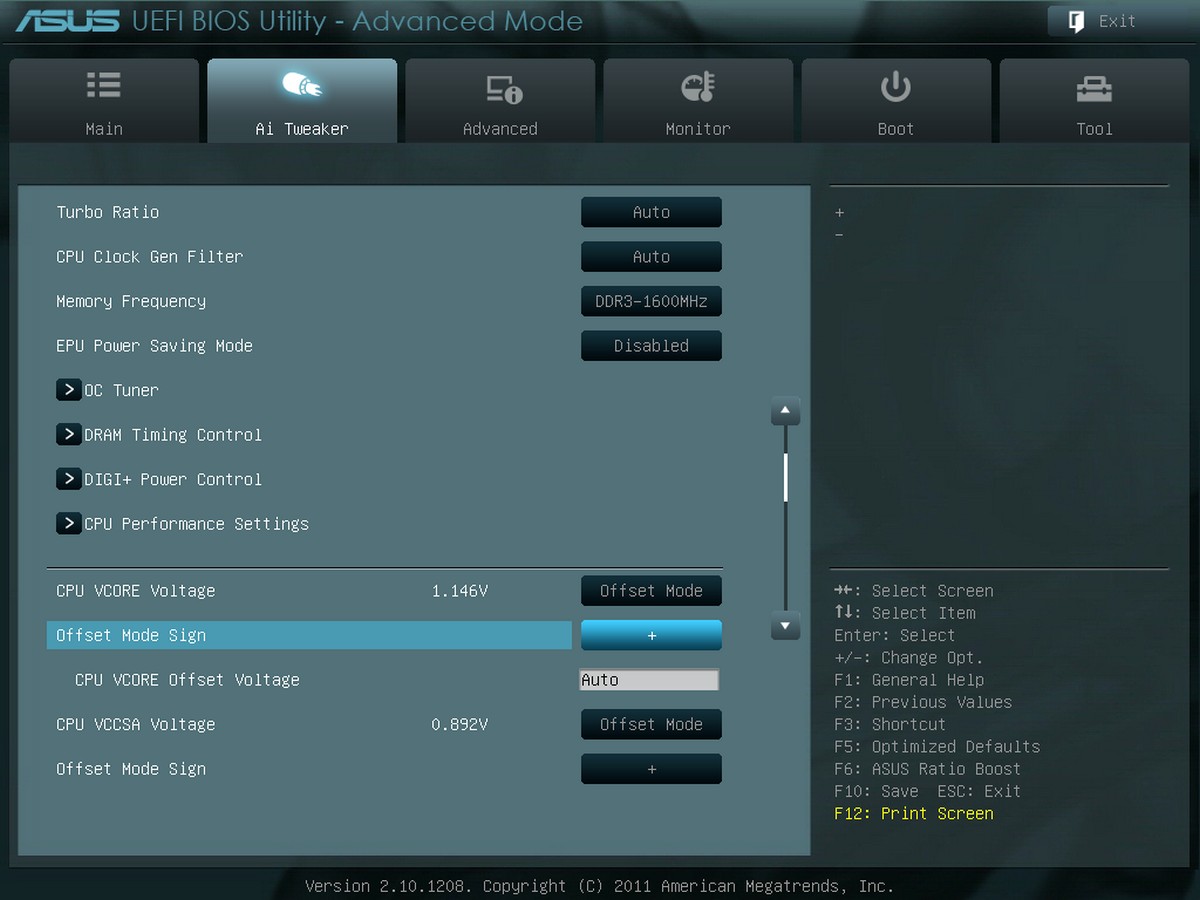
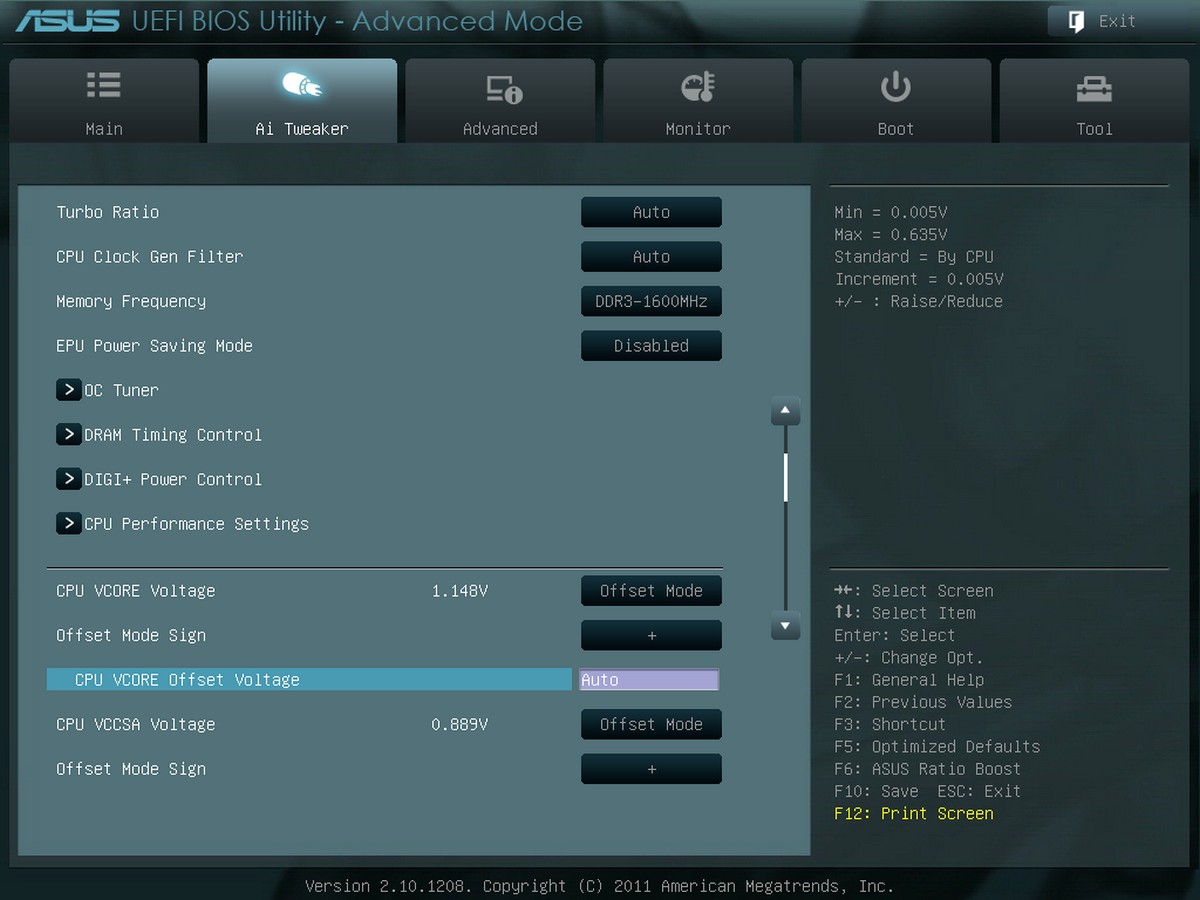
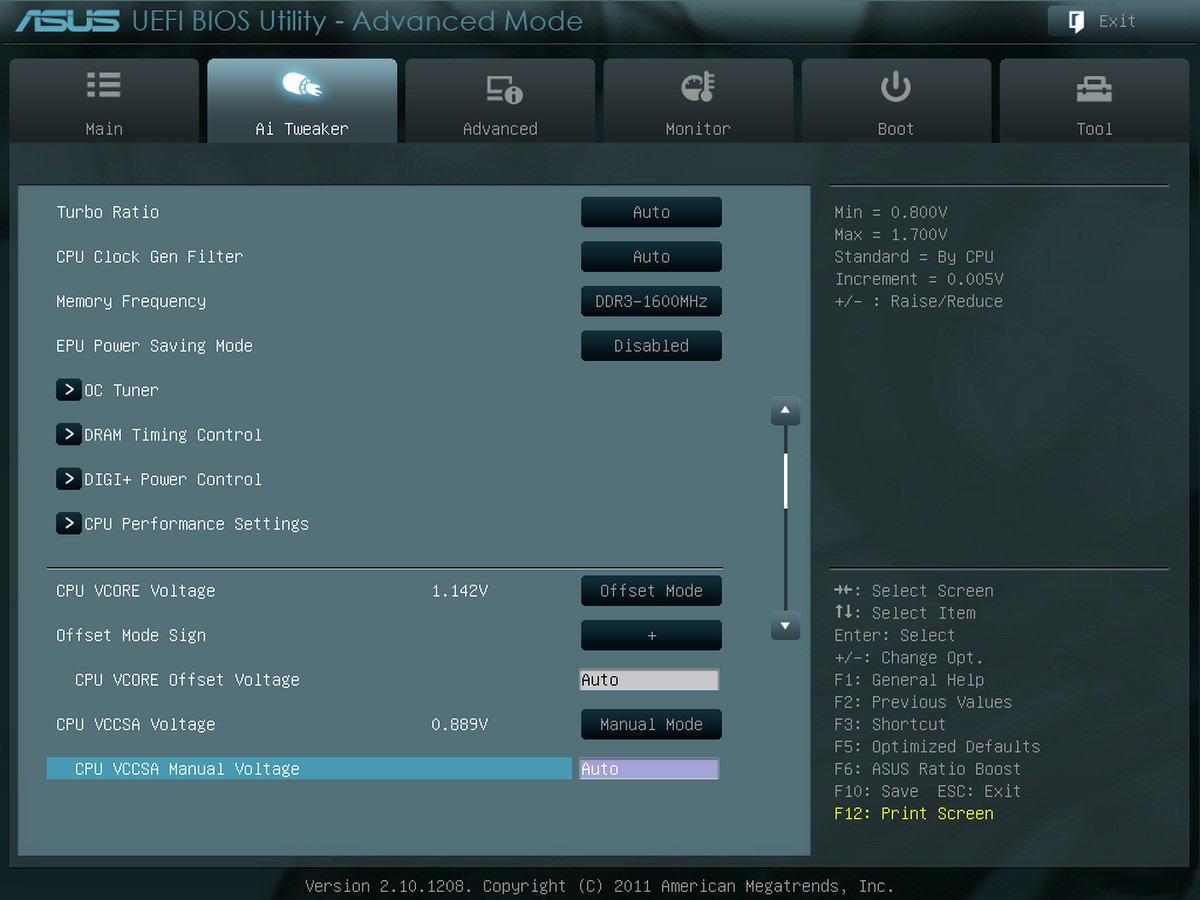
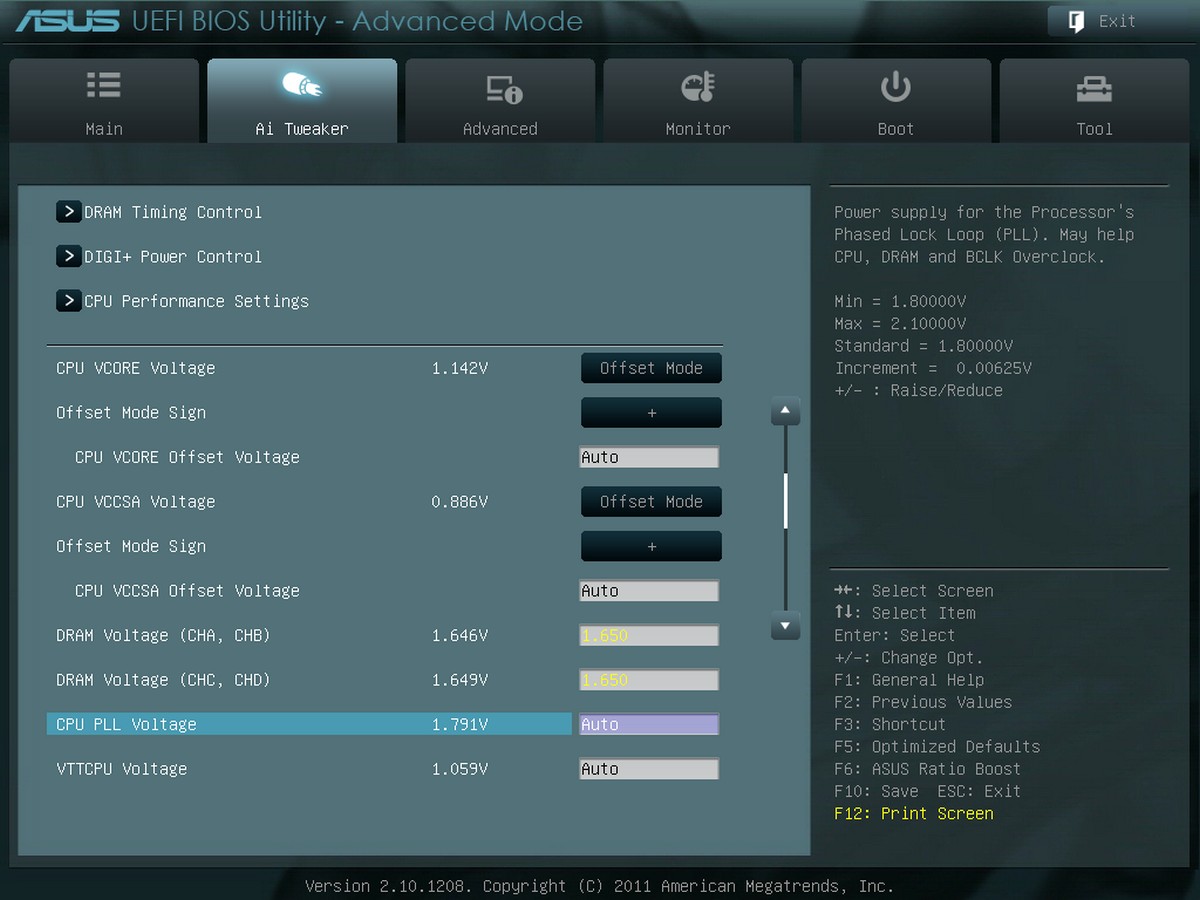
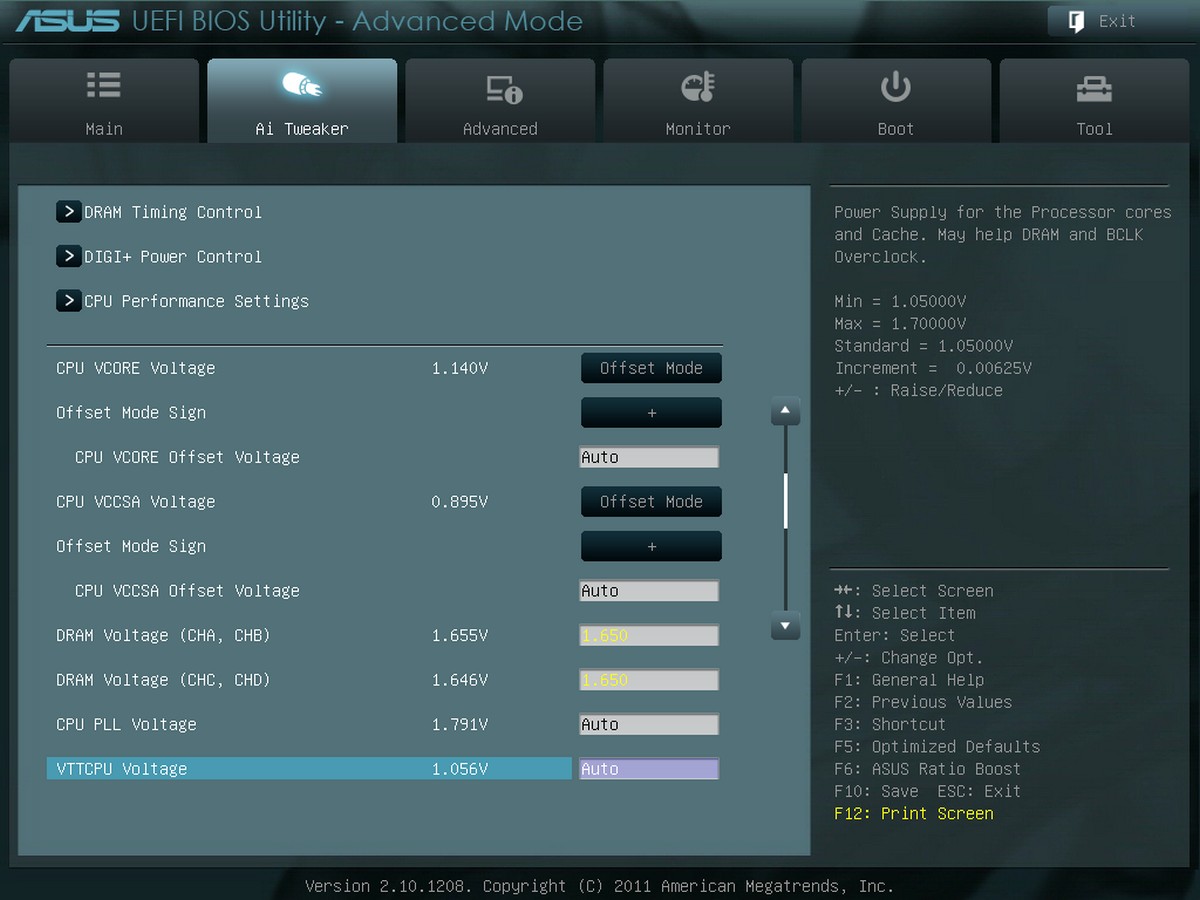
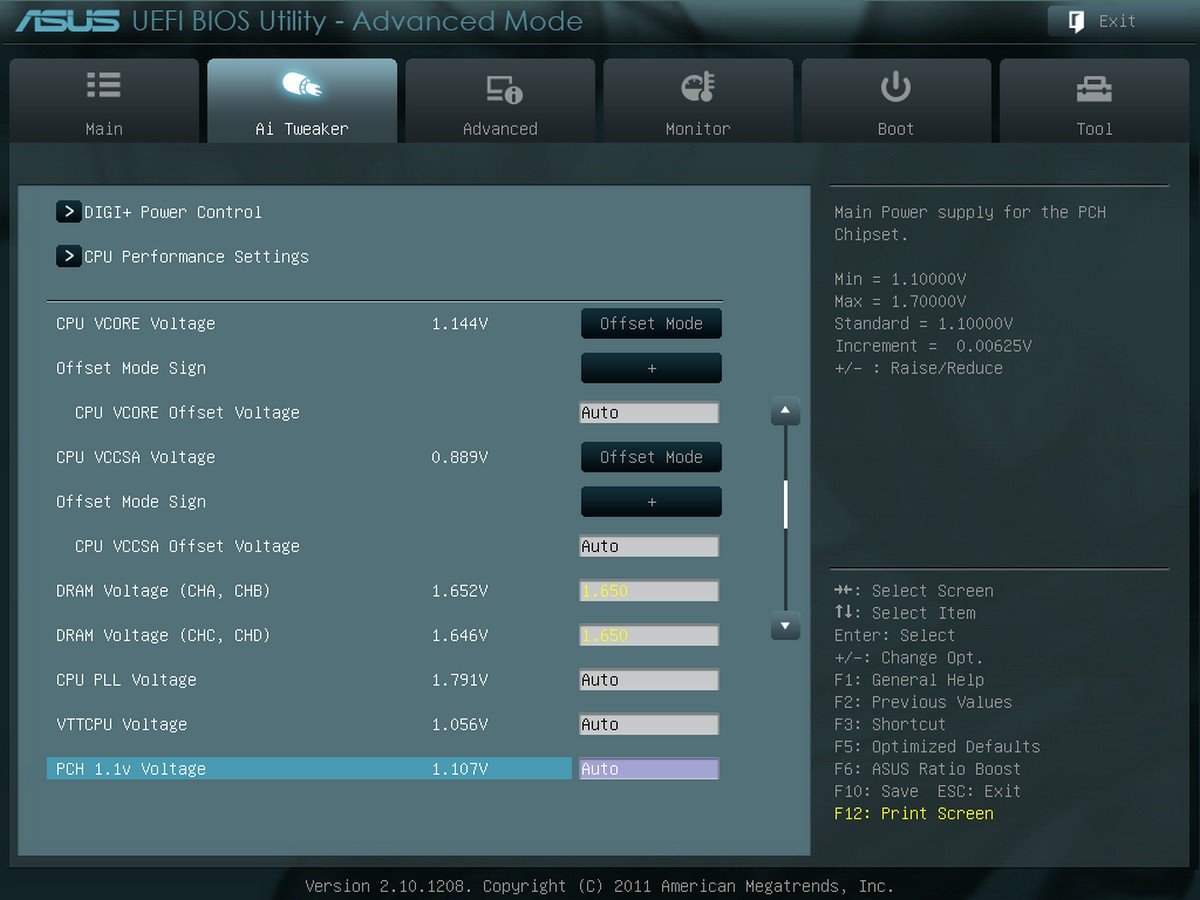
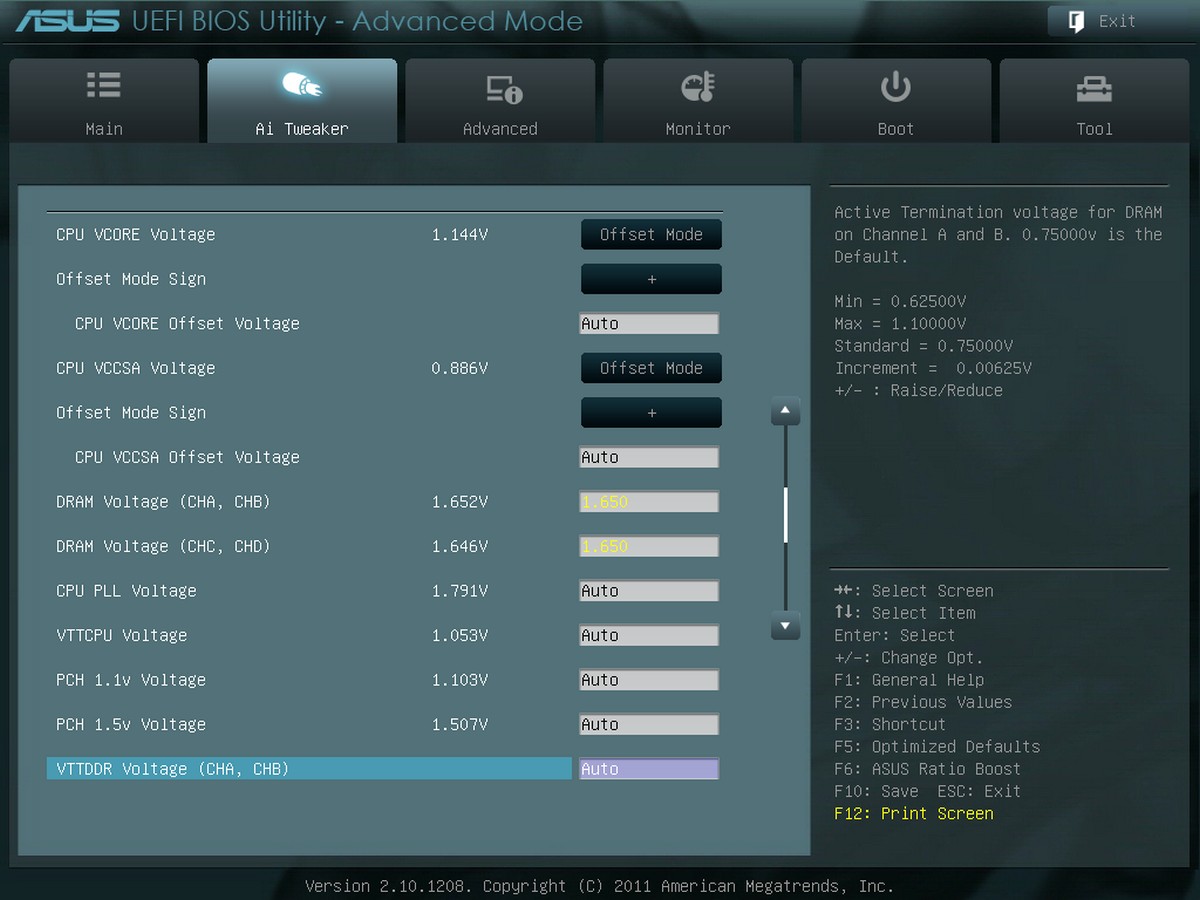
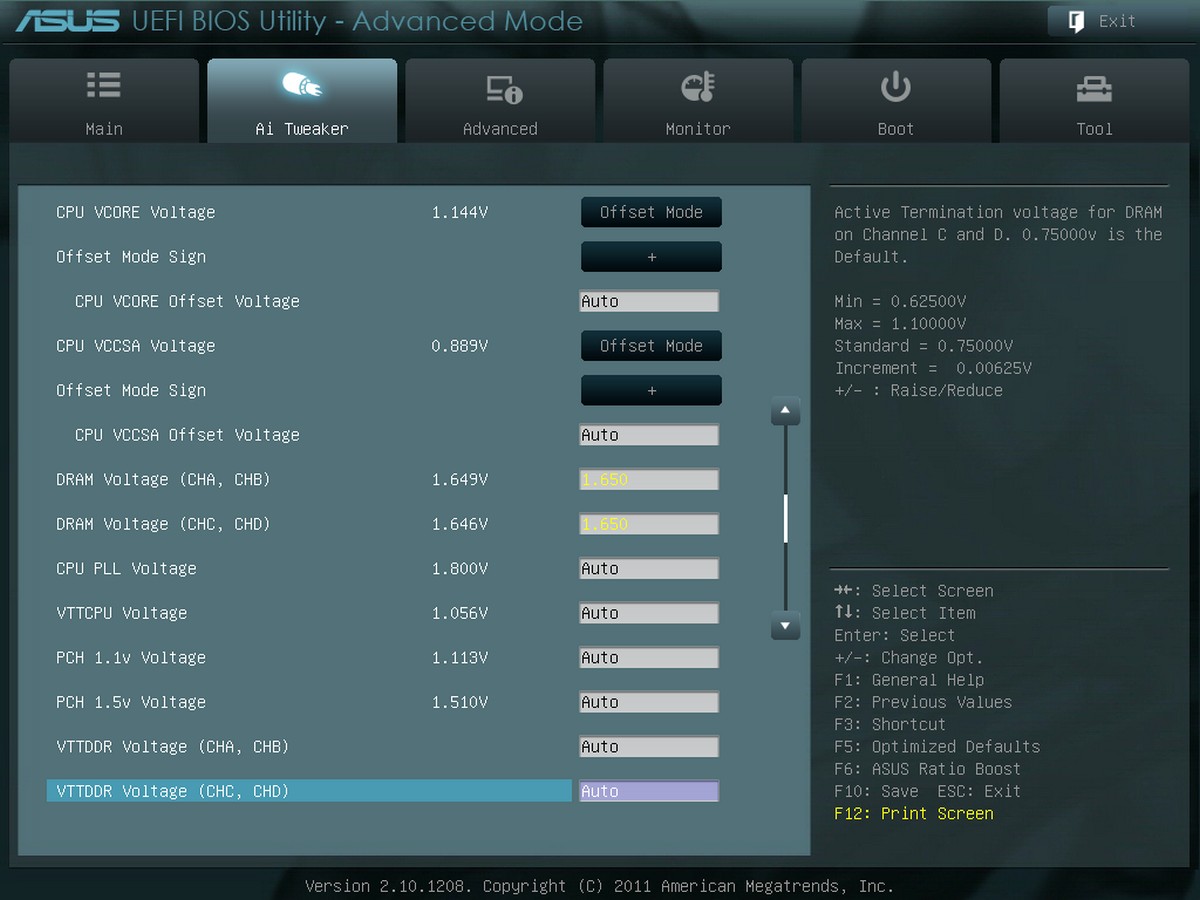
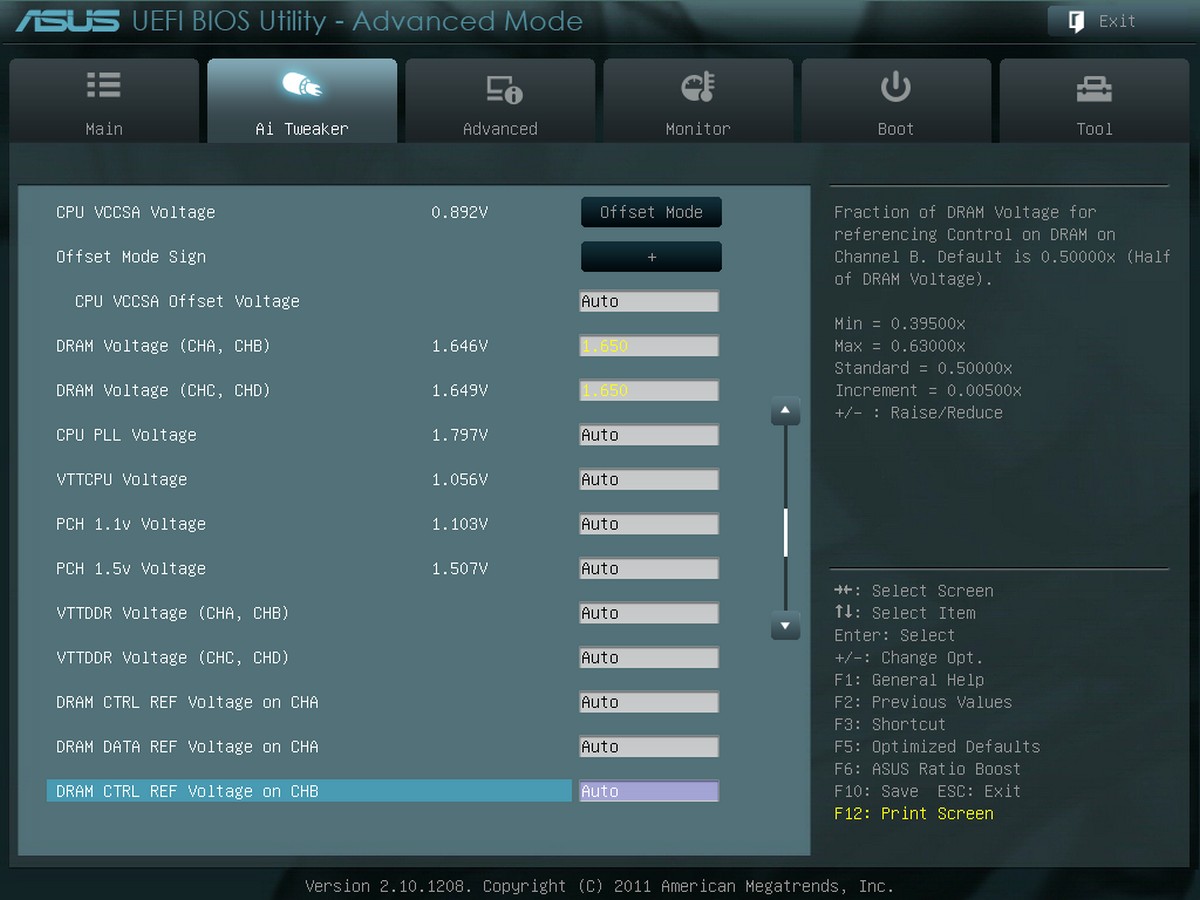
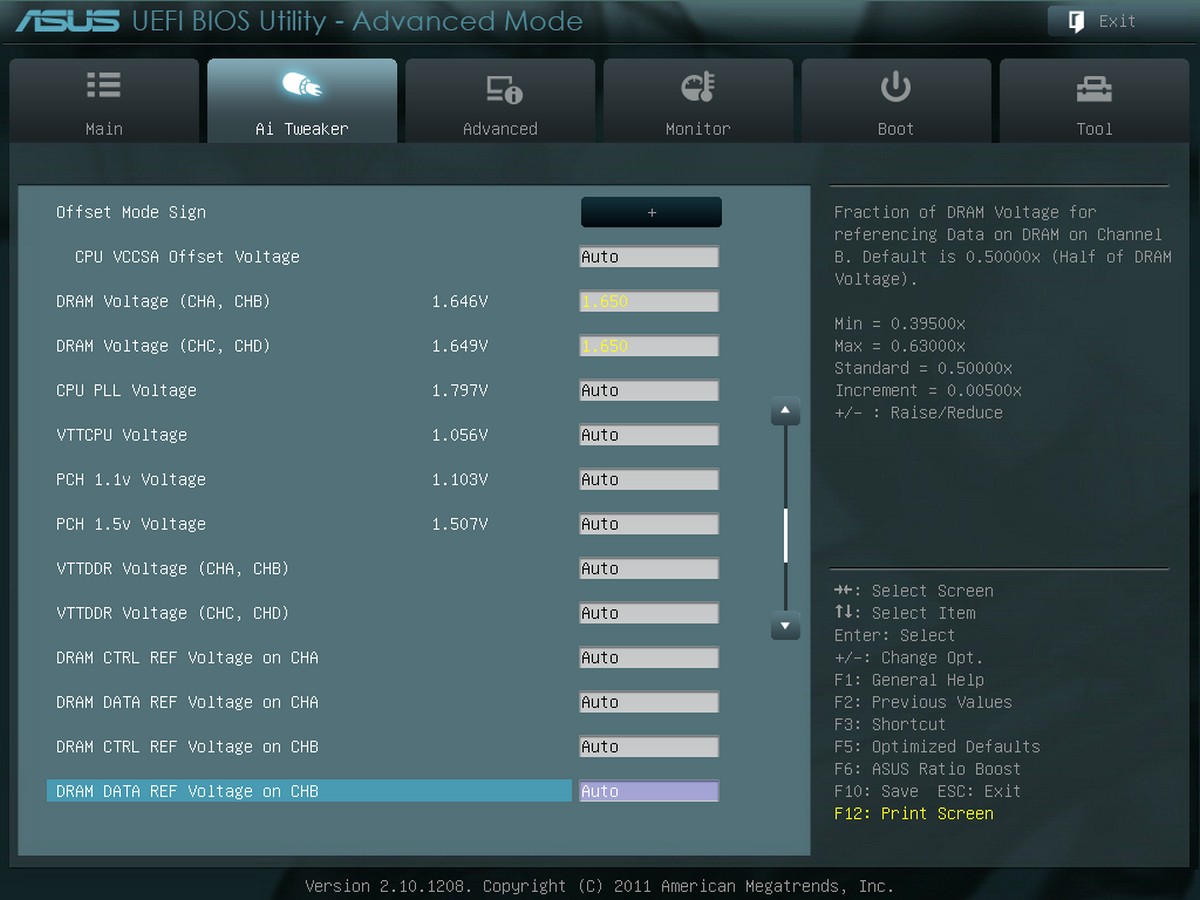
电压控制页面
CPU电压
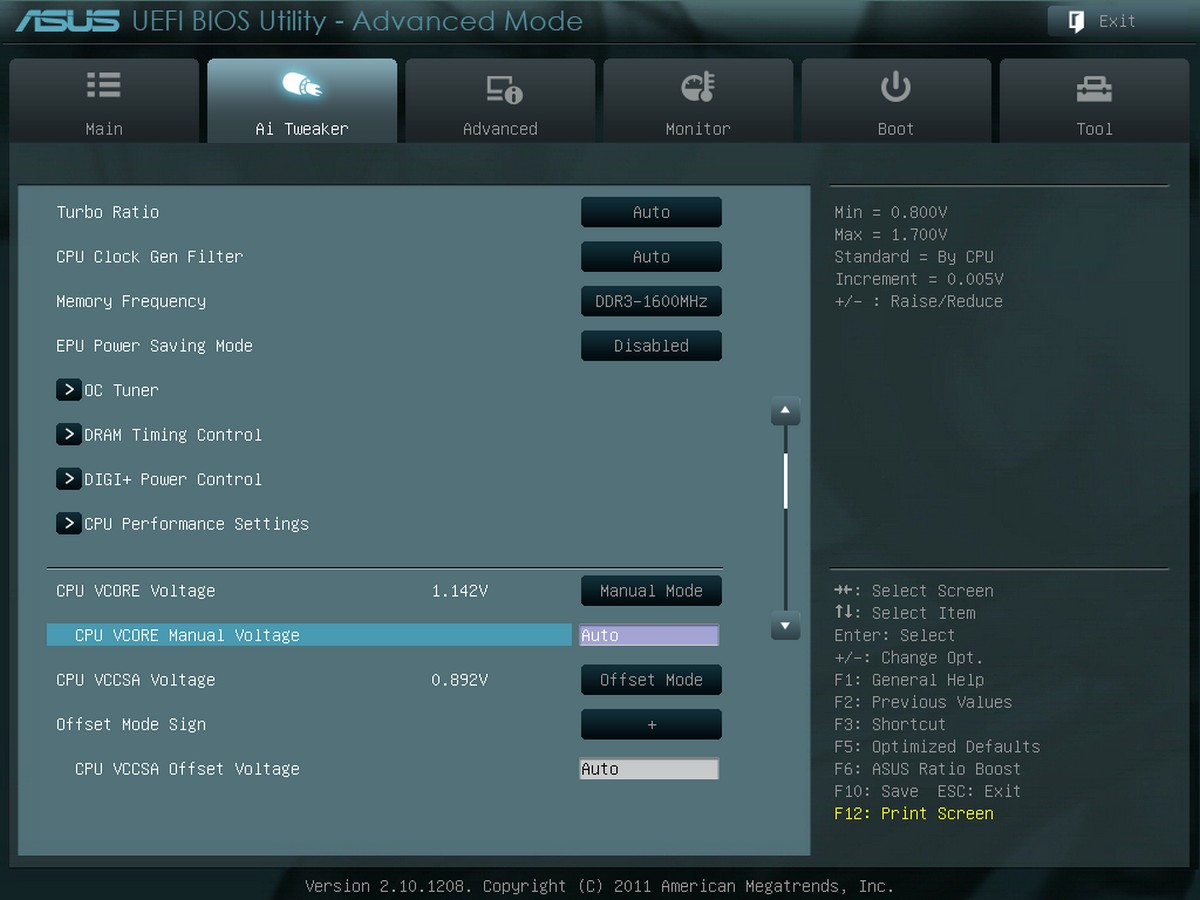
CPU VCCSA 电压

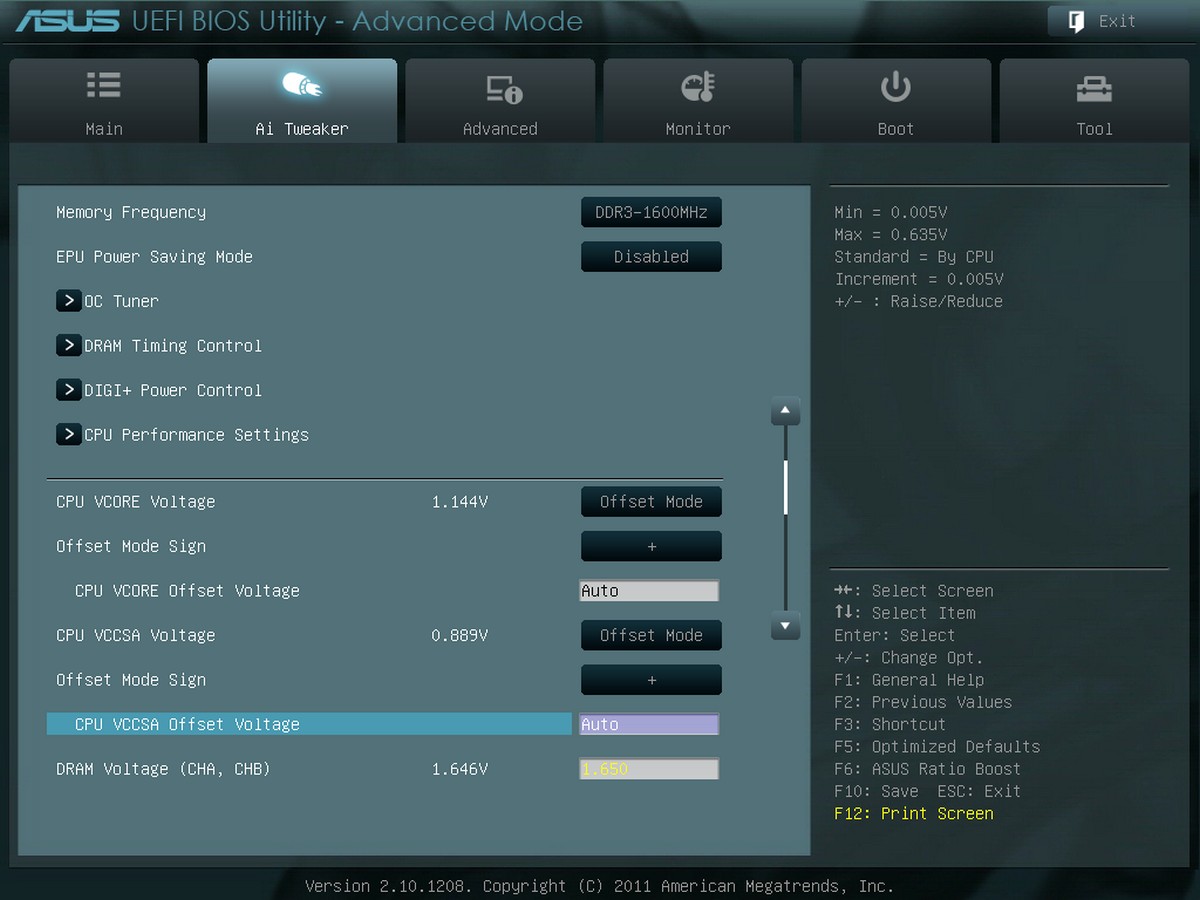
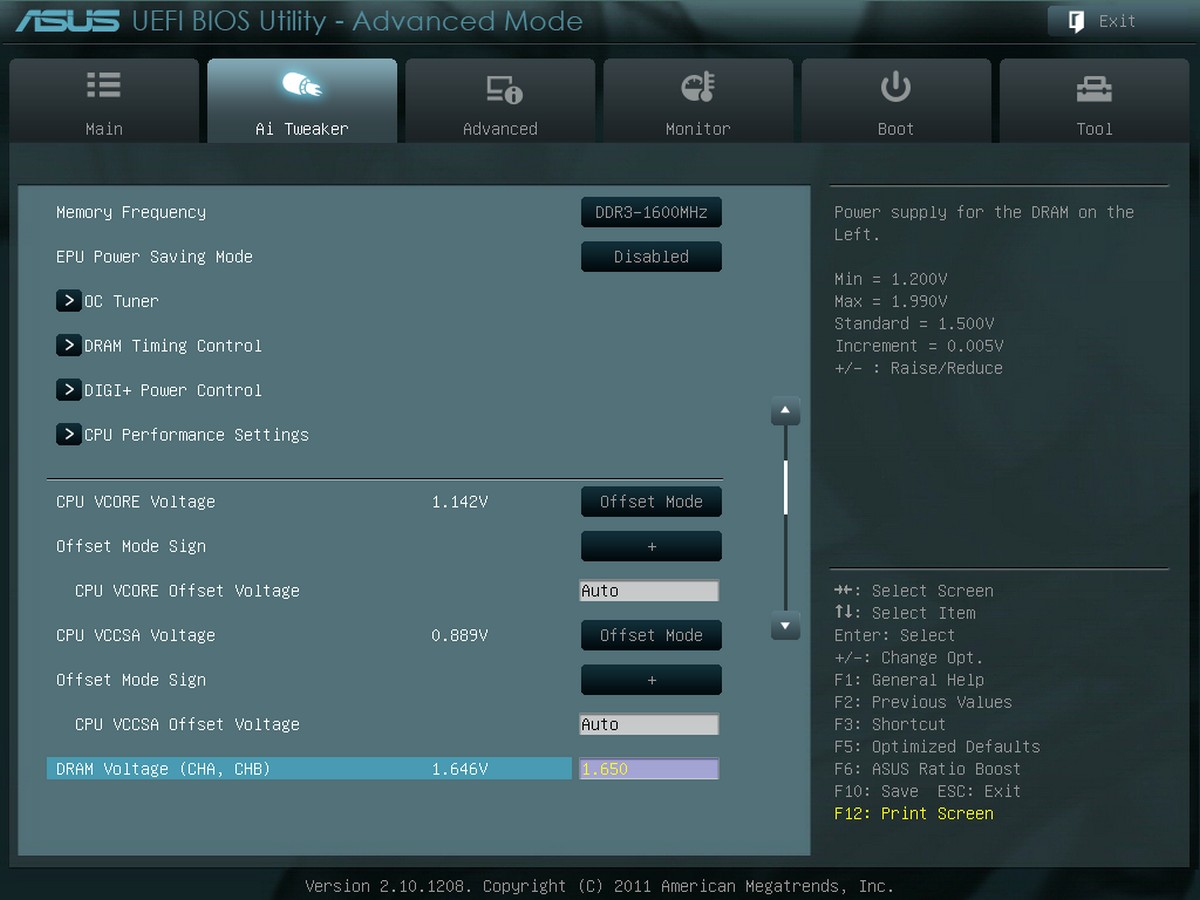
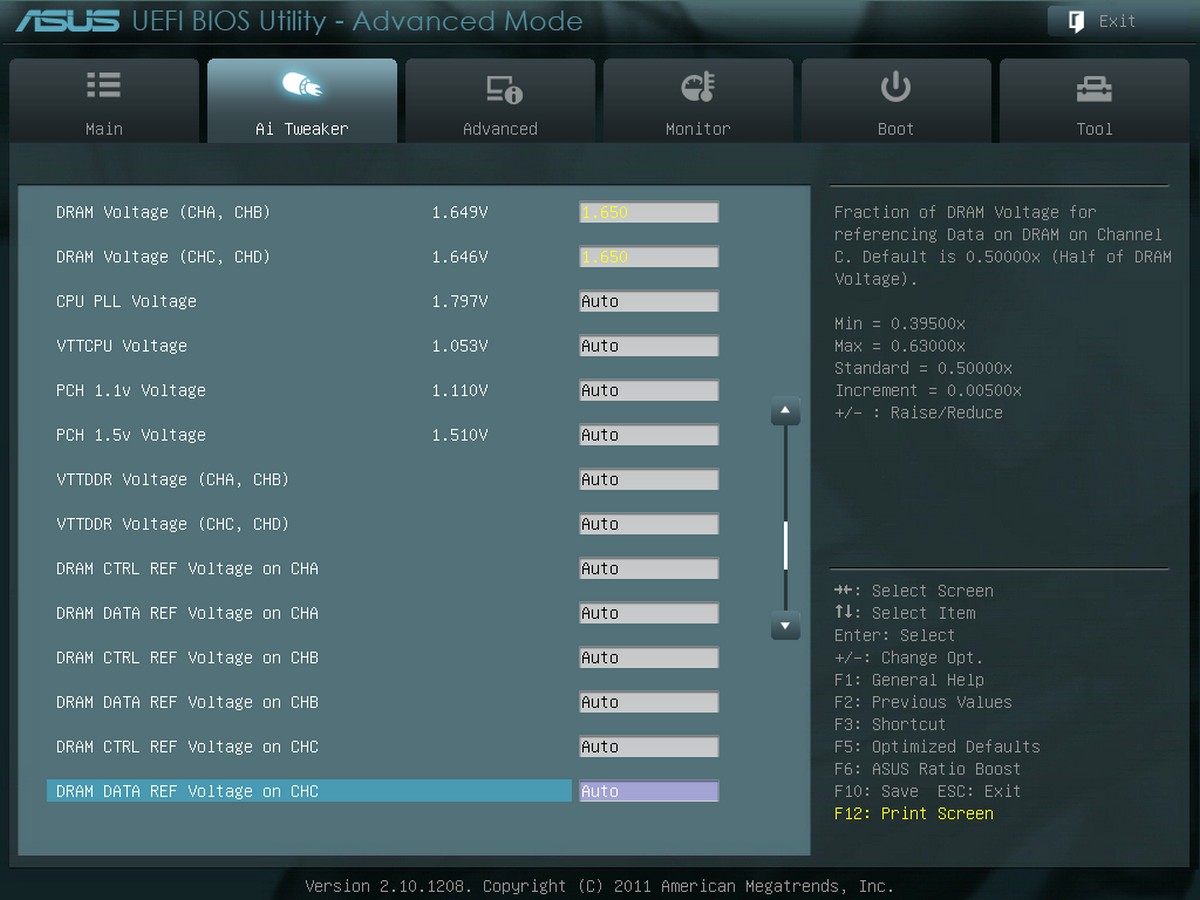
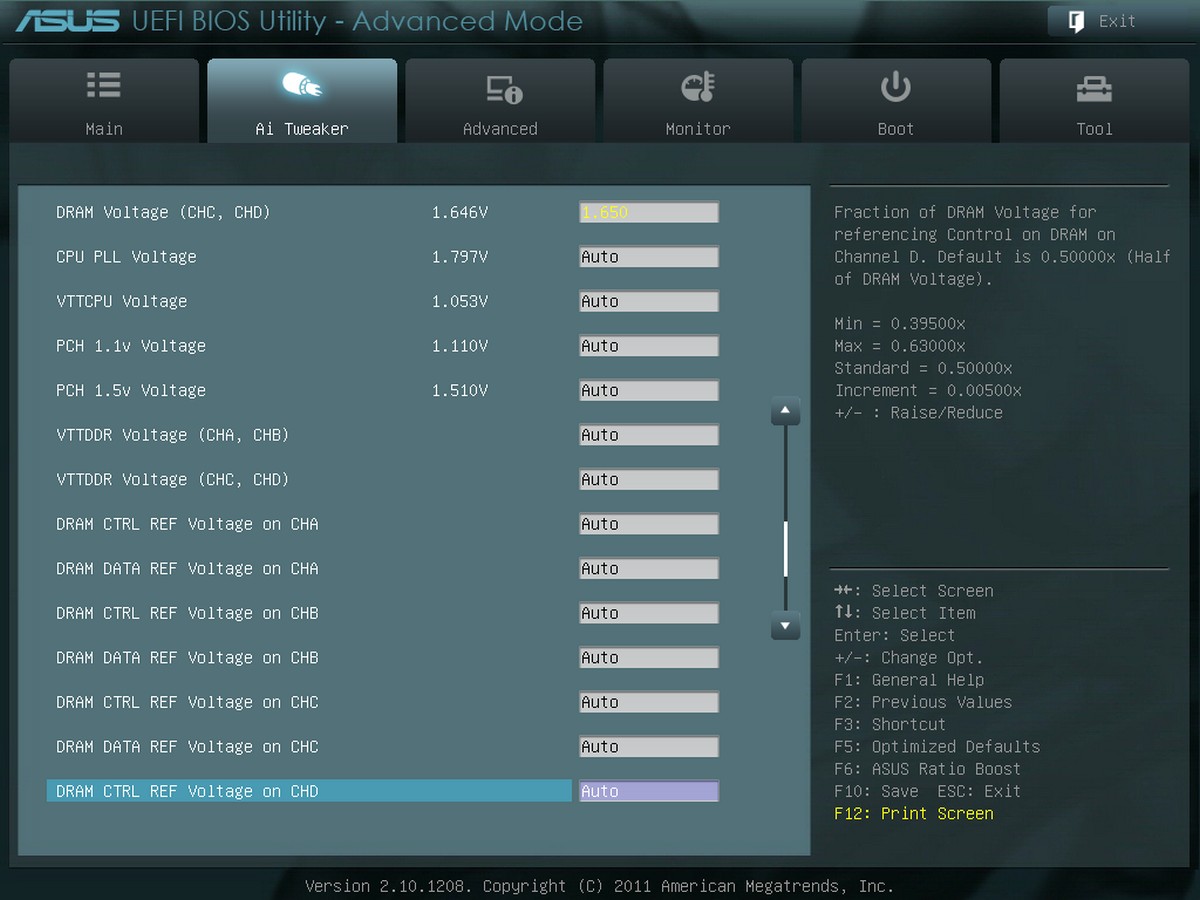
记忆体电压
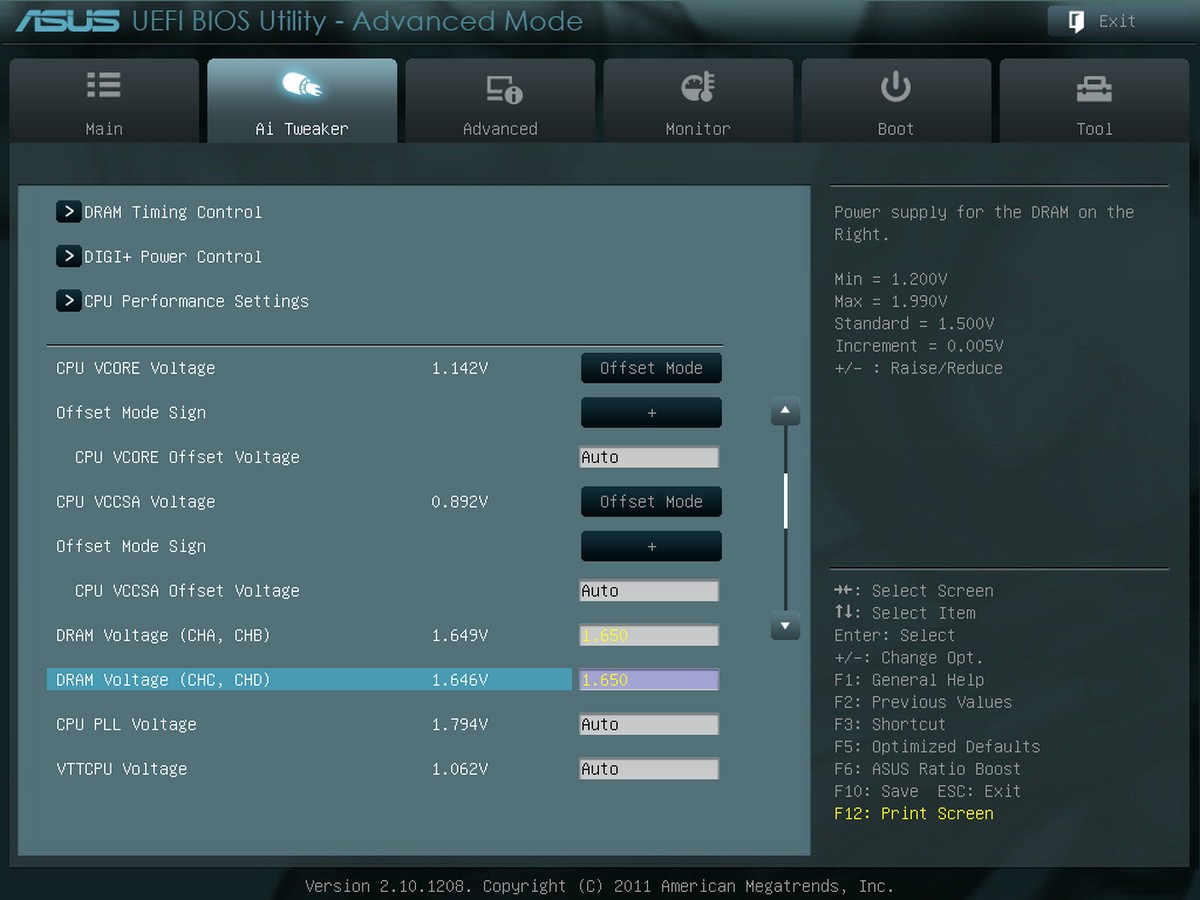
CPU PLL电压
VTTCPU 电压
PCH 1.1V电压
PCH 1.5V电压
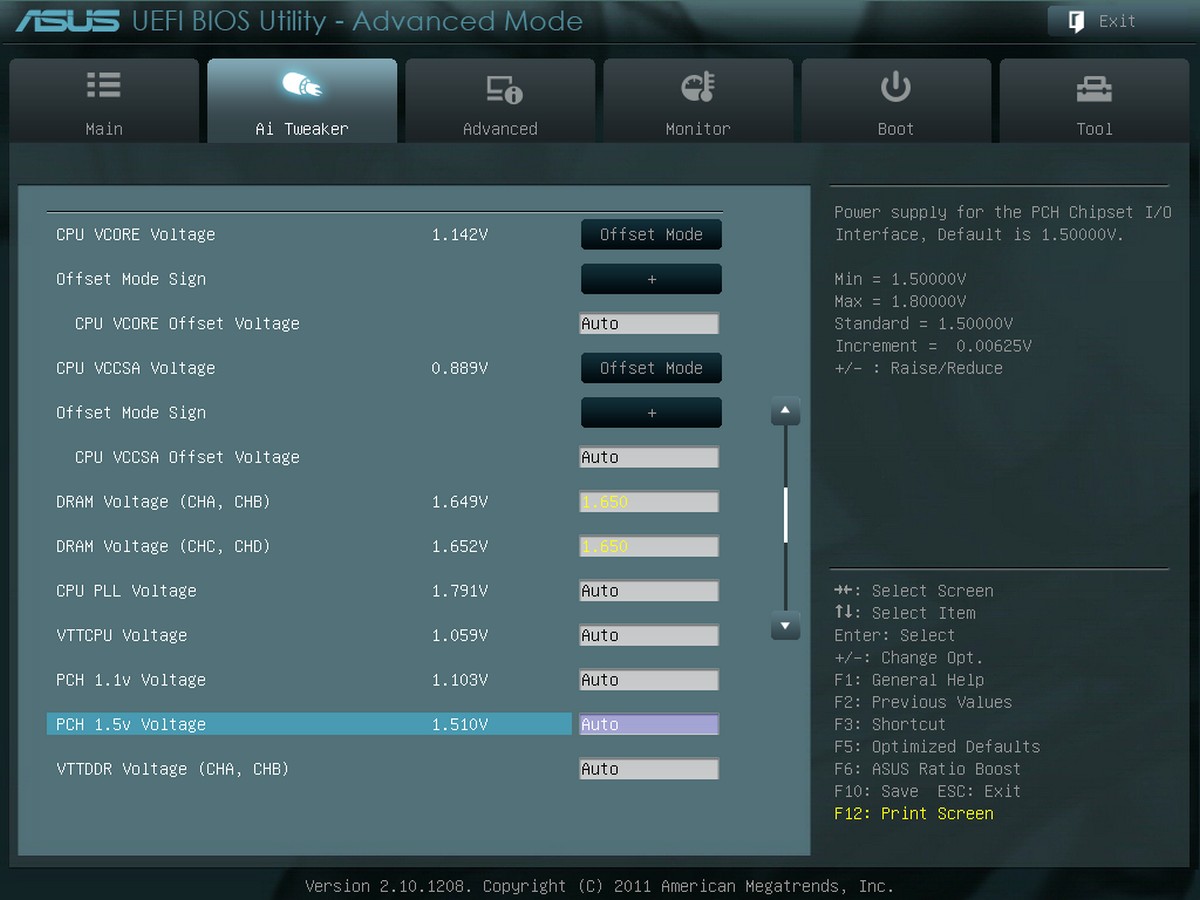
VTTDDR 电压
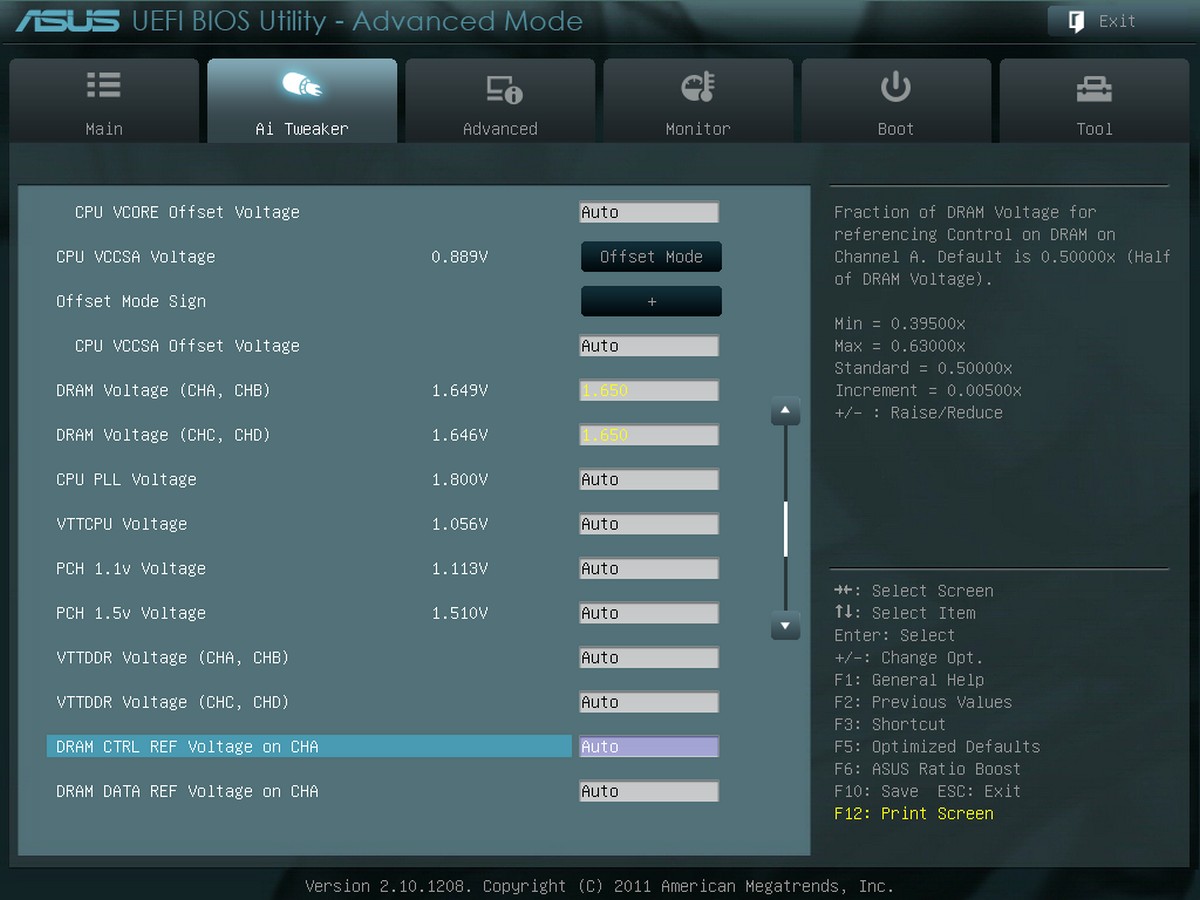
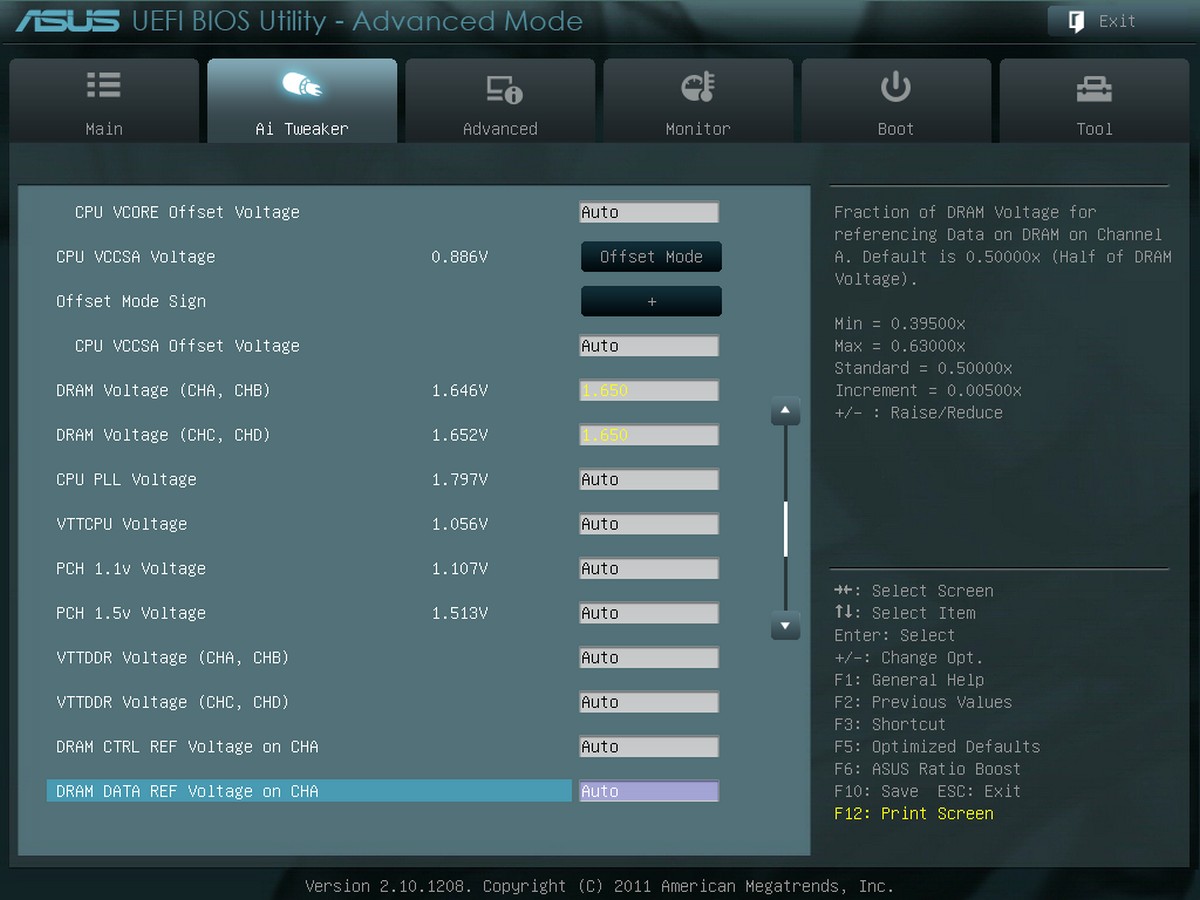
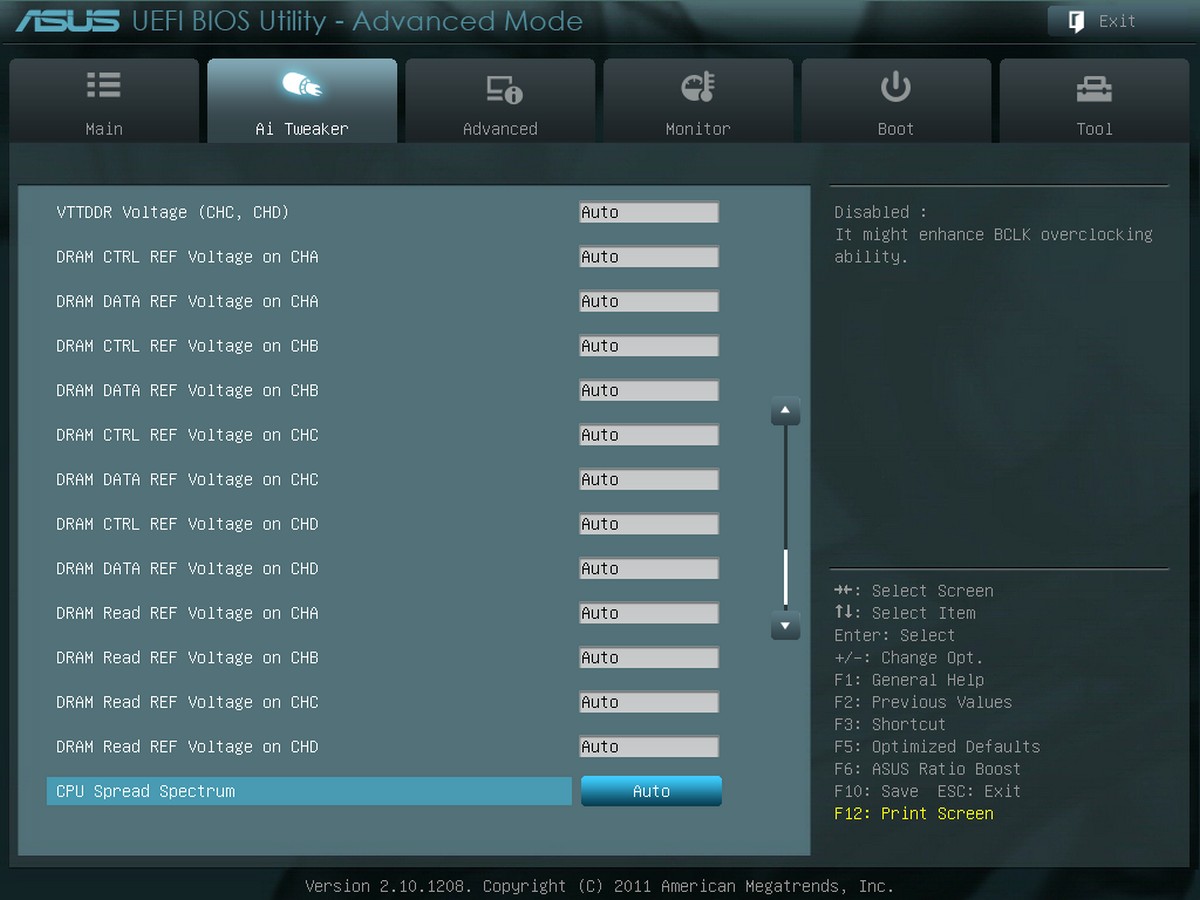
DRAM CTRL及DATA REF电压


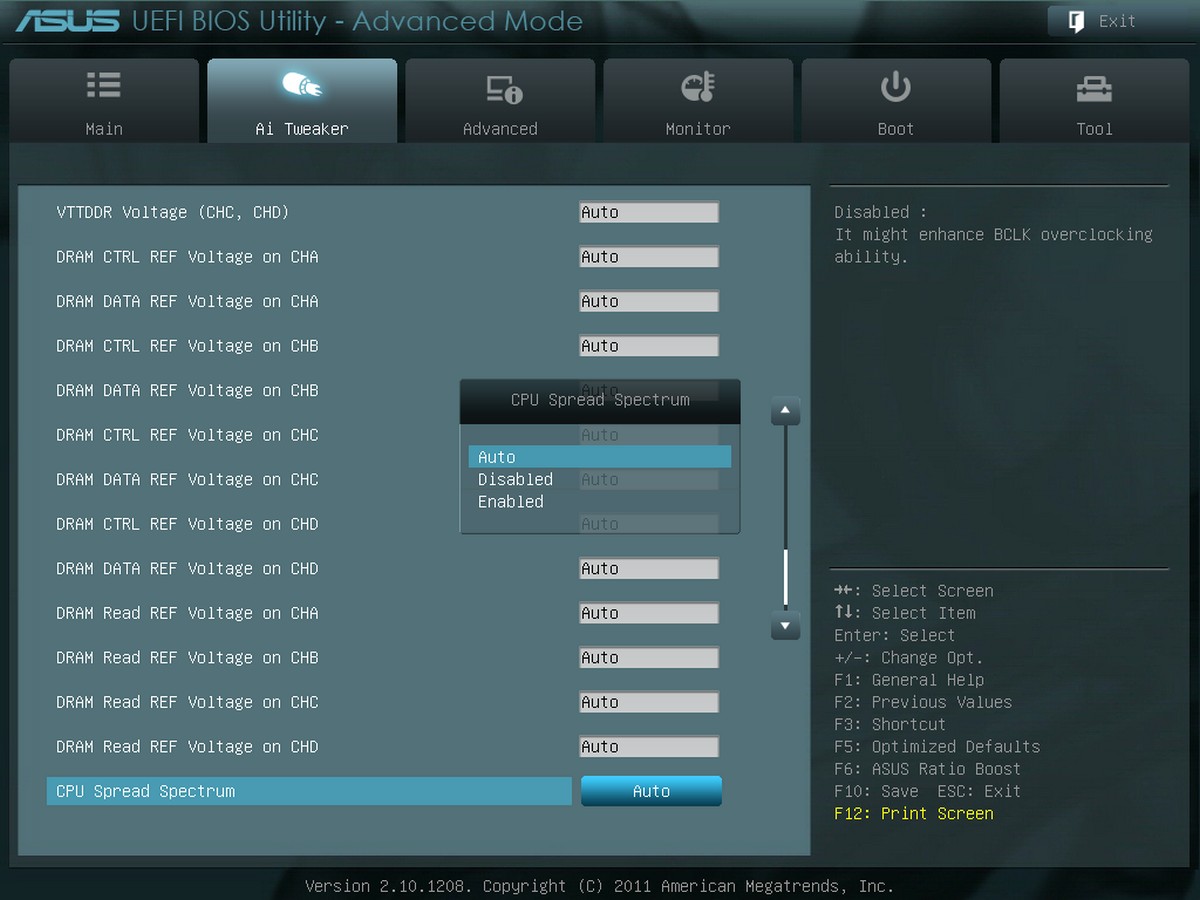
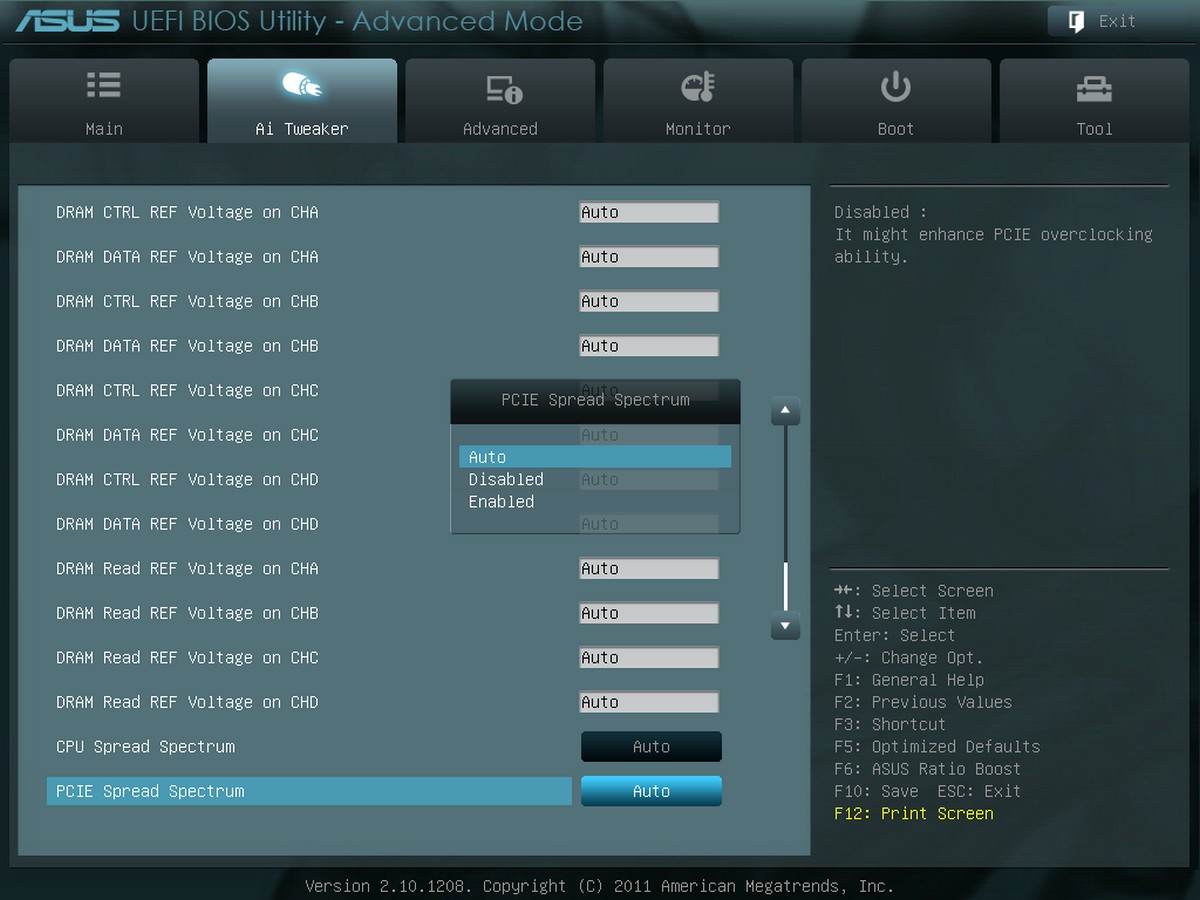
CPU及PCIE展频设定
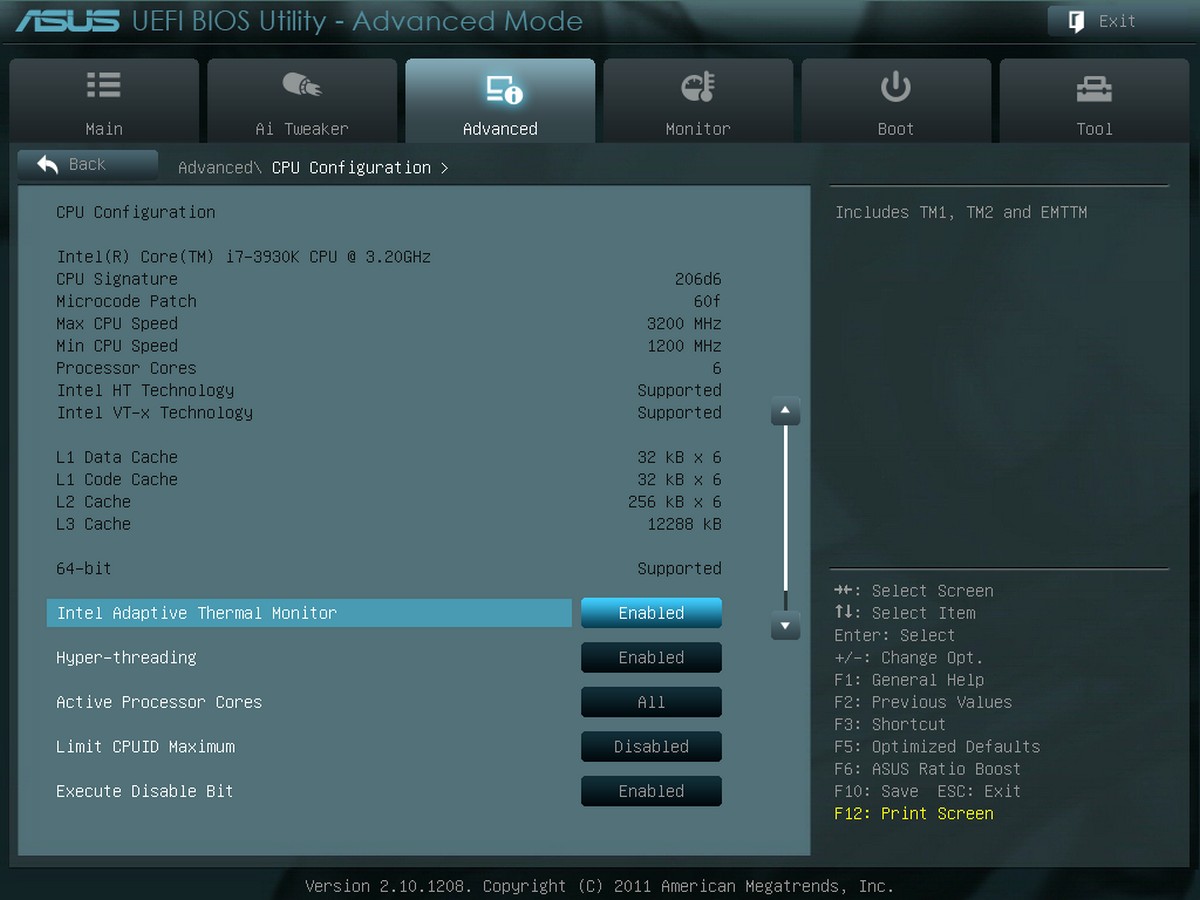
进阶设定
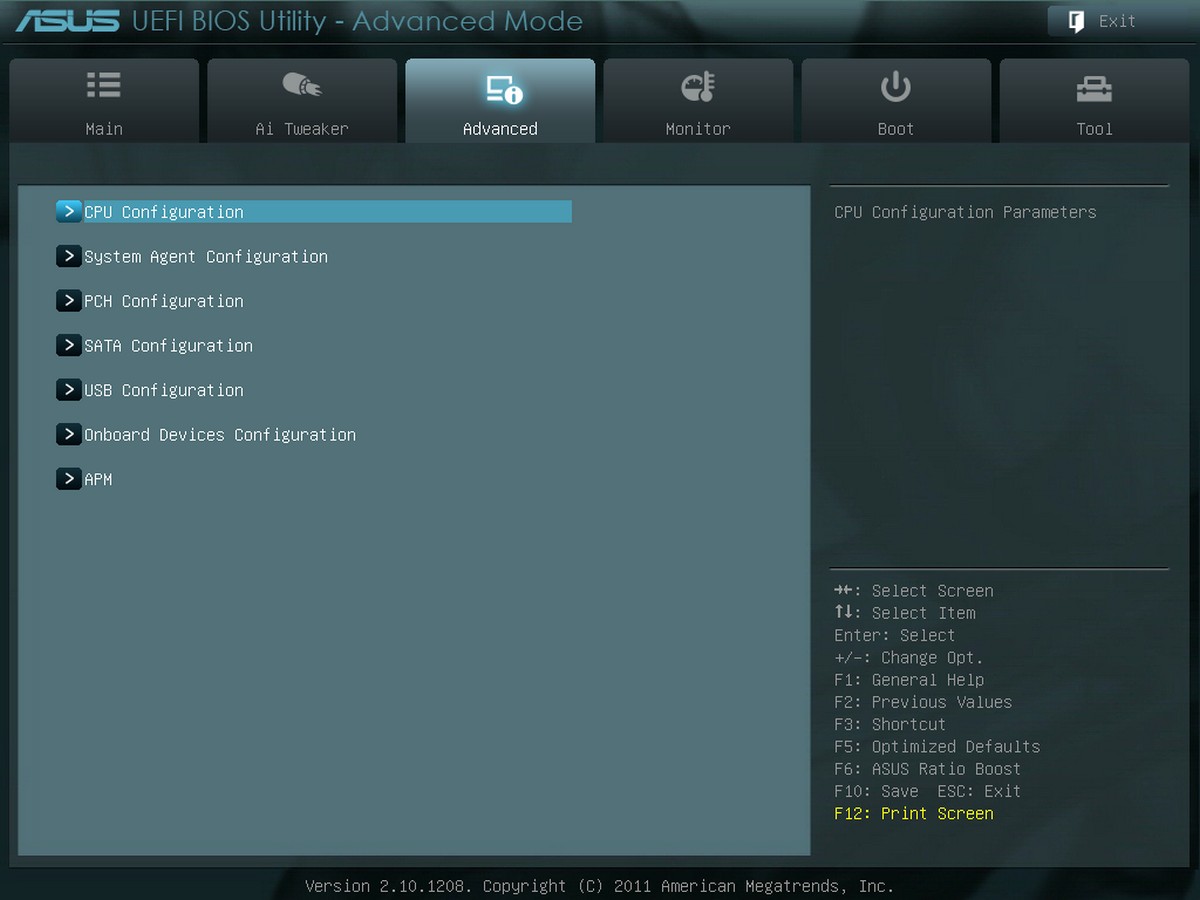
CPU进阶设定
System Agent Configuration
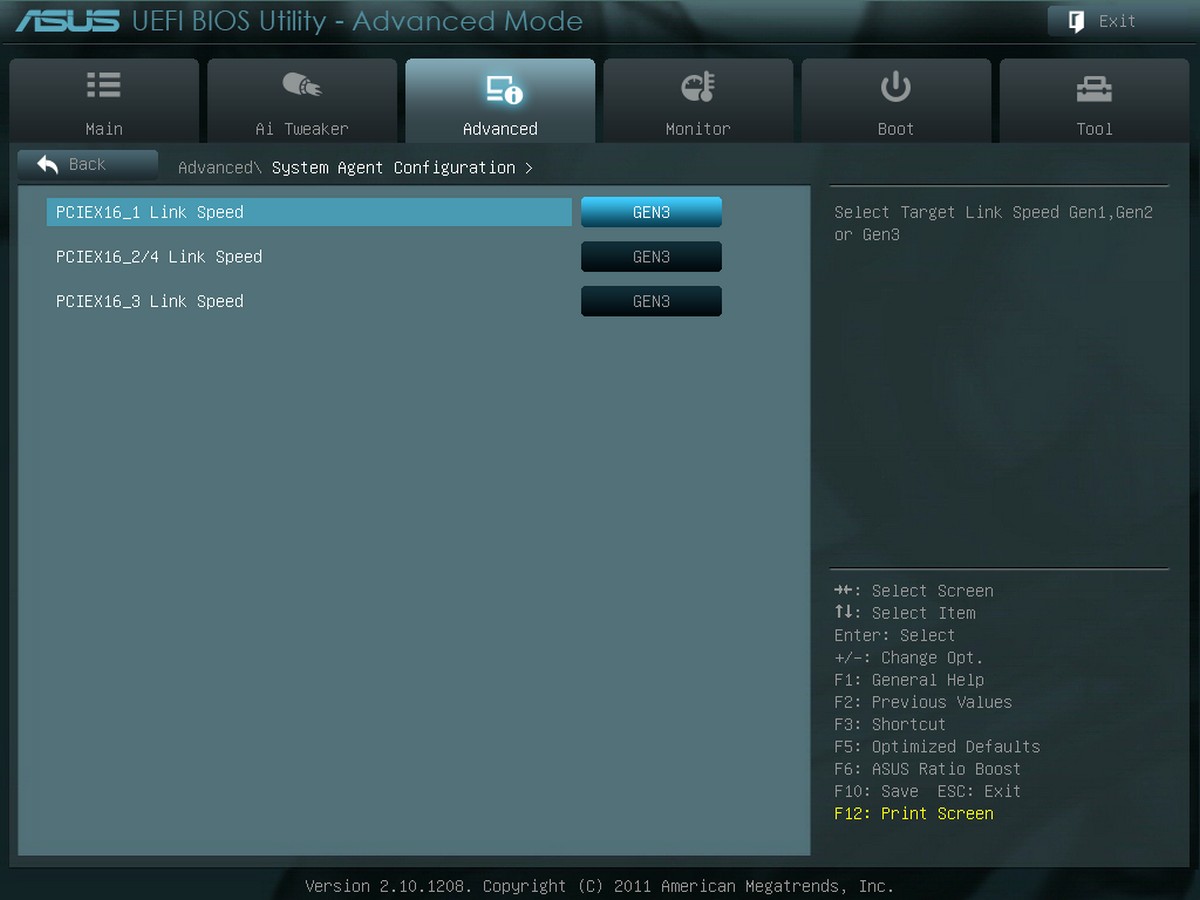
可以发现都式运作在PCI-E GEN3,当然也可依据调整。
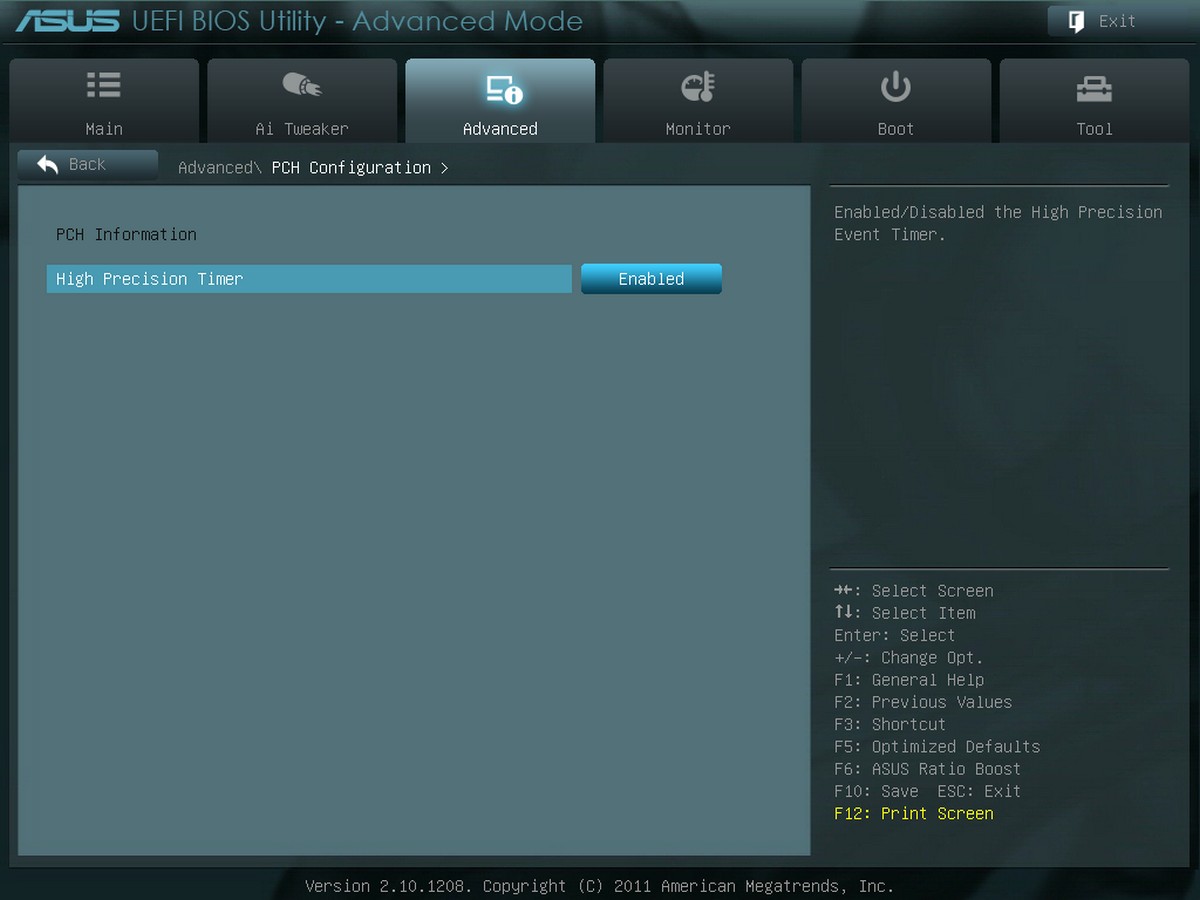
PCH Configuration
SATA Configuration
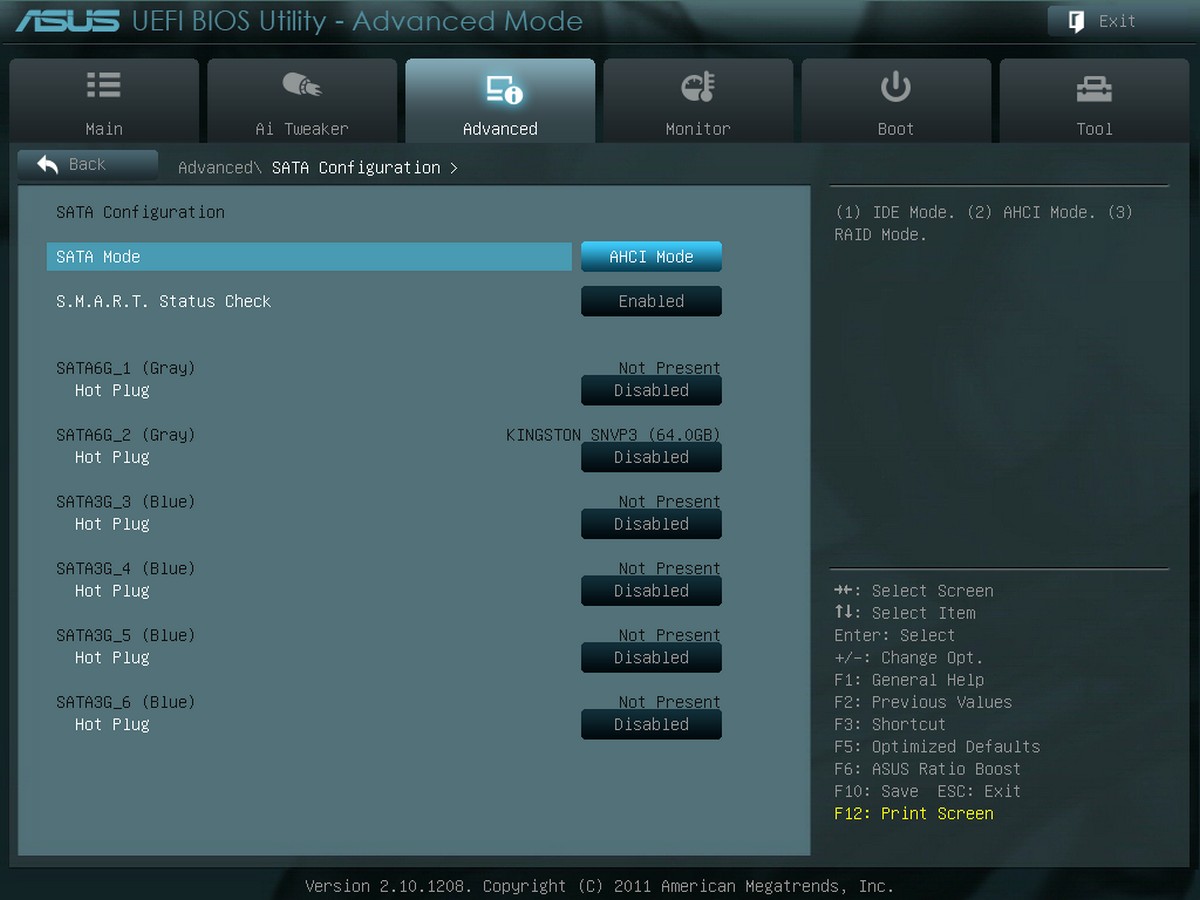
可以设定IDE AHCI或是RAID模式,也可在此页面了解SATA装置的运作情形。
USB Configuration
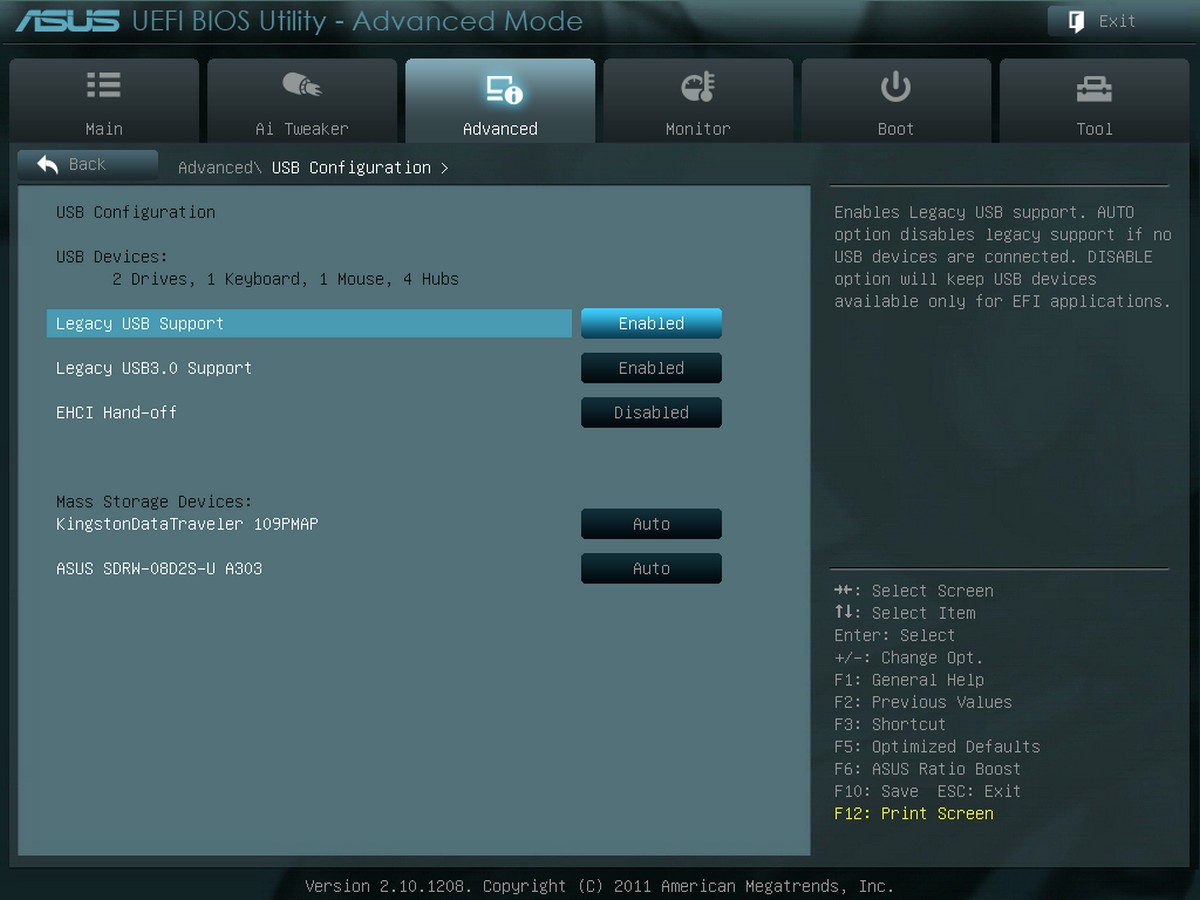
了解或管理USB周边
主机板内建晶片选单
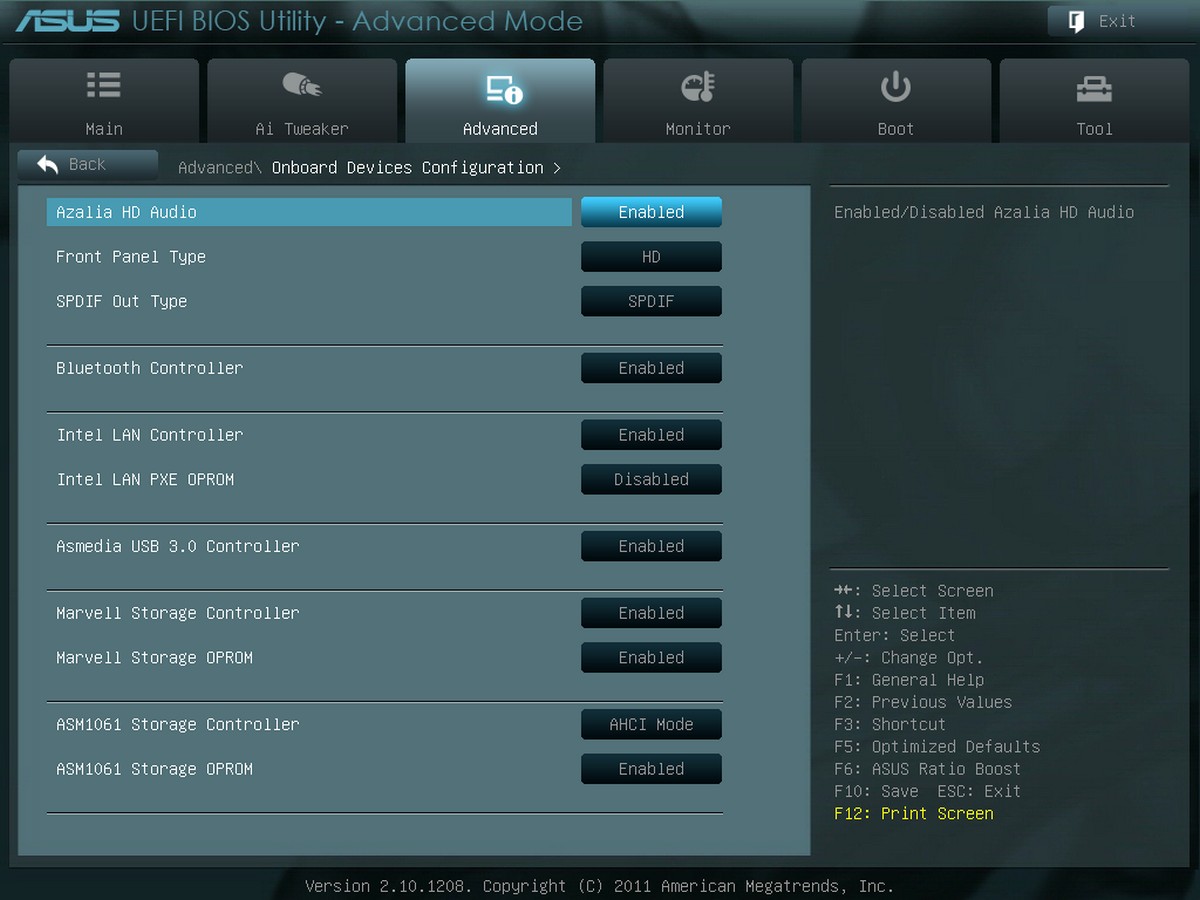
可调整内建音效、USB3.0、网路卡、Bluetooth、E-SATA及SATA晶片设定。
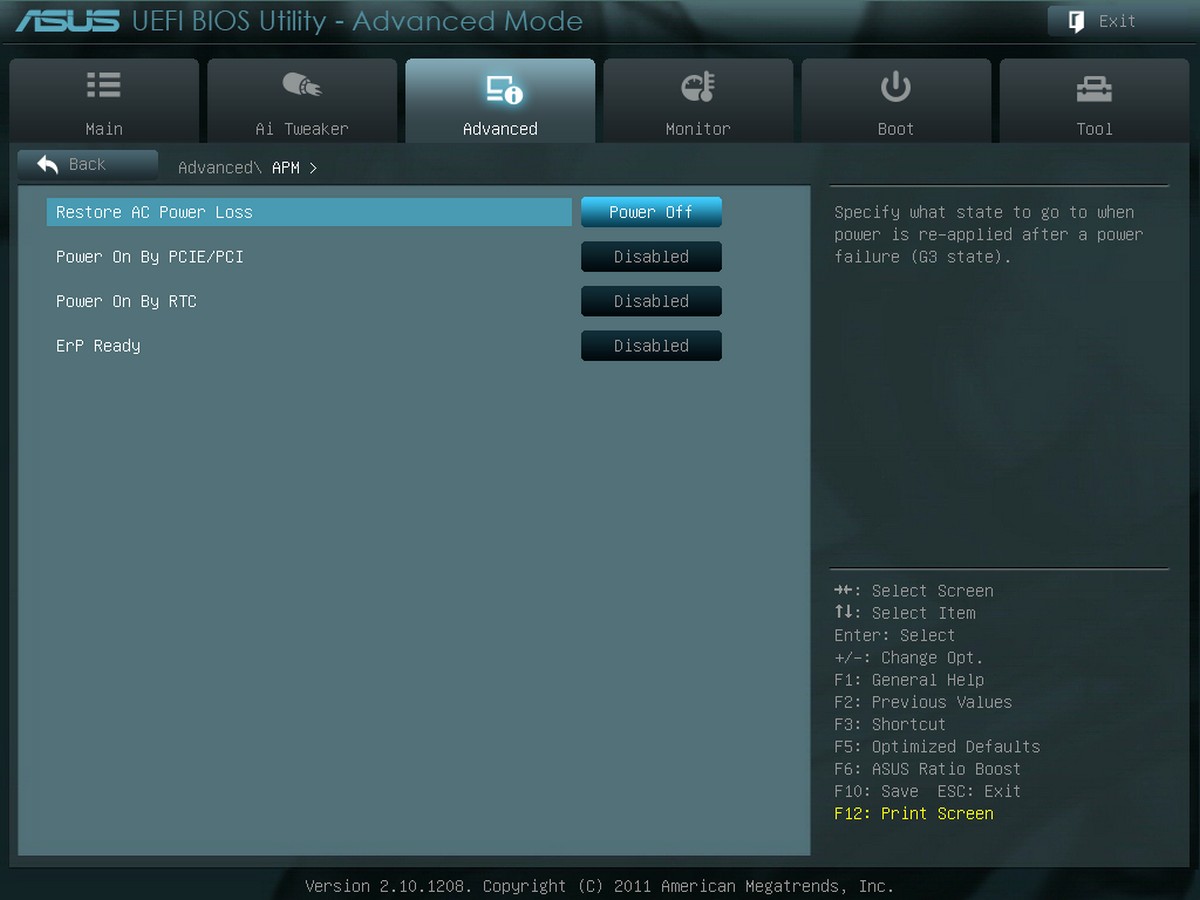
APM
硬体监控设定及数值
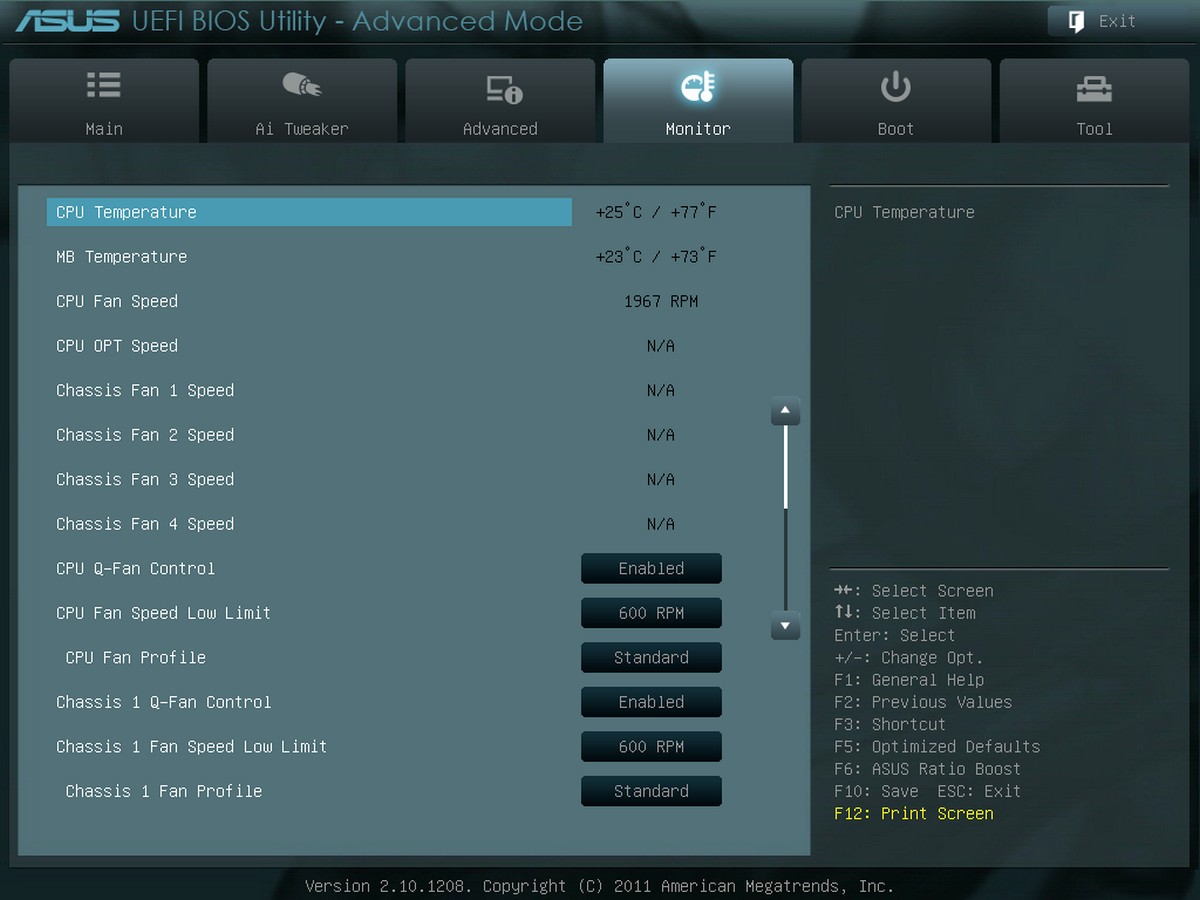
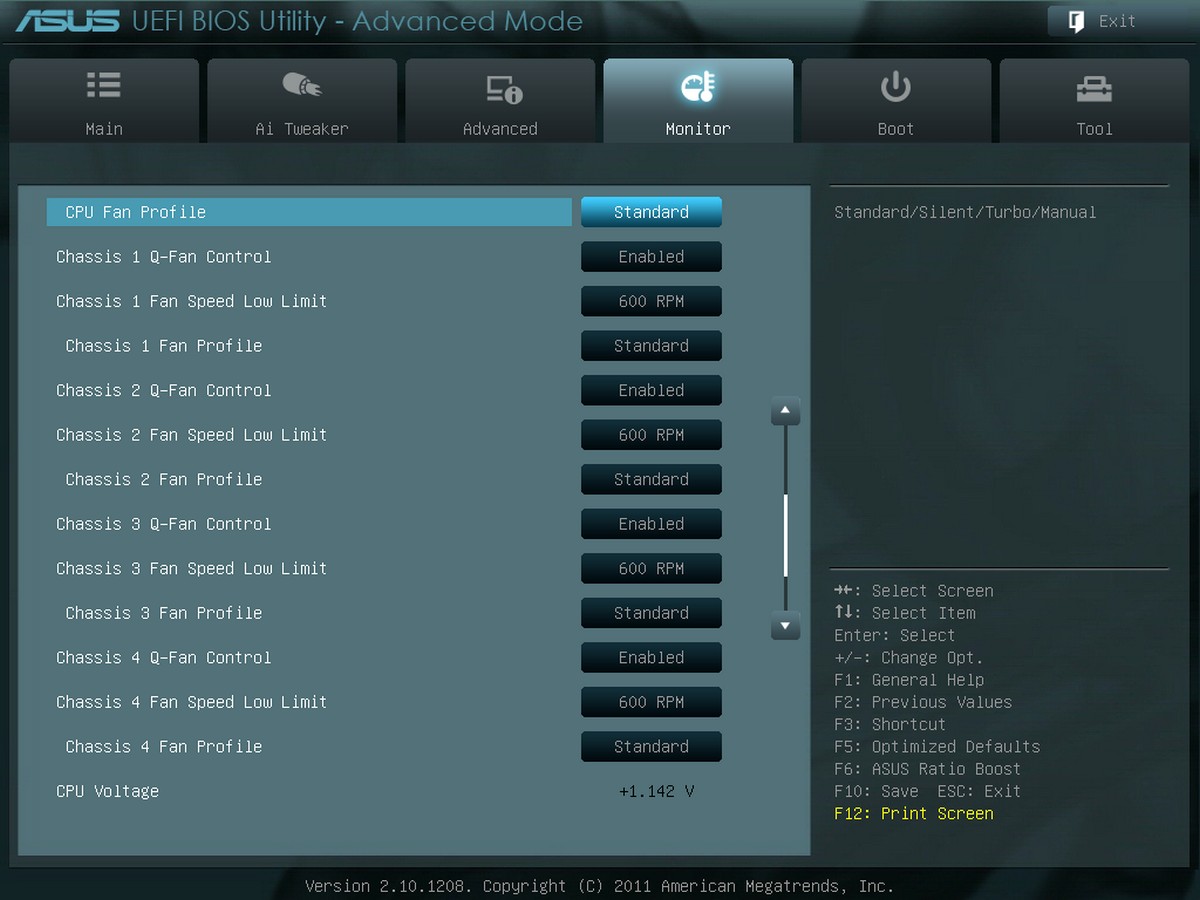
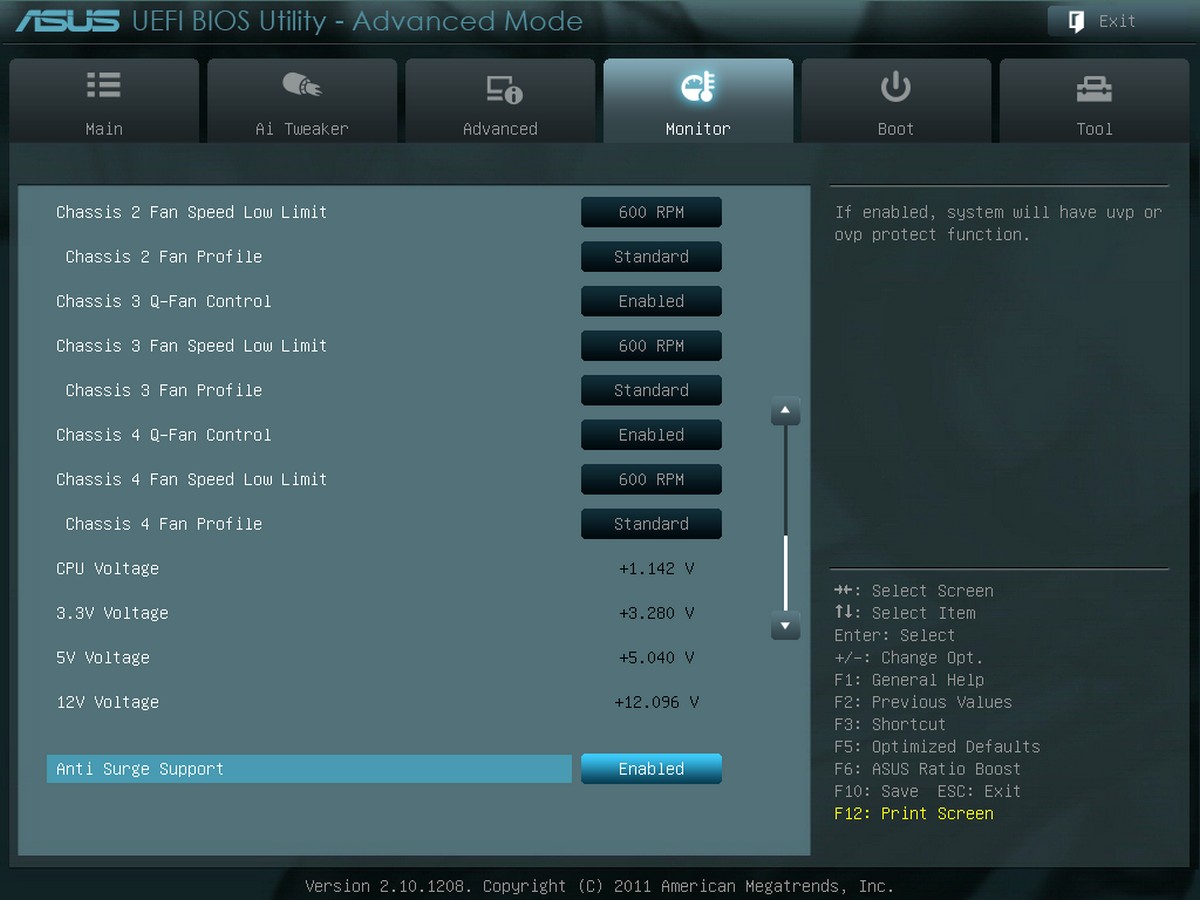
支援SMART Q-FAN及Anti Surge Support设定。
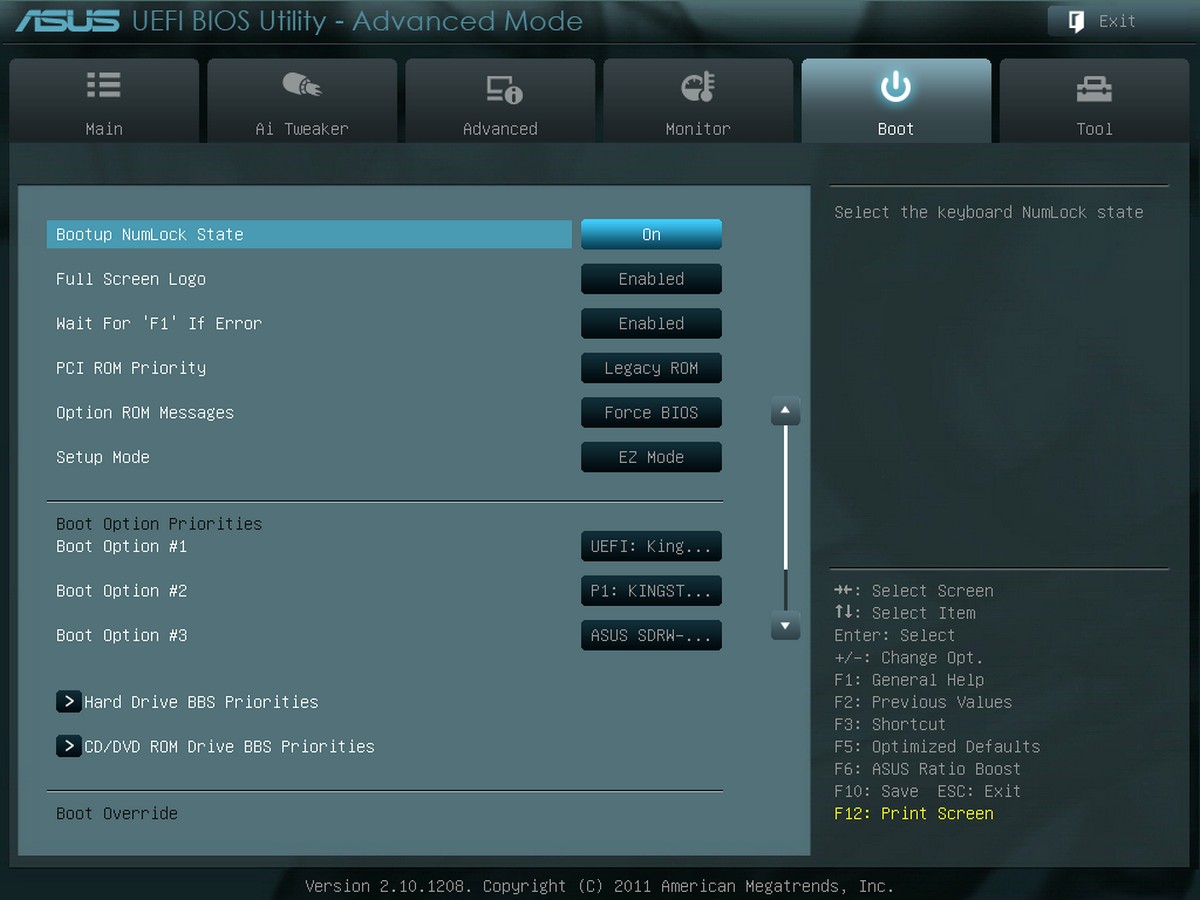
开机装置设定
ASUS Tools
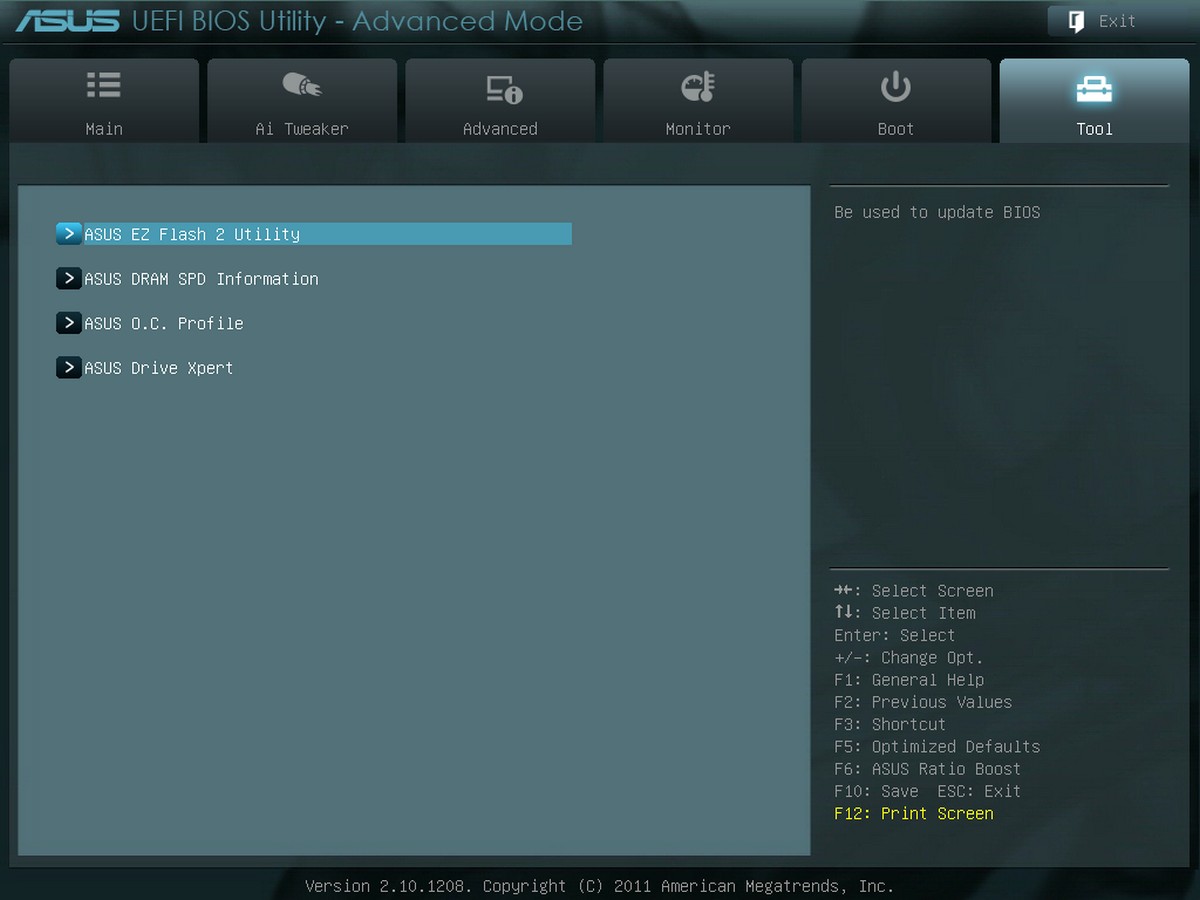
有OC Profile、EZ FLASH2、DRAM SPD Information及Drive Expert 。
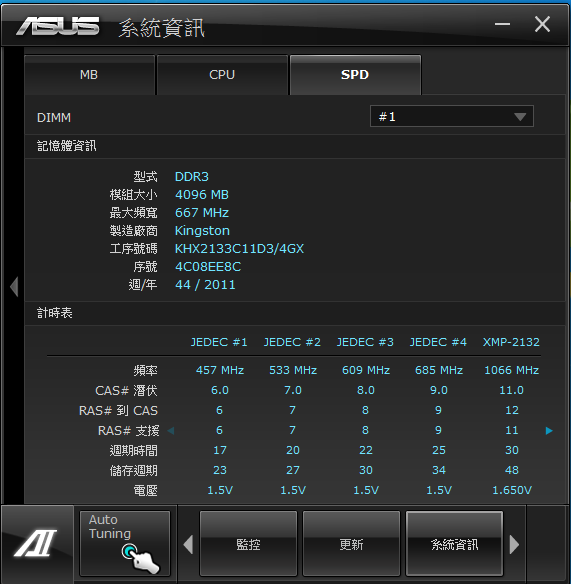
ASUS DRAM SPD Information
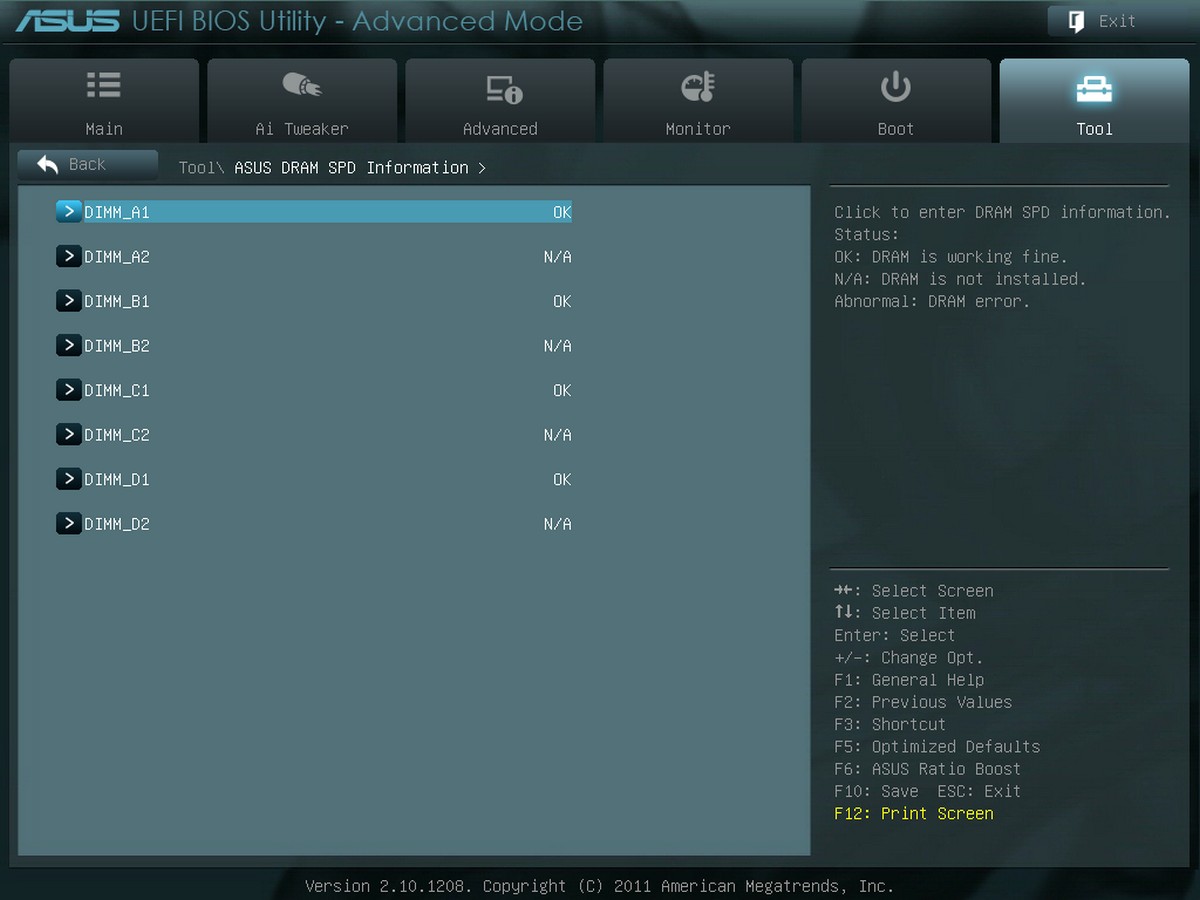
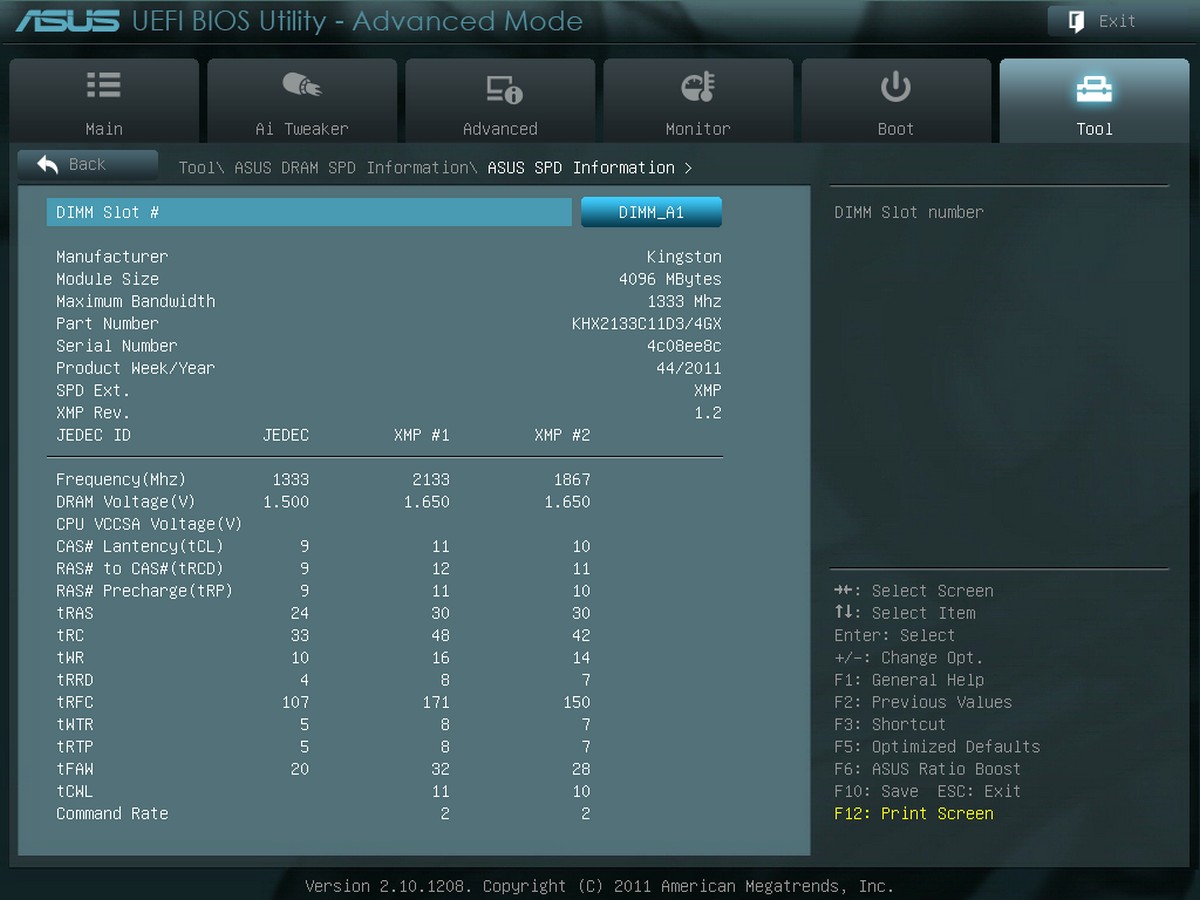
可以快速了解记忆体模组的运作时脉及相关参数,方便使用者设定。
ASUS OC Profile
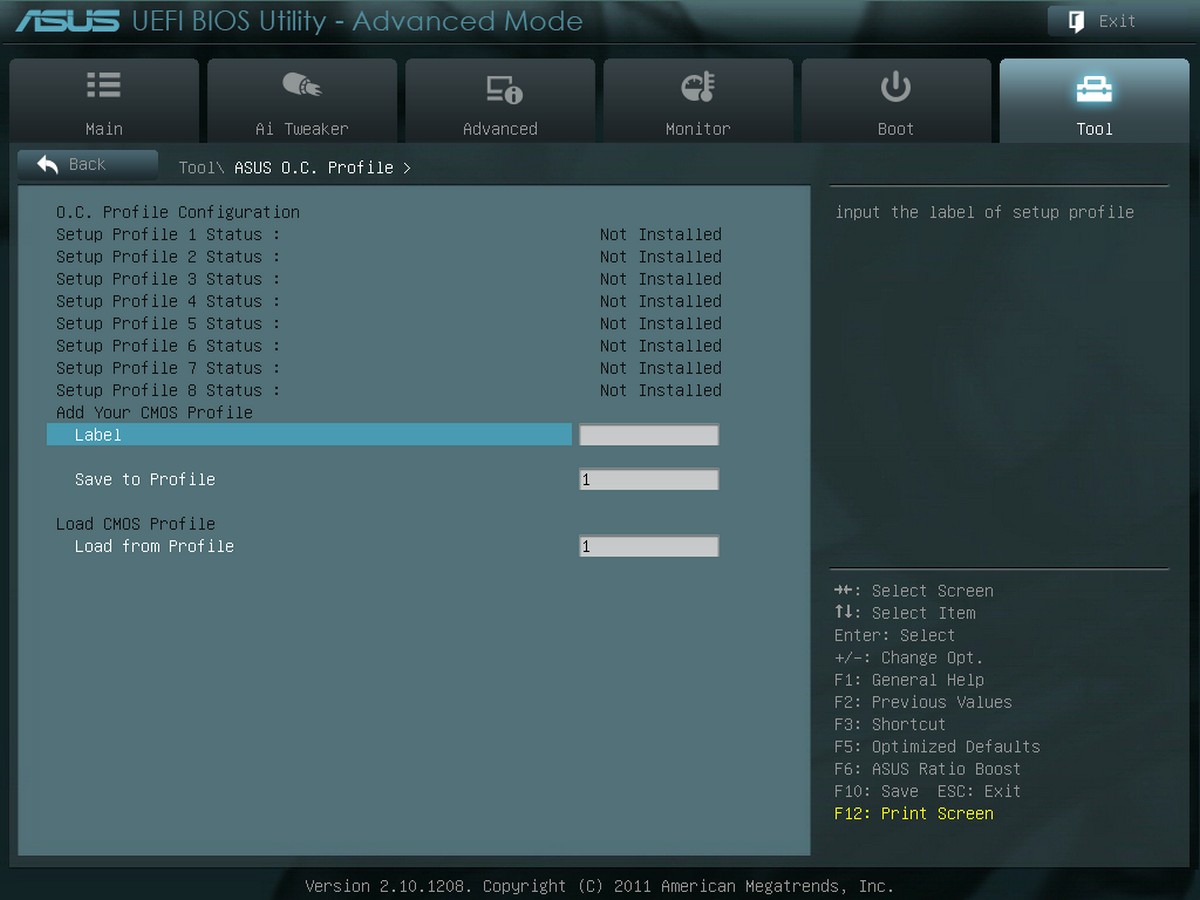
一共有8组。
ASUS Drive Expert
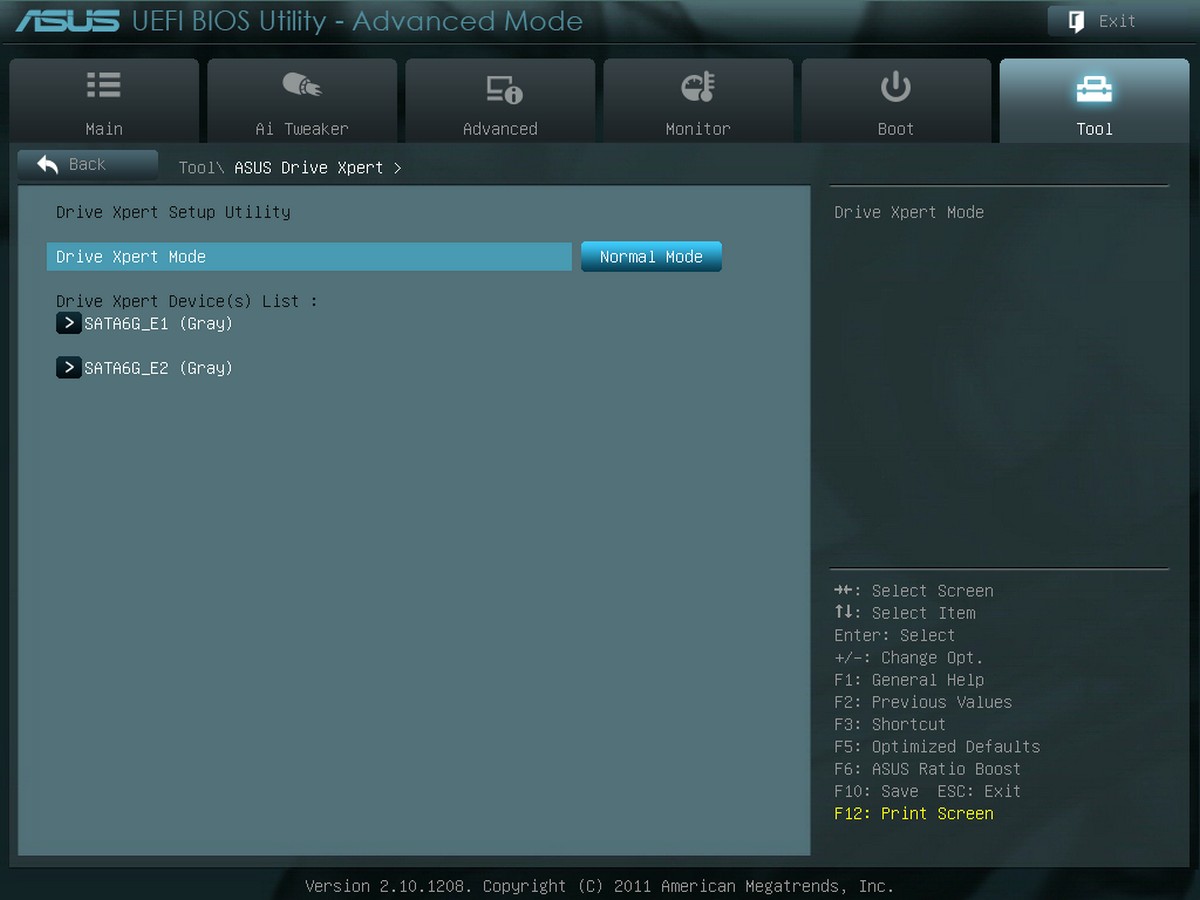
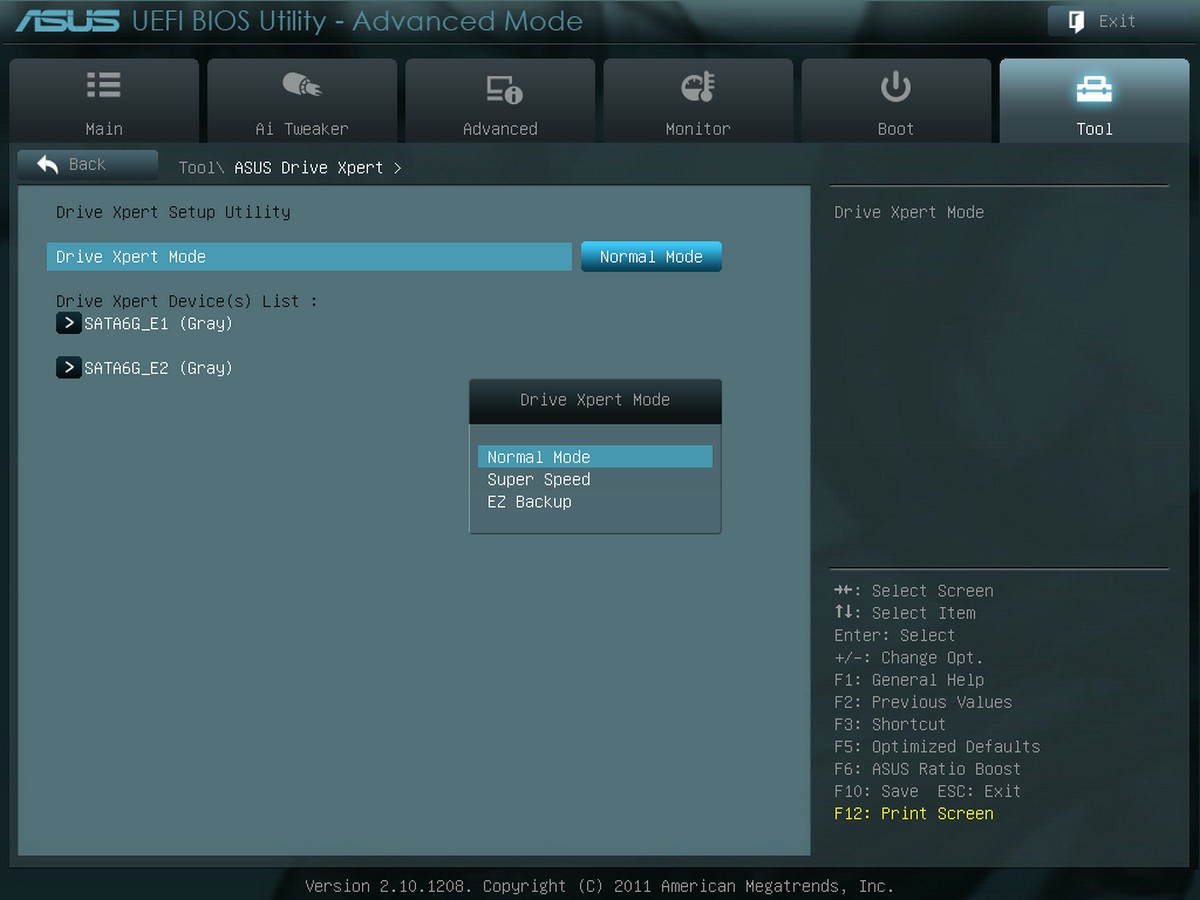
分为一般、加速及备份模式。
[page]p[/page][title] 主机板应用软体 [/title]
专属的安装光碟
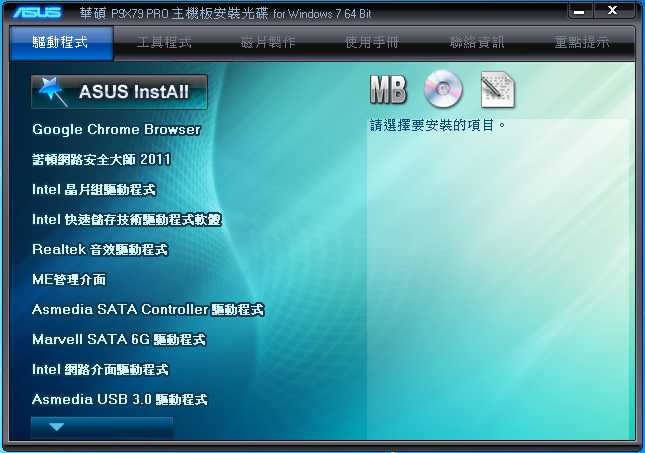

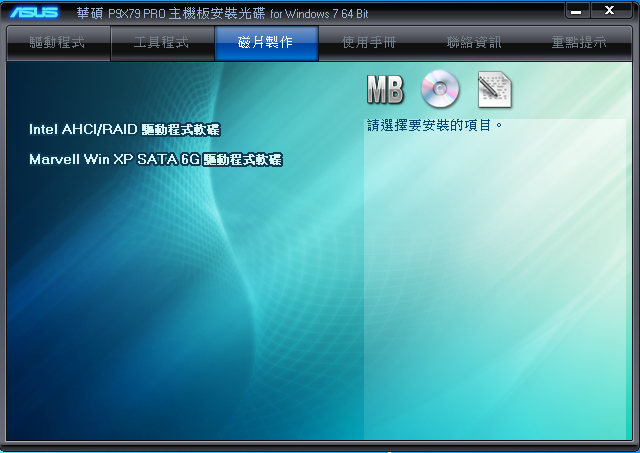
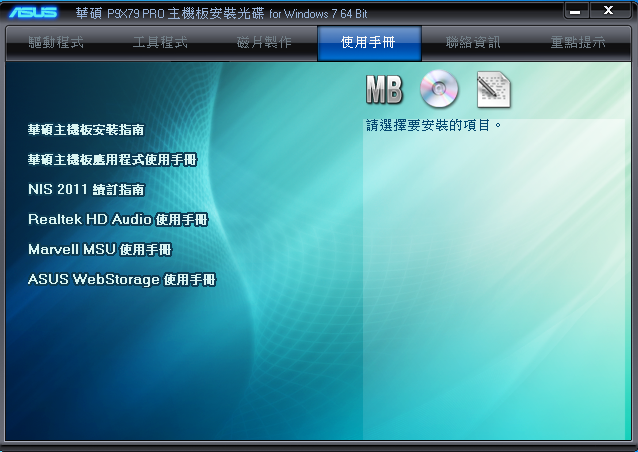
分别有驱动程式、工具程式、磁片制作、使用手册等。
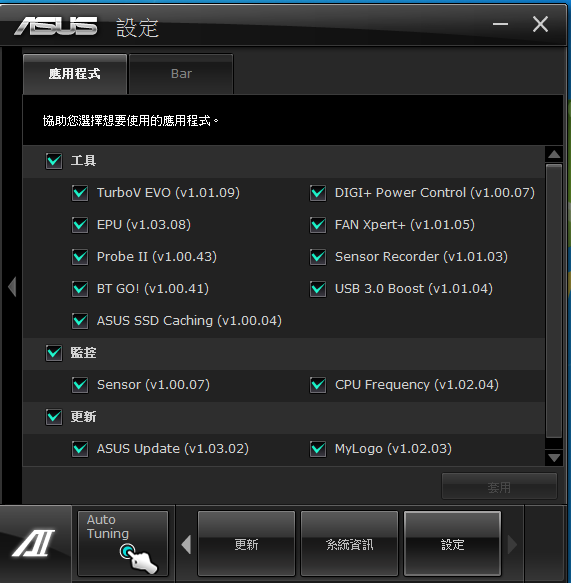
工具程式
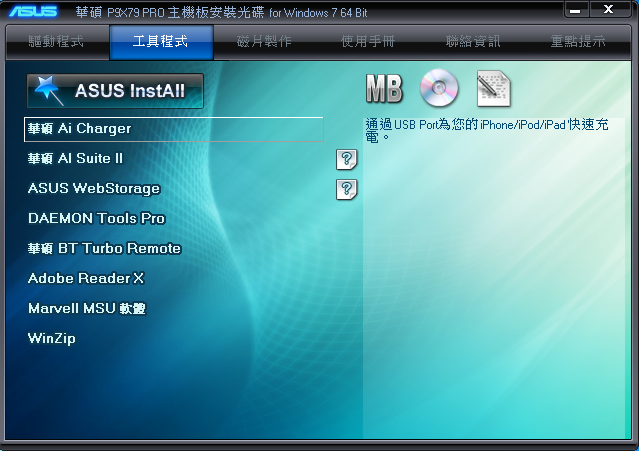
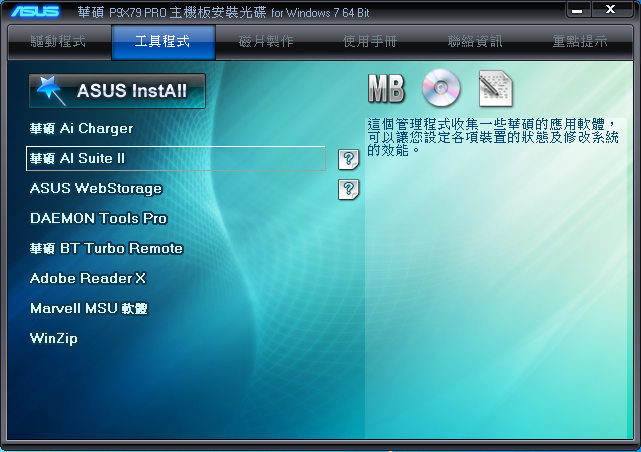
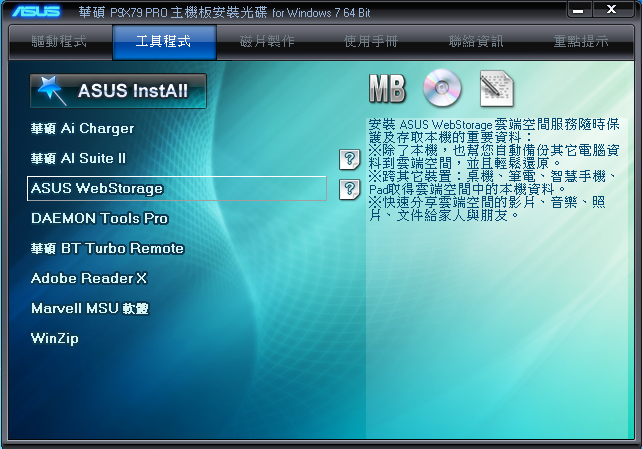
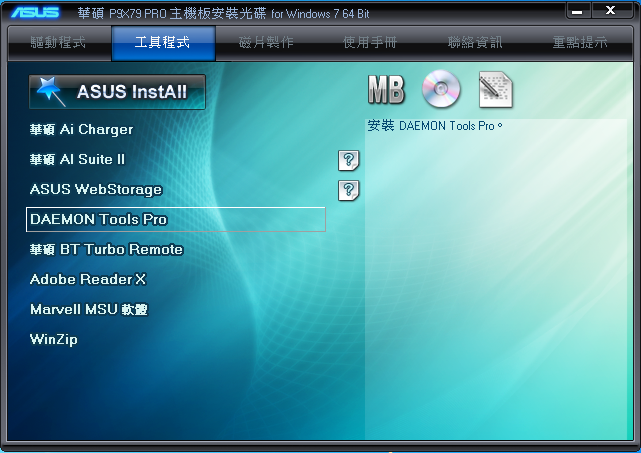
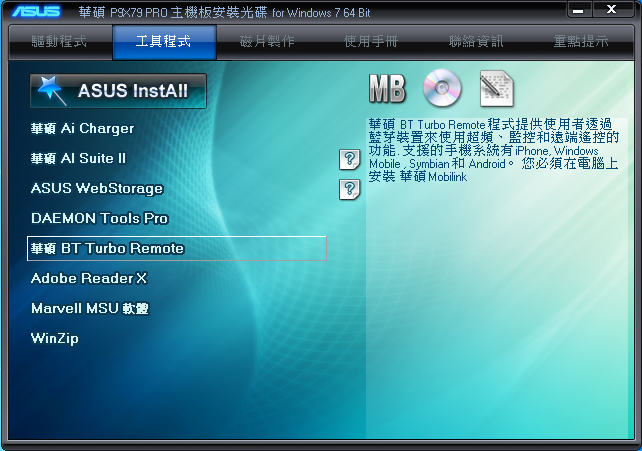

分别有Ai Charger、AI Suite II、 WebStorgae、DAEMON Tools Pro、BT Turbo Remote及Marvell MSU软体等。
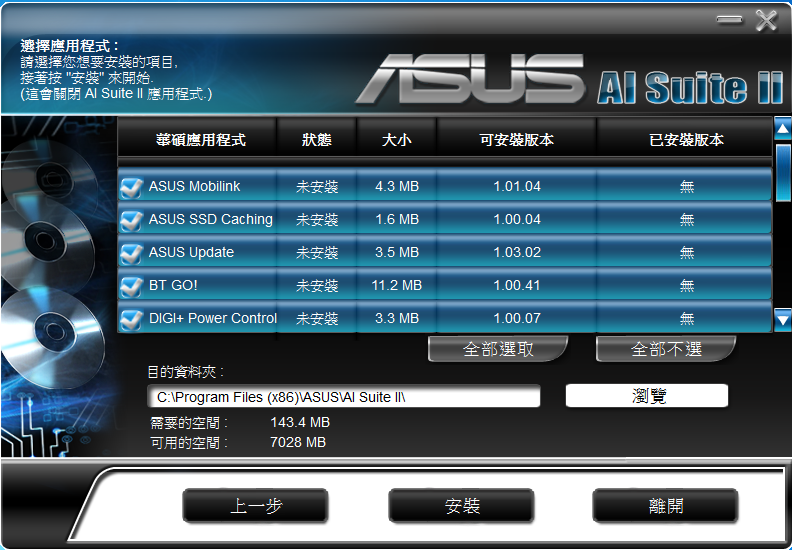
安装驱动及工具程式
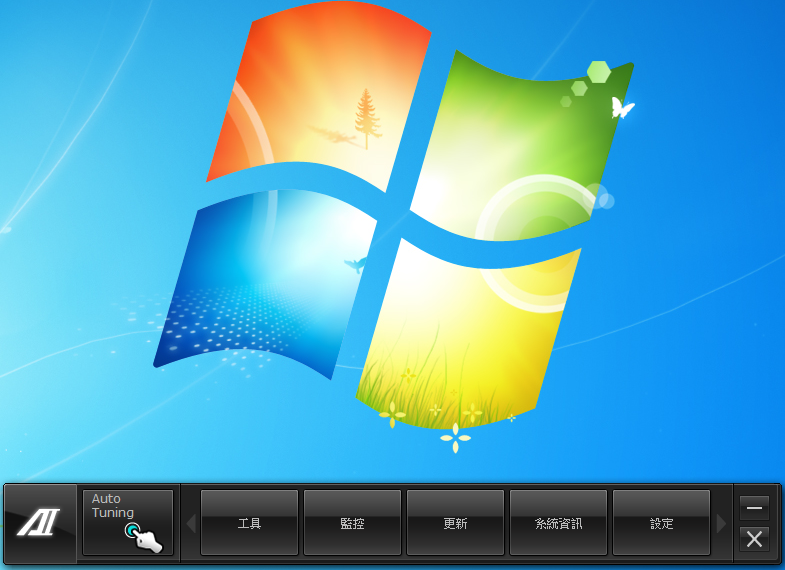
AI SUITE II系统工具
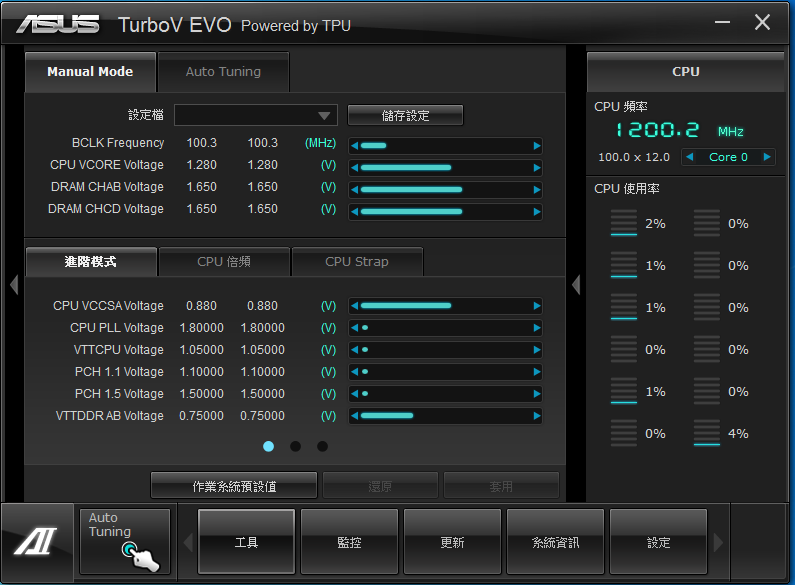
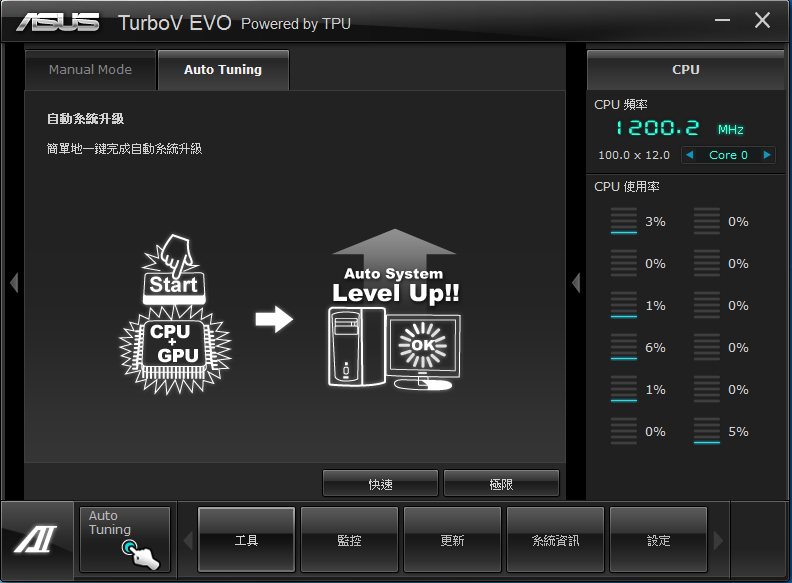
Turbo V EVO
自动系统升级
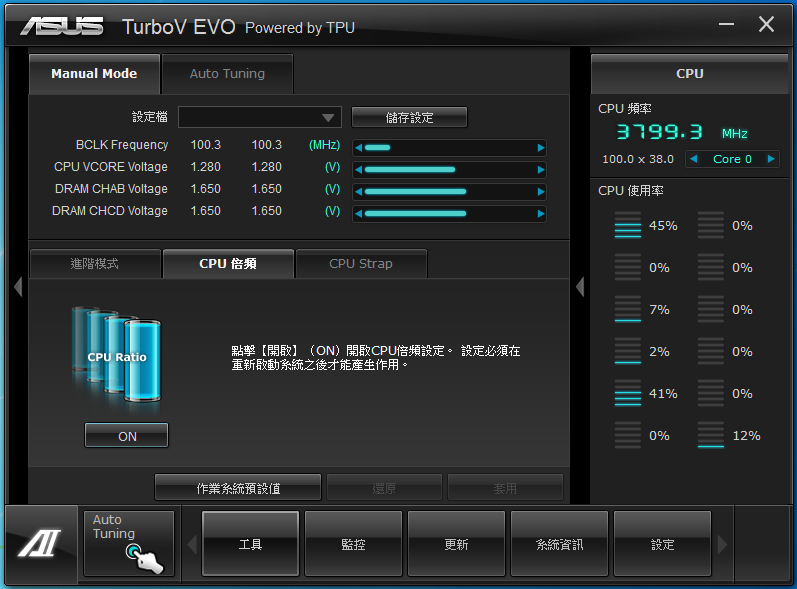
手动调整模式
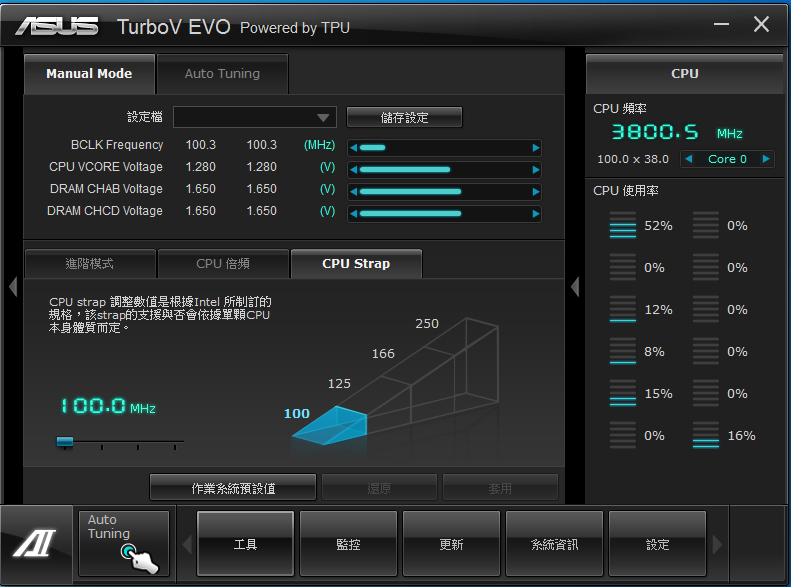
CPU Strap设定
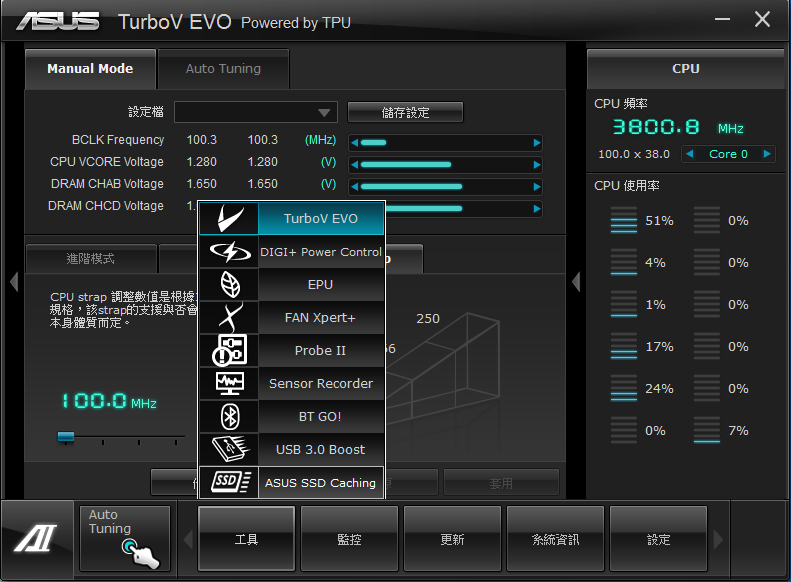
工具
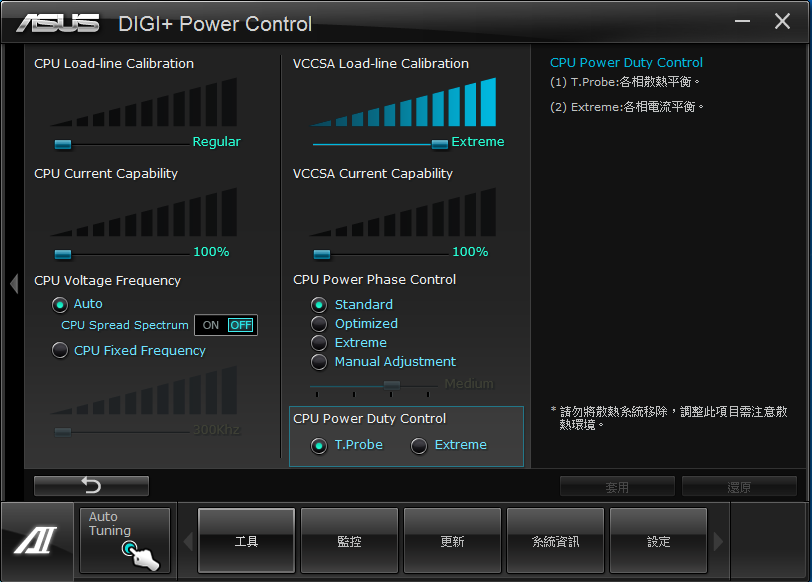
DIGI+ POWER Control
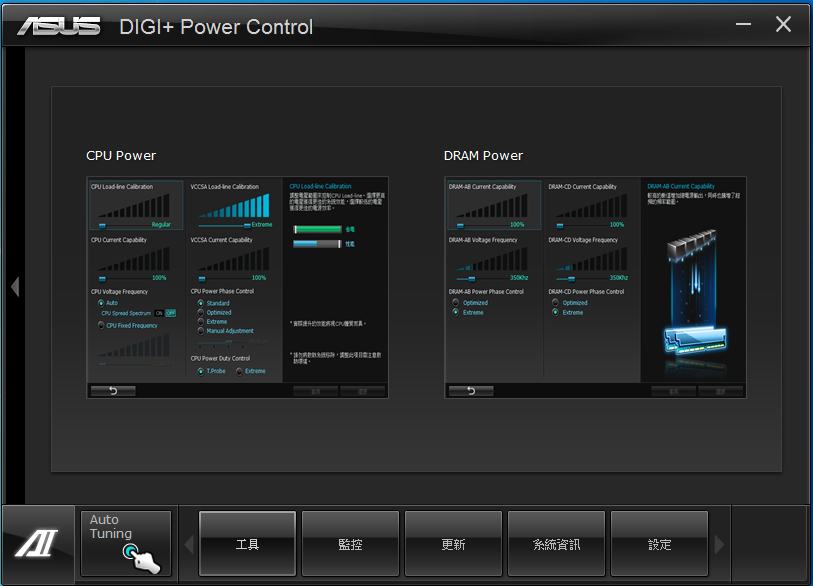
可针对CPU及DRAM作设定。
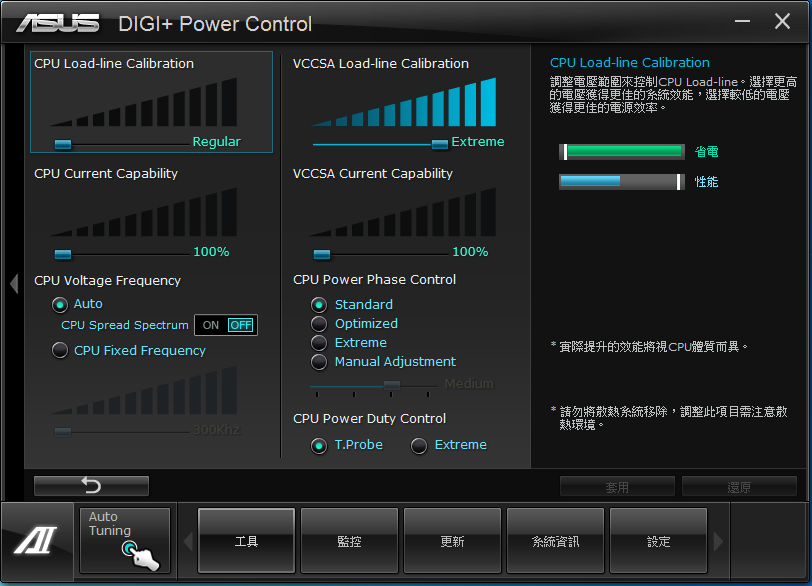
CPU Load-line Calibration
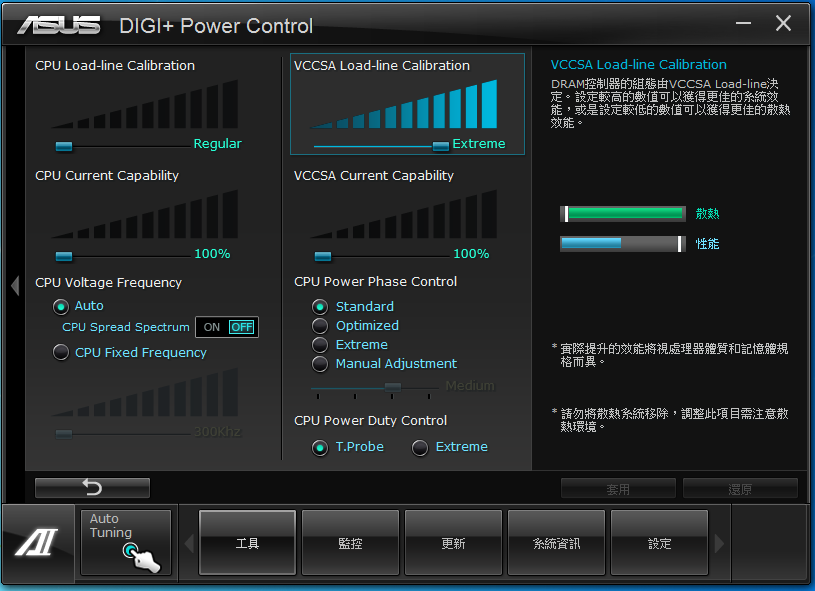
VCCSA Load-line Calibration
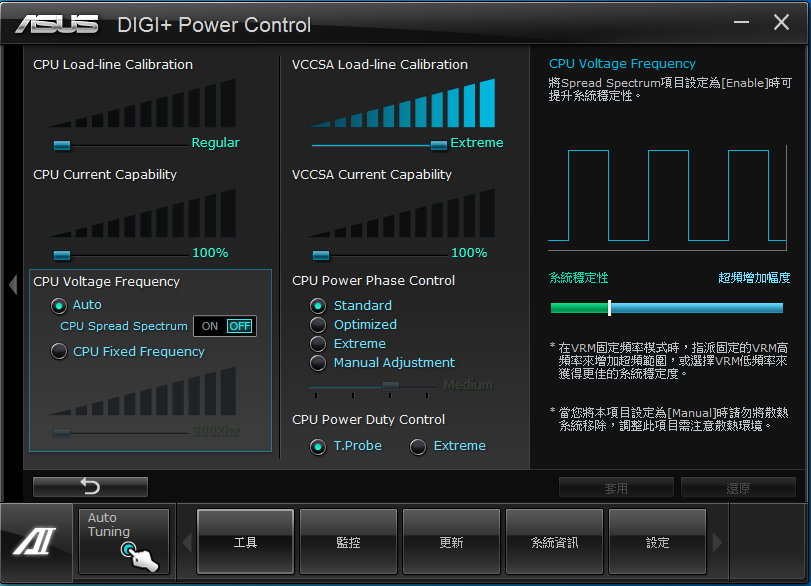
CPU Voltage Frequency
CPU Power Phase Control
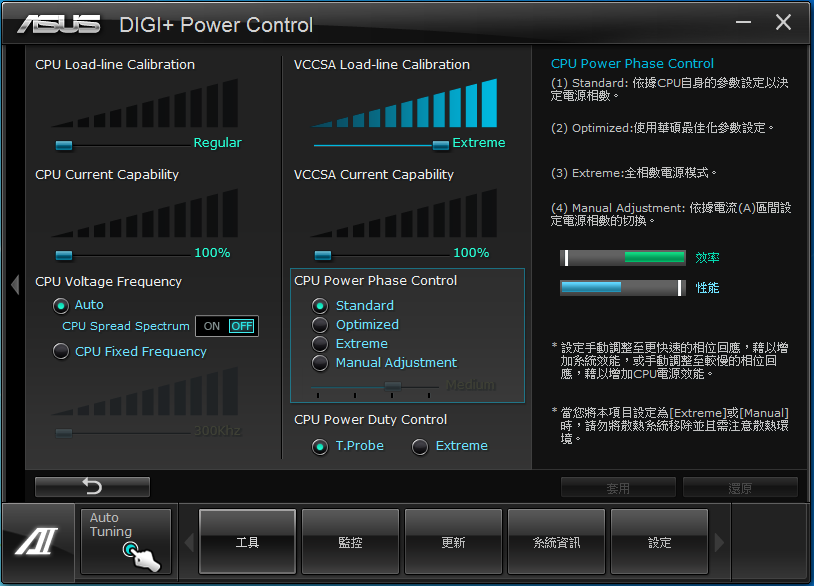
CPU Power Duty Control
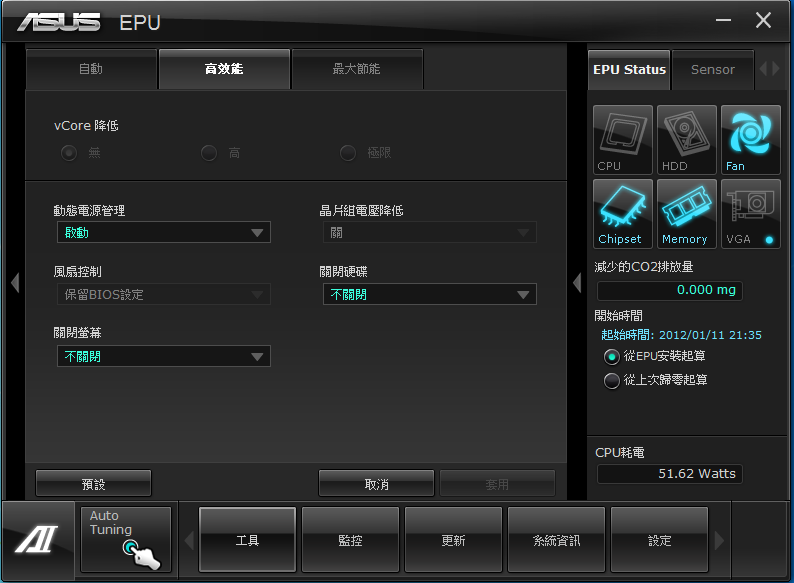
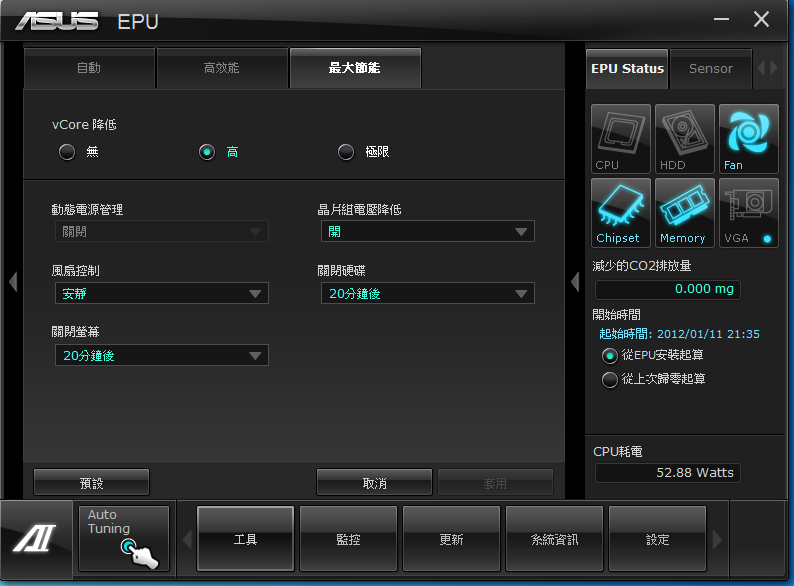
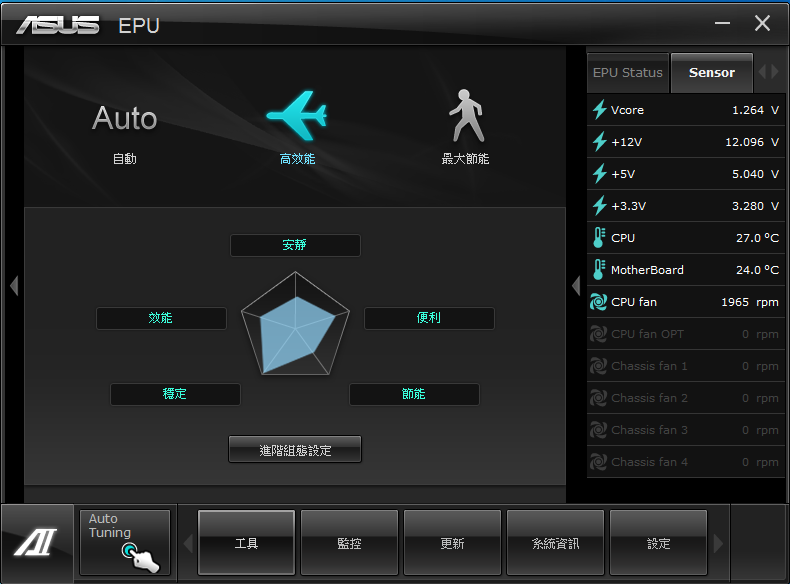
EPU
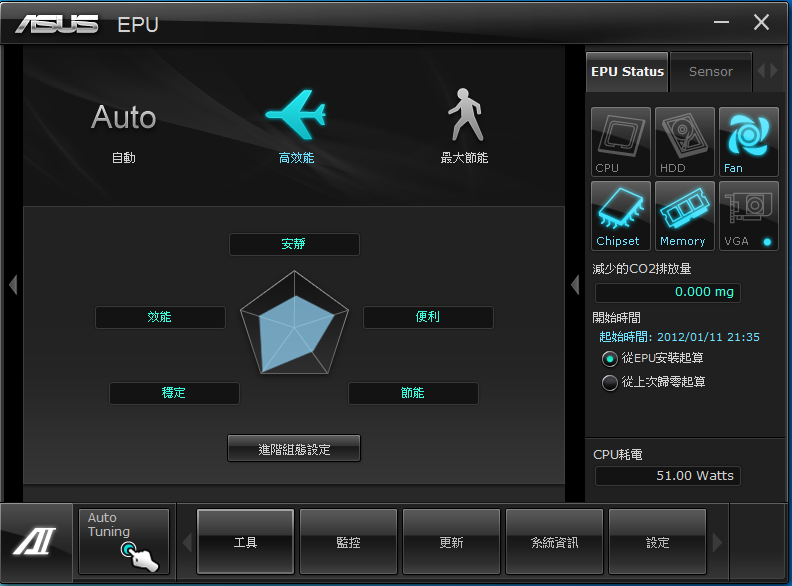
高效能模式
最大节能模式
电压侦测
FAN Xpert+
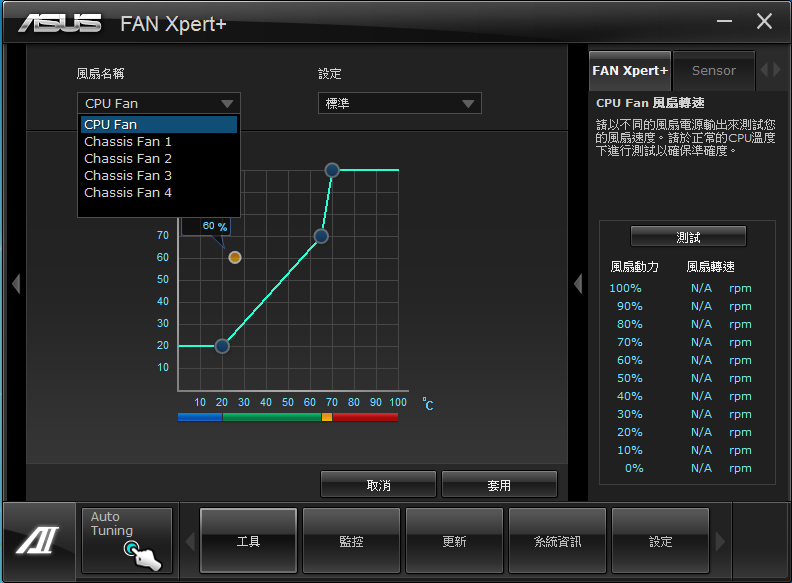
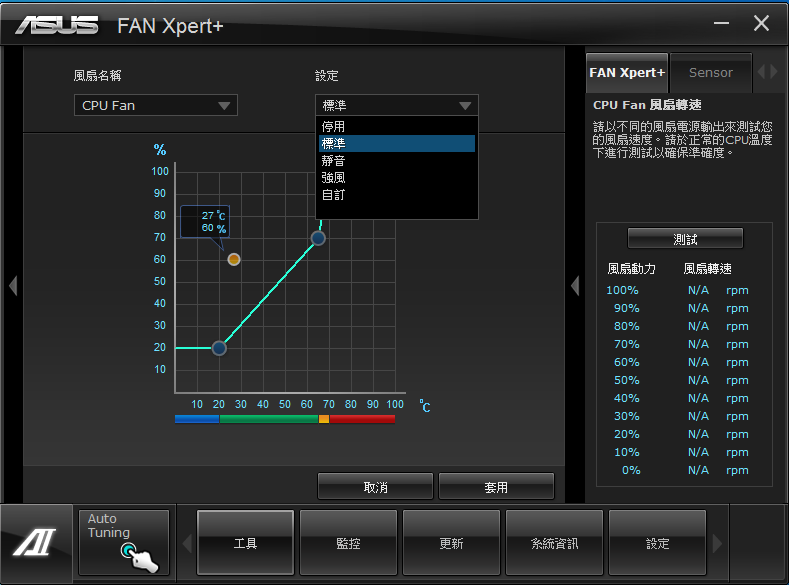
使用者可以依据需求做调整,或是套用原厂的设定。
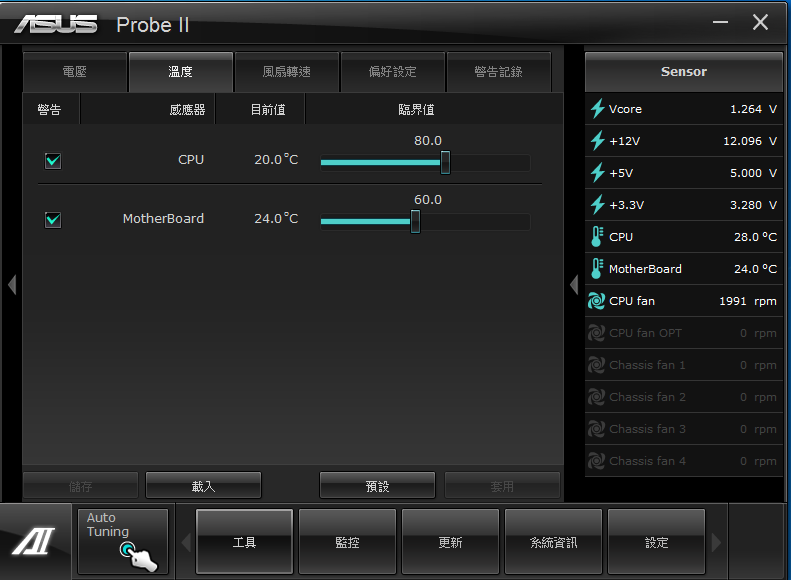
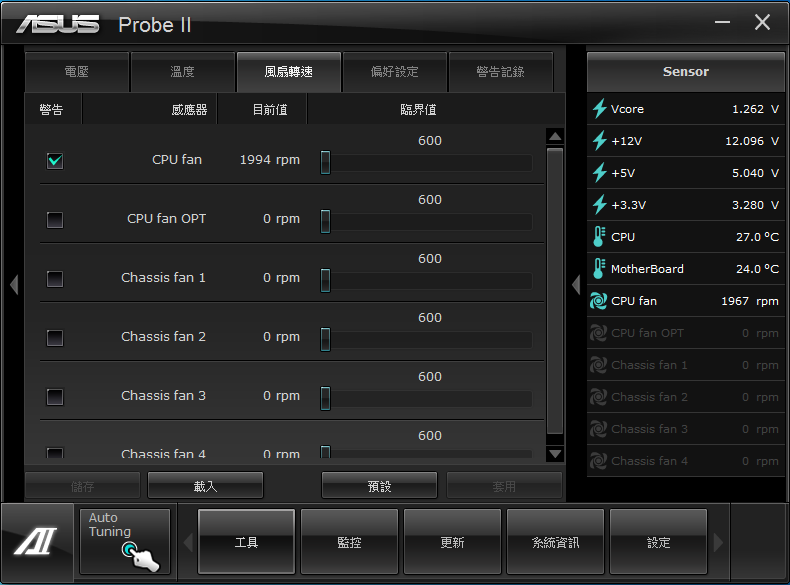
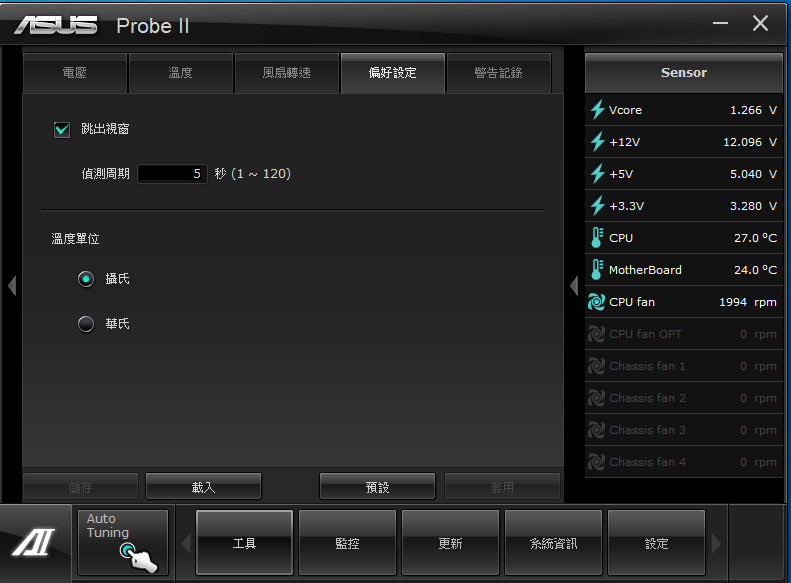
Probe II
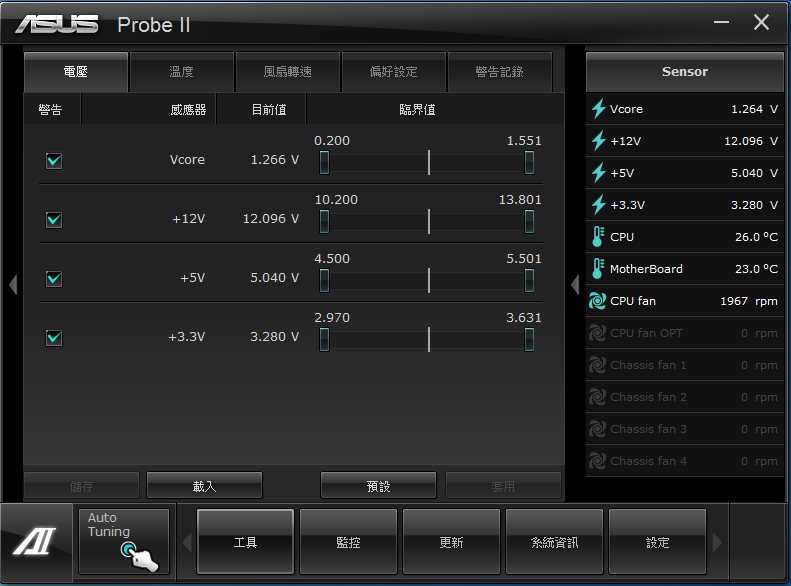
电压
温度
风扇转速
偏好设定
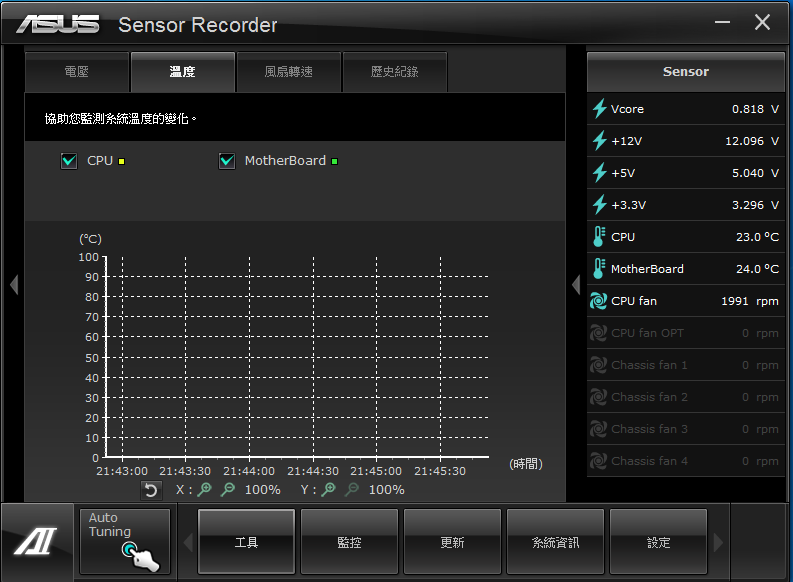
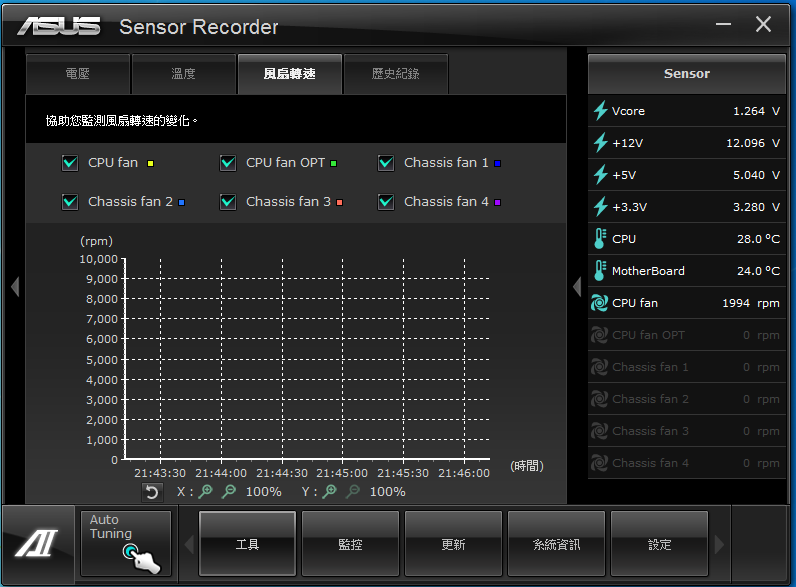
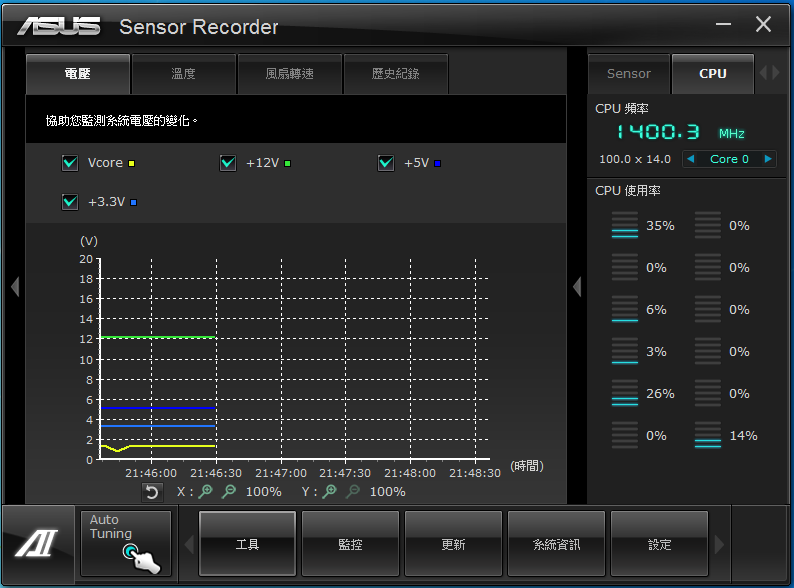
Sensor Recorder
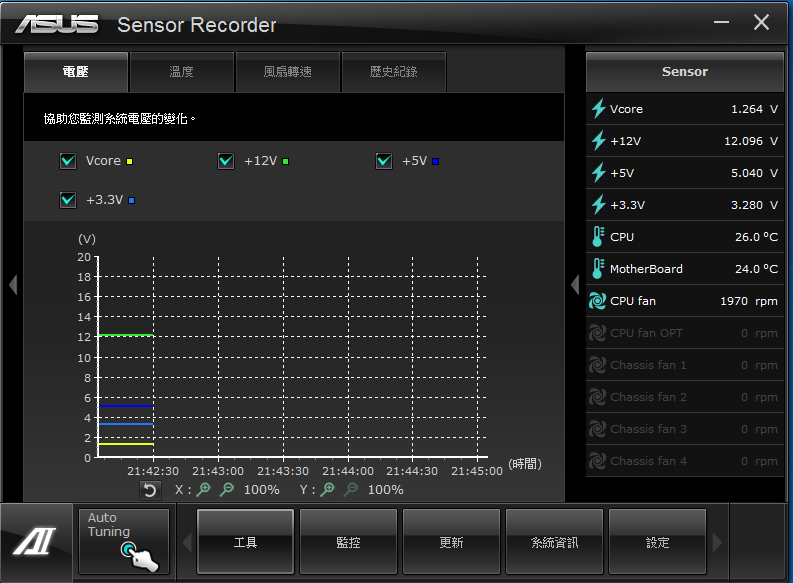
电压
温度
风扇转速
USB3.0 Boost
SSD Caching
CPU频率
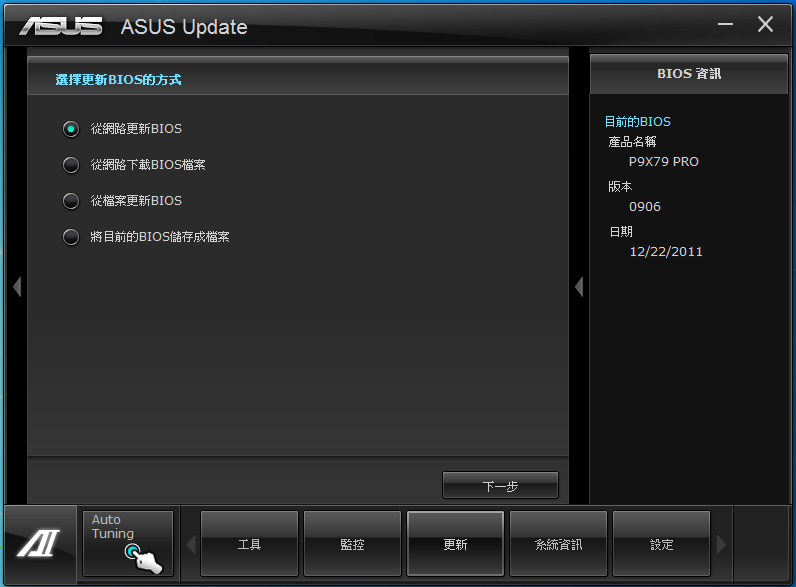
BIOS更新
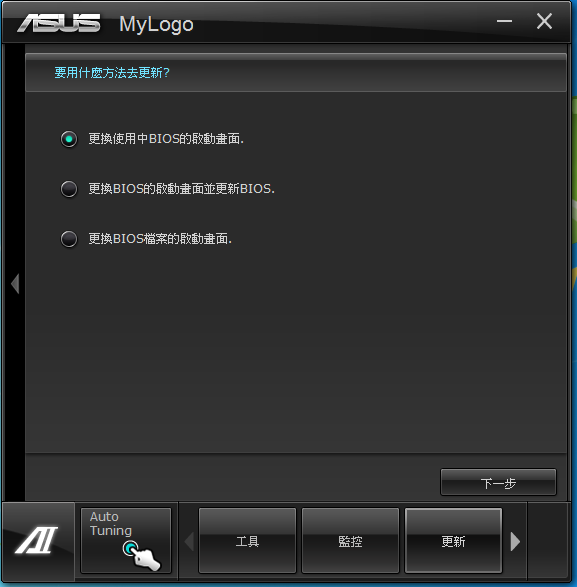
My Logo
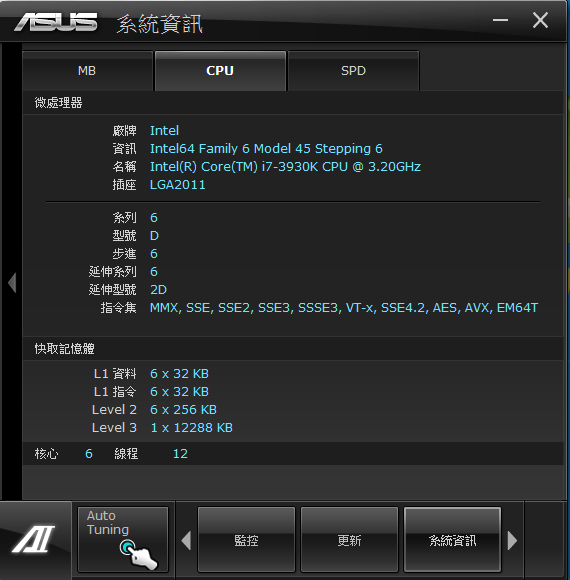
系统资讯
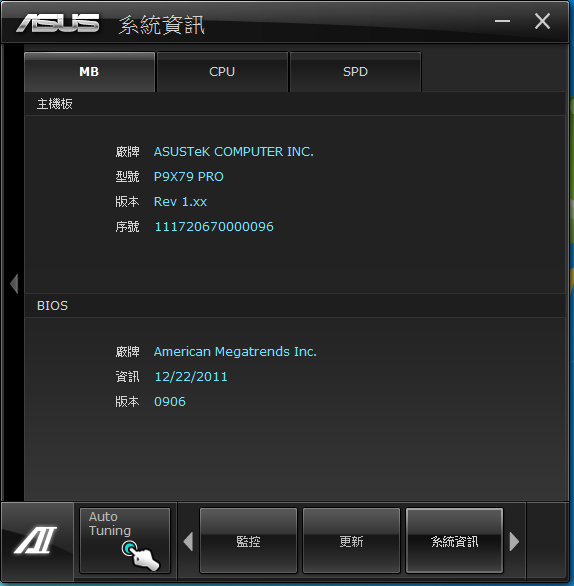
MB
CPU
DRAM
设定
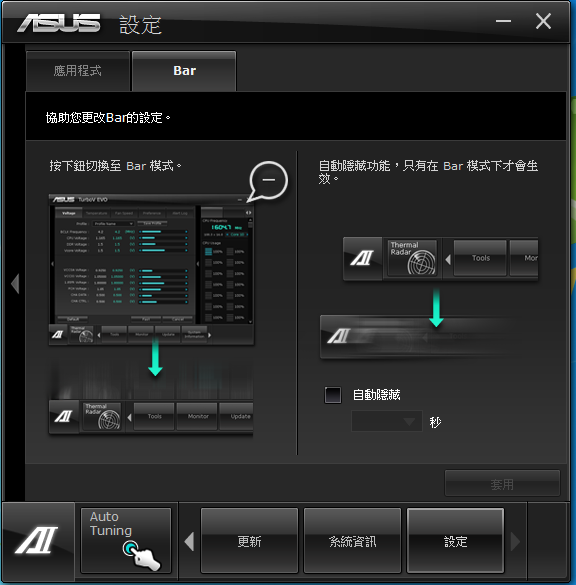
Bar
小结:
Intel Core i7-3930K+ASUS P9X79 PRO+AMD HD7970这样的组合效能可说是相当全面,当然所付出的价格也是相当的不........便宜(这3样买齐大约也要接近50K,只能说吓死人的啊!!),但整体表现绝对是物有所值,透过效能测试发现这样的平台确实也将个人电脑的效能又推升到另外一个层次,这次ASUS也针对X79平台开发许多新技术,如全新 DIGI+ 电源控制可同时针对于 CPU 与 DRAM 的电源控制管理,主流产品即提供8 DIMM 设计,让X79的4通道记忆体技术表现更优异,ASUS 独家功能,华硕 SSD 快取技术,UEFI BIOS、BT GO!、USB BIOS Flashback、Fan Xpert+、USB 3.0 Boost等都是相当实用的技术,以上测试提供给各位参考,另外BIOS介面及相关应用软体及SSD快取技术实测将于另外外一篇文章内分享,有兴趣的朋友们到时可以前往参考一下。


